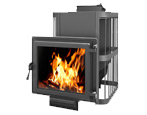
How to make a fireplace stove: secrets from the pros
Many people are thinking about how to make a fireplace stove. This article presents secrets from the pros, with the help of which you can independently create this structure.
Peculiarities
The fireplace stove has been in great demand for many years. This item is able to give the interior luxury and nobility. Brick structures have won a wide audience, as they embodied the best qualities from the fireplace and from the stove.
To make sure that the fireplace stove is suitable for your room, check out the advantages of the products:
- With these products, you can not only heat your home, but also cook food.
- Possibility to reduce expenses for electricity and gas. The fireplace is suitable for country cottages, since the constructed structure can be used as the only source of heat.
- The product can act as a decorative item. You will be able to admire the warm flame and spend your evenings next to it.
Also, the fireplace stove has some features that distinguish it from other structures.
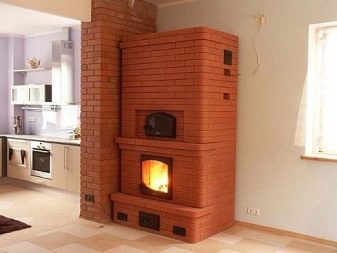
The device has two modes of operation:
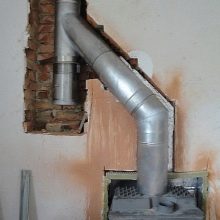
- Bake. In this case, the smoke is removed through auxiliary chimneys located on both sides of the structure. They are connected next to the firebox and enter the furnace in the form of a single channel. Using this method, the product is heated.
- Fireplace. In this mode, the smoke is fed into a special collector with further movement along the back channel. If you leave the valve open, the smoke will be able to freely enter the chimney and be eliminated outside. The oven is not heating up at the moment.
If you own a fireplace stove, you should regularly clean the product. A significant proportion of soot collects under the firebox, so you will need to equip a special door that can be opened during cleaning.
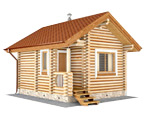
A fireplace stove is a successful combination of several functions. This structure is optimally suited for country cottages, since with its help you can quickly heat the room, and the heat will remain for a long time.

Views
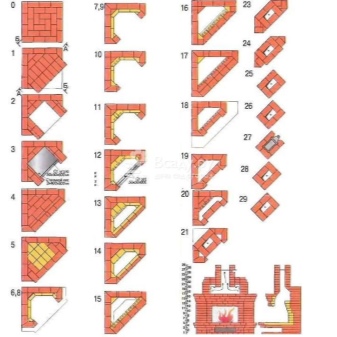
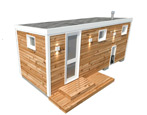
There are several types of fireplace stoves. They may differ depending on their location in the house.
There are two options:
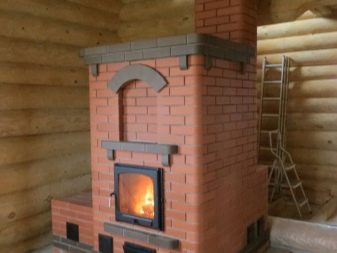
- Built-in. Such structures allow you to save free space, but their creation should be planned at the time of the construction of the house.
- Wall mounted. They can be installed at any time. You only need to organize the chimney.

There are also differences in the shape of the structures:
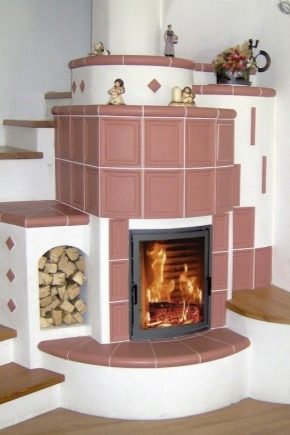
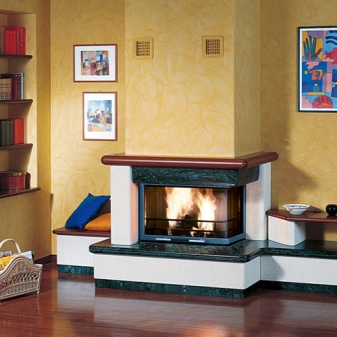
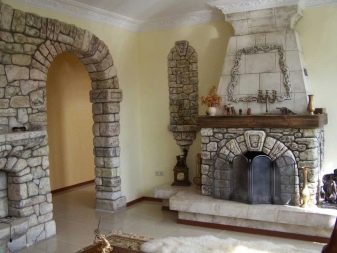
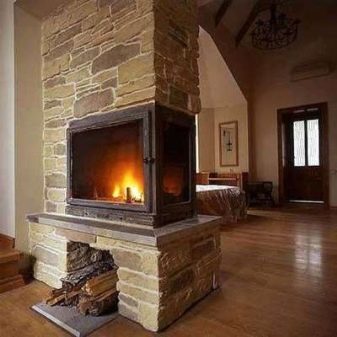
- Corner fireplace stoves. This variety is often practiced in small summer cottages. Due to their compactness, they are ideal for small rooms.
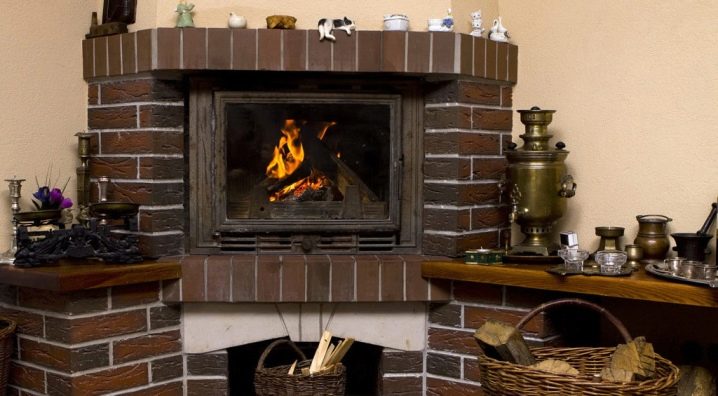
- Frontal. These fireplace stoves require more free space, so they can be installed in rooms with a sufficient area.
Fireplace stoves can be made from different materials. The choice of material should be carried out with the utmost seriousness, since this issue is resolved at the very initial stages.
There are not many materials for making a fireplace stove:
- brick;
- steel;
- cast iron.
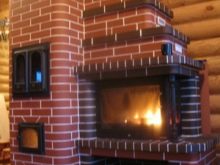

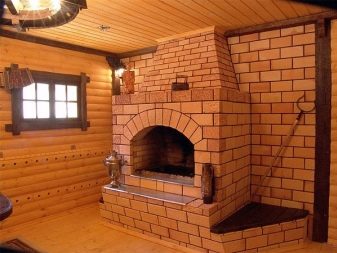
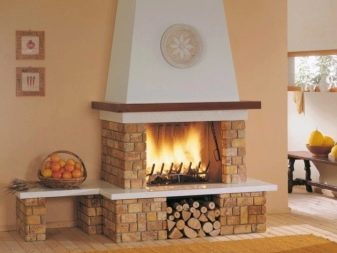
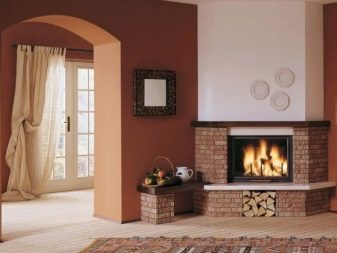
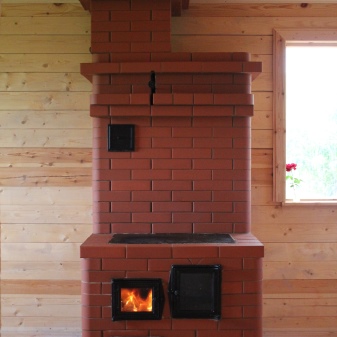
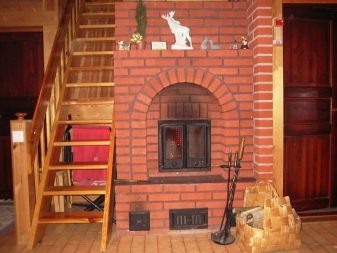
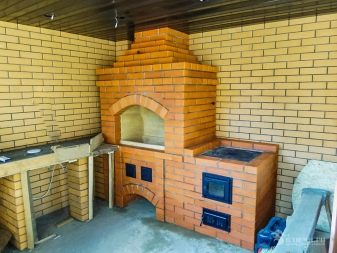
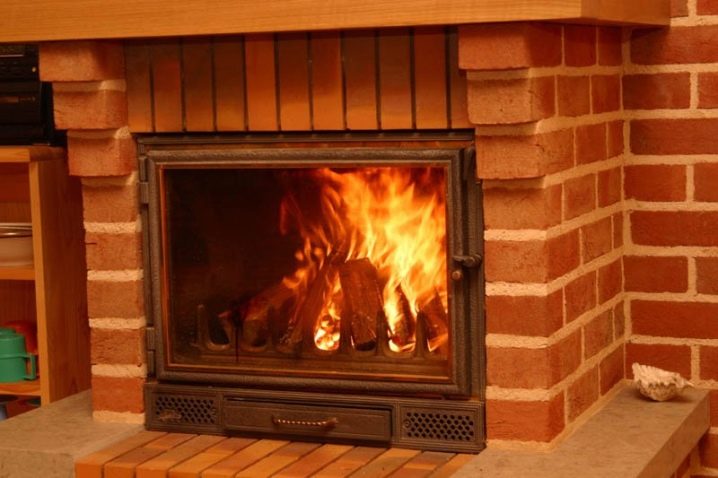
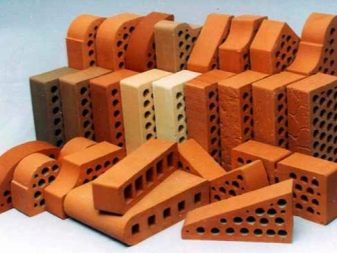
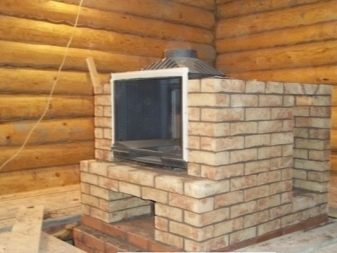
Brick
The devices belong to the category of classic designs. Most owners of houses and summer cottages choose this particular option.However, there are several nuances that make the creation of brick products inconvenient.
The disadvantages include:
- the need for a strong concrete base;
- too complicated ordering for an inexperienced builder;
- the cost of materials and time costs will be more expensive than making cast iron products.
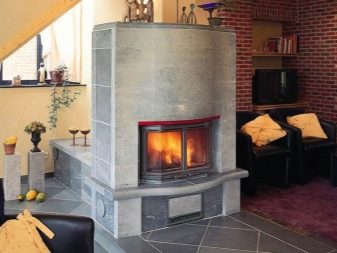
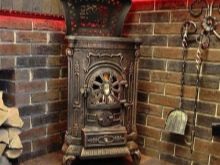
Steel
Fireplace stoves are considered inexpensive products that do not need a massive foundation. It will be enough for you to organize a fireproof site on which the structure will be installed in the future. The site must have larger parameters than the oven itself.
The site can be made from the following materials:
- porcelain stoneware;
- tile;
- glass plates;
- steel plates.
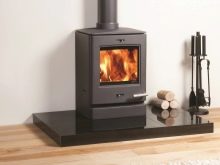
The disadvantages include rapid cooling and heating.
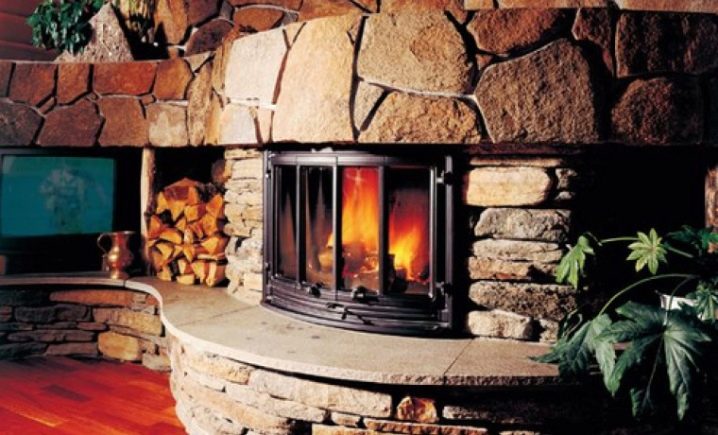
To improve the characteristics of these structures, they are additionally covered with material. You can use an artificial stone as a cladding.
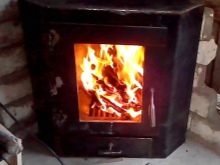
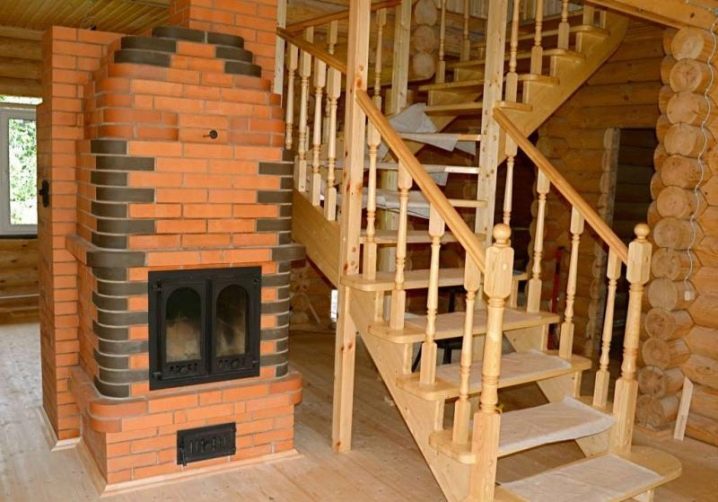
Cast iron
Fireplace stoves are distinguished by their solidity and weight. Professional models include products lined with fireclay from the inside.
The advantages include:
- slow burnout;
- corrosion resistance;
- long-term preservation of heat.
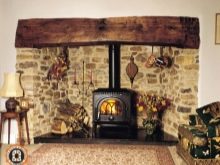
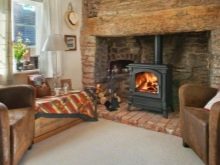
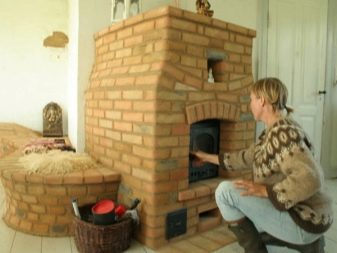
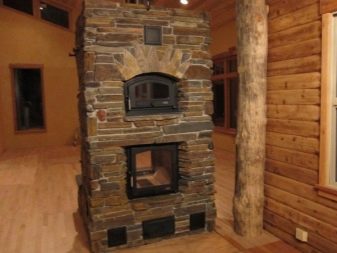
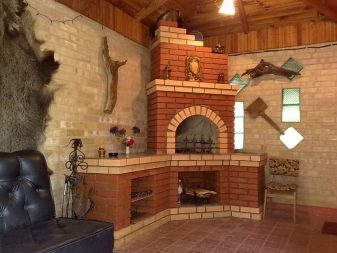
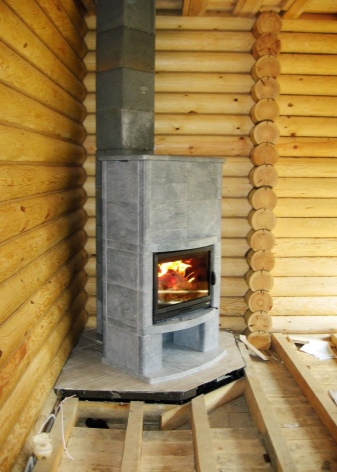
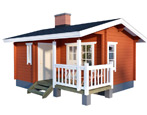
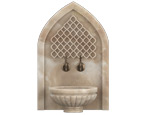
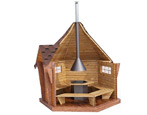
"Swede"
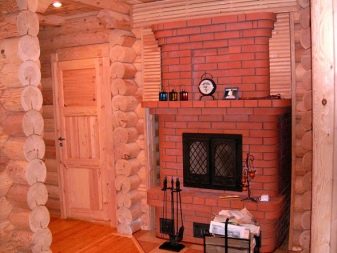
The Swedish oven is also in demand. It is often used as a heating source for country houses. There are many design variations on the market, so everyone can choose the best look for themselves. "Swedes" can be large or, on the contrary, small, made of different materials.
Most people choose this type of stove-fireplace for their home, since such a structure gives the interior comfort and coziness. The product warms the household on cold evenings, and is also used as a means for cooking. This design is chosen by people who appreciate resting near an open flame. Some users decorate products with decorative lighting to add extra comfort to the home.
The indisputable advantage of such a stove is that it is able to heat up in a short time and quickly organize the necessary climatic conditions in the room. It also has a high level of heat dissipation and excellent performance in comparison with its modest size.
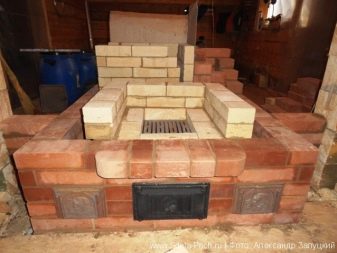
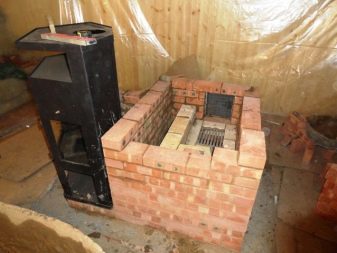
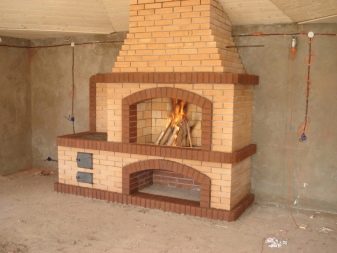
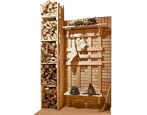
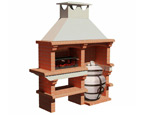
Stoves-fireplaces equipped with barbecues are widespread. Such products should be located outdoors. They are presented in the form of a small structure made of bricks. It should contain an open portal in which frying will be carried out.
You can select the backlit options to improve the visibility of your cooking.
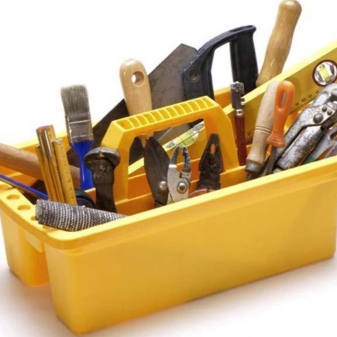
Materials and tools
To create a fireplace stove, you need a set of tools that not everyone has at home.
The list of required components consists of the following items:
- a hammer equipped with a pickaxe;
- broom panicles;
- corner;
- plumb line;
- special oven hammer;
- pliers;
- rubber hammer;
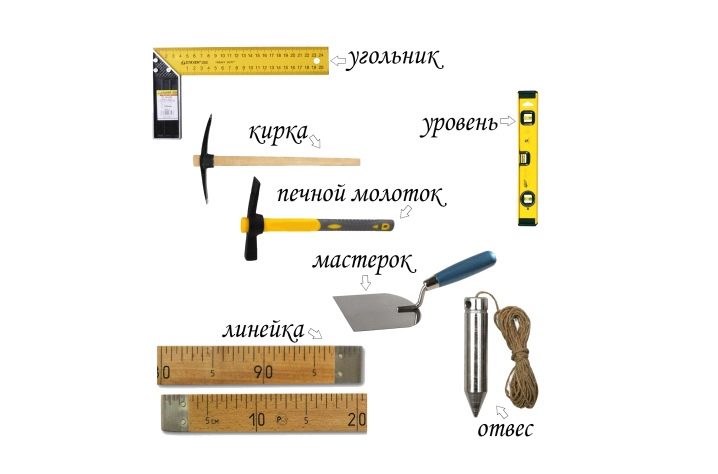
- chisels;
- trowels or trowels of various shapes and sizes;
- a piece of metal pipe;
- building level;
- wooden spatula;
- scribes;
- rasp;
- jointing.
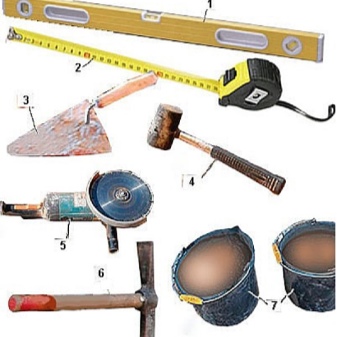
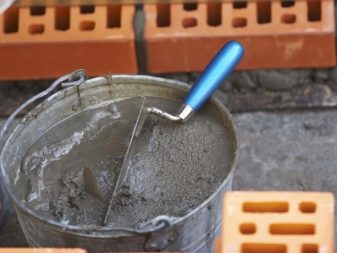
For convenience, you need to prepare a sieve in which the solution will be wiped. The use of this component is mandatory, since the mixture must be thin. Create tragus. You will need two items.
Trestles are a special type of ladder that can be used in pairs, used as a single element, or as a platform support. It is convenient to be on such a structure when working at a height, as well as to use a container for a solution. Nearby, you can place bricks for work. Creating two trestles will help you improve your comfort during construction work.
For the construction of the furnace, you should buy a red refractory brick.You can calculate the amount of material using the drawing, which will display all the elements. To lay the space around the firebox, you need a white heat-resistant brick. In the work, you should use specialized dry compounds created for laying a fireplace or stove. This mixture can be purchased at any hardware store.
If you do not want to spend money on special mixtures, you can use standard materials, which are presented in the form of sand, clay, crushed stone and cement.
Also for work you will need:
- sheet steel components with a thickness of 2-3 mm;
- corners measuring 30 * 30, 50 * 50 mm;
- steel wire with a diameter of 3 mm. This element is required to fix cast iron parts.
Purchase additional blower doors, cleaning windows, a firebox, a hob and a grate. These components must be made of cast iron.

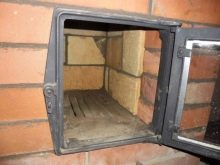
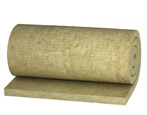
To ensure fire safety, you need thermal insulation materials. You can use asbestos boards, gypsum boards, basalt. They should be located between the walls of the stove and other surfaces, which should be provided with a heat-resistant layer.
If you decide to equip the stove with a boiler, take up the manufacture of a metal container, a box for the firebox and a door on which there is a heat-resistant type of glass.
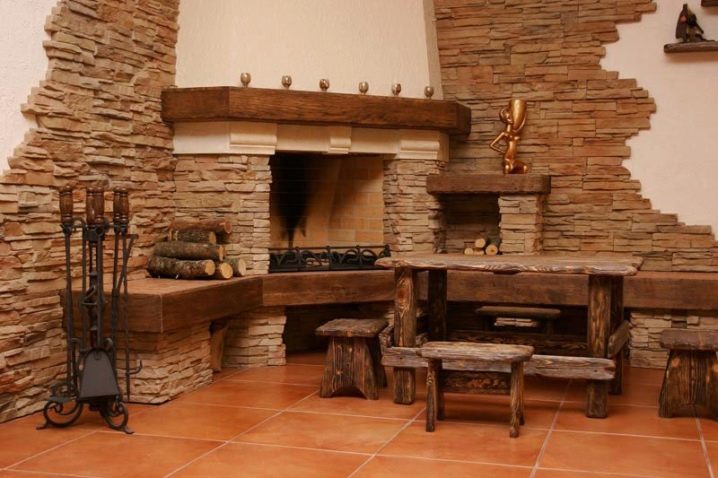
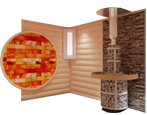
For facing work, you will need plaster, sealant, tile adhesiveif you are planning tiling. Clinker tiles are popular, as well as onyx trim. When choosing an adhesive material, pay attention to the "Profix" hot melt adhesive, which shows excellent results in construction work. He is not afraid of exposure to high temperatures.
Some users decide to create a kind of mosaic, which is two or more materials on one object.
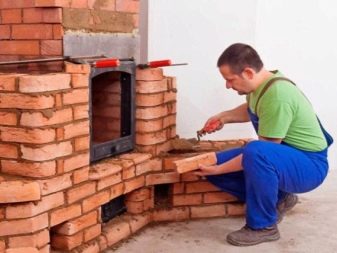
Manufacturing
For those who have at least basic skills in construction, it will not be difficult to make a fireplace stove with their own hands. Building a structure consists of several steps that you should be familiar with.
A step-by-step instruction for beginners on creating a fireplace stove contains several steps.
Site preparation
First of all, you will need to decide in which part of the country house the future structure will be located. Keep in mind that there will be a chimney in the selected area. If the fireplace stove is installed next to a wooden wall, you will need to provide the surface with a special gasket that is resistant to high temperatures. As a gasket, you can use an asbestos slab, brick, metal sheet, gypsum board or ceramic tile. Some people choose the combined option, which consists of different raw materials.
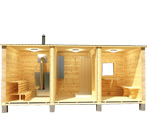
The structure, installed in the center of the room, has advantages that lie in the zoning of the space. As a rule, the section of the stove, on which there is a fireplace insert, is located on the side of the bedroom or hall. The cooking side is brought out to the side of the kitchen area. If you decide to divide the space not only with the help of the erected structure, but also with partitions, you will need to ensure safety with heat-resistant material.

Do not forget about safety measures in the areas through which the chimney passes. You can use asbestos boards, which are stacked in several layers.
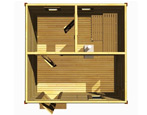
Choose the type of product that suits you and evaluate how it will look in a new place. Evaluation is carried out by measuring and marking the surface of the floor, walls and ceiling. In addition to the appearance of the fireplace stove, dimensions, you will need to develop a diagram of the future design, which is called "ordering".
Checking purchased materials
Check the quality of the purchased finishing materials and tools. Pay special attention to the brick.Cracks should not be present on this material. The only exceptions are pieces of bricks.
Clay must also be tested. To do this manipulation, it is necessary to knead a small fraction of the solution. After that, you need to fold a small column of bricks and leave it for 12 hours. After the expiration of time, check the structure for strength.
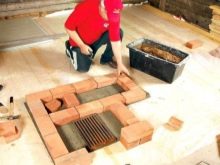
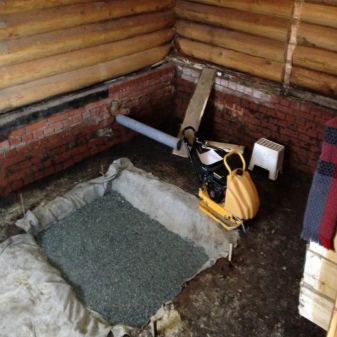
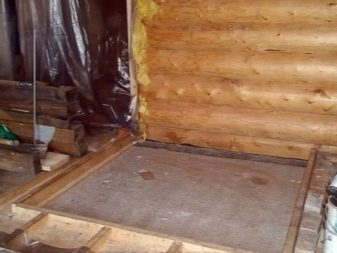
Building the foundation
When creating this element, it should be borne in mind that its dimensions should be 15 cm larger than the parameters of the future structure.
Before construction work, you will need to dismantle the floors. If there is soft soil under the floors, the foundation is poured to a depth of one meter.
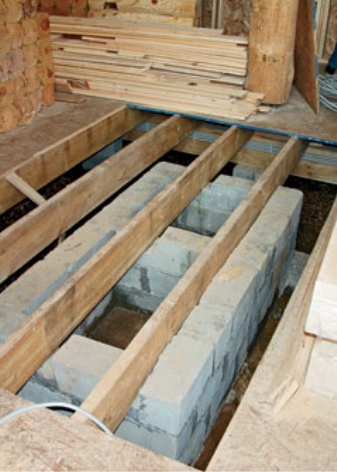
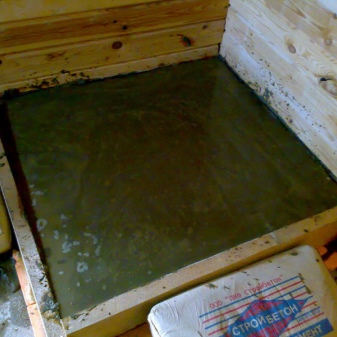
Foundation Pouring Guide:
- Formwork with simple planks.
- Then use the metal reinforcement, which is laid out along and across the formwork.
- The resulting structure should be poured with cement mortar and covered with polyethylene film.
- You can remove the film after 12 hours. After that, you will need to partially disassemble the formwork. You should not completely disassemble the structure, since a new formwork will be located on top of it, which will act as a curbstone.
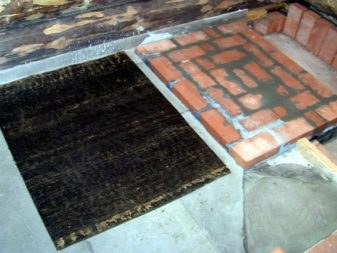
- After another 12 hours, the formwork should be laid with rubble stone.
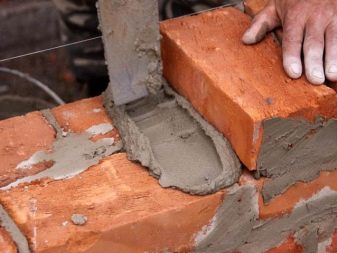
- Now you can start disassembling the formwork and filling the pit with earth. After waiting a while, you can start laying bricks. When carrying out the ordering, experts recommend using dry masonry, which will eliminate errors leading to the fact that you need to redo the structure.
- You just have to remove the film and decide where the corners of the foundation will be located. To do this, you will need to use a plumb line.
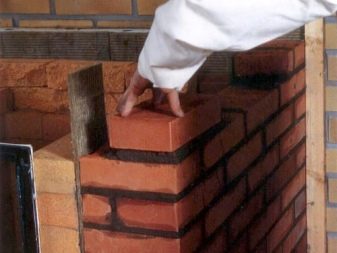
After you complete these steps, you can start masonry. After it, you should study the materials for finishing, with the help of which the cladding of the structure will be made.
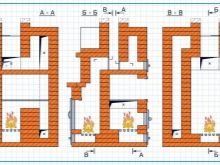
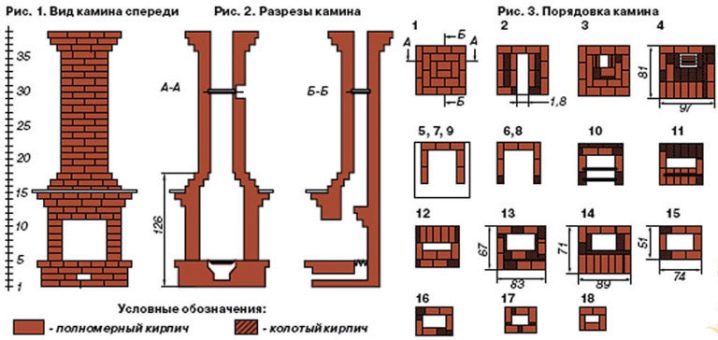
Blueprints
Any construction work should begin with the creation of drawings. Bricklaying is also accompanied by an ordering scheme.
When adding clay to the solution, you should observe the measure. If you exceed the proportions, the quality of the masonry will decrease. Adhere to the standards according to which the thickness of one layer should not exceed 4 mm.
Ordering drawings consist of the following rows:
- The foundation of the structure is laid in the first two rows.
- Layout of the third layer consists of a smoke channel, a purge and a blower.
- On the fourth and fifth layers, the channel will continue to be laid out.
- In the sixth layer, fireclay bricks should be used, which are used to create the bottom of the firebox. This material in the drawing should be indicated in yellow. Fireclay is laid up to the ninth row. The grate will be installed on the same layer.
- The tenth and twelfth rows are laid out in an identical way.
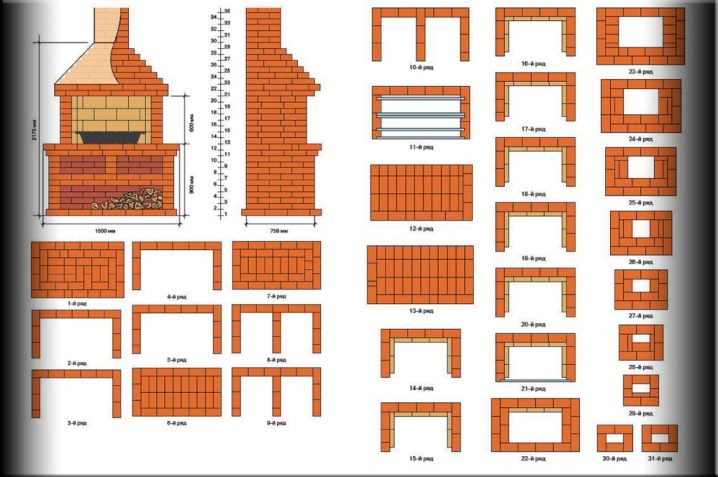
Do not forget to create a hole for the firebox, which should be located at the front of the structure.
- The thirteenth row consists of door mounting.
- In the fourteenth layer, the brick vault will be laid out, which should be located vertically.
- The fifteenth layer is the alignment of the created vault. The next row will require the installation of a mantelpiece, and the next two layers will serve as a ceiling for the firebox. If you do all the actions correctly, you can get a winding channel. This design feature will allow the smoke to heat all the walls of the structure.
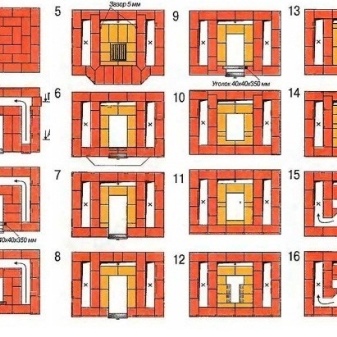
- The nineteenth row contains the installation of the damper for the left channel. The next seven layers will cover the layout of the walls and chimney.
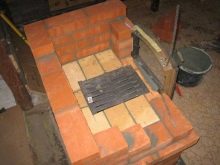
- The twenty-seventh row consists of mounting a metal plate that will act as a support for the entire structure.
- The next two layers act as the overlap of the product. This area should be laid out with red bricks. On the one hand, you should equip a well for the chimney.Make sure it has a suitable height. All subsequent bricks are required to overlap the previous ones in such a way that a ligation is formed. The bottom bricks will overlap with the top ones. Due to this sequence, you will get a strong figure. The second flap must be placed on the second layer of the well.
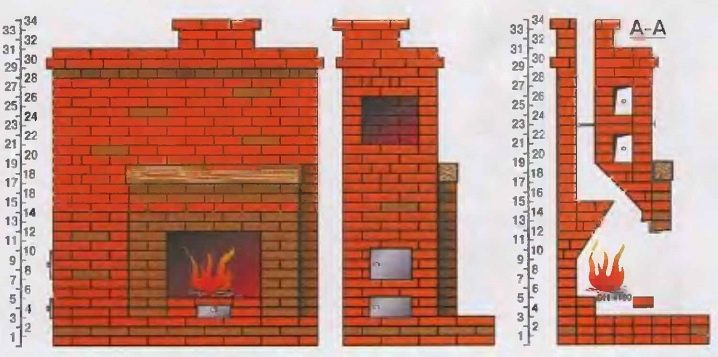
When you finish creating the skeleton of the structure, you will only have to mount the boiler, which will be located in the furnace of the furnace. Do not forget to install a heat-resistant door. With these components, you will be able to circulate heat in the oven.
At this stage, construction work is considered complete. You just have to dry the structure with a few fireboxes. Proceed with caution as you are testing the product. Then you can start facing the fireplace stove, if you have such a desire.

Tips & Tricks
These recommendations will help you become more familiar with the process of creating a fireplace stove, as well as prevent mistakes that may arise at the initial stages.
Tips from the masters:
- Laying the foundation should be taken very seriously. This element serves as the basis for the future structure.
- The area where the chimney is in contact with the ceiling should be covered with insulating materials to prevent the ceiling from catching fire.
- Ensure that the firebox is closed. This condition is mandatory.


- During construction, control the horizontal and vertical position of the structure. To do this, you need a building level and a plumb line.
- The clear glass door must be resistant to high temperatures. If you put on regular glass, it will crumble from the heat.
- When laying bricks, attention should be paid not only to the appearance of the new stove, but also to the interior. Saggy pieces of cement, crevices and gaps should not be present inside. These components contribute to a decrease in thrust, which will lead to an increased settling of ash and soot.
Self-construction of a fireplace stove is an affordable event even for a beginner.
If you are not confident in your abilities, you can always turn to specialists or take construction training. The cost of the courses is able to recoup the possible costs for the services of specialists.
For information on how to make a fireplace stove, see the next video.


The comment was sent successfully.