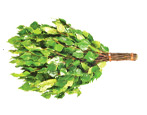
How to make a birch broom?
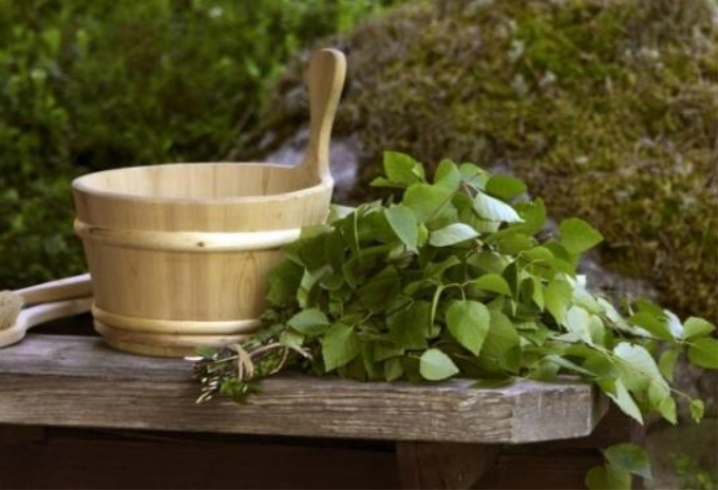
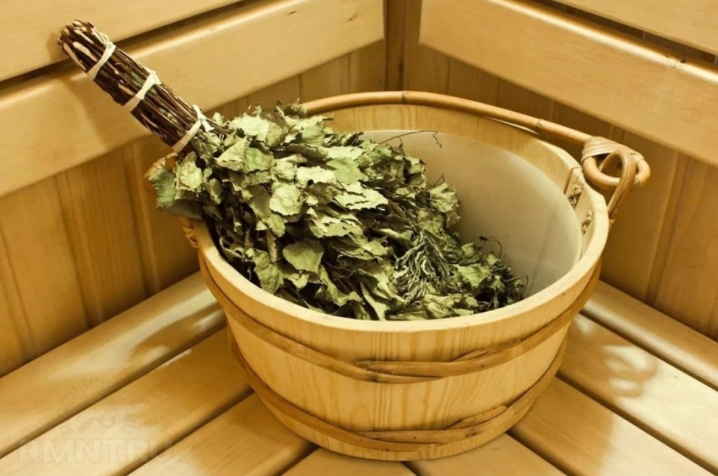
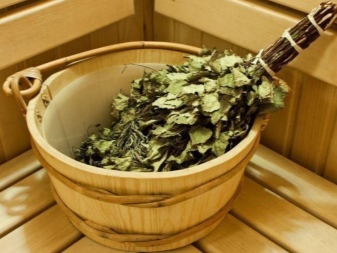
When it comes to a Russian bath, the first association that comes to mind is a birch broom. It is an indispensable attribute of this place, which is loved by avid bath attendants and sophisticated bathers.
In order for a birch broom to bring maximum benefit, it is necessary to prepare it correctly.
Time and place of gathering
Birch - a tree of power... The wonderful scent of birch bark can cheer you up and restore your health. Birch sap deserves special attention. It tastes good and is able to bring back the fighting spirit.
Birch is actively used for the manufacture of brooms. But not everyone guesses how to properly collect branches, prepare and store them in order to get the desired result. Therefore, it is worth considering this issue in more detail.
For birch twigs, you must go on a sacred day - the feast of the Holy Trinity. It is usually held in mid-June, about the 50th day after Easter. He does not have an exact day, since Easter is a floating date.
You need to go for branches for a broom a couple of days before Trinity and on the holiday itself. It's easy to explain from a biological point of view. In June, nature blooms in full force, the amount of sap and nutrients increases in the trees.
In the first days after the onset of Trinity, they are engaged in the procurement of various raw materials, including birch twigs. The best period for this will be mid-June.
In the first days of June, you should not go for branches. During this period, trees are weak, so they lack nutrients. The broom will not last even a week - it will quickly become unusable.
What branches do you need to collect?
A birch broom can rightfully be called a symbol of the Russian wooden bath. Everyone who has ever used it immediately remembers the warmth of the sun and summer greenery. This is achieved due to its rich and pleasant aroma.
You can get pleasure from using a birch broom in a bath only if it is properly prepared and assembled. Correctly selected branches, as well as high-quality knitting of the product will help not only to extend the service life of the broom, but also to get pleasant sensations while steaming the body.
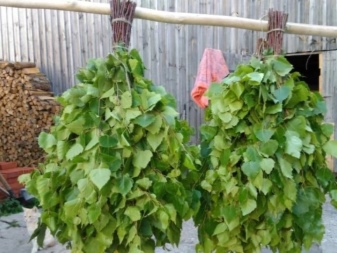
When choosing twigs, preference is given to branches of weeping birch. These are tall trees, from which durable and reliable brooms are made. The best option would be birch branches, on which flowers have not yet appeared.
Young birch twigs are more elastic and have velvet leaves. They are easier to harvest as they are more elastic.
Another advantage of such branches lies in the fact that they contain a large amount of nutrients.
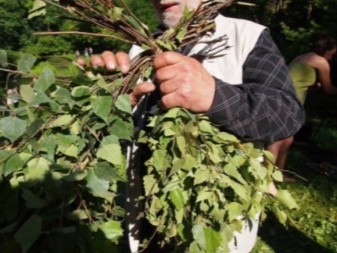
Experienced broom knitters recommend giving preference to birches located near a reservoir. Their branches and leaves are considered the most juicy and tender. During harvesting, you do not need to cut the entire bunch from one birch. Several trees should be selected so as not to seriously damage them.
Additionally, it is recommended to take into account the following tips:
- you do not need to cut off the branches on which flowers have already appeared, since they are more rigid and practically unusable;
- the maximum length of the twig should not exceed 60 cm;
- the branches should be straight;
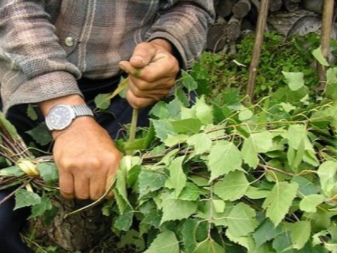
- cut the twigs with a sharp motion to cause minimal damage to the tree.

Sharp scissors are suitable for cutting.If you choose a knife or saw, the bark of the tree will be damaged during the branch separation. You can cut material for brooms both before the holiday of the Holy Trinity, and a couple of days after it.
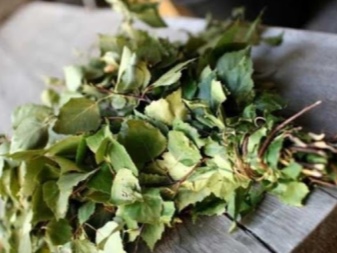
Before harvesting, you need to make sure that the surface of the leaves is smooth and delicate. A good broom should have strong leaves. If this is not ensured, then after a couple of blows to the body in the bath, leaf husks will be scattered, and the bundle will quickly fall apart.
Today you can buy a birch broom at every step. However, it is better to do it yourself, since with this approach the product will last longer.
Another fact to consider when collecting branches is - brooms from them should not turn out to be too thick or rare... This point should be taken into account. It is also worth making sure that the leaves of the product have a rich dark green hue. If they are black and brown, then it is better not to cut off such twigs.
How to knit correctly?
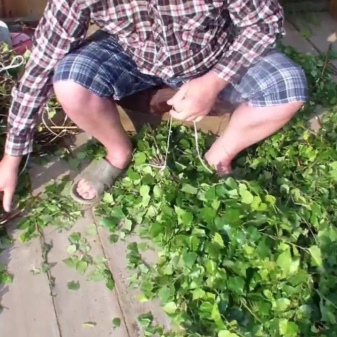
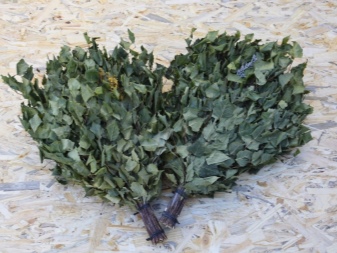
After the required material has been collected, it is necessary to dry it. Only after that it will be possible to start the main process - knitting. Drying of birch branches is carried out in a prepared place with a low humidity and no sunlight.
The dried branches are laid out in bouquets, with the strongest and thickest specimens placed in the middle of each. Knitting is carried out in two stages:
- first of all, a "semi-souvenir" is knitted from thick rods - this is the basis;
- then the base is covered with thinner branches.
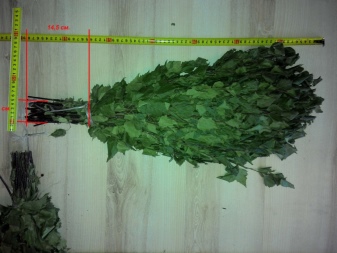
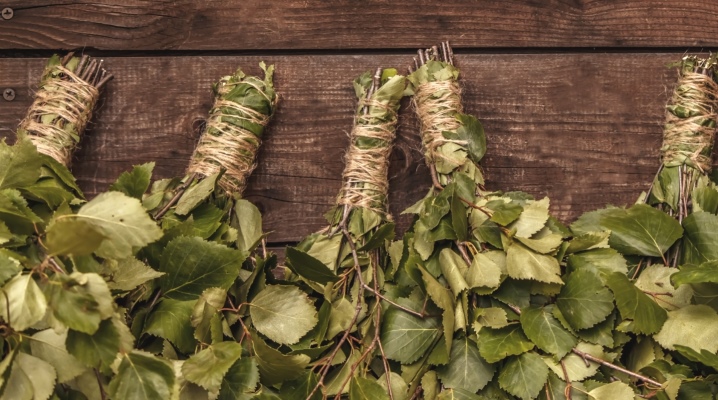
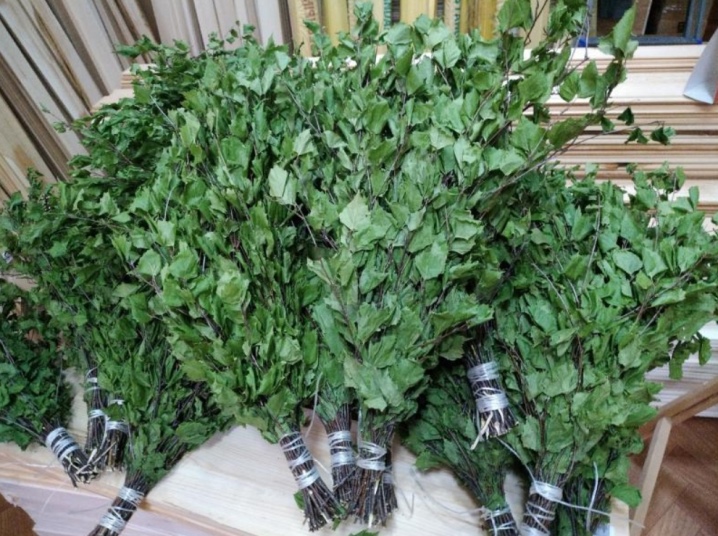
When knitting, the cut elements must be placed face down. It is important that during the assembly of the bouquet the shape of the future broom resembles a fan, but it does not look like a broom. The handle must be left without foliage to make it easier to grasp. Excess twigs or twigs can be cut off with a pruner.
When both parts are assembled, it remains only to tie them together, and on this the broom is considered ready. In order for the fastening of both parts to be correct, they must be put face to face and the branches must be tied as tightly as possible.
This is explained by the fact that in the process of subsequent drying, the broom will noticeably decrease in volume, therefore it is important that the rope tightly touches the base.
The rope should be fastened in two sections:
- at the base;
- slightly closer to the center.
The last step is to cut off excess branches from the broom and level the bottom. The work can be done with the same pruning shears or another sharp device. When the birch blank is collected, it will need to be additionally dried.
How to dry?
To properly prepare a broom for the bath, the material for it must be sent for drying. It will ensure the durability of the product and help to achieve the desired shape. Drying is quick and easy. To carry it out, you must:
- select branches for the future broom;
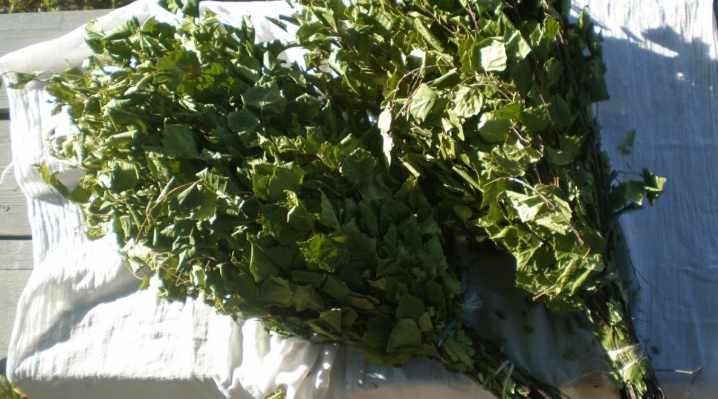
- lay them out in a dry place, placing them on a cleaned cloth;
- let the branches lie down for a week, while it is recommended to periodically change their position so that the foliage acquires an even green color;
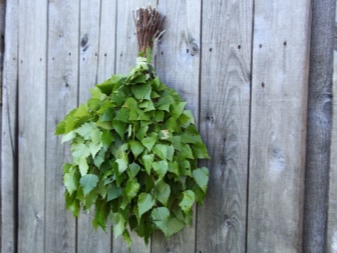
- collect the branches into a bunch and tie them up.
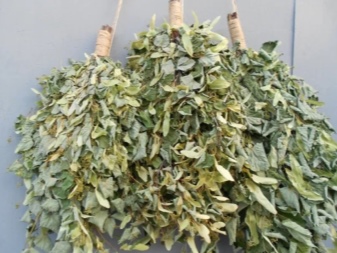
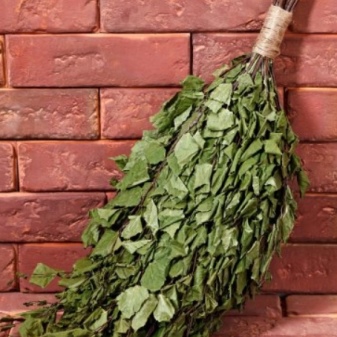
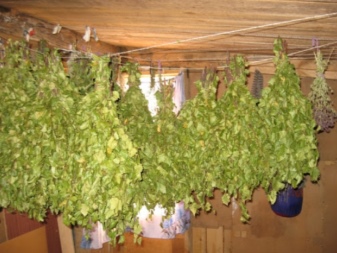
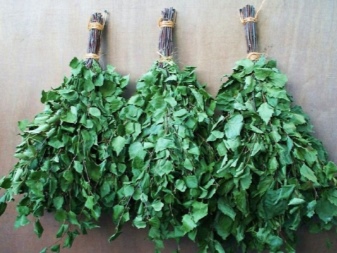
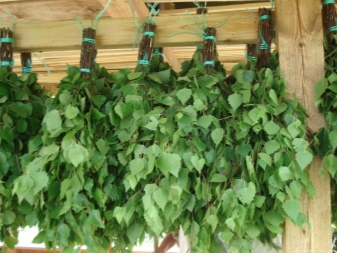
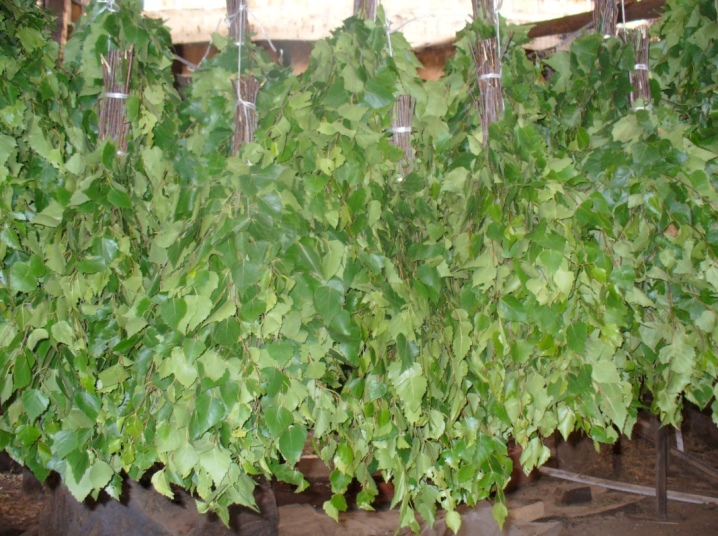
The last step is to hang the associated bouquet with foliage down from the foliage. It is important that the place where the brooms were dried is dry and dark.... Leaves should not be saturated with other odors and should not be exposed to direct sunlight. The best option for placing bundles would be a garage or a shed.
In this position, the products should be stored for two weeks. At the end of this period, they should be removed, after making sure that the brooms are really dry... To do this, it is recommended to tear off one sheet and hold it in your mouth. If it is dry enough, it will taste sweet.

How to store?
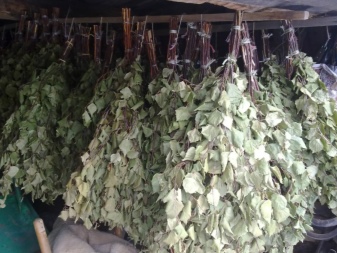
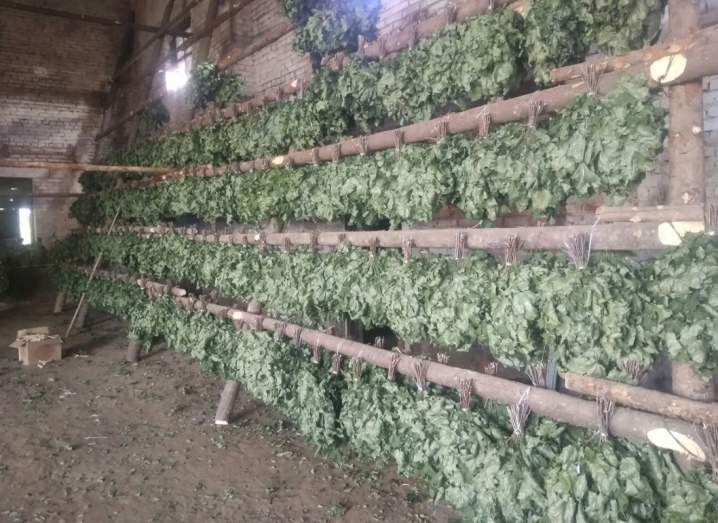
It is recommended to store birch brooms in a dark and dry place. It is desirable that it be cool. The room should air regularly, so that the foliage and bark of the branches are not saturated with various odors. The ideal storage option for these items is a haystack.
The collected bundles must be laid with the leaves inside. The handles of the product should remain outside. Bouquets should be placed in a circle.
The second storage option is the attic. However, it should be practically unlit. You can also store brooms:
- in the dressing room;
- in the barn;
- on the veranda.
An alternative to them is a glazed balcony, but it will have to be additionally pasted over with a dark cloth in order to reduce the amount of sunlight penetrating inside. If this is not possible, you can put the products in boxes.
To ensure quality storage it is recommended to hang brooms on a rope, fastening them by the handle. This will help protect the bouquet from damage and breakage. So that the brooms do not "suffocate" and do not absorb unnecessary aromas, the selected room should be ventilated.
If the storage is not organized correctly, the product will lose its shape, and the foliage will quickly deteriorate and fall off. Such brooms will look ugly and hardly anyone will want to use them, since in addition they will lose their properties.
Common mistakes
It is not always possible to make a broom the first time. If the structure quickly disintegrated, or the leaves fell off in literally two blows during use, then a mistake was made during the preparation of the product or its storage. The main reason for the occurrence of such consequences is the lack of experience or negligence in the procedure for creating a birch broom.
Common mistakes include the following.
- Choosing the wrong time to collect twigs in the forest. You can determine the optimal time by looking at the leaves. If the collection is done ahead of time, the leaves will quickly fall off. Experienced craftsmen recommend choosing a period from mid-June to mid-July. During this period, the tree is only gaining strength and does not bloom.
- Incorrect organization of drying. A bad option for creating a broom would be to dry it in the sun. Brooms should be stored in dark rooms in which the optimum humidity regime is set and constant ventilation is carried out.
- A bunch of raw twigs. After collecting the rods, dry them before knitting. When using fresh or not completely dried twigs, the brooms will acquire an unpleasant rotting smell, and the twigs themselves will become tough, literally turning into bundles.
Before harvesting, you do not need to wash the branches, as many people think. Dust from them will be washed off in the bath during use. In addition, in the bathhouse during the brewing of brooms, they will be additionally disinfected.
In the following video, you will learn how to prepare a birch broom for a bath.


The comment was sent successfully.