How to insulate a metal garage: methods and recommendations
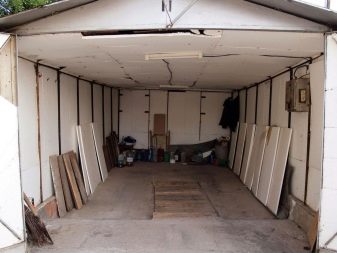
A typical metal garage can serve many useful functions. For the winter, a caring car enthusiast leaves his car in it, someone else stores food here, and someone equips the space for a special workshop. All this can be done on condition that the garage must be insulated.
The optimum temperature for such a room is at least -5 ° C. At lower values, condensation will begin to form on the surface of the vehicle, leading to rust. It will be impossible to work in a box because of the cold, and it will become impractical to store vegetables, they will simply start to rot in the first thaw. In order to keep warm inside the room, it is necessary to select and install a heater correctly.
Heaters
Using traditional metal garage building materials can significantly increase the room temperature.
For these purposes, use:
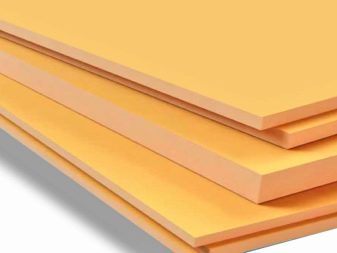
- Styrofoam. This material belongs to the most common type of insulation. It is convenient to work with polystyrene, it is cheap;
- Penoizol. This is the liquid form of the same foam. Penoizol has fire resistance and excellent water resistance. The durability of such a heater is 40 years;

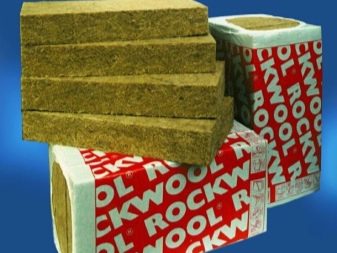
- Basalt wool. Such a soft and inexpensive insulation is also called mineral wool. Minvatoy is often used to insulate garages. And this material is among the leaders in terms of the popularity of its application.
- Polyurethane foam. The durability of this building material is 50 years;
The aforementioned types practically do not differ in quality, a reasonable price determines the demand for all these products.
Having decided on the type of insulation for arranging thermal insulation from the inside of the box, you can proceed to the preparatory stage.
Required tools and building materials
It is better to insulate the garage in summer or spring. Sometimes the situation forces you to carry out work in cold weather, at low temperatures. In this case, it is necessary to insulate the garage quickly and reliably.
You need to prepare the tools in advance in order to use the allotted time productively:
- electric drill;
- building level;
- steel profile;
- welding machine;
- screwdriver;

- self-tapping screws;
- furniture stapler with staples;
- roulette;
- wooden bars for installing lathing crossbars;
- scissors for working with metal;
- protective gloves, special mask.

Preparation
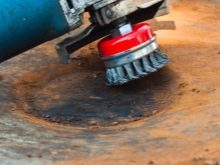
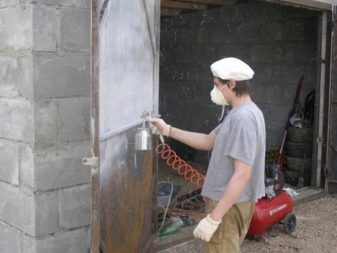
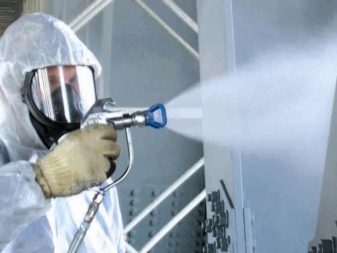
When dealing with the inner cladding of metal structures, first of all, you should take care of anti-corrosion. If there is rust on the surface of the walls, it should be removed with a special metal brush. If necessary, carry out latochny repair of individual areas. Then the surface is treated with an anti-corrosion solution.
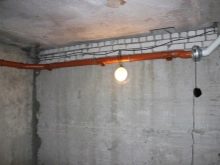
To ensure optimal indoor conditions, you must also create a ventilation system. It will be needed for circulation: the system will take away the exhaust air, replacing it with fresh air. Otherwise, accumulated heavy vapors and gases can cause condensation. Condensation, on the other hand, negatively affects the condition of the supporting structure of the garage, the car and the stored products.
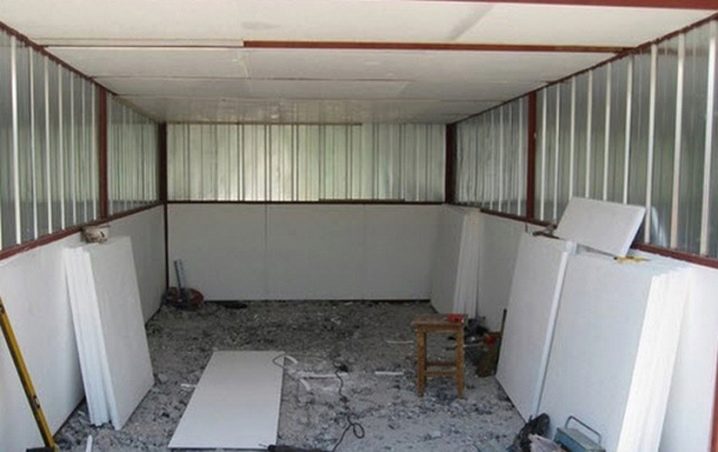
After applying the anti-corrosion solution, it usually takes several days for it to dry completely. After they begin to insulate the box from the inside. You can do this work yourself.According to the rules, to begin with, the walls are insulated, then the roof, the gates, and only then, if necessary, they strengthen the protection of the floor.
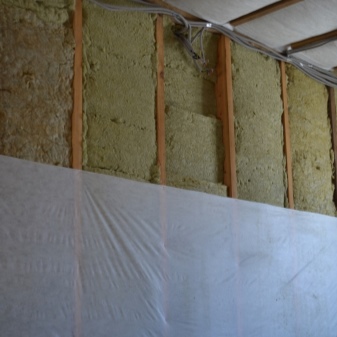
Wall insulation
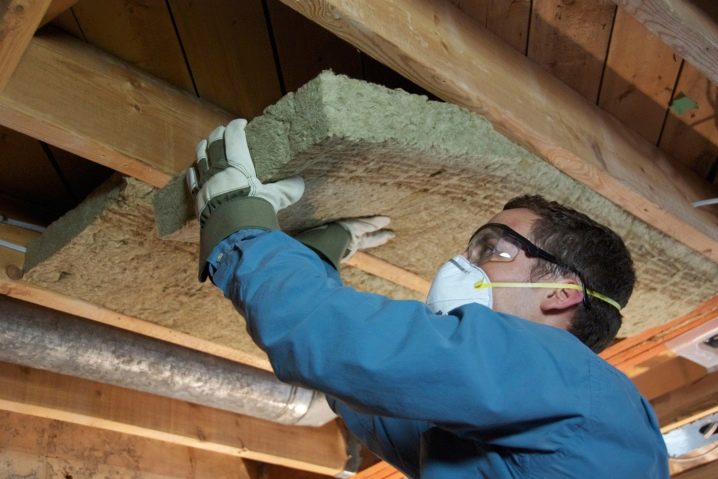
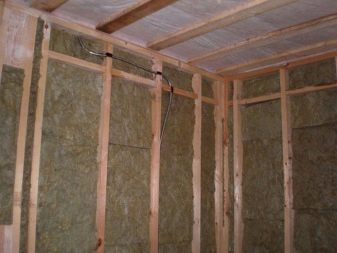
Consider the insulation procedure using an example of the use of such a material as basalt wool.
This type of material has decent characteristics:
- durability;
- preservation of qualities even at high humidity;
- low thermal conductivity;
- mold resistance;
- convenience of working with insulation;
- environmental friendliness;
- refractoriness.
The sequence of sheathing the walls of the garage with mineral insulation:
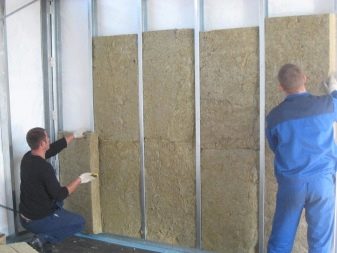
- First you need to determine the location of the crate. The amount of material used will depend on the squaring of the sheathed surface. The steel profile is excellent for the construction of the frame. The use of wood in this case can lead to rapid destruction under the influence of moisture. In addition, the wooden structure can deform when wet.
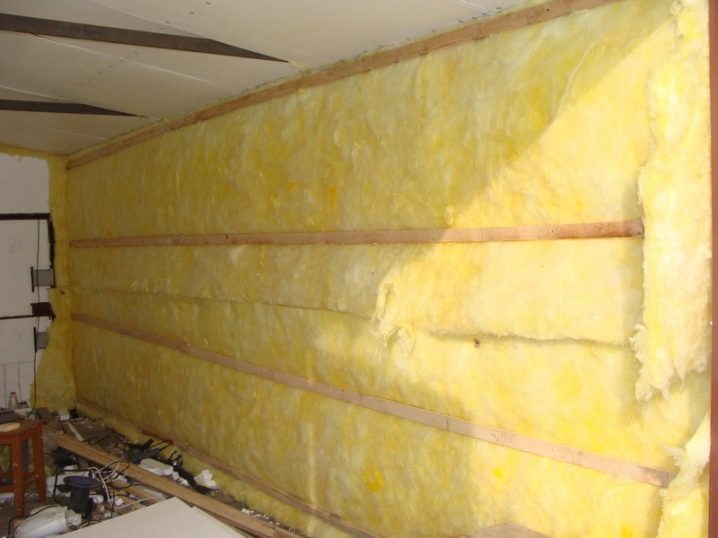
- Start building vertical guides. The gap between the structures should be about 1-2 cm, that is, less than the width of the insulation itself. So the material will completely unfold and take up the space completely. To strengthen the system, they put transverse horizontally every meter, here you can use wooden beams.
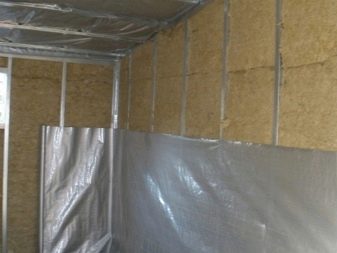
- The already mounted lathing begins to be surrounded by a membrane; another type of waterproofing material can be used. The joints that appear should be glued with tape, the film is attached to staples, for this you can use a stapler.
- You need to lay the insulation inside the resulting sheathing. Begin laying from the bottom. In this case, no crevices should remain.
- A vapor barrier material is applied to the insulation; you can use plastic wrap or roofing material.
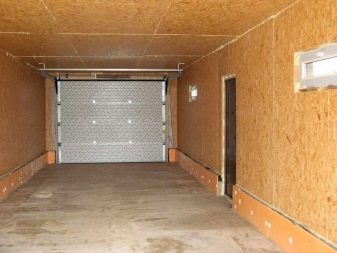
- At the end, the crate is sheathed. The cladding is performed with non-combustible material, for example, drywall or steel siding is used.
It should be borne in mind that when sheathing the box, the space in the room narrows. Accordingly, it is better to choose not very bulky insulation.
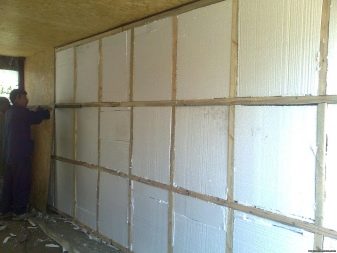
Sheathing the garage with foam, you should take into account the peculiarity of the material. Such insulation will not expand like cotton wool, respectively, it is better to make the gap between the guides a little smaller, for example, by 1-2 cm. It is better to create the crate in separate blocks, the dimensions of each of them should exactly repeat the dimensions of the foam sheets. If there are defects on the walls, then it is better to level the surface before insulation. It is recommended to use an L-shaped profile in the work. Insulation sheets are attached with glue
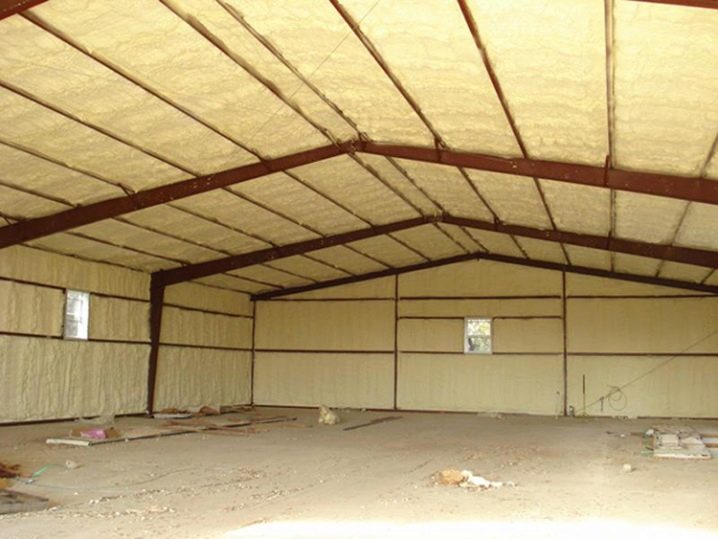
Roof insulation
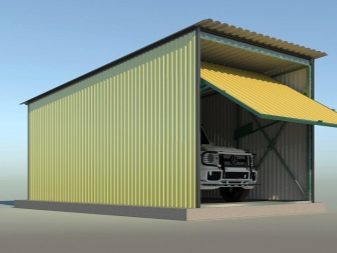
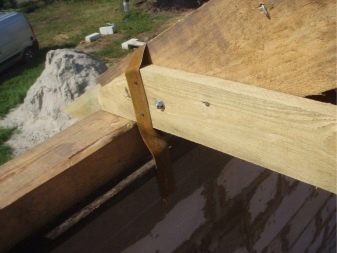
Usually, the roof or ceiling of the garage is presented in the form of a shed structure. This roof design is considered a budget and simple option. The basis for it is the rafters supported by the Mauerlat.
At the stage of its construction
Now let's continue our work. The bars of the Mauerlat are laid over the walls of the box, securing with anchor bolts. It is better to insulate the ceiling of an iron garage at the stage of its construction. In this case, the work will take less effort and time.
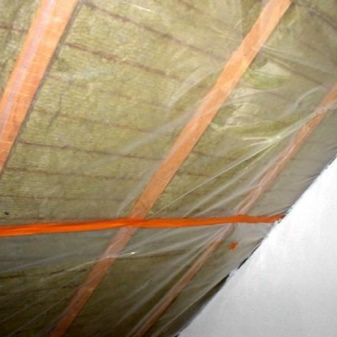
The rafter system is assembled from wooden beams. The section of each bar is 15x15 cm.The rafters are installed at an even distance, the gap reaches - 60 cm.The main reference point in this case is the width of the insulation plates, according to the standard, this size reaches 61 cm. ...
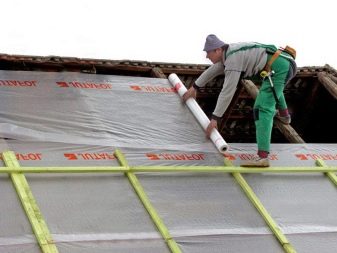
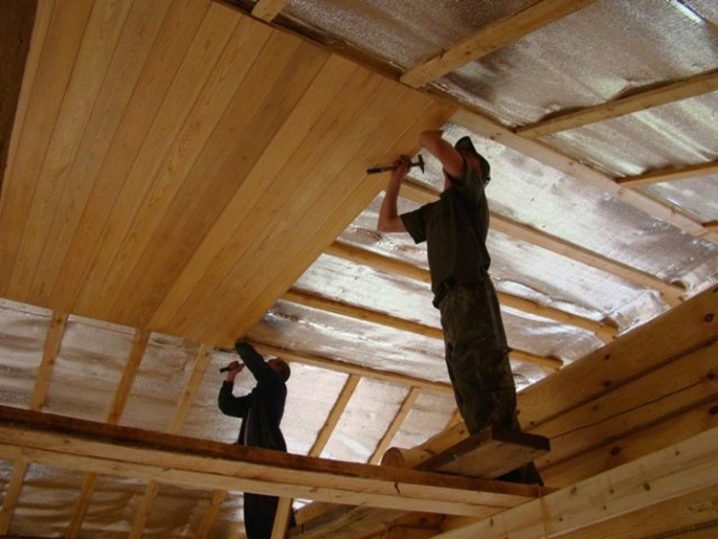
The next step will be the arrangement of the vapor barrier layer. For this, you can purchase special membranes that are excellent for these purposes. They are attached to the rafters with staples, buttons. The existing joints are glued with tape. From the inside of the building, the vapor barrier is sheathed with the selected material. Here you can use fiberboard or lining. This is an individual solution for every garage owner.
The cladding is attached very carefully, it is necessary to monitor the tightness of the vapor barrier. Damage or defects that appear during operation should be repaired immediately. To do this, you can use a sealant or tape.

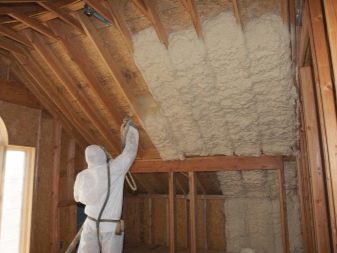
Insulation is placed between the rafters. It is better to choose mineral wool for such work. Usually, the use of insulation with a thickness of 15 cm is considered sufficient. The thermal insulation layer can be increased if necessary.
Then they carry out the standard technology for arranging the roof. First, the crate is made. The installation procedure depends on the characteristics of the roofing used. After that, waterproofing is laid on the crate and the work is completed by laying the finishing material.
Thermal insulation after the construction of the garage
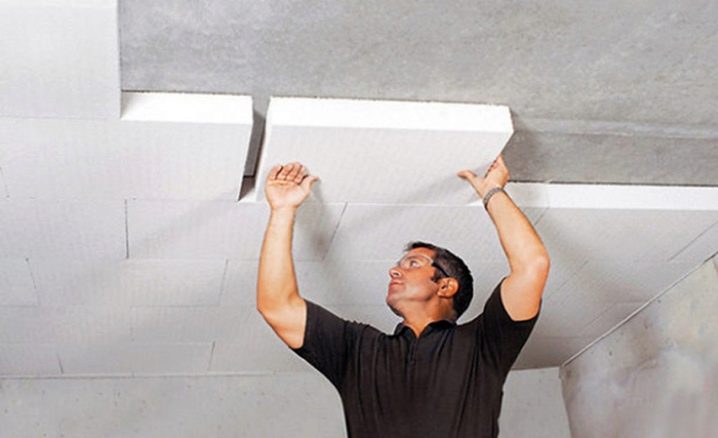
The work on arranging the thermal insulation of the ceiling, carried out after the construction of the garage, is slightly different from the process of insulating the roof during the construction of the box. In this case, the thermal insulation is laid between the rafters, a vapor barrier film is laid on top, and at the end the structure is sheathed with any suitable material.
Certain inconveniences may arise in the process of fixing thermal insulation boards. To eliminate the inconvenience, it is enough to simply fix the insulation in order to avoid the fall of the material before the finishing sheathing begins. It is necessary to fix strips of waterproofing, vapor barrier material to the slings so that they prevent the insulation from falling.
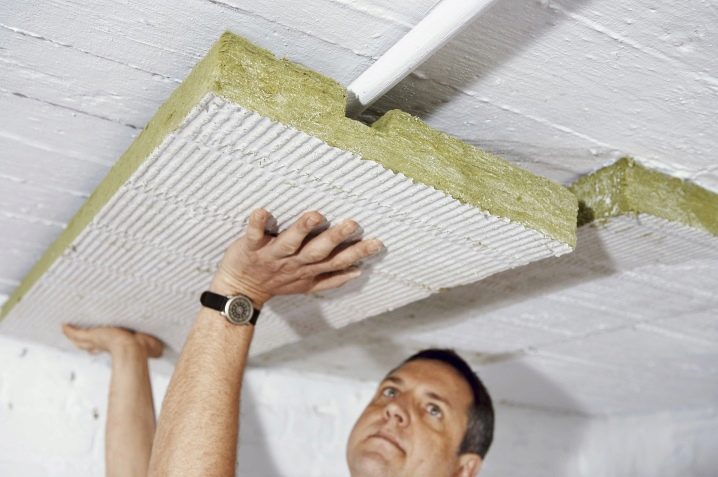
It is considered inconvenient to work with the use of rigid materials, therefore, it is better to sheathe the ceiling of the garage with foam. At the same time, there should be no holes outside and inside on the roof surface. If there are holes in the ceiling, they must be removed by welding. Foam at the time of insulation is placed between the vapor barrier and waterproofing material.
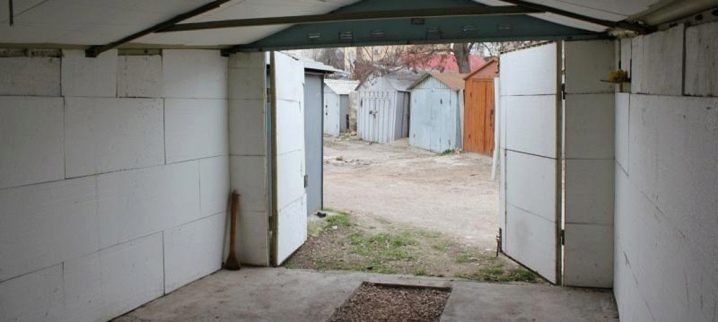
Entrance trim
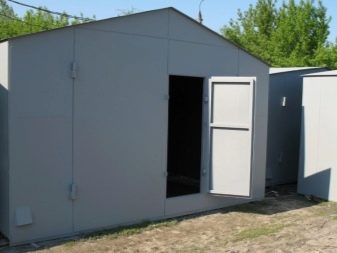
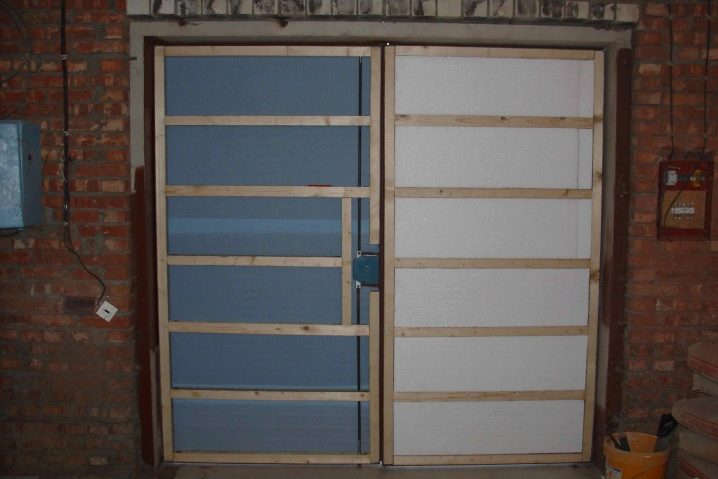
If cold air enters through the slots in the entrance gate of the garage, there is no benefit from insulating the inner walls. Laying hard insulation such as expanded polystyrene will help to solve this problem. First, the gates are insulated, and then the front door.
Sequencing:
- The metal surface of the gate is treated with protective mastic. Such material as expanded polystyrene is not afraid of the negative effects of moisture. Only when opening doors, snow or raindrops can sometimes penetrate into the crevice, finding themselves between the insulation and the metal sheet. This should not be allowed.
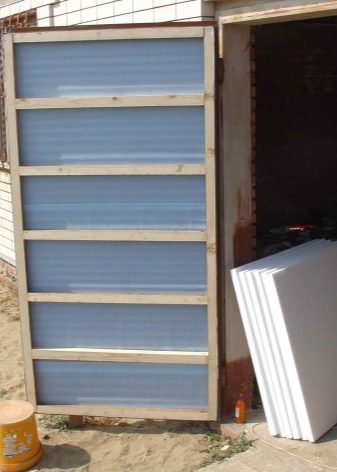
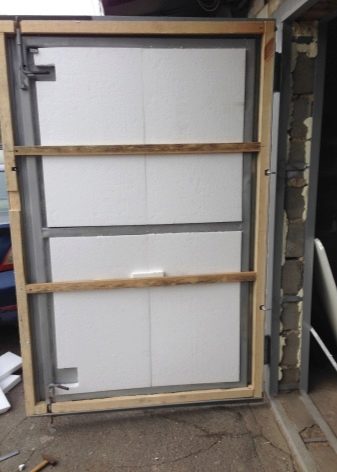
- Sheathing profiles are fixed along the entire perimeter of the garage door.
- Next, the layers of polystyrene are fixed on a special glue. It is better to apply penofol made from foil to insulation sheets.
- Next, a lathing of wooden beams is performed, which is necessary for the subsequent installation of the cladding. The gap between the cladding material (drywall, lining or other) must be kept within 30 mm. This space is necessary to create an air gap.
- After fixing the cladding to the crate, the same work is carried out with the door.
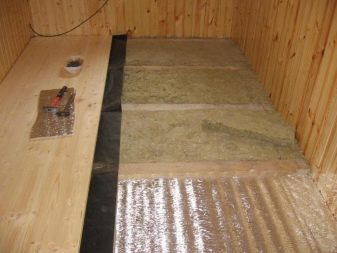
Floor insulation
In rare cases, there is a need to insulate the garage floor. For example, if there are large cracks in the floor of the box or a basement. In this case, polystyrene is considered the best for floor insulation; on top of it you can lay material that will prevent the destruction of the insulation when a person moves.
You need to do the following:
- Level the surface of the floor by covering the existing holes and cracks with putty.
- Apply a double coat of primer to the concrete floor.
- Prepare and install the steel profile lathing.
- Install a waterproofing layer.
- Apply glue to the waterproofing material, lay out the foam sheets with pressure to the surface.
- Screed the floor with a special mortar. Extracted granules are added to increase the strength of the coating.
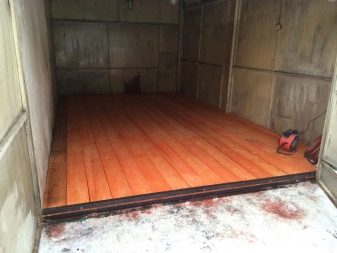
All the work described above will help create and maintain a normal microclimate inside the garage for a long time. By the way, even a person without experience can insulate the garage. Such work is within the reach of a beginner. The result will be an insulated room, inside which a car, food or other valuable items will be safe.
For information on how to insulate a garage, see the video below.


The comment was sent successfully.