How to make a "potbelly stove" for a garage?
For most car enthusiasts, the garage is a favorite place to spend their leisure time. This is not just a place where you can fix your car, but also just spend your free time in good company.
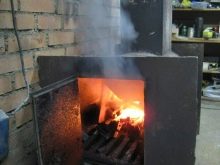
Working in a garage in winter is extremely inconvenient, and just being in it is quite uncomfortable due to the low temperature. Therefore, many owners install homemade stove-stoves in such premises, which warm the room very well.
Advantages and disadvantages of "potbelly stove"
Such ovens have a number of advantages:
- With the help of a potbelly stove, you can not only warm up the room, but also cook food on it.
- The main plus of the potbelly stove is the speed of heating the garage. Once fired, it takes only half an hour to warm up the entire garage, while brick ovens take several hours.
- The heat in the garage is evenly distributed, no matter which part of the room the oven is located in.

- When firing up the stove, you can use absolutely any combustible materials (firewood, coal, waste, engine oil, and so on), which makes a stove-stove a rather economical heating option, unlike electric heaters.
- You can make such a stove with your own hands from scrap materials, without much effort and time.
- Simple and straightforward device.
- The cost of this is several times less than installing a fireplace or stone stove.
Disadvantages of a potbelly stove:
- When placing a stove-stove in the garage, you need to think about diverting the chimney system.
- Sometimes you have to clean the chimney.
- To maintain heat, you must have a certain supply of heating materials.
- A metal stove-potbelly stove is not able to keep heat in the room for a long time, since the metal tends to cool down quickly.
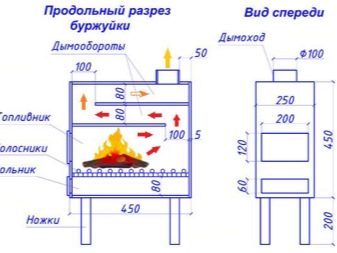
Design
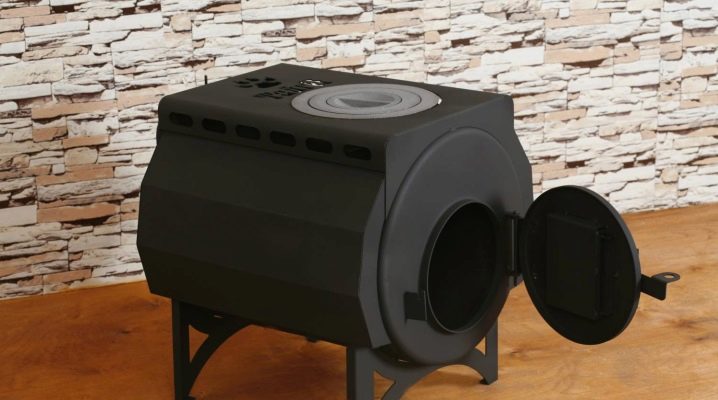
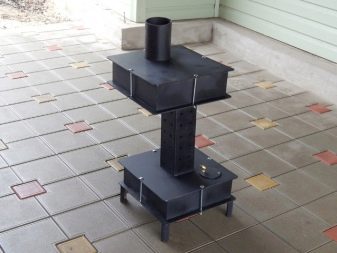
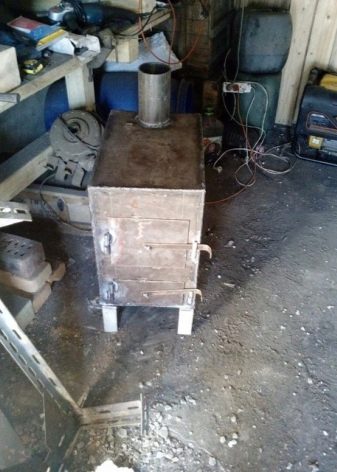
The device of the stove-stove is extremely simple. For such a furnace, the construction of a foundation is not required, there are no big difficulties with the arrangement of a chimney system. The standard stove-stove system consists of the stove itself, which is an iron box with an opening door, and a pipe that leads out into the street.
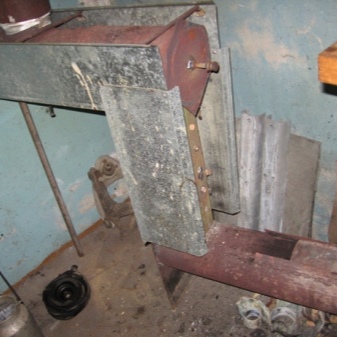
To increase the efficiency of the furnace, it is worth increasing the area of the heat-conducting surface. For this purpose, it is best to make a heat exchanger.
This design is located in the place of the greatest heat and will help to significantly increase the efficiency of the stove.
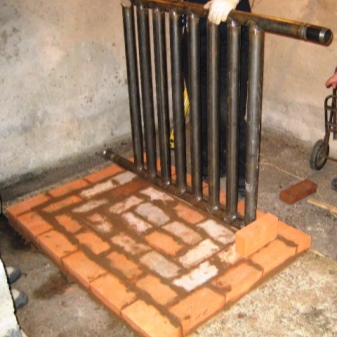
Potbelly stoves with a water circuit, which include radiator batteries in their device, are slightly less popular.
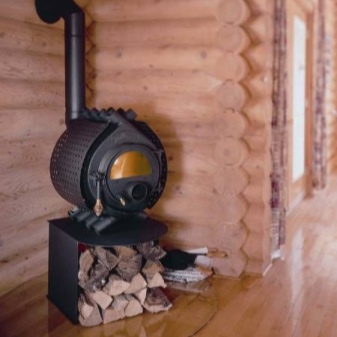
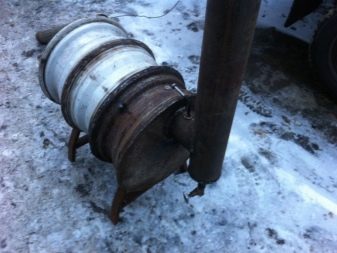
And among most garage owners, a stove made using wheel disks is very popular.
DIY making
There are many different variations of garage stoves, which can be quite simply constructed on your own from the materials available.
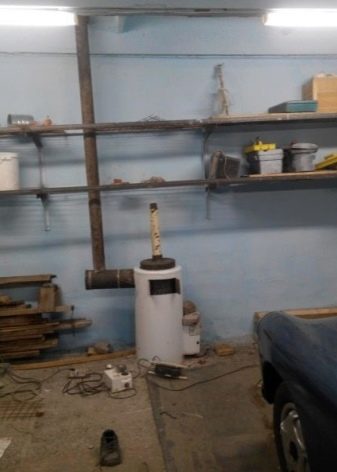
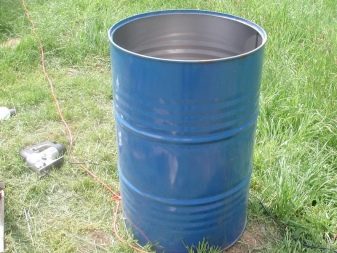
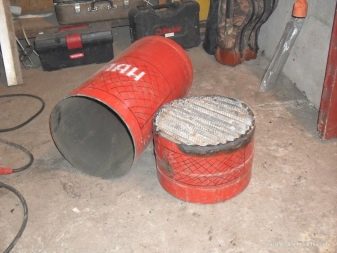
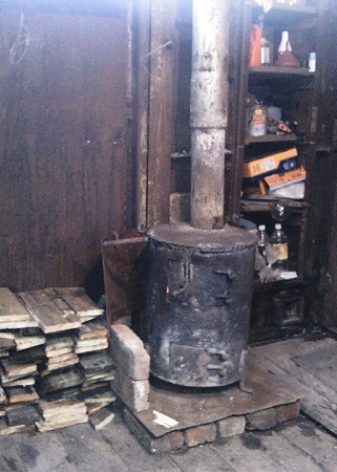
The most popular and popular model of a potbelly stove is a stove made from a metal barrel. This is an extremely simple design, which is a barrel on legs with a door. Such an oven is quite well suited for waste disposal. The main advantage of such a furnace is its simple manufacture. But such a potbelly stove has several disadvantages.
The walls of the barrel are thin, and it is unlikely that it will be able to serve for a long time, since the walls can quickly burn out. Also, the disadvantage is the bulkiness of such a design, which will take up a lot of space in the room.
You can make a stove from a metal can. There is even less work here, since the can already has a door that can be used without modification.
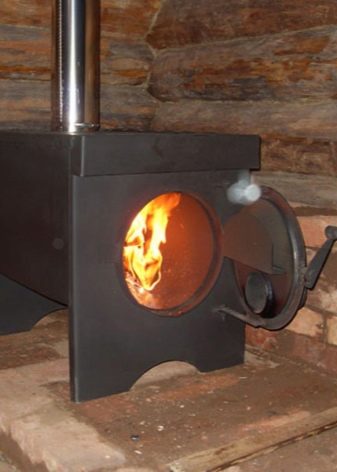
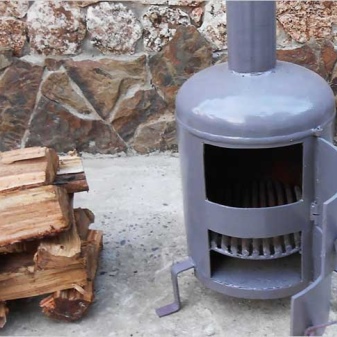
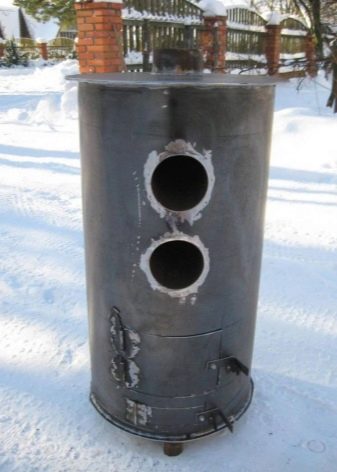
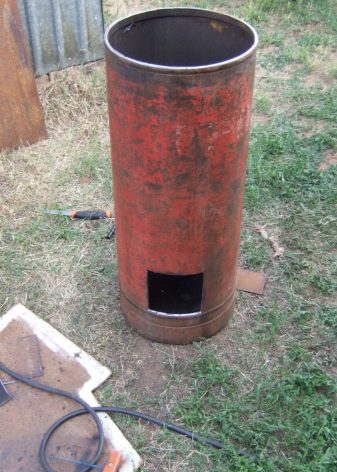
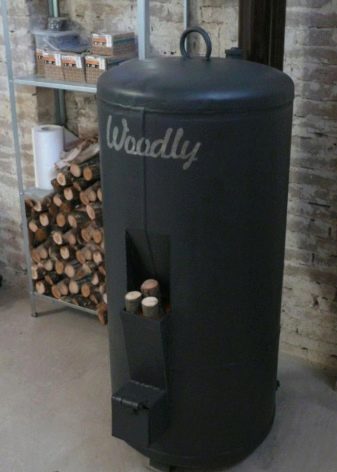
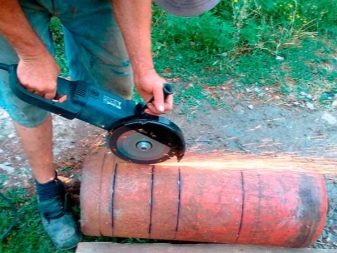
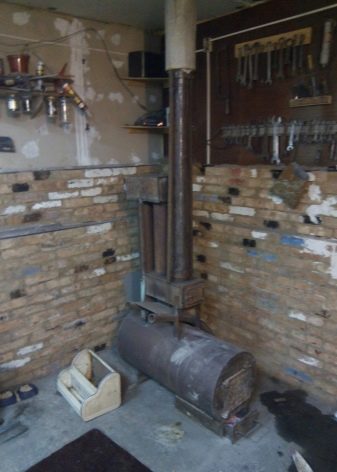
Another popular option for making a potbelly stove is a gas cylinder. Such cylinders have a fairly good level of heat capacity and thick walls, allowing the furnace to serve for a long time. It must be remembered that the gas cylinder must be prepared in accordance with the fire safety rules before proceeding with the manufacture of the potbelly stove. It is extremely important to remember that such a cylinder may contain the remainder of explosive vapors.
For fire safety purposes, it is strongly recommended to fill this container with water and leave it overnight.

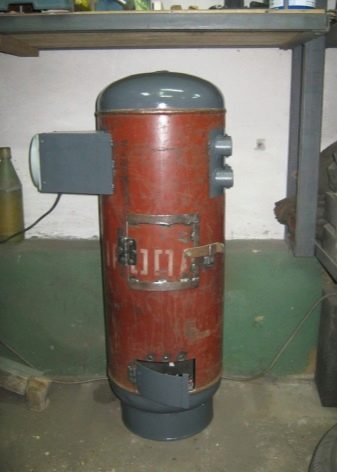
When doing this furnace with your own hands from a cylinder, it is worth weld to it in the lower part of the blowing system, and in the cylinder itself, drill several holes that are connected to this system.
Let us consider in more detail the stages of making a furnace from a gas cylinder.
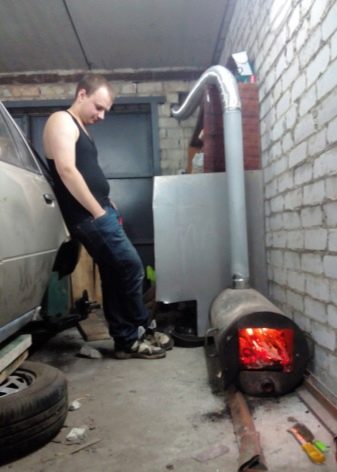
When using a potbelly stove in a garage, it is extremely important to follow fire safety rules. Therefore, it is necessary to choose the right place for installing the oven. To put the stove, the garage corner, which is located near the walls opposite to the door of the room, is very suitable.
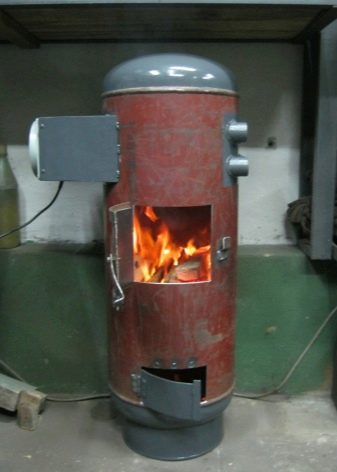
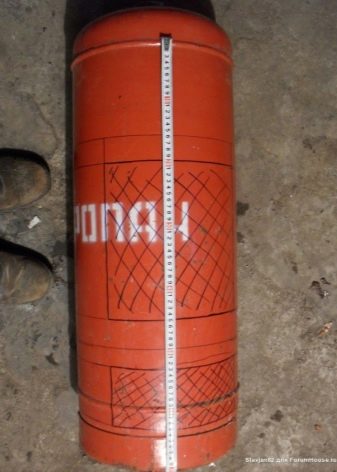
- First step. It is best to make a preliminary drawing and calculate the dimensions of the future product. But such a furnace is quite simple to manufacture, you can do without it. Next, it is worth making markings on the product. Using a felt-tip pen, the contours of the future doors, blower and combustion system are applied to the cylinder body. The compartment with the firebox will be located approximately in the center of the structure, and the blower will be placed at the bottom. The distance between them should not exceed 100 mm. Next, a marker draws a solid line in the center between the doors, and then you should cut the balloon along the marked line using a grinder.
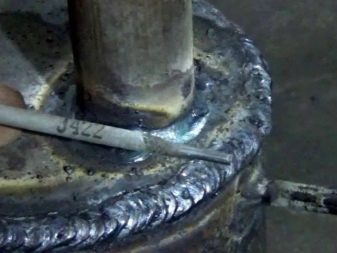
- Second phase. It is necessary to take iron rods with a diameter of about 14-16 mm. Then weld a lattice from them and fix the resulting structure by welding to the bottom of the cylinder. And then the balloon is welded again into one structure.
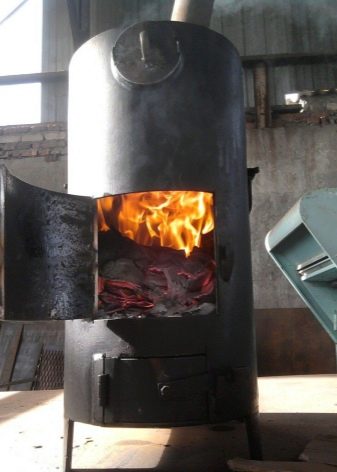
- Stage three. It is necessary to cut openings for the combustion compartment and openings with pressure, and then the doors are attached to them with hinges.
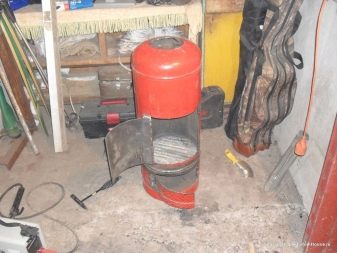
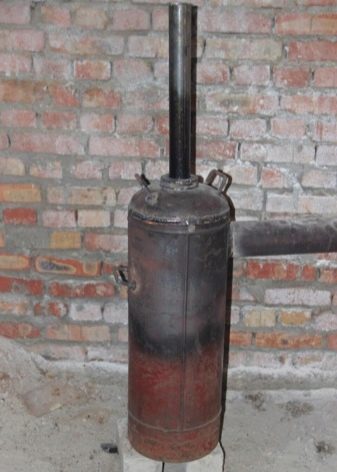
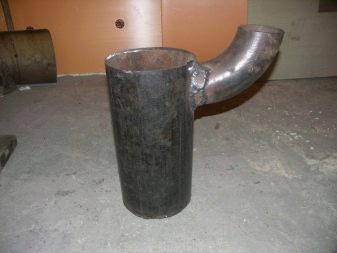
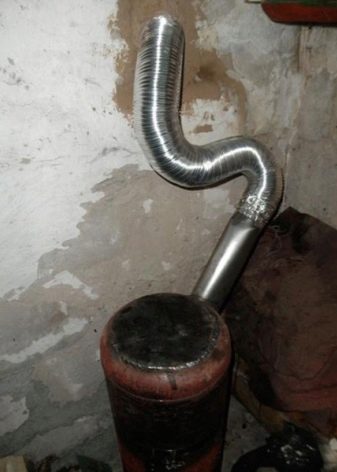
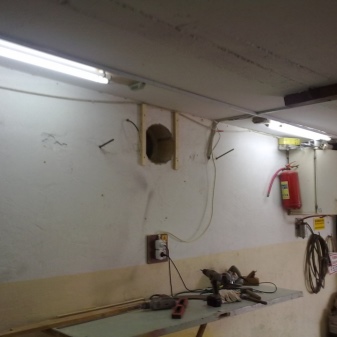
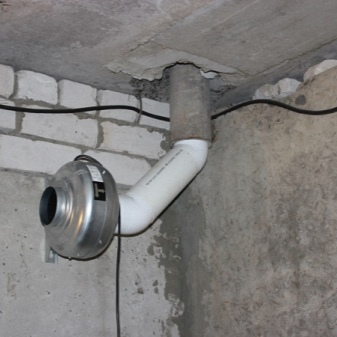
- Stage four. At the final stage, it is worthwhile to work hard on the installation of the chimney, since this is a very important part of the stove device. For these purposes, using a grinder, you need to cut off the valve on the cylinder, welding in its place a long metal pipe with a diameter of 9-10 cm.The chimney itself should be taken out of the garage through a hole in the wall or onto the roof. It is not necessary to connect the chimney with the general hood of the room, because its draft may not be enough, ventilation will not cope, and carbon monoxide will penetrate into the garage.
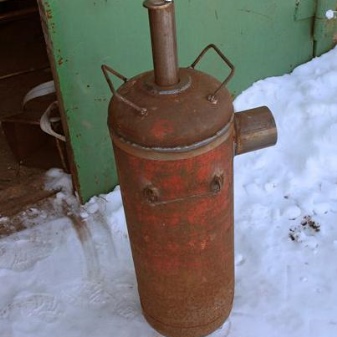
And this is all pretty simple instructions for making a stove-stove on your own from an ordinary gas cylinder.
Also, at the end of this work, you can apply an additional heat-resistant compound to the furnace.
What to drown with?
It is not always possible to have a constant reserve of firewood in the garage in order to heat the stove. Sometimes this is extremely inconvenient. But working off is available for almost every garage owner, and finding it is not difficult.
The design of stoves-stoves and their device are presented in very diverse options. - from compact stoves, which are used in small rooms, to voluminous and heavy systems with a high level of heat transfer, which can warm up large rooms.
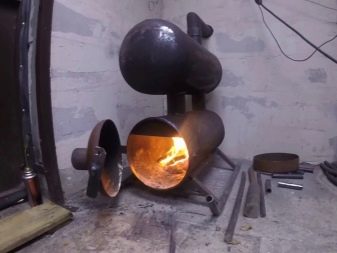
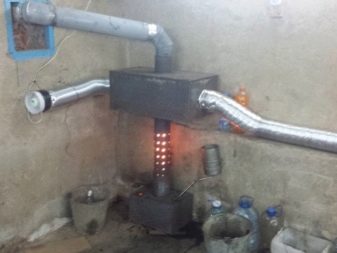
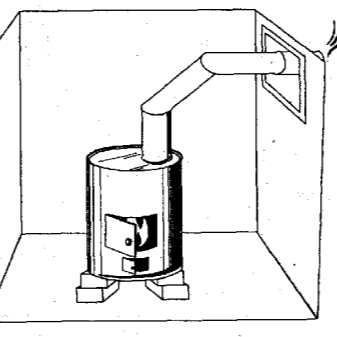
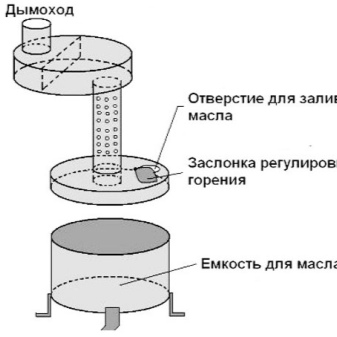
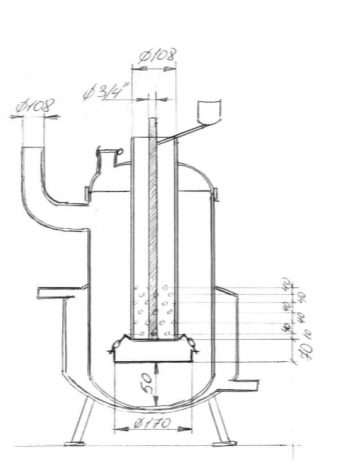
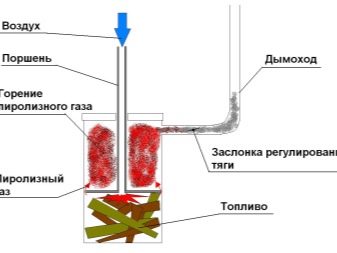
However, the mechanism of action itself and the main elements of the device are similar for most furnaces. They are usually built in two compartments. The lower compartment is intended for pouring waste oil into it. After that, there is carried out its surface ignition and bringing to a boiling state.Further, oil vapors enter through a pipe, which is perforated to provide it with oxygen. And then the process of igniting oil vapors itself takes place, and the complete process of their oxidation and combustion is carried out already in the upper compartment, which has a connection with the chimney system.
The scheme for a stove stove, which works according to this scheme, is simple. It is quite possible to make it yourself.
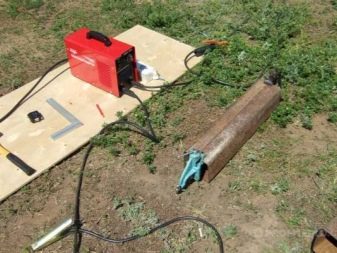
Among the tools for making a furnace with your own hands, you can use:
- welding;
- Bulgarian;
- chisel;
- sledgehammer;
- tape measure, felt-tip pen;
- hammer;
- puncher.
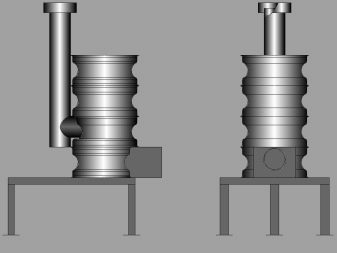
After all the tools have been selected, it is necessary to proceed with the selection of material for the future furnace. First of all, you need to find two pieces from the iron pipe for the body of the lower and upper compartments. Often this is a diameter of 352 mm and 344 mm, but it should be borne in mind that these sizes simply do not exist. Therefore, it is worth slightly adjusting the indicators by using pipe cuttings of 355.6 × 6 mm or 325 × 6 mm.
Work can begin by designing the lower compartment. To do this, weld the bottom to the trimming of 355 mm pipe with a height of 115 mm. It should be carefully cut around the circumference.
Each seam in the stove device must be completely sealed.
How to install?
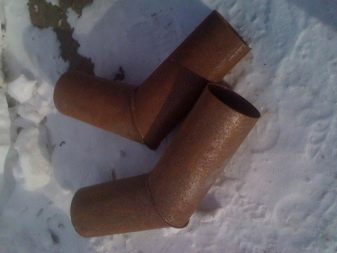
Experts with experience recommend placing the stove stove approximately in the corners of the room, and leading the chimney to the other side. By using this arrangement, you can achieve maximum heat transfer from the furnace. To prevent the heat from escaping along with the smoke, the pipe should be extended at an angle of 30 degrees. You should also try to avoid straight pipe sections located horizontally.
To place a stove-stove in a garage room, a supply ventilation system and a good exhaust system are required.
The oven should never be placed close to the vehicle. The potbelly stove should be at a distance of 1.5, or even 2 meters from it. Also, any highly flammable objects and compositions must be moved from the stove to an approximately similar distance.
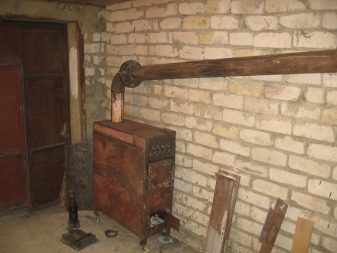
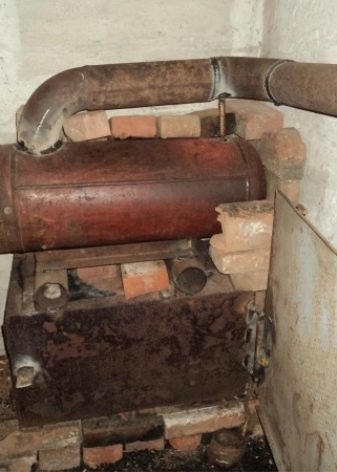
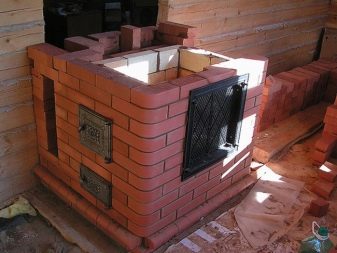
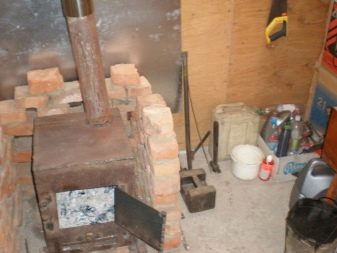
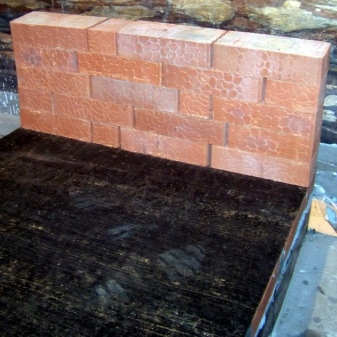
Brick walls should be installed on the sides and in front of the oven. This not only provides protection against unintentional touches to the hot structure, but also ensures the accumulation of heat, which is provided by the stove, which makes it possible to significantly increase the efficiency of the stove-stove.
If the walls of the garage are made of wood, then there should be about 100 cm of free distance between them and the stove itself. The wooden walls themselves must be covered with asbestos sheets, bricked or protected with some other fire-resistant means.
It is extremely important to place an iron sheet up to two cm thick at the base of the stove, or pour a concrete screed, which will help to avoid the spread of fire in the event that sparks, coals and so on fall out of the stove.
The potbelly stove should be used exclusively in rooms where good ventilation is provided. The main fire factor is oxygen. Therefore, fresh air must enter the garage in good volumes, otherwise the fire simply will not ignite, and there will be a minimum of heat from such a stove. Sometimes it is quite enough for this purpose to leave a not very wide gap between the garage door and the ground. If there is no such gap, then you must either make it yourself, or make a supply ventilation system.
In no case should you leave flammable materials near the stove.
If there is wood, containers with gasoline and oils next to a burning stove, then their ignition can lead to extremely negative consequences.

Helpful hints
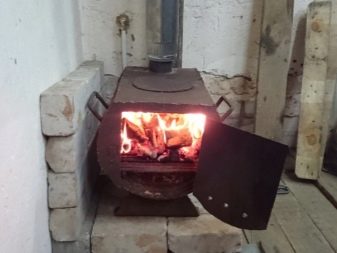
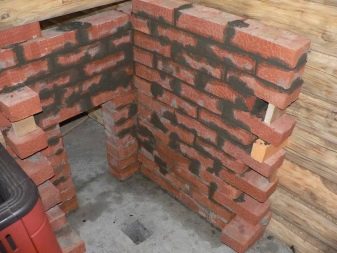
The main disadvantage of a potbelly stove is its rapid cooling. But this minus is quite simple to fix with a brick screen, which must be installed on three sides of the heater. Such a screen accumulates heat and the garage room will remain warm even when the stove stops burning.
It is recommended to place a brick screen at a distance of five to seven cm from the walls of the stove. In no case should it be installed right next to the oven. You also need to provide ventilation holes in the screen.
The weight of a furnace with a brick screen is quite large compared to conventional stoves. In this case, it is advisable to set aside a small concrete foundation for it.
It is not so difficult to fill an individual foundation on your own.
It is recommended to perform this type of work in the following stages:
- To begin with, it is worth digging a recess, the depth of which will be about 50 cm. All other dimensions will depend on the dimensions of the stove and the brick screen.
- Next, fill the bottom of the groove with sand (this requires about 3 to 4 buckets), and then the surface must be carefully tamped. Then the sand is covered with a layer of gravel and also compacted. The layer should be about 10-15 cm.
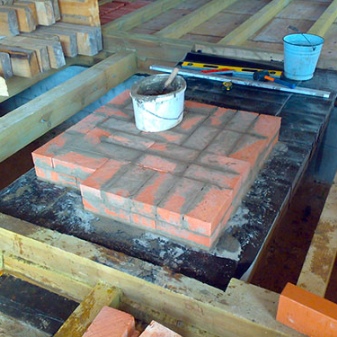
- The resulting surface must be leveled as much as possible, and then filled with a pre-mixed cement solution. The poured surface is left for a day to allow the solution to harden (for reliability, it can be left for a couple of days, which will allow the foundation to completely harden).
- After the mixture has solidified, it is worth covering the foundation with several layers of roofing material.
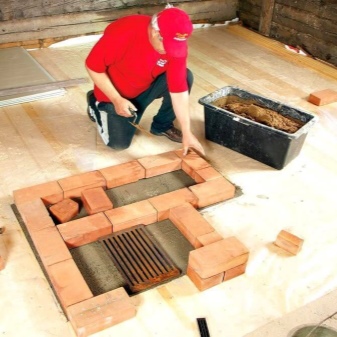
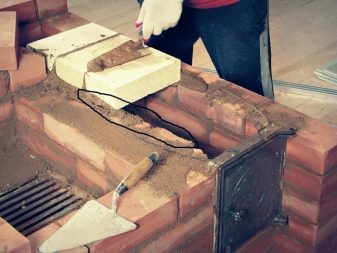
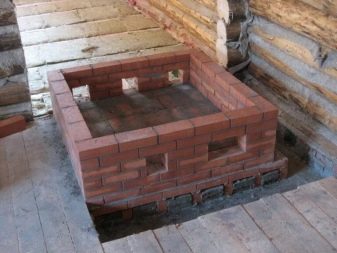
After these steps, you can start laying out the brick screen. It is worth remembering that the first two rows of bricks must be laid out with continuous masonry directly on the roofing material layer. Ventilation holes can already be made in rows 3-4 of bricks. Then re-lay the bricks with continuous masonry.
Many craftsmen advise installing a brick screen without an overlap. This will help improve heat dissipation.
Tips for Proper Cleaning of the Stove Stove
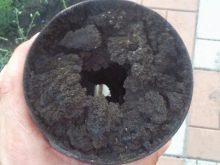
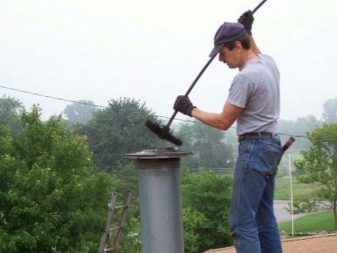
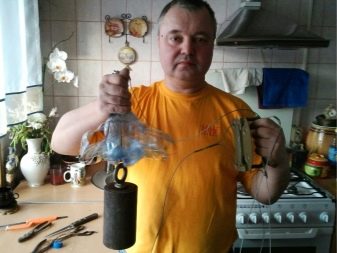
A big plus of such a stove is that its design allows you to clean it not so often. Nevertheless, it is necessary to do this periodically so that soot residues do not accumulate in the chimney, and also nothing would interfere with the free exit of smoke through the chimney. If the potbelly stove smokes, then it is urgent to start cleaning the pipe. For such purposes, a special pipe brush is best suited. By the way, you can make it yourself. You just need to attach a cylindrical brush to the end of the rope. A brush with plastic or iron bristles works best. The main thing is to choose a brush of the right size so that it can easily enter the narrow chimney pipe and not get stuck in it.

The actions for cleaning the pipe themselves are carried out in the following stages:
- Before cleaning, the hole leading to the firebox should be closed and additionally covered with a rag.
- To begin with, you should make several forward movements with a brush.
- Then you need to get out all the debris that falls to the sump.
- This work should be done carefully so as not to damage the integrity of the pipe.
A do-it-yourself stove-stove perfectly helps to give warmth to the garage in the winter. And making it yourself is very economical and does not require much effort.
To learn how to make a "potbelly stove" with your own hands, see the next video.


The comment was sent successfully.