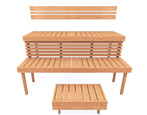
Bath benches: types and do-it-yourself manufacturing
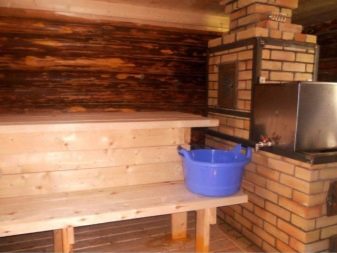
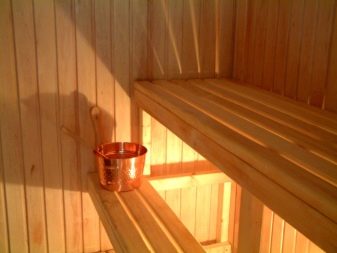
A bathhouse on your site is the dream of many. Benches and benches in this design occupy an important position, they weave decor and functionality together. You can make such a structure yourself. So the bench in the bathhouse will become a real pride of the owner.
Purpose and types
The bench can be portable or stationary. The size of the structure depends on the dimensions of a particular village bath. A parameter of 60-70 cm is considered a universal height.If a multi-tiered structure is made, the distance from the ceiling to the top point of the bench should be at least 1.2-1.3 m.
Most often, portable benches are smaller than stationary counterparts. There are many factors to consider when choosing the type of shop. The purpose, the size of the room and the expected number of visitors matter. By the type of construction, the benches are divided into several types.

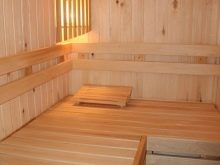
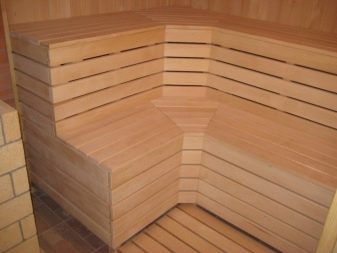
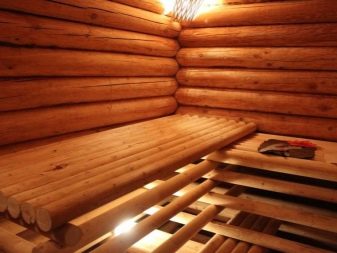
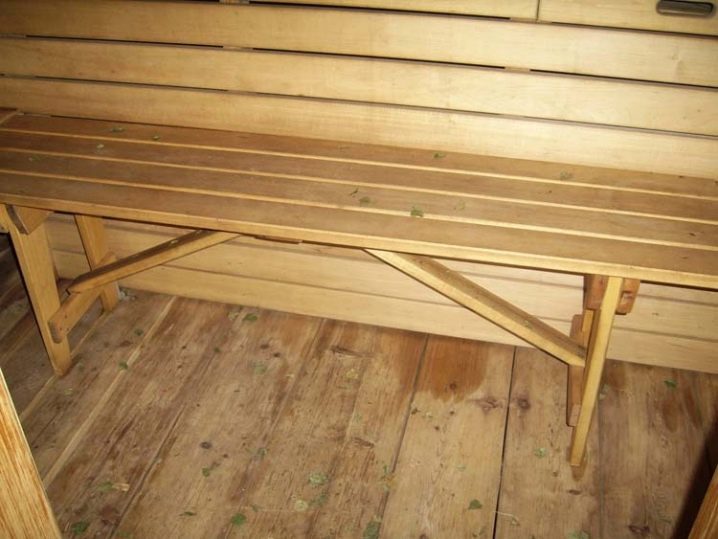
Single-tier
Most often these are mobile structures for small steam rooms. This option is very convenient - you can easily move the product to any place. You can take the bench outside for drying or minor repairs. This design can be flat (linear) and angular. It is great for changing rooms. The single-tier bench is easy to manufacture and not picky to care for. This is a great crafting option for beginners. To make it yourself, you will not need special skills.


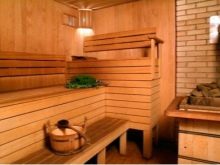
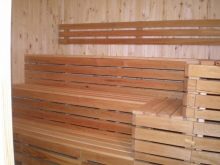
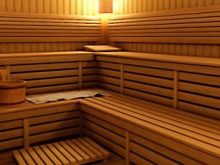
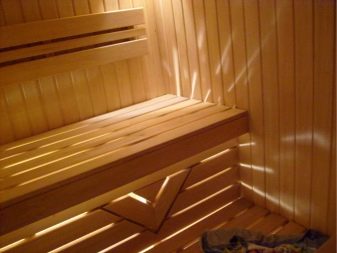
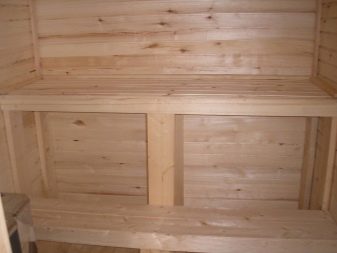
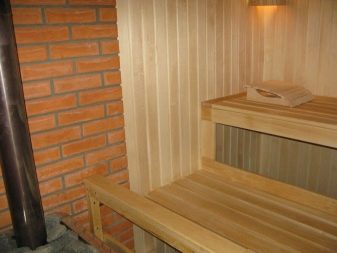
Bunk
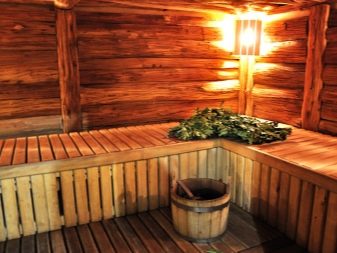
Such a bench can be placed in a larger sauna. Usually the width of such a bench allows a tall adult to lie quietly. A special ladder is provided for access to the second tier. Such benches are installed along blank walls without windows and ventilation holes. If you do otherwise, drafts will arise.
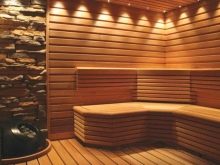
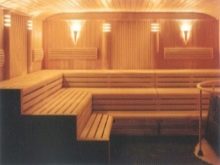
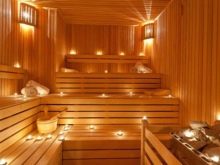
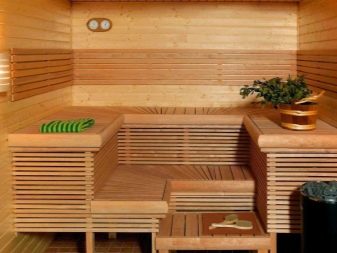
Three-tiered
These designs are designed for rooms with large dimensions. It is important to maintain the proper distance from the upper bench to the ceiling. Such a bench is relevant in a steam room: you get the opportunity to choose the desired air temperature (it is hotter on the highest bench). The middle tier is made stationary, the other two - mobile. The distance between the tiers should be at least 1 m. The lower bench is made smaller (up to 60 cm wide and no more than 95 cm long). The rest of the tiers of the structure can be larger.
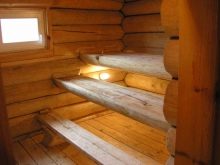
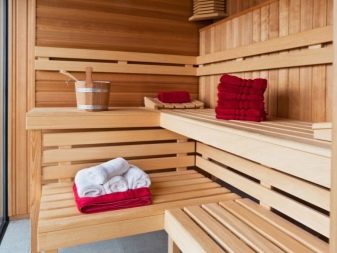
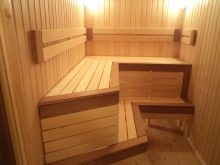
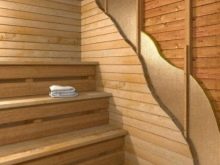
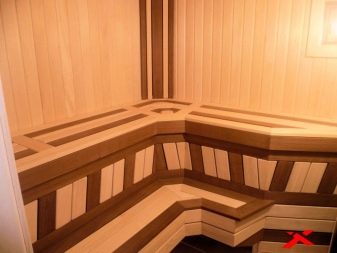
Stepped
This model is designed specifically for rooms with small dimensions. The lower part of this structure is usually used as a step. You can sit on it, you can climb higher with it. The upper tier should be large, it makes it possible for an adult to lie down.
Requirements
The construction of a bench for a bath is a responsible task. There are special requirements for the benches and the wood you will be working with.
We list the requirements for the material:
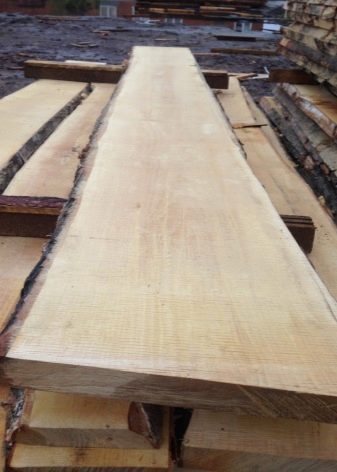
- The wood fibers must have a high density, otherwise the product will crack during operation.
- Low thermal conductivity required. Wooden benches should not get very hot, otherwise burns will remain on the skin.
- The moisture resistance of the material allows you to increase the life of your bathroom furniture.
Now let's figure out the requirements for the homemade benches themselves:
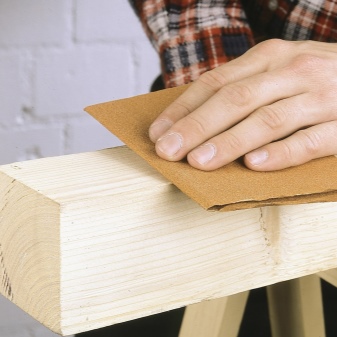
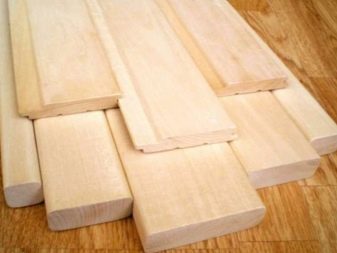
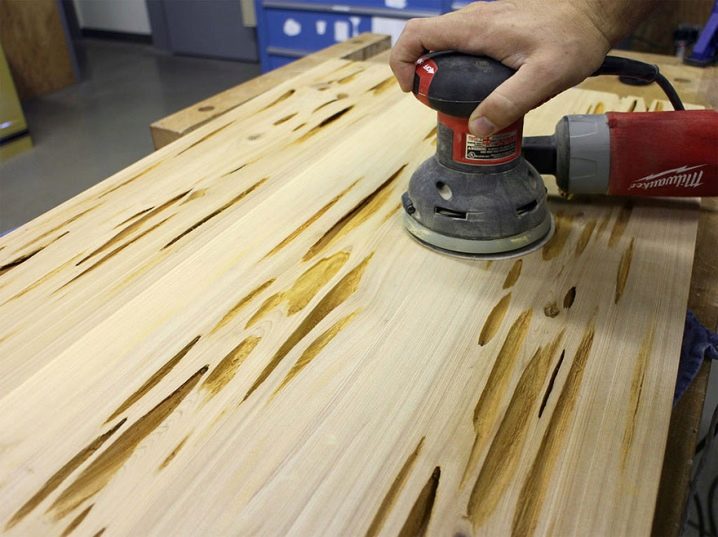
- All bars and boards must be carefully sanded using sandpaper of different abrasiveness or a special machine.
- Be sure to round off all the corners of the benches and shelves.
- The high strength of the furniture is a guarantee of safety. The bench must support the weight of not one adult, but several.
- Be careful with antiseptic impregnation. Synthetic compounds are not suitable here. They will release toxins when heated. When buying raw materials in a store, study the range of natural-based impregnations.

- The space under the bench is not sewn up for optimal drying of the wood.
- The structure must not be placed close to the wall. Be sure to indent about 10 cm.
- The use of varnishes and paints is strictly prohibited.
- Place stationary and mobile structures only near blank walls.
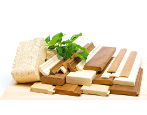
Material selection
It would seem that it could be easier than choosing a material for a future structure. It seems to some that even coniferous varieties are quite suitable for making benches. In fact, this is not the case. When heated, resin will appear on the surface of the furniture, which can cause burns. Such wood options are suitable exclusively for a washing room or recreation room, but not for a steam room.
Aspen also seems like a good option. However, during operation in humid conditions, such a bench will begin to rot from the inside. Oak is really suitable for making structures, although quality material is decent. Consider the classic varieties of trees for furniture in a steam room.
Linden
High density (500 kg / cm3) allows the material to withstand the effects of high temperatures, such furniture does not overheat. In the process of warming up, this wood releases useful elements into the air. Linden is easy to handle and malleable. However, it also has disadvantages. You cannot do without pre-processing the wood before making a bench. If you neglect the preparation, the material will accumulate moisture and begin to deform, and then completely rot.

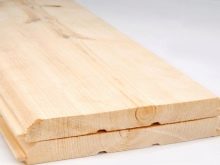
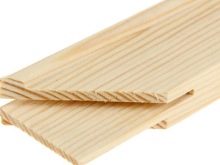
Pine
From the point of view of the price of rhenium, pine is considered the most profitable material. Look for good quality specimens. The wood should be free of a variety of knots, blueness and tarry pockets. Unfortunately, all the main advantages of the material at an affordable cost and come to an end. Pine has a low density, so such a product will not last long. Changes in temperature and humidity levels will lead to deformation and cracking.


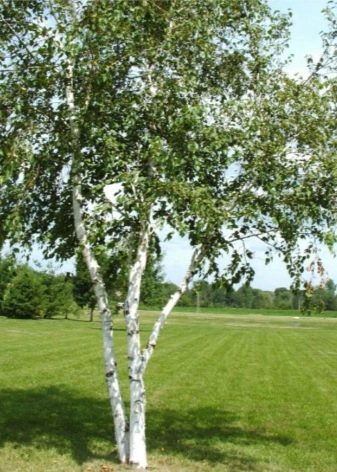
Birch
It is heavy wood with a high density (600 kg / cm3), which allows the bench to not react to changes in moisture. The thermal conductivity of birch is at an average level, but there will be no burns when the bench is heated. The material has good toughness and does not deform during operation. It is easy to handle: it is malleable. For a steam room with birch benches, it is important to ensure good ventilation.
For the manufacture of a bench, you can also use more outlandish types of wood.
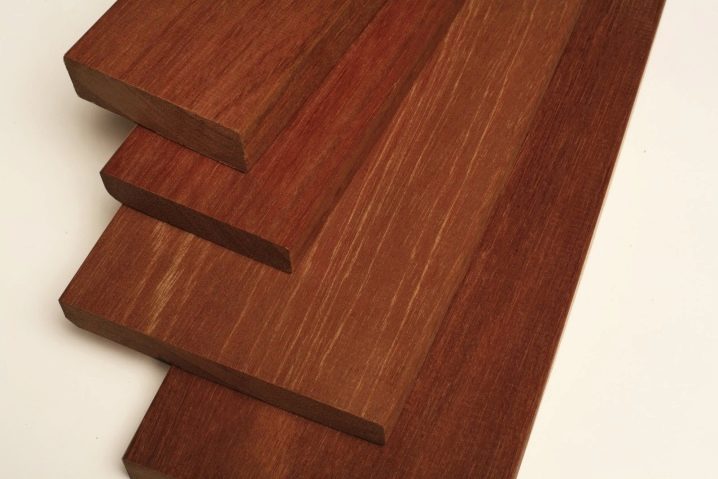
Meranti
Red wood has a high obesity (610 kg / cm3). This material is distinguished by its density and high weight, due to this you will never encounter overheating of the bench. This design will be resistant to temperature changes and humidity levels. This tree has no knots and is characterized by low fiber, making it easy and pleasant to work with.
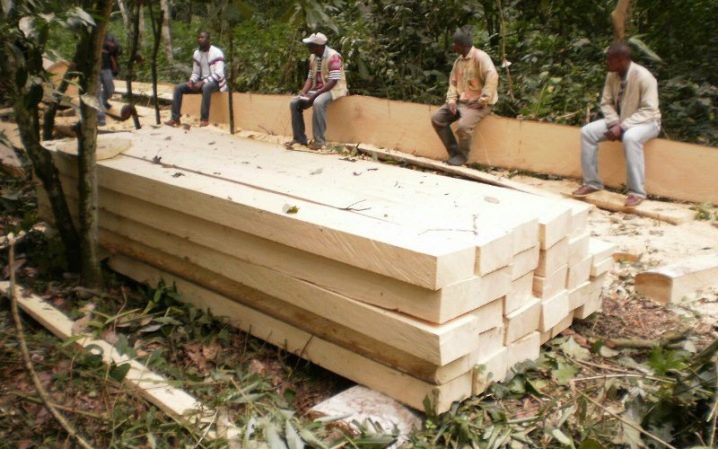
Abash
This is really ideal for making a bath bench. The porous structure of the material has no moisture and no tendency to accumulate moisture. The density of the material is quite low (only 390 kg / cm3), but it does not heat up even with significant heat in the steam room. It is not hard to guess that such wood is expensive. This is mainly due to the delivery of raw materials from Africa.
Manufacturing
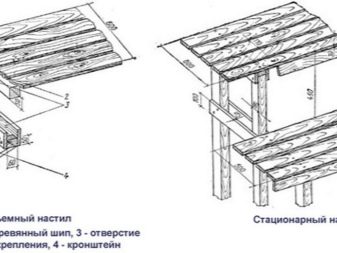
It is quite possible to refine the bath yourself. A do-it-yourself shop is the pride of the master. Depending on your skills, you can make a simple or bunk bench. With a certain skill, you can cope with the second option without any special skills, following the instructions. In any case, you will need a diagram and drawings.

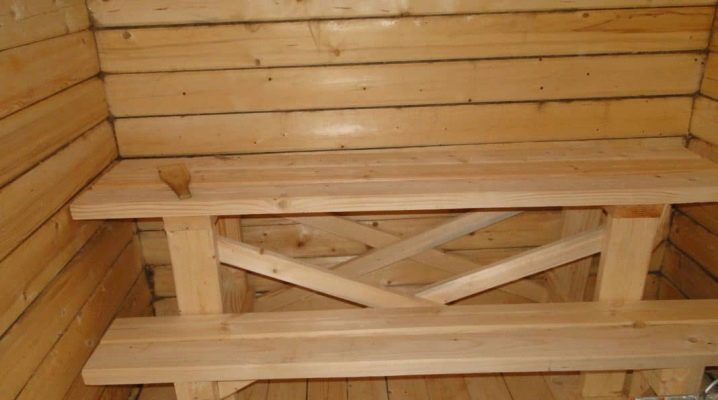
Simple shop
If you are an aspiring carpenter, it makes sense to make a small mobile bench. In the course of work, you will acquire minimal experience, then you will be able to cope with more complex and intricate designs. First, make a diagram indicating all dimensions (height, length, width).
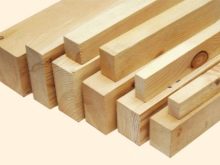
For manufacturing, you will need self-tapping screws, as well as sanded ones:
- boards 150 × 20 × 5 cm - 2 pcs.;
- bars 5 × 5 cm - 2 pcs.;
- slats 10 × 2 cm - 2 pcs.
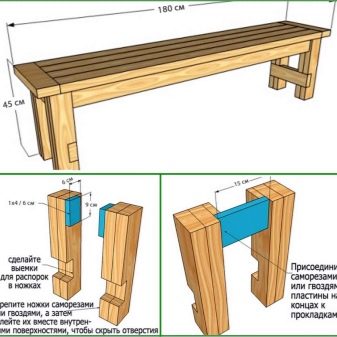
Consider the stages of work.
- Divide the first block into 4 parts of 50 cm each - these are the future legs.
- Divide the second block into 4 pieces of 41 cm each - these will be horizontal racks.
- Make 2 frames. To do this, fasten the legs using self-tapping screws with stands at the top. Fasten the lower part of the rack from the inside at a height of 5 cm from the floor.
- Fix 2 planks sequentially on the frames using 4 self-tapping screws. Leave the gap between the elements about 1 cm. Fasten the self-tapping screws from the inside or deepen into the wood by 0.5 cm, cover with putty (otherwise, when the screws are heated, they will leave burns).
- Fix thin strips on the lower crossbar for better stability of the structure.
When making a shop, according to all the rules, self-tapping screws with a screwdriver are not used. There are special wooden pins that are driven into the prepared holes. This technique is difficult for beginners, but you need to know about it.
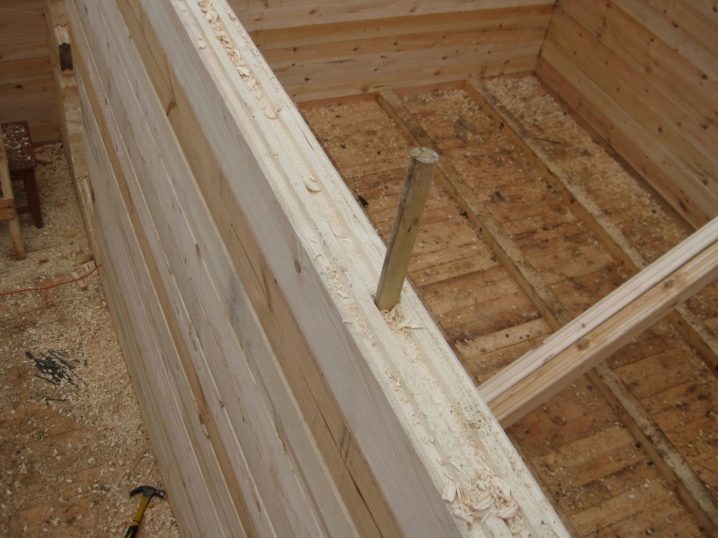
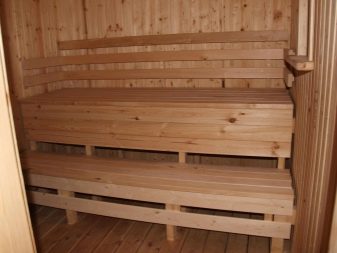
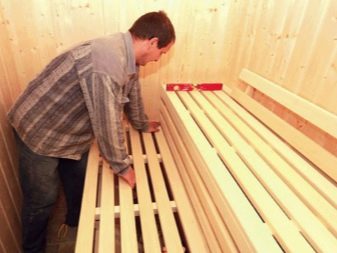
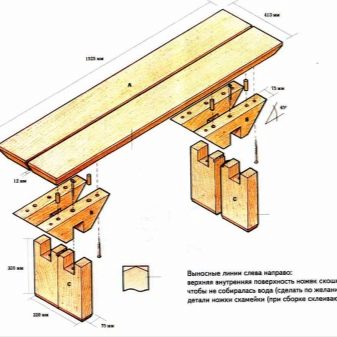
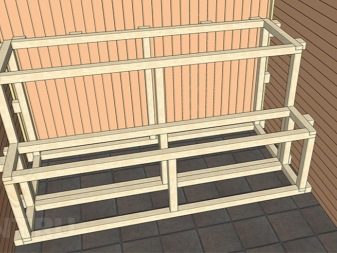
Bunk bench
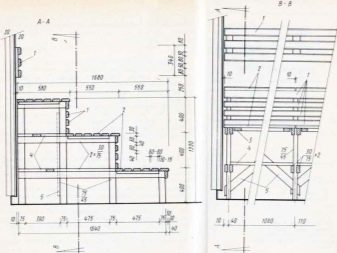
For the manufacture of such a structure, you will need a drawing. This is the only way to take into account every little thing and insure yourself against altering the bench. It is much easier and more pleasant to work with such a blank.
Let's consider how to make a structure 3 m wide, 3.6 m long and 2.4 m high.
- Install a 50 × 70 mm timber frame near a long blank wall.
- Sand 12 blocks of 110 cm and 6 blocks of 90 cm for the top shelf.
- For the bottom shelf, sand 6 blocks of 140 cm and 6 blocks of 60 cm in length.
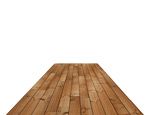
- Seats (flooring) are made of boards of approximately 20 × 120 mm, their length should correspond to the length of the wall.

- For free drainage of water and ventilation, leave 1 cm gaps between the boards.
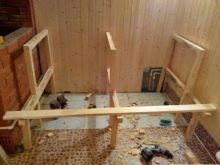
- For a transverse ligament between the posts of both shelves, it is necessary to prepare 3 beams.
- For the upper tier, knock down the racks in a U-shape, connect with two boards. Attach the structure to the wall using 5 × 5 or 10 × 10 cm bars.
- Knock down the racks for the lower tier in an L-shaped manner. Combine the long sides with the uprights of the upper tier. Connect the lower racks with boards.
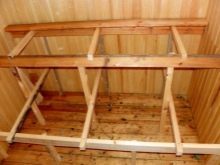
- The frame has been completed. Now lay the planks on the tiers. To connect, use convenient fastening methods (the best option is wooden nails).
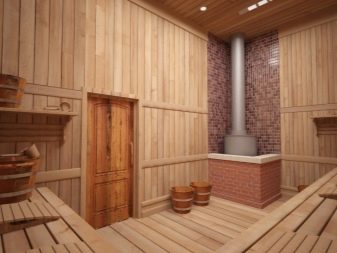
Accommodation
It is better to think about where the shop will be at the construction stage. In this case, you can put it rationally. Place a bench against a blank wall. The absence of windows and ventilation holes will eliminate the draft. The benches must not be placed close to the stove. First, you may get burns. Secondly, you violate fire safety rules.

Care Tips
Making furniture for different rooms of the bath with your own hands is not only interesting and responsible. You are responsible for the reliability and safety of the structure, the service life of the bench depends on you.
Be sure to take into account the recommendations of experienced professionals.
- Boards must be sanded to perfect condition. Take the time to round the corners to avoid injury and splinters.
- Oil-based varnishes and paints must not be used. When heated, such agents release toxins into the air, which can harm the body, lead to irreparable health problems.
- Conifers are not the best choice for furniture in a steam room. These secreted resins are useful, but they can cause burns if they come into contact with the skin.
- Try to work with wood fasteners. You will need some knack for this, but the result is worth it.
- Ventilate the steam room after bathing procedures. This will protect your furniture from the occurrence of fungus, extend the life of the bench.
- Leave free space between the bench and the floor to help the moisture evaporate better. This is an excellent prevention against wood decay.
- Be sure to leave at least 1 cm of space between the boards. This will significantly extend the life of your bench.
How to make a bench in a bath with your own hands, see the next video.


The comment was sent successfully.