We build a sauna in the house with our own hands
For many, the dream of their own bath or sauna in the house remains a dream. The reason for this can be both high construction costs and the complexity of placement in a small house or apartment. However, today it is possible to build a small sauna even in a small bathroom.
Peculiarities
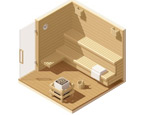
The home sauna is a wooden cabin with good heat and vapor barrier, while owners of private houses can organize a spacious sauna in their own basement. Before starting any construction work, it is necessary to develop a planning project, make all the necessary calculations and drawings. The project is most often drawn up during the construction of an entire building, therefore, when remaking one of the existing rooms of a house or apartment, it will be enough to draw up a sketch. There is also the option of buying a ready-made booth, in which case you can simply use the instructions that come with it.
Style and design
First, you need to determine the number of people that a home sauna should simultaneously accommodate. You should also consider whether the allotted space is generally capable of coping with the task of comfortably accommodating so many people. There are different options for arranging saunas, and choosing the right type often helps to make the most of even a small square of the home bathroom.
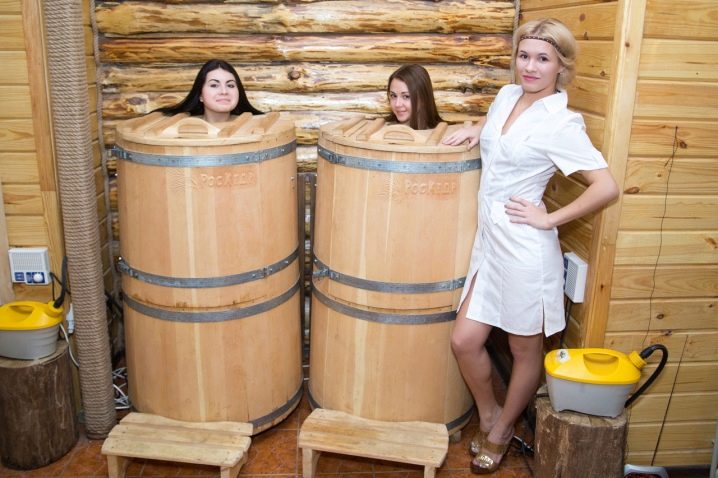
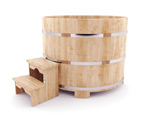
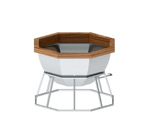
- Sauna barrel Is a barrel-like design with a small seat for one person and a head hole in the lid. This is a great solution for those who do not like to breathe hot and humid air. These saunas are often found in small spas and hotels.
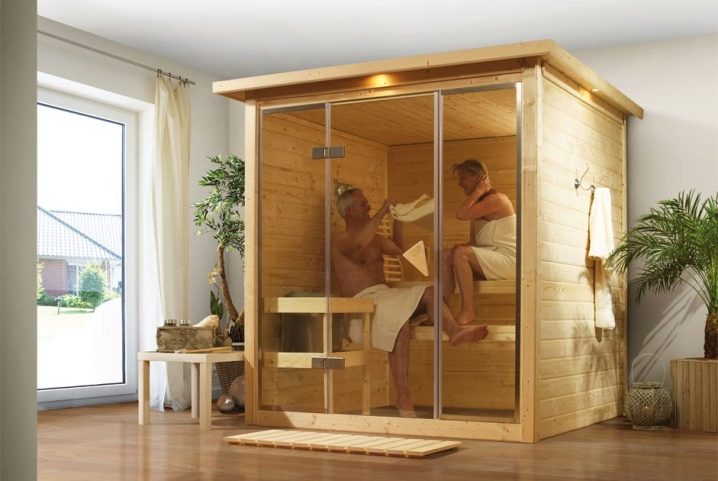
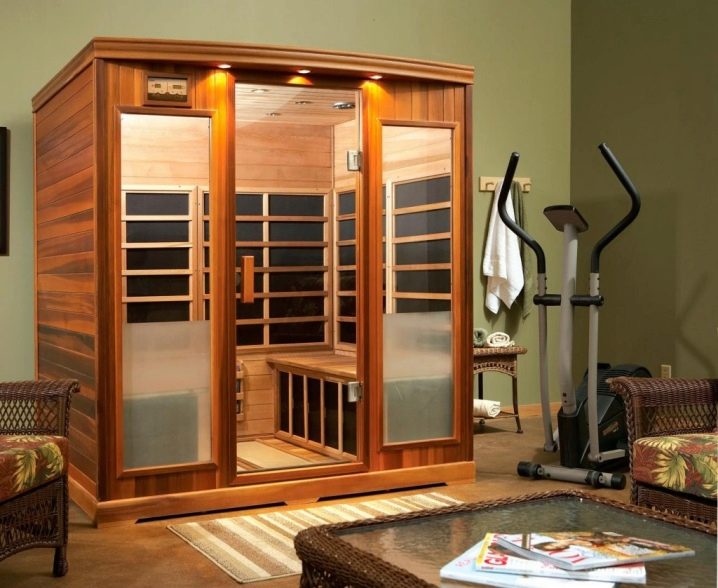
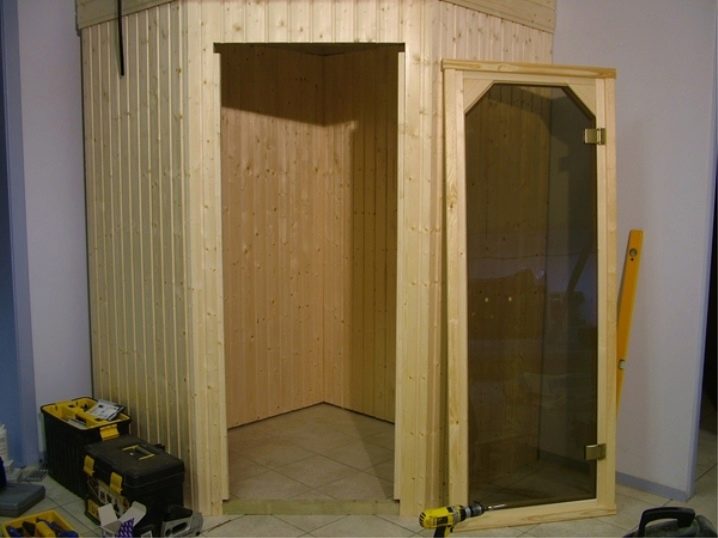
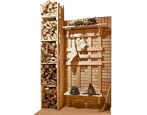
- You can purchase sauna cabin for two people maximum. The advantages of such a cabin are its low cost and ease of installation, because such a sauna can be installed in a bathroom or even a living room. The main condition is the gap between the top of the cab and the ceiling, which is necessary for the ventilation to function properly. Even if the dimensions of the bathroom are very modest, you can put a sauna cabin, more like a narrow tall cabinet made of wood with a glass door, replacing the massive bathtub with a small shower cabin.
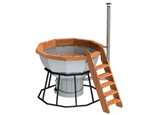
- Sauna with pool fits perfectly into the basement of a private house. Firstly, it is much easier to mount the pool itself on the basement of the building, and secondly, the dimensions of such a sauna are large enough for any room in the apartment.
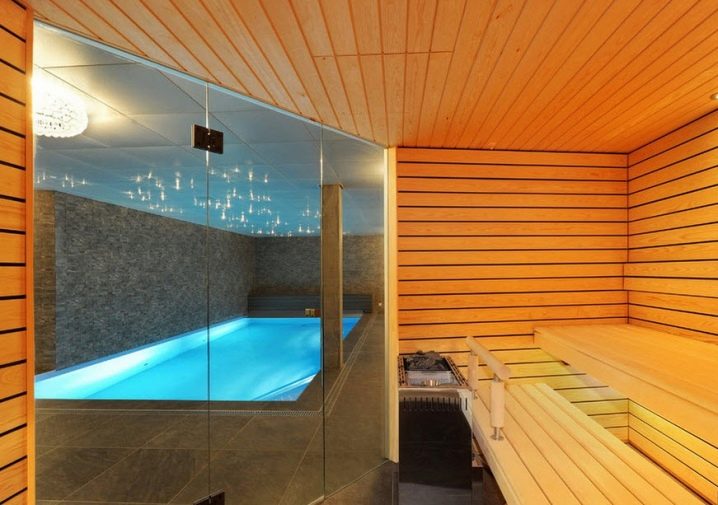
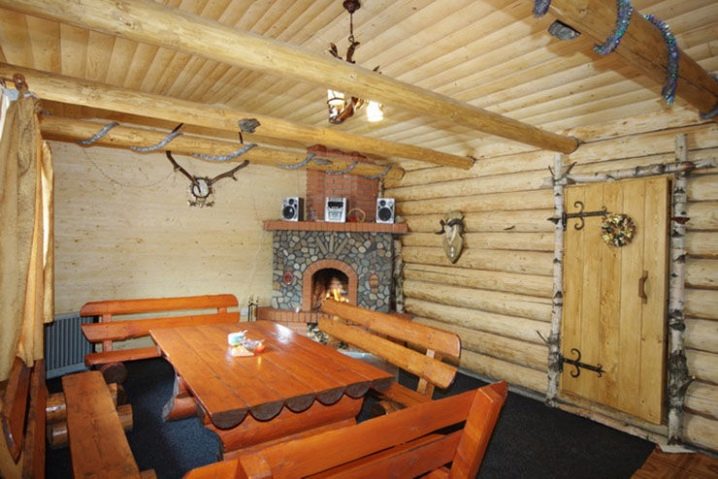
The pool, unlike the sauna, is laid out with ceramic tiles, but you can choose the same patterns or colors on the ceramics and lining wood to link them into a single design. It is advisable to make a small corner for placing a table and chairs or sofas, because after the bath procedures, the body will need a little rest.
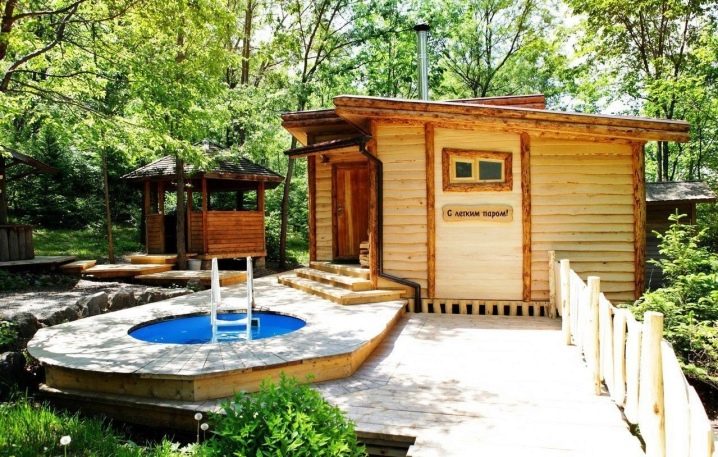
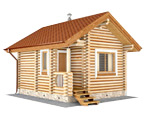
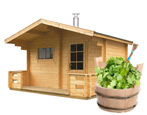
- Free-standing sauna building on your own land will allow you to embody any ideas without being constrained by the size of the room or basement. You can organize a gazebo near the dressing room or a small wine cellar right behind it. Natural stone is perfect for decorating such a room. However, such a construction involves a fairly large expenditure and professional experience in the construction of buildings, from laying the foundation and ending with the interior decoration of the premises. Often such work is entrusted to professional construction teams.
Also, saunas can be divided into several types depending on the temperature and humidity inside:
- the Russian bath has a temperature of up to 70 degrees and is characterized by a very high air humidity in the steam room;
- in the hammam, the temperature rises only up to 40 degrees, but the air humidity also remains at a high level;
- The Finnish sauna has a very dry and hot steam, its temperature can reach 130 degrees.

How to do it yourself?
Setting up a home sauna is a fairly simple but lengthy process. If you do not purchase a ready-made sauna cabin, but do everything from start to finish yourself, you will have to carefully follow the step-by-step instructions.
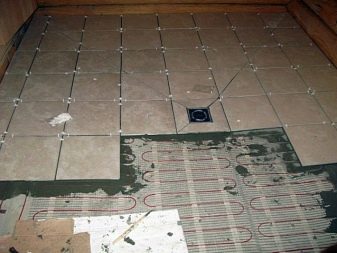
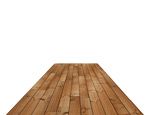
Wood is not the best material for a home sauna floor, especially if it is covered with varnish or paint. In the conditions of such a limited space, it is quite difficult to make a full-fledged ventilation system, therefore, under the influence of high temperatures, all vapors from such a coating will enter the respiratory tract and onto the skin. The best solution would be to make a warm floor covered with tiles. To do this, all the old coating is removed, elements of the warm floor are mounted at the installation site, poured with a screed and covered with ceramic tiles. This floor does not require any topcoat and can be cleaned using conventional products sold in any department of the store.
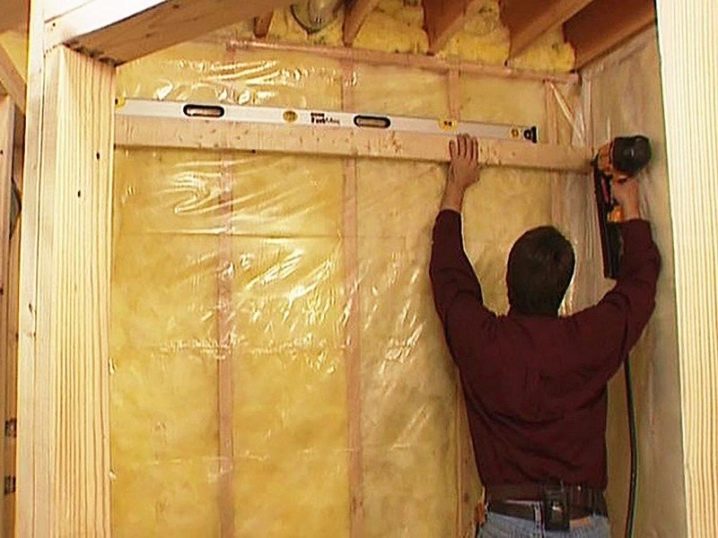
Before attaching the timber of the frame itself to the walls, it is necessary to perform their vapor barrier. On the brickwork, glassine or bituminous paper is laid with an overlap of 15-20 cm. A wooden beam can be attached to the laid vapor barrier, which is attached to the walls and floor. In every corner of the future sauna, there must be a frame stand. Most often, a bar with a cross section of 5 * 5 cm is used and it is installed with a step slightly less than the width of the vapor barrier. Next, a ceiling frame is mounted with a ventilation hole and openings for power supply. In addition, it is recommended to run several nozzles with installed water sprinklers inside the cabin, they will help prevent an accidental fire. A fire damper is located inside the ventilation duct, which does not allow hot air to penetrate into other rooms of the house.
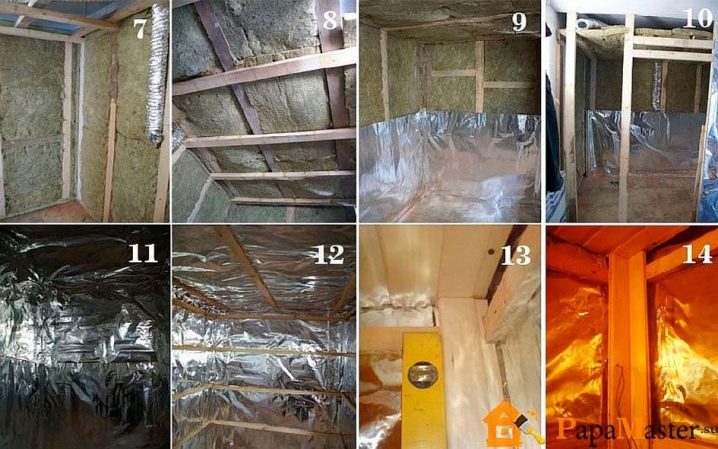
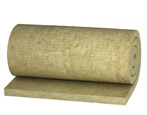
Mineral (basalt) wool or other insulation must be laid between the beams of the vertical frame and attached with dowels or glue. On top of the insulation, you can also lay out a layer of aluminum foil - thanks to it, the sauna will heat up much faster and retain heat for a long time. Aluminum is attached with a construction stapler or special tape to the frame bars.
To create a horizontal lathing, bars with a cross section of no more than 3 * 4 cm are horizontally attached to the frame racks. The step of fastening such bars should not exceed 40 cm.At the same stage, you can put a transverse frame on which the benches will be mounted. This will distribute the load not on the casing, but on the crate of the sauna. Before cladding, mount the ventilation inlet valve on the ceiling and, leaving the valve open, attach foil to the ceiling. After that, the ceiling and walls are lathing with wooden clapboard, starting from the side of the door on the ceiling and from the corner on the wall. It is not recommended to drive the lamellas into the grooves all the way, since the wood may swell a little when wet.
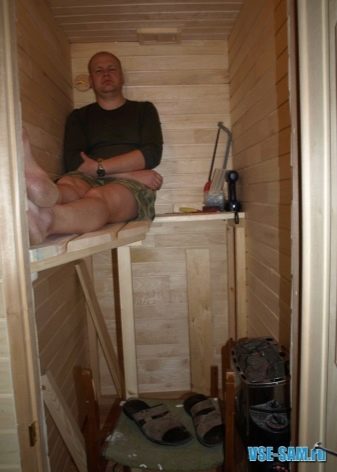
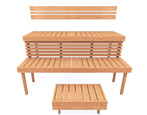
The ceiling of a standard home sauna rarely exceeds 200-210 cm, therefore, the maximum height of the upper bench is 100-110 cm, and the height of the lower bench is about 65 cm. You can put a small step under the lower bench - it’s more convenient to climb up and just sit with your feet on it.
In order not to feel locked inside the sauna, it is better to install a completely transparent door. In no case should you put strong locks on the door of such a sauna, which are difficult to open from the inside. It is best to use simple magnets or a roller latch.
Equipment
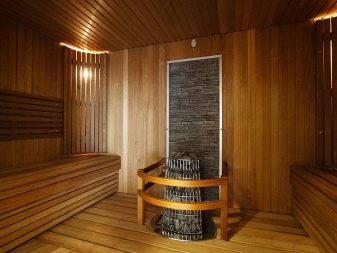
Lastly, a small electric stone stove is installed, which is attached to the wall at a height of 20 cm from the floor. Making a small wooden grate around the hot surface of the stove is the best solution for safety in the cabin. However, the wood of such a grate must necessarily be no closer than 50 mm from the heater.
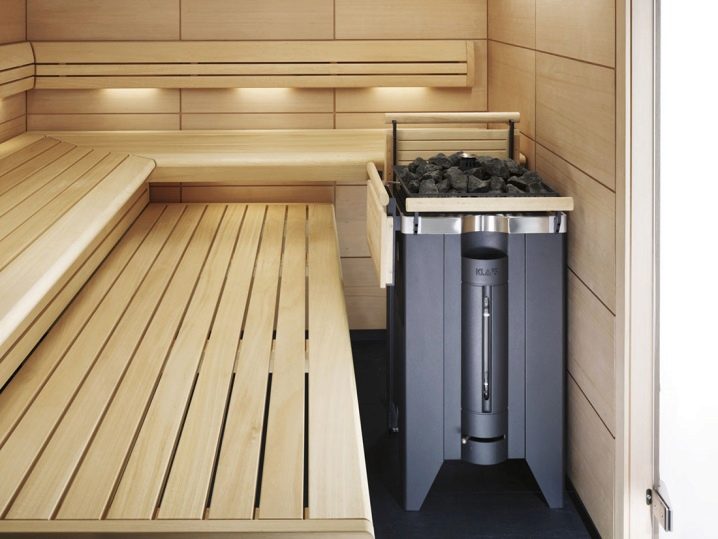
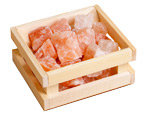
The next step is to mount the sockets and LED lamps., which can also be fenced off with a small wooden lattice. Round stones with a smooth surface are placed on the heating element. The stones must be washed and dried in advance. Diabase, porphyrite, talcochlorite or jadeite are laid in such a way that there are no gaps between the stones.
On the basement floor
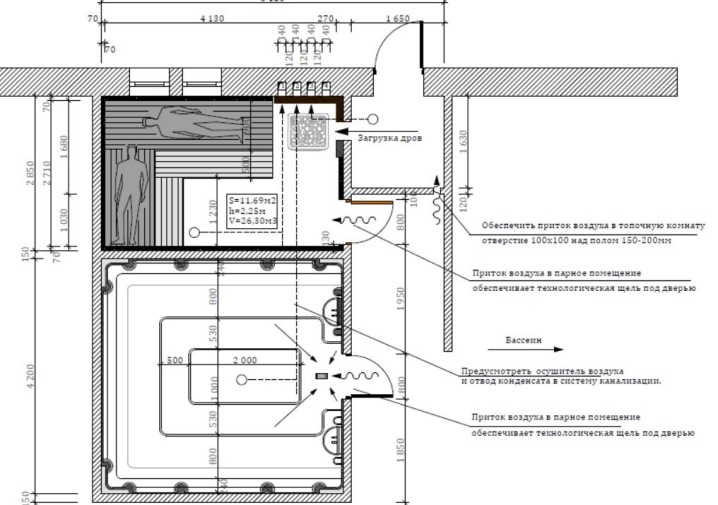
The construction of a large sauna in the basement of a private house will be a little bigger. The basic algorithm of work remains the same, however, various nuances appear. Wall cladding inside the sauna can be done not only with clapboard, but also with ceramic tiles. Additional rooms can be equipped with a separate small lounge, pool or even a billiard table. The pool is lined with special moisture-resistant tiles. The dressing room of such a sauna can be organized in a small annex if there is not enough basement.

Depending on what material was used for laying the foundation, it is necessary to choose the right tool and fasteners. For wood, ordinary self-tapping screws are perfect, for a brick foundation and blocks of aerated concrete, more serious dowels of various types are needed. For reinforced concrete, anchor bolts are already needed.

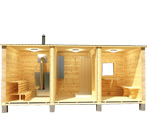
Depending on the size of the basement, you can build a small Finnish sauna with an electric heater, or a large Russian bath with a serious steam room and stove. The laying of communications is carried out in conjunction with the home, which significantly saves time and money. When organizing a sauna below the basement level, space in the yard is also saved, which can be used for other outbuildings.
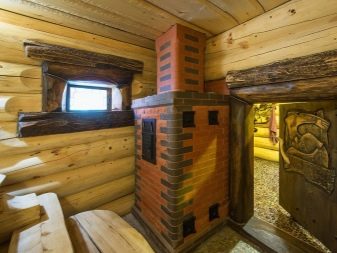
In a wooden house
The construction of a home sauna in a frame wooden house is considered the most correct option, in contrast to similar operations in brick and concrete houses. In the first case, a suitable microclimate in the sauna is achieved due to the wooden walls of the house itself, and in the second case, it would be necessary to sheathe the walls with wooden clapboard with the help of a timber frame. If it is necessary to equip a small sauna, consisting of a mini-barrel or a booth for one person, the order of work does not differ at all.
Tips & Tricks
- Raise the threshold of the steam room as high as possible: this will ensure less heat escape from the room and higher air dryness. Also, so that an unpleasant odor does not appear in the sauna, it is necessary to ensure a good drain of already used water.
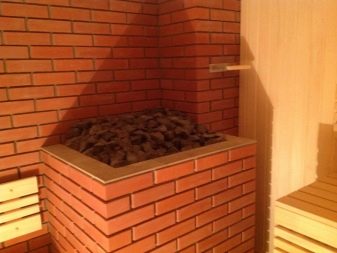
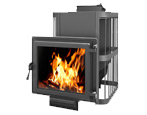
- Light steam that does not burn the nasopharynx in a bath can be achieved only at a temperature of the oven stones of at least 400 degrees. Such heating of stones can be obtained in a closed oven lined with bricks, not metal. In a sauna located in an apartment, it is most often impossible to place such a massive stove, therefore, an electric heater is used. The power of such a furnace is calculated based on the volume of the heated room: 1 kW per 1 m3.
- If you visit the sauna once a week, then it is necessary to completely transfer the stones to the stove once a year, replacing them with new ones. When visiting two or three times a week, the change is made, respectively, two or three times a year.
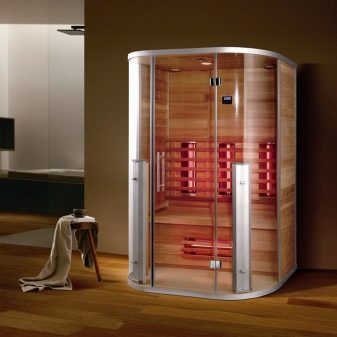
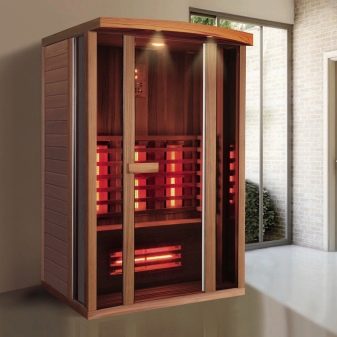
- The option of installing a sauna cabin with infrared heating is also quite popular. In such a booth, not the air is heated, but the very body of the person in it.
Successful examples and options
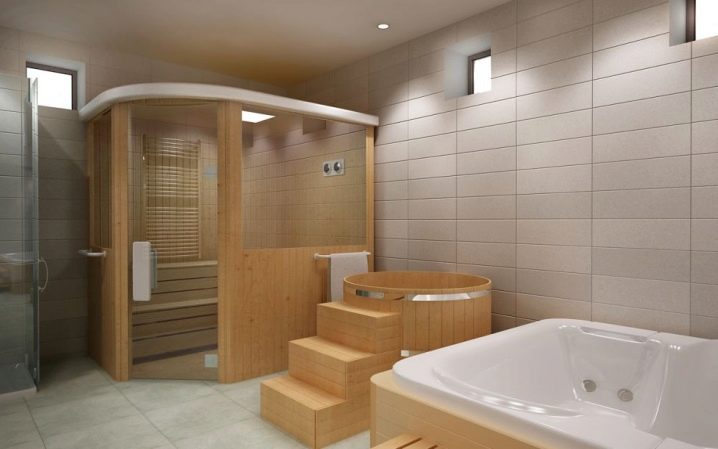
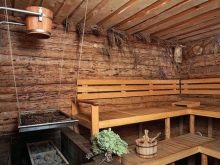
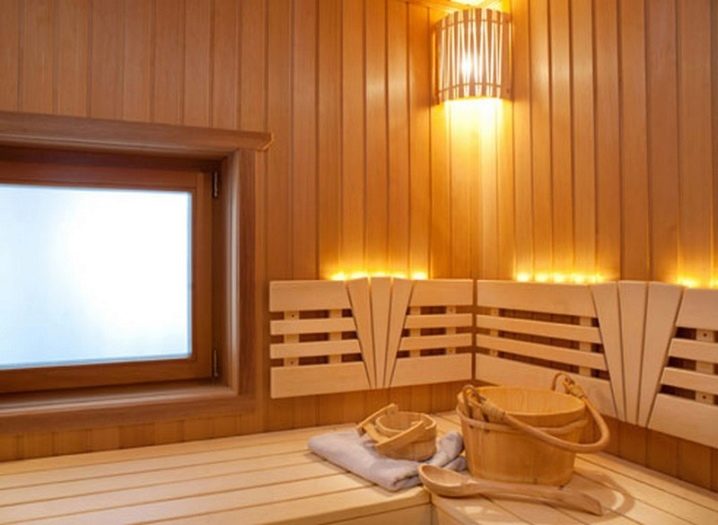
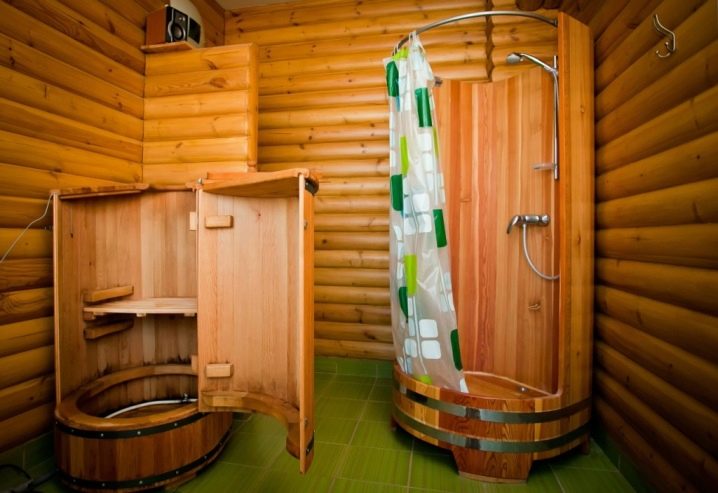
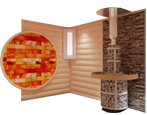
Small barrel sauna located in the bathroom with wooden walls and ceilings. A rounded shower stall is made in the same design, similar to the same barrel, but more elongated vertically.It is better to install a warm floor under the tiles in such a room, so that when you leave the shower or sauna, your feet are comfortable enough.
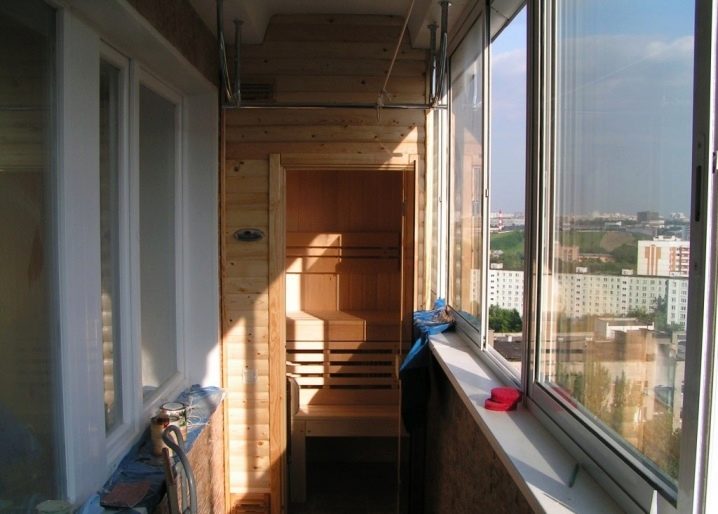
An original solution for a small city apartment can be the installation of a sauna on the balcony. Such a cabin can comfortably accommodate one person in the supine position or two people if they sit down. In winter, the cold air of the balcony when leaving the sauna can resemble traditional Russian fun - jumping into the snow or ice-hole after leaving the steam room. It is still recommended to lay a warm floor under the tiles on the floor to avoid colds.
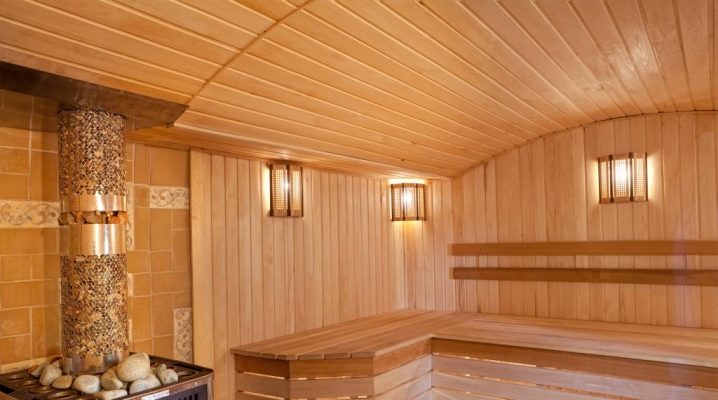
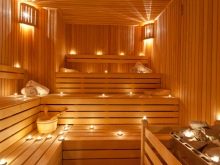
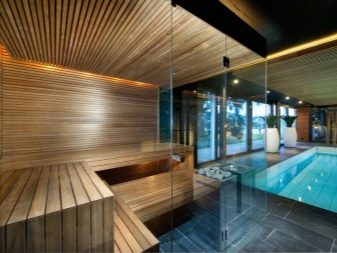
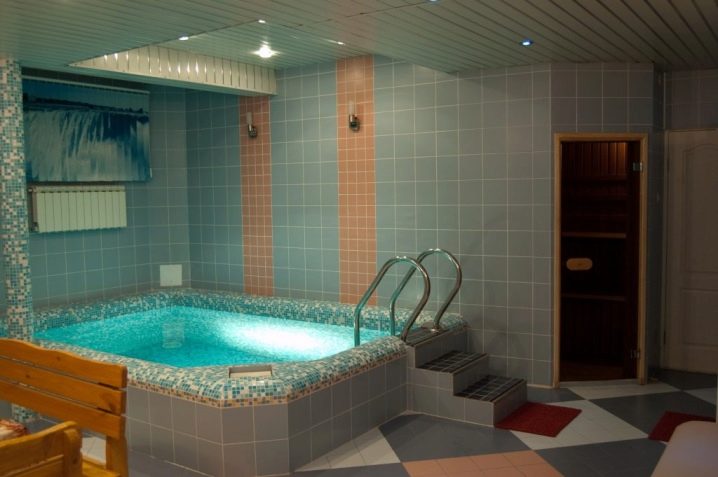
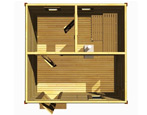
Sauna with a small pool, located in the basement. Due to the lack of windows on the basement floor, special attention in such a sauna must be given to the installation of wall and ceiling lights. The light in the sauna should be soft and diffused - this creates an atmosphere of calm and relaxation. It is better to provide for the possibility of adjusting the lighting in each zone of such a sauna, so that everyone can choose the brightness according to their preferences.
You can watch how to build a sauna on the balcony in this video.


The comment was sent successfully.