How to make a hut at home?
In the distant Soviet times, children often went on hiking trips, made halts in huts. Nowadays, forest tourism, unfortunately, is not so widespread - active recreation has been replaced by gadgets, with which children spend most of their time. That is why many parents try to come up with interesting fun in order to distract their beloved child from the computer.
Construction features
A hut is an artificial structure that can be built from improvised means in the forest, in the courtyard of a private house and even in an apartment. Planks, slats and branches are usually used as building materials, pillows and fabric are used in houses and apartments.
Children are very fond of huts. They not only enthusiastically build such houses, but also spend a lot of time in them with their friends, fantasizing that they are in the secret headquarters of super agents or in the cockpit of a spaceship.
Think in advance where the building will be located: on the street or in the house. This will allow you to select the optimal design. There is more space for games outside. In addition, an unusual hut can become a stylish addition to landscape design. However, in this case, the structure should be erected taking into account natural factors - it should protect the child from rain and gusts of wind.
An indoor hut can be made of any materials, even paper, and a well-chosen design will solve the problem of its ergonomic placement in the apartment.

Any hut includes several basic elements.
- Frame. The skeleton of the structure, it is assembled from poles, large branches or boards.
- Covering material. On the street, straw, thin branches, moss are used, at home - ordinary pieces of linen.
- Fasteners. It is carried out with scotch tape or thick threads. In field conditions, you can make plaits from grass or use dug rhizomes.
These elements will be needed for the construction of all huts, without exception, and the decor of the structure is performed at the discretion of the young shelter owners.
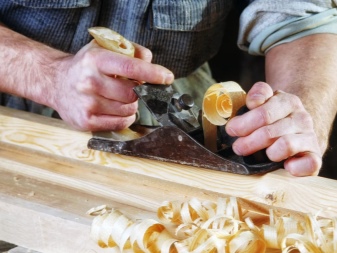
When erecting a hut, it is very important to ensure its safety, otherwise the child may be injured during the game: cut yourself on sharp nails or splinter your hand on poorly finished boards. If the fastening is not strong enough, the structure may collapse altogether.
To avoid this, it is necessary to carefully plan the wood, cut off all sharp branches, isolate the corners and firmly fix the frame.
It is important that the hut is valuable to your child. And, as you know, what is done with your own hands is appreciated. Let the baby decide for himself what his house will be like. Be sure to let him help you, give simple instructions and offer to think over the features of the interior decoration of the structure.
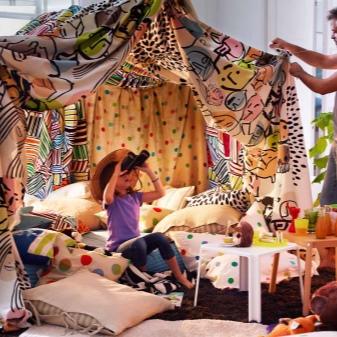
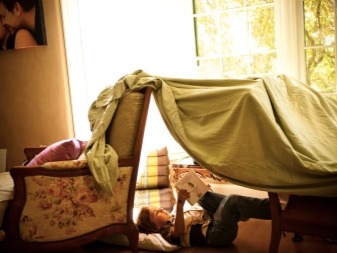
How to make a hut out of pillows?
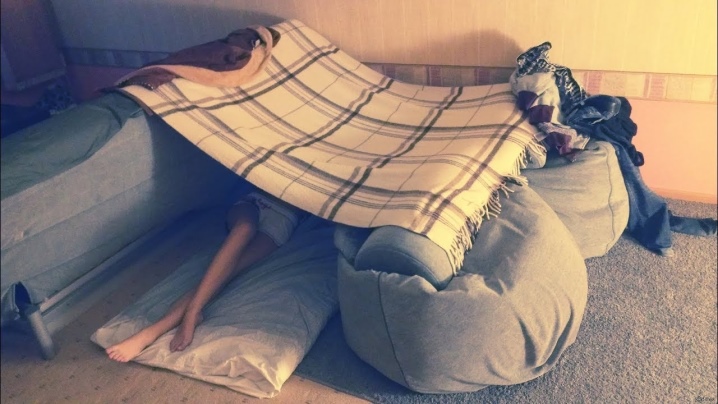
The simplest and safest structure for a baby can be made from ordinary pillows. To do this, you need to prepare:
- two 1.5- or 2-bed blankets;
- chairs with backs;
- pillows.
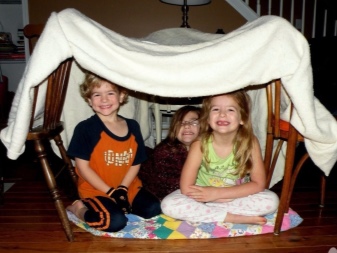
The process of creating such a hut includes simple steps performed step by step.
- One blanket is laid out on the floor. It defines the boundaries of the hideout.
- Chairs are placed with their backs along the perimeter of the blanket. It is also possible from opposite sides.
- To decorate the roof, the second blanket is hung over the chairs. If you also want to organize an entrance, then it is desirable that the corner of the bedspread is between two chairs.
- The edges of the canopy must be folded over and secured with clothespins for maximum shelter strength.
- Pillows are laid out around the perimeter - they act as walls and at the same time support the canopy.
A house made of soft pillows is completely ready. This is a simple and cozy corner for the little ones; it can be installed exclusively in an apartment or under a canopy.
Tip: these huts can be made near the headboards - in this case, only one chair is required.
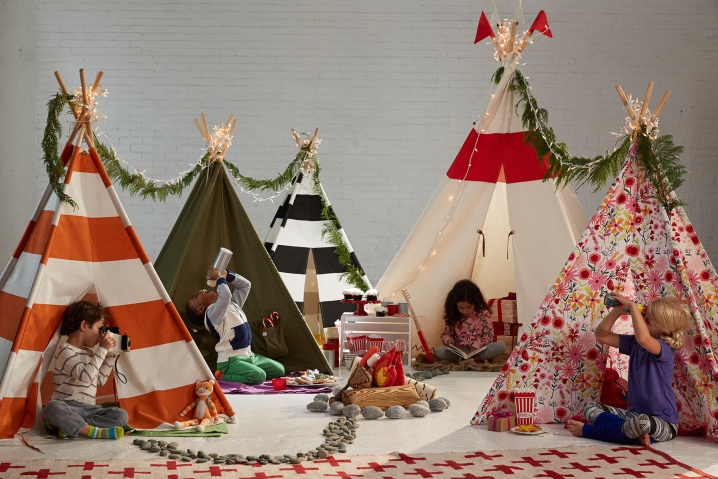
More ideas
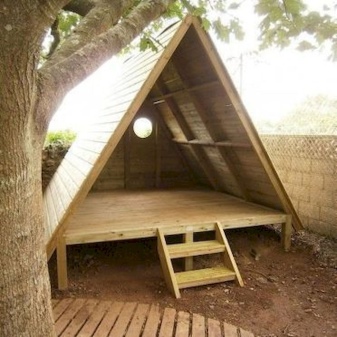
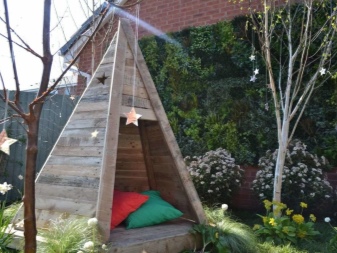
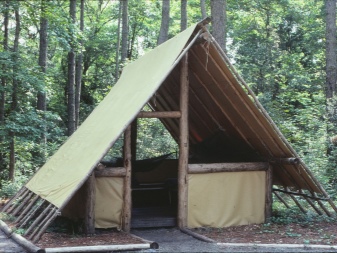
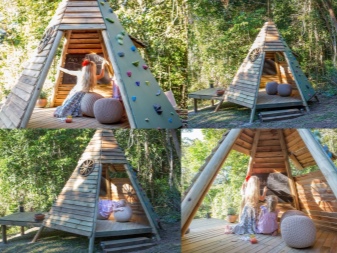
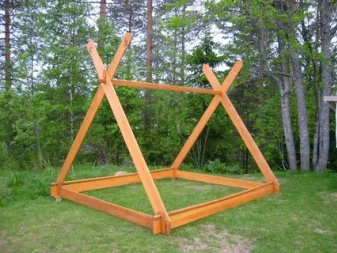
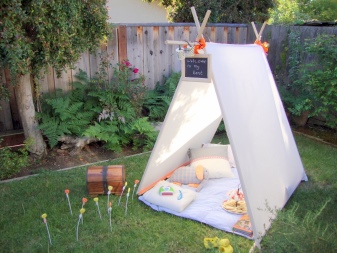
Triangular tent
A hut in the form of a triangular tent can be quickly built with your own hands in a couple of hours. For work you will need:
- several plank slats;
- construction stapler;
- flooring;
- covering canvas.
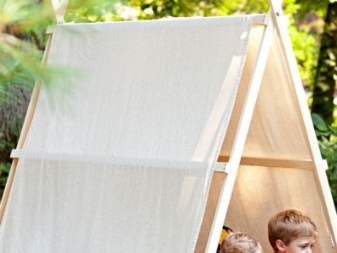
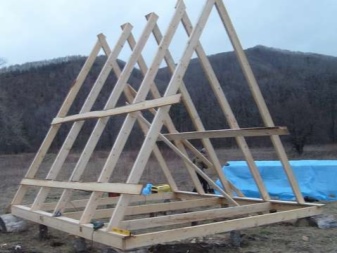
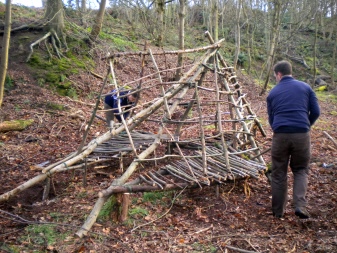
The slats are connected to each other in the shape of a triangle - this will be the frame of the structure. It is covered with a fabric, preference should be given to waterproof - to protect it from rain and wind.
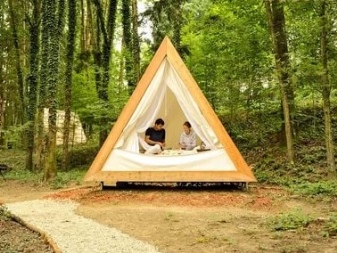
If you are planning to build a house inside the apartment, then you can use any fabric. Next, it remains only to prepare the flooring and come up with the decor of his new shelter with the baby.
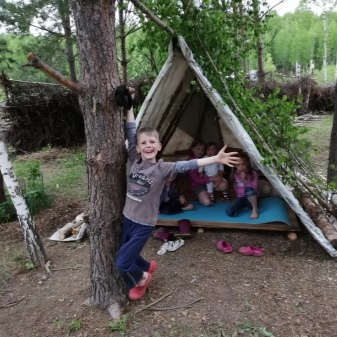
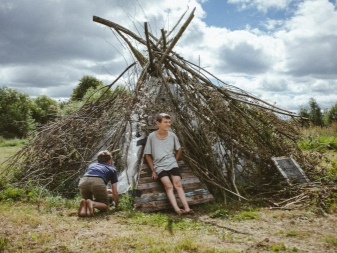
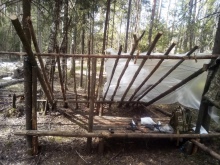
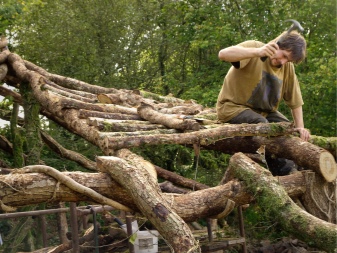
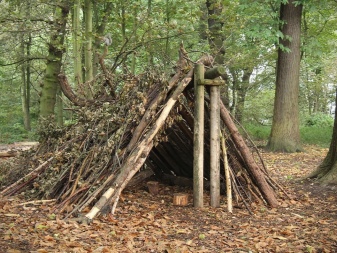
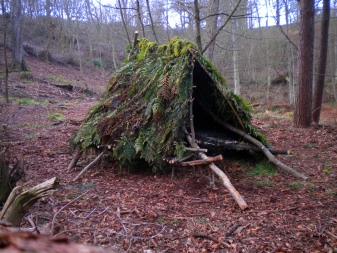
A triangular house can also be built from branches. In this case, the basis of the frame will be thick and small branches of trees - most often they use those that remain after sawing fruit and berry bushes and trees, but you can prepare them yourself in the nearest clearing. To make the hut come out neat, you should draw a circle and dig in the thickest branches around the circle with a slight inward slope. At the exit, the structure should take a conical shape.
When digging, do not forget to leave a small distance between the two branches to enter the dwelling.
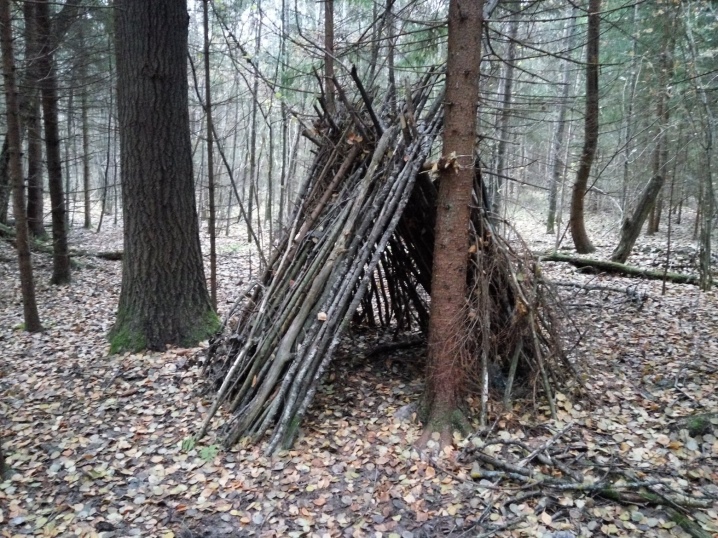
Check the strength of the structure, and then reinforce with small branches. At the last stage, all that remains is to lay the flooring and invite the baby to play.
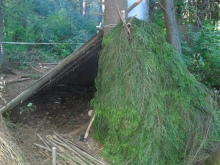
Advice: a climbing plant will help to make the house not only strong, but also beautiful. Plant a loach or grapes near the building, as its branches grow, they will effectively braid the walls, give additional strength and protect from bad weather.
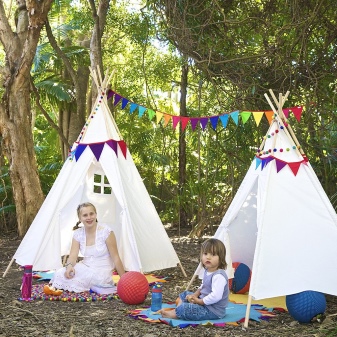
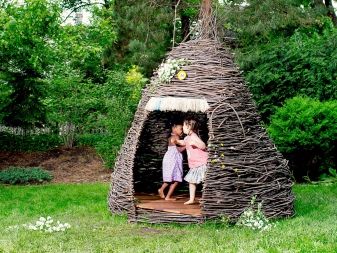
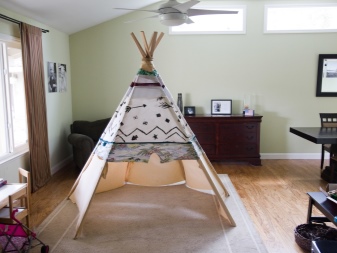
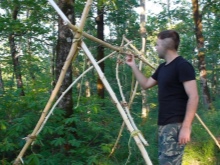
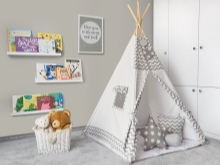
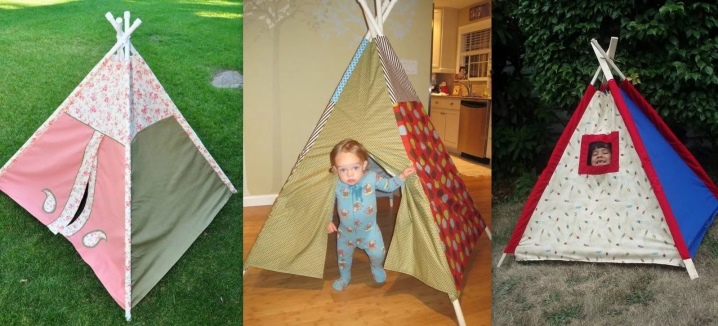
Wigwam
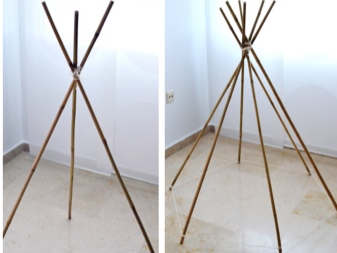
To build a "wigwam" type house, it is necessary to erect a frame with 6 sides. It is important that the height of the structure is twice the height of the baby. Such a frame looks like a cone - the sticks are fixed in a circle with an intersection at the top point. The fixation is performed with a twine, alternately tying the elements of the frame to each other. For maximum strength, make 2-3 knots on each support or nail them down with small nails.
Instead of ropes, you can use cloth, it is attached with a construction stapler.
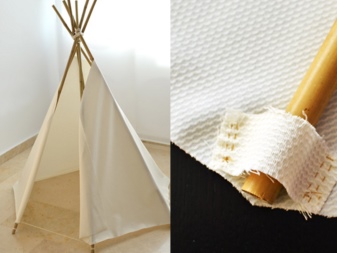
For more decorative support, it is better to varnish or paint; after such processing, the material becomes resistant to moisture. If the hut is being erected on the street, then several additional slats should be nailed along the perimeter between the boards - this will strengthen the structure and create additional protection from the wind. When organizing the indoor play space, this is not necessary. As a flooring, you can use a rug, blanket, warm blankets and pillows.
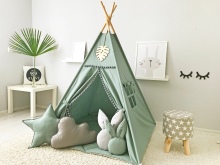
This Indian wigwam turns out to be very strong and practical. The guys will be happy to furnish it at their own discretion, they will spend time playing and chatting with friends. You can put such a wigwam both in the apartment and in the yard.
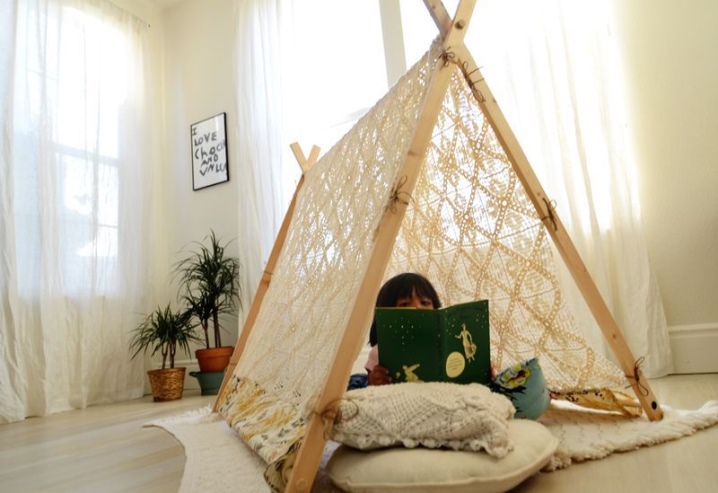
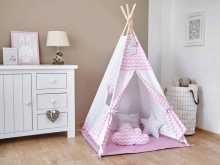
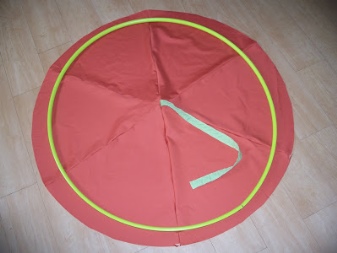
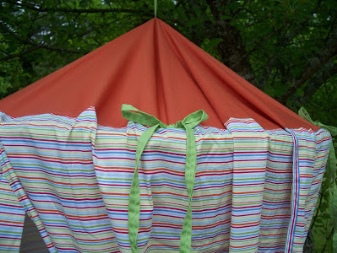
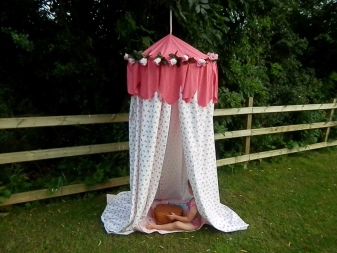
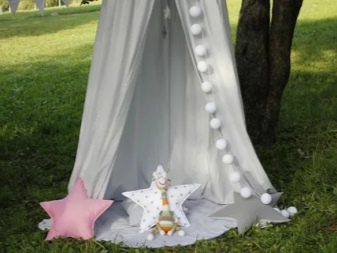
From a hoop and fabric
At home, a very light removable hut is obtained from a hoop and trimmings of matter; you can hang it in an apartment or take it with you on a trip. For work, you will need a small hoop, nylon threads and a canvas for a canopy, it can be sewn from the remnants of curtains and pieces of fabric. The fabric should fit snugly against the ground / floor, so select the length in advance before fixing the fabric. The total height of the structure should be 1.5-2 times the height of the child so that he can move freely inside the structure.
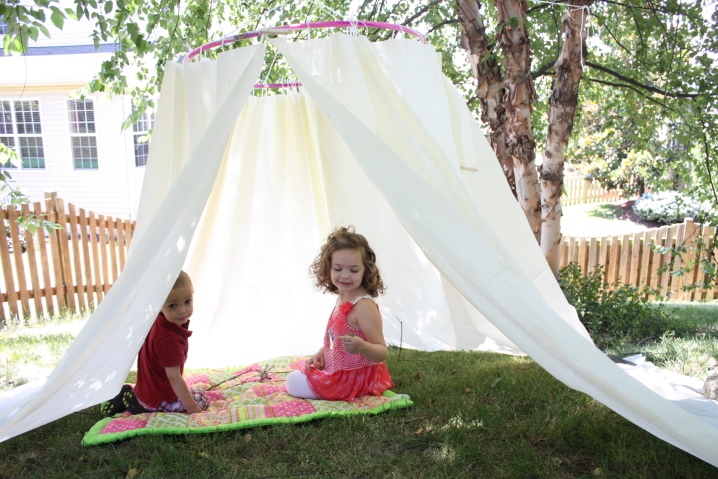
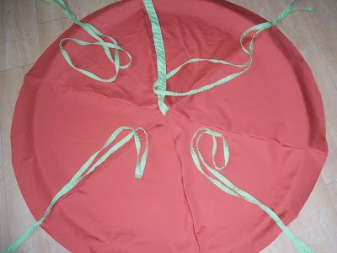
First you need to form a mount. To do this, four pieces of twine are tied to opposite ends of the hoop and connected to each other.Then the canopy is fixed with clothespins, not forgetting to leave a place for entering the shelter.
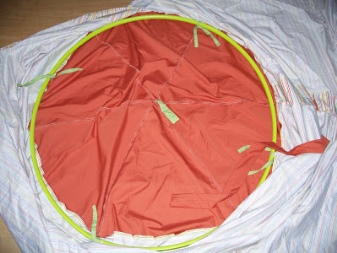
The hut is ready - all that remains is to hang the tent to the ceiling hook, if the house is installed inside the apartment, or to the tree branch, if the courtyard is chosen for games.
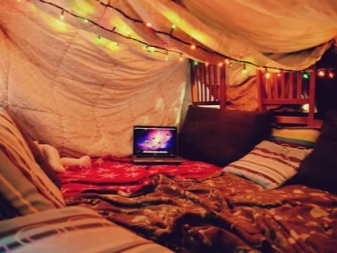
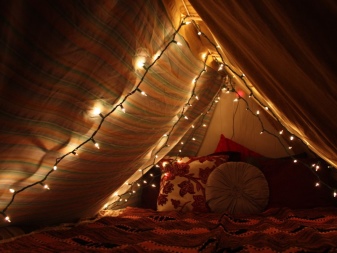
For kids to enjoy their games, it is imperative that the structure is not only durable but also comfortable inside. This will require some enhancements.
- The floor should be covered with dry leaves or straw; it is advisable to put a thick blanket on top.
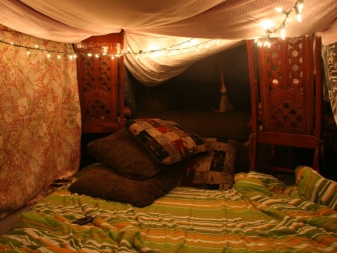
- Fasten the curtain at the entrance, it can be made of any material. In this way, you block the path of annoying insects and additionally insulate the structure. In hot weather, you can use a simple tulle - this will allow air to flow inside.
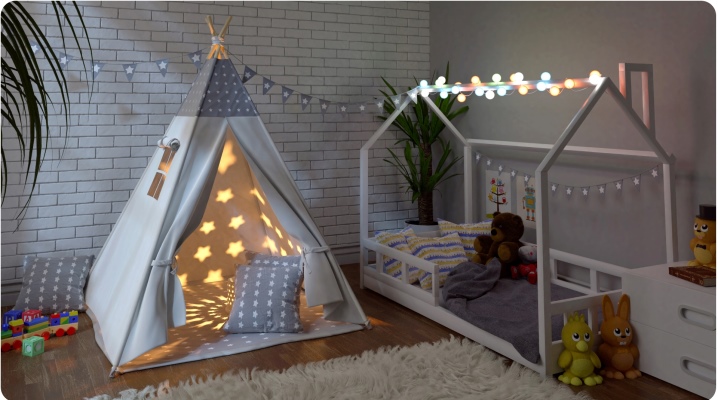
- So that the baby can play in the house in the evening, you can hang a small lantern or even a New Year's garland inside.
The huts are interesting designs. You can relax in them during a hiking trip or give them to children for a play area. With a little practice, all questions about how to build a hut will disappear completely. Rest assured - after a few tries, you will surely be able to build the perfect baby shelter.
For information on how to make a wigwam for a child with your own hands from scrap materials, see the next video.


The comment was sent successfully.