We make huts for children
Tents are a favorite place for children to play. They arrange them in the most secluded corners of the country or at home. The choice of shelter depends on the imagination of the builders, the time for construction, the material for construction. There are many types of huts: traditional (used by mankind since time immemorial), original (variations of buildings, taking into account improvised interior elements and plants on the site).
Peculiarities
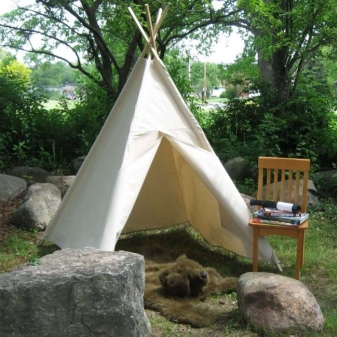
Everyone has an idea of what the classic house of the Indians of North America consists of and looks like. The wigwam for children looks like him. Consists of sticks covered with cloth. Basic rules for the construction of a portable home:
- safety and reliability of the structure;
- use for construction of environmentally friendly, natural materials;
- the hut must correspond to the size of the room, the age of the child;
- the hut should be attractive.
From that where the hut will be located depends on the choice of raw materials for construction. If parents help their children build wigwams, it is worth staying on natural materials such as burlap or cotton. In the event that the hut will not be taken out into the street, the children will only play in the apartment; an ordinary sheet or other cotton fabric of the required size and any color will do.
For a wigwam built in the yard or in the country, you should choose a material denser that will not penetrate the wind, will not immediately get wet if it starts to rain.
It is better to refuse a tarpaulin - it is not suitable for a children's building, but woolen fabric (cloth) is ideal. In the street house, a mosquito net should be provided to close the door and window openings.
For the floor, you should choose a soft sheet insulation or polyurethane foam. If children play in the hut, who have not yet asked for a pot on their own, a fabric with a waterproof composition (oilcloth) must be sewn into the upper layer. This will help avoid annoying misunderstandings. But even such insulation will not be enough, unless, of course, the hut is installed on the boardwalk. If the wigwam is erected simply on the ground, pillows must be sewn into it.
Interesting ideas
When you start building, ask your child what kind of playhouse he wants. In addition, he also needs to be involved so that he does the work he can, helps in the arrangement and design of the hut. Let the house become for him a festive home, in the construction of which he became not only the chief architect, but also the designer.
Winter tent in the yard
Spending time outside and breathing fresh air is necessary not only in summer. On the eve of New Year's celebrations, children from kindergartens and schools organize competitions for the best snow sculpture. But it is very rare to find a competition for the construction of a plague. Of course, in order to reproduce a full-fledged winter dwelling, you need to have an idea of \ u200b \ u200bbuilding it. To build a temporary winter dwelling, you will need:
- water, snow;
- hammer, rope, thick fabric;
- thick poles in the amount of 6–12 pcs. (depends on the expected quality of the plague), you must use at least 9 poles.
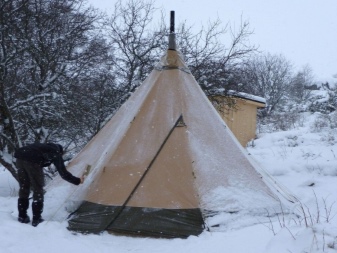
You need to wait for a decent layer of snow to fall on the ground so that the poles can be inserted into it.After installing all the poles, wrap them with rope from above.
Spread the sticks over the optimal radius, driving them into the snow cover, use a hammer if necessary. Then fix the ends of the poles with a rope, pull the blanket over the frame. If necessary, make cuts to tie it to the frame.
The next step is to cover the chum with snow from the bottom up, forming a snowdrift, after which it must be compacted - sprinkled with water. Then you need to increase the layer of snow inside the dwelling.


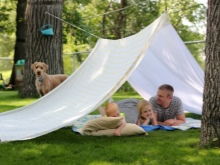
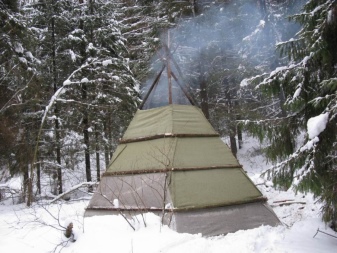
Traveler's hut
Those lucky ones who own a personal plot or private house will undoubtedly prefer the street option. This will allow the child to spend more time outdoors and protect him from ultraviolet radiation.
You should not arrange a house for children in an open area - it is advisable to choose a flat area in a shaded part of the garden.
Schoolchildren may well build a house from auxiliary materials with their own hands. You will need stakes, twine, a blanket. Algorithm of actions for construction:
- between the supports (trees) you need to pull the twine;
- throw fabric over them;
- having pulled off the fields of the bedspread, it is necessary to fix them on the ground by means of pegs.
Children will receive a huge boost of vivacity, since they will do all the steps to build a house on their own.
Inside, you can spread a bedspread, lay out pillows. To make it more interesting for the children to play travelers, give them a flashlight, duffel bag, flask and an optical device with you.

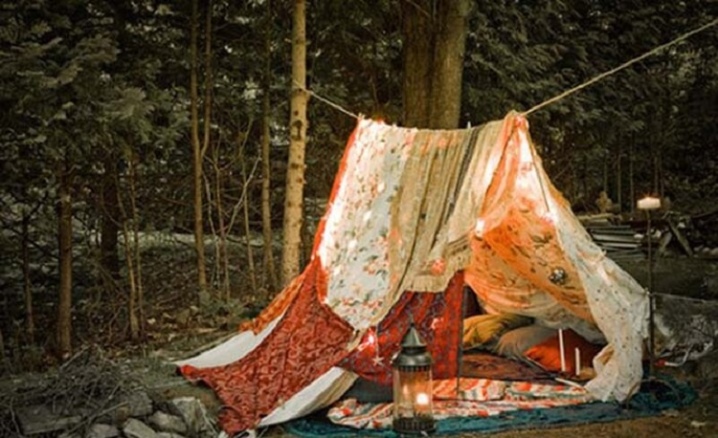
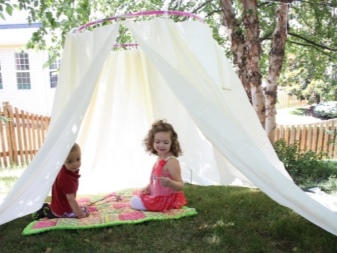
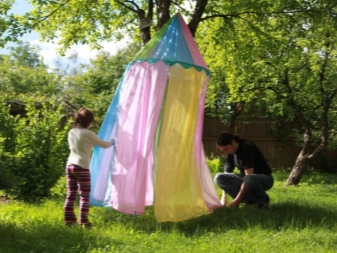
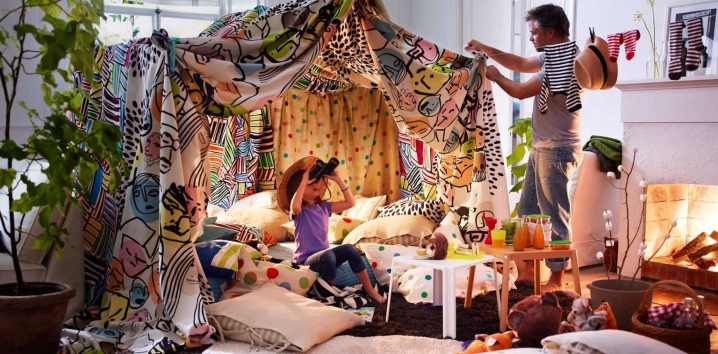
Gymnastic hoop and fabric project
You can build such a hanging house with your own hands. It will be convenient to take it outside or hang it in the apartment.
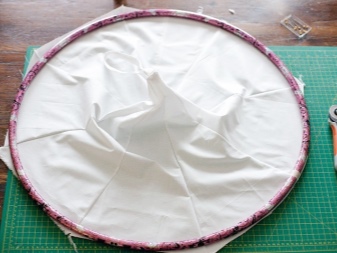
The main structural element is a hoop on which a piece of long fabric is fixed. For the rope, the house rises to such a height that the edges of the sheet touch the floor. The roof will be a separate piece of fabric located around the hoop. Then it will be enough to sew a strong ribbon to the center of the dome and hang a hut behind it. The height of the house should correspond to the growth of the baby, so it will be more convenient for him to play. Therefore, the required length of the fabric should be calculated before fixing the fabric.
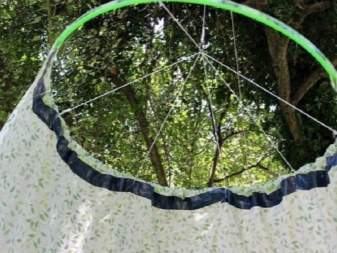
First, you need to make a mount. You will need 4 pieces of rope of the same length, they are fixed on opposite sides of the hoop, then tied together.
The canopy is secured with large stitches or with clamps. If children play outside, the house must be completely hung up.
When the hut is ready, proceed to making the flooring. The walls of the house can be decorated with elegant bows, wide ribbons, large sequins.
How to make a hut in an apartment?
To make a homemade home tent tent, you will need:
- elastic;
- any matter (sheet, old curtains, curtains);
- sewing accessories;
- 4 bars of 1.5 m, a bar for the crossbar 1.5 cm in diameter and 2 m in length.


The assembly of a hut from this material is carried out according to a certain sequence of steps.
- Holes are drilled in the upper part of the bars so that the ends of the crossbar fit into them. To drill from the edge, you need to step back 15 cm.
- A crossbar is inserted into the holes obtained, while the bars are connected crosswise.
- The assembled frame is evenly hung with a cloth.
- The processing of edges and cuts is carried out using a typewriter.
- An elastic band is needed for 4 loops, sewn to each corner of the fabric.
- It is necessary to hook each loop to the nearest leg of the frame, and the structure will turn out to be even, without deformations.
Such a hut is easy to transfer from the room to the balcony, so that the child can retire at his own discretion.
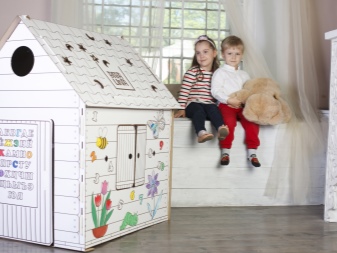
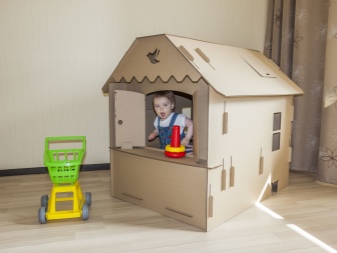
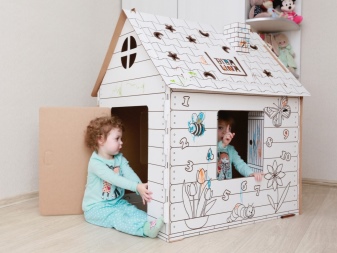
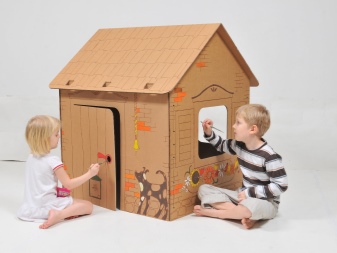
Small cardboard house
Toddlers will love to play in the house, which can be based on cardboard. Design advantages:
- easy manufacturing;
- a child can decorate such a house from the inside with pencils or paints, showing creativity and developing drawing skills;
- the house is easy to assemble.
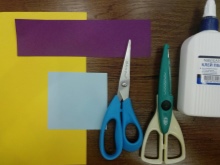
To make such a design for a baby, you will need tape, two large boxes, scissors and glue.
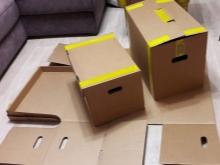

With their help, you can give the game complex the desired shape. A child can show imagination, and a parent can create a fairytale castle for him, where a princess or a brave knight will live.
The fragility of the structure should not be embarrassing, the main thing is the pleasure of the game.
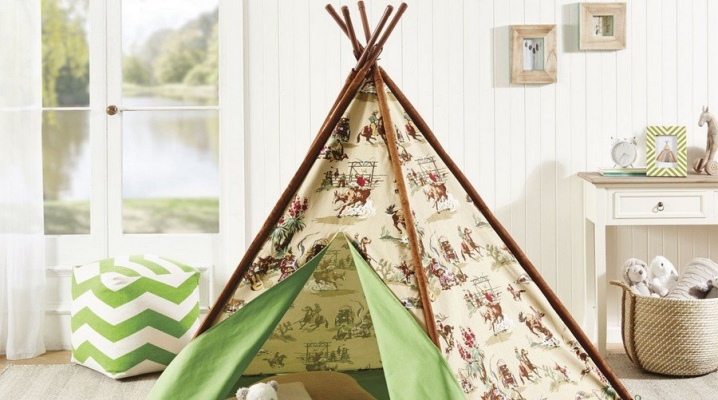
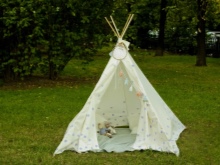
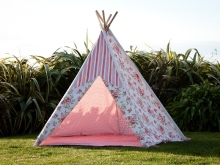
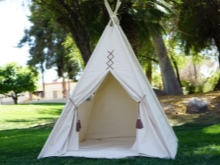
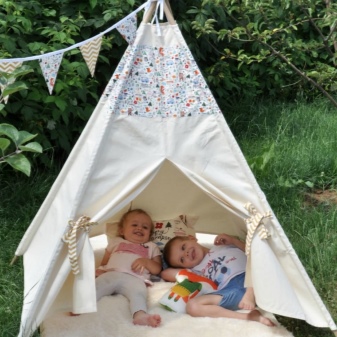
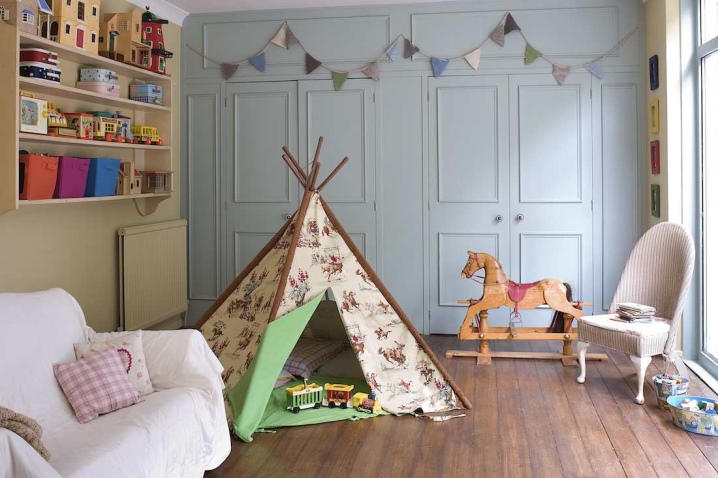
How to make a wigwam?
When it is cold outside, it is easy to make a triangular wigwam in the conditions of an apartment, where children will be happy to play. It will be a great addition to a nursery that has a Scandinavian style. To create a textile wigwam you will need:
- a cover made of textile material or triangles that will need to be fixed to the frame;
- slats made of wood, which are fastened with a rope at the top, and open at the bottom along the perimeter.
To keep the wigwam stable, at the bottom of the slats are connected with transverse rods. In such a "dwelling" of young Indians, you can not only play, but also store toys.
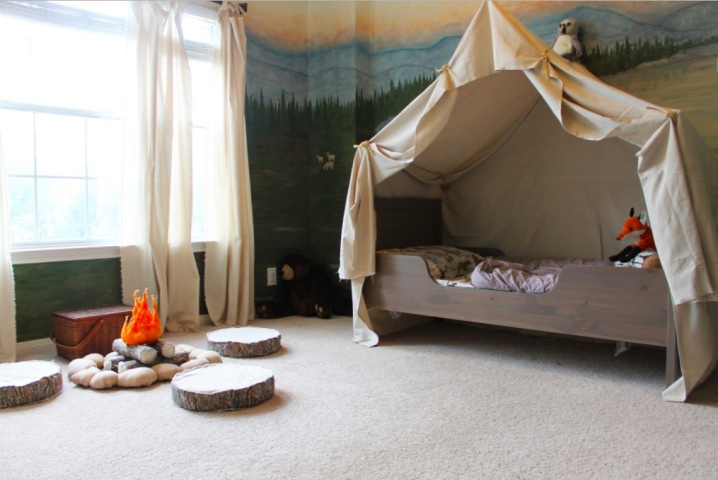
Making a tent for children
The space of a small room will not allow you to create a hut on the floor. The solution can be the manufacture of a removable awning installed over the crib. In this form, the sleeping place will also serve as a play area.
For the frame, you need to take several bent metal-plastic tubes, which must be fastened with tape. The fabric material will serve as the roof of the hut. Children can set up and remove such a tent by themselves.
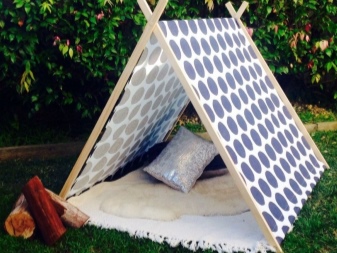
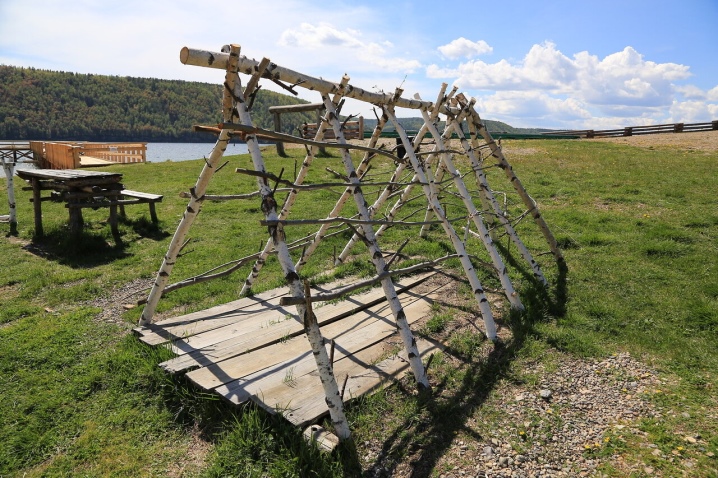
How to build on the street?
Those who love adventure and travel can experience the delight of a real "living" hut. Children's wishes come true - you just have to use the tools at hand and long bending branches.
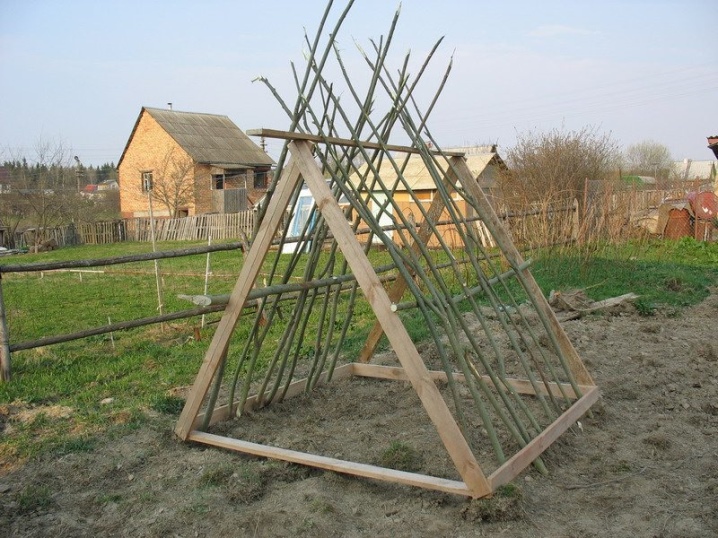
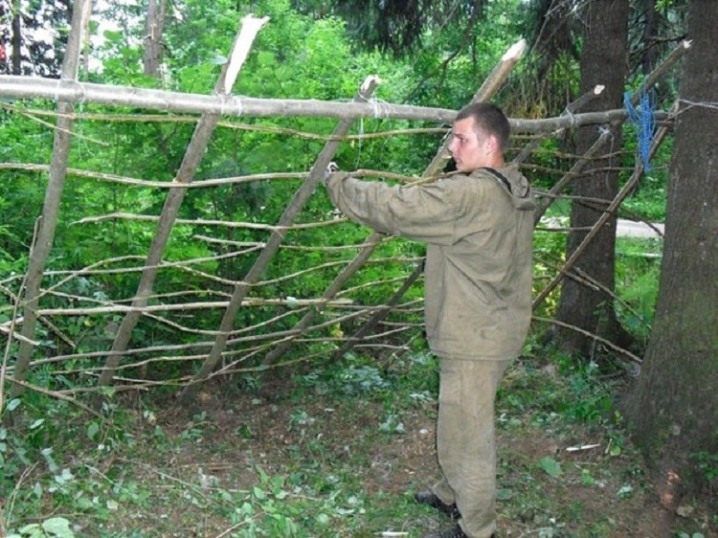
Gable
Using a long stick and large slingshots, you can erect the frame of the hut. Its dimensions depend on the dimensions of the parts used. Horns are driven into the ground vertically until they are completely stable. The approximate limit of slaughtered spears reaches a third of the length. After that, a pole is laid on top and additionally strengthened at the joints with knitting objects (fishing line, wire).
Thickened and strong poles, inserted into the soil at an angle, must be connected from above at the same height from the ground. The intersection points are secured with twine.
The next step is the selection of thicker poles or poles, which will serve as supports for laying. With the help of spruce paws, branches with leaves, reeds, ferns, straw or hay, you can build a structure.
In most cases, the sides are attached at intervals of 20 cm. But you can compact the base using transverse branches attached to the side of the poles. Thus, you get a crate, which is covered with spruce branches or other suitable material. The laying process is carried out from the bottom. Subsequent rows are partially covered by the previous ones, providing a secure attachment and protection from rain drops. The rest of the walls of the hut are built according to the same principle, while not forgetting to leave one of them as an entrance.
Single slope
This type of shelter is erected much faster due to the reduced working volume. A high stick and a pair of spears are the skeleton of the structure. Then the above points for the installation of hut walls are repeated. To speed up the process, you need to replace the spruce branches with a tarpaulin or other waterproof raw materials. The upper covering material is fixed to the frame with ropes, and at the bottom, the canvas is pressed against the improvised weights.
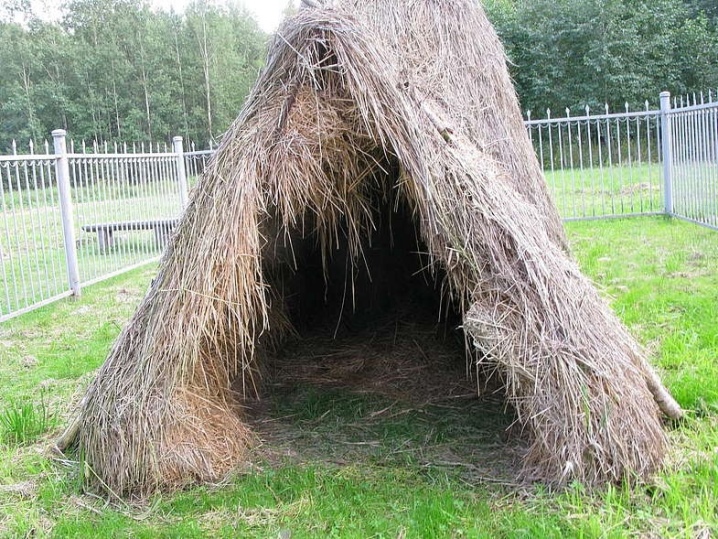
Hut-wigwam
You should stock up on a sufficient number of branches. Draw a circle on the place allocated for the construction. This is followed by simple actions: branches are vertically dug in along the marked circle upward in thin parts, the resulting structure tilts conically to the center, where it is tightly fixed from above.
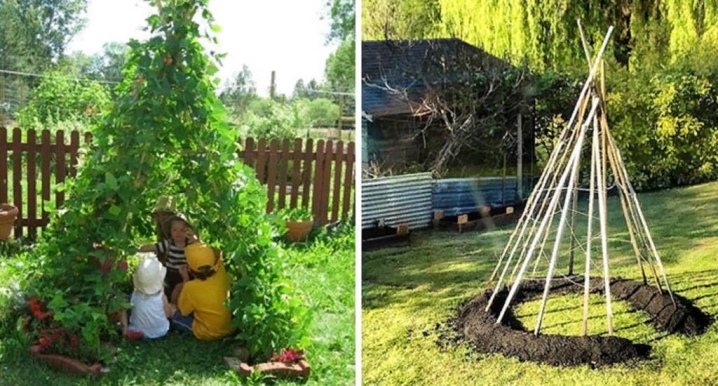
Beautiful climbing plants can be planted around the perimeter of the frame, which will add liveliness and joy to the young inhabitants of the building.
A hut for children's games is not only another desire and whim of a child. The presence of a personal recreation area works great for both kids and children and girls 10-12 years old, develops imagination, brings a good mood and helps to dream.
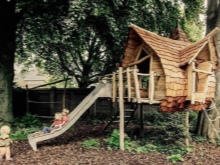
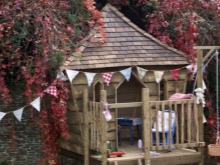
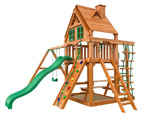
See below for an overview of the tree hut.


The comment was sent successfully.