Features of wooden awnings

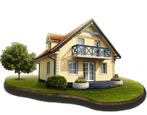
The owners of country houses and summer cottages are trying to create the most comfortable conditions there for long-term stays and frequent visits. Therefore, on personal plots, all kinds of farm buildings and structures are being erected, among which sheds, which are considered universal for use, occupy a special place.
Advantages and disadvantages
Wood is a constantly demanded material used by man for construction for many centuries. It is reliable, completely safe for health, environmentally friendly and accessible, pleasing to the eye with color, and the soul with warmth. Timber constructions make the landscape unique and inimitable.
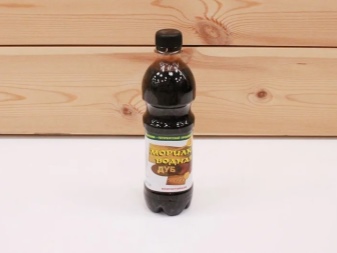
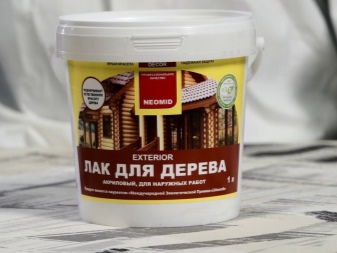
Unfortunately, wood lasts a much shorter period than structures made of iron or stone, and is less durable, besides, the tree decays over time, it can be spoiled by insects or rodents. Such problems can be avoided by timely and correct processing of wood with fixing solutions and stain. Lacquer also strengthens the wood, adds shine and elegance.
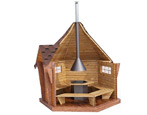
Many consider awnings made of wood to be the simplest awkward structures. But if you turn on your imagination, correctly develop a project, a simple structure will sparkle with new colors. It is necessary to take into account the general design of the site on which the canopy is planned. In accordance with it, the canopy can be decorated with ornaments, carvings, and other decorative elements.
In general, the appearance of the site should make an interesting impression and look proportional. The canopy that fits into the design of the garden will delight the owners.
Description of species
The structure of a wooden canopy can be cantilever, attached or free-standing. And they are called wooden because of the material of the racks, lathing on the roof and rafters.
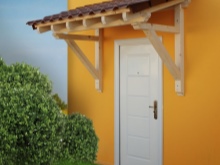
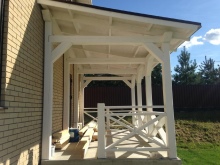
- The canopy above the porch of the house, which is fixed to the wall and has no other supports, is the simplest gable canopy.
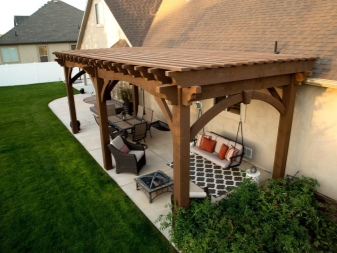
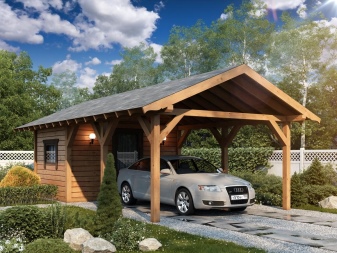
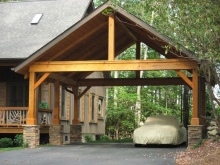
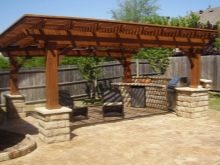
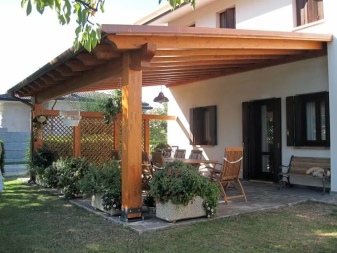
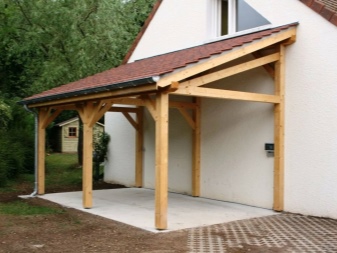
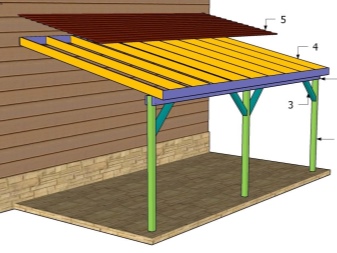
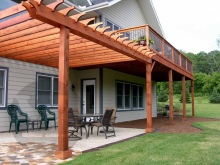
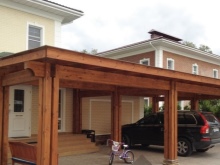
- On one side, the attached canopy rests on 2 pillars, and on the other, it adjoins the wall of either a house or another courtyard structure: a summer kitchen, a barn, a garage.
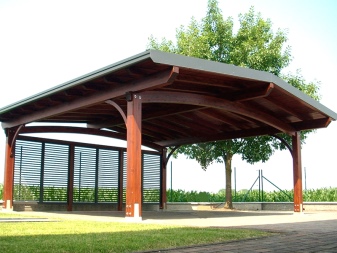
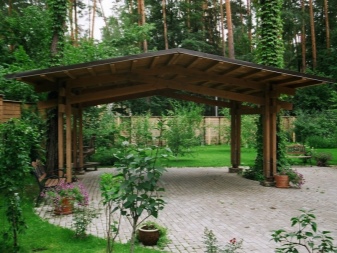
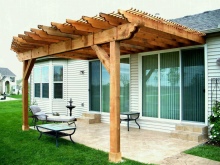
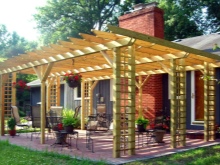
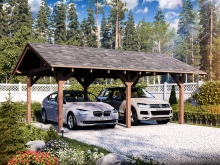
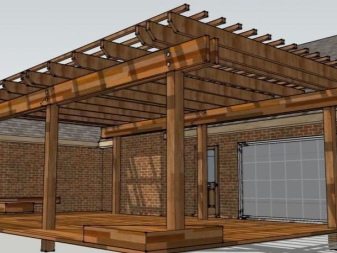
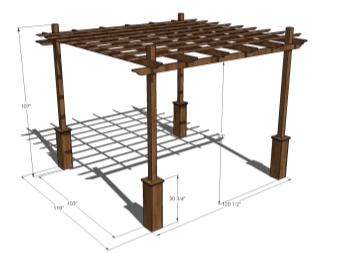
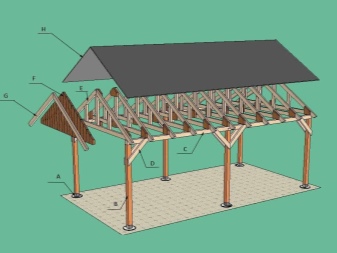
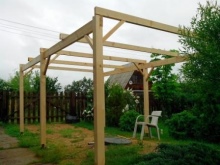
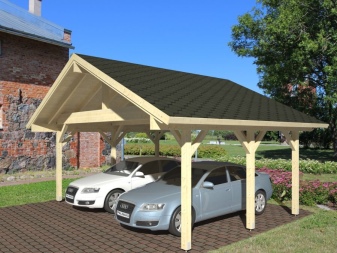
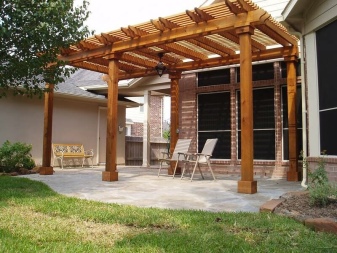
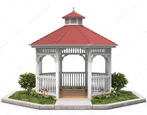
- The canopy, which stands separately, is a completely independent structure, which is a roof supported by racks (pergola).
By the type of roof, the canopy is of the following types:
- tent-roofed;
- single-slope;
- gable;
- flat;
- domed;
- multi-pliers.
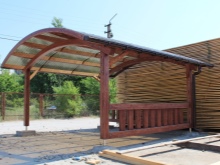
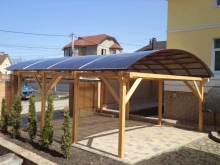
The canopy is compatible with any type of roof, but most often canopies are arched, shed and gable, since they are the easiest to build. But at the same time, they guarantee high-quality drainage and getting rid of the midday heat when correctly located relative to the cardinal points.
The purpose of the canopy is more extensive than that of a garden gazebo:
- protection of the recreation area and the garden furniture located in it from precipitation and sunlight;
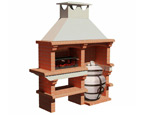
- shelter of the dining area - near the house (summer kitchen near the barbecue area);
- protection of the terrace or porch from rain and dirt;
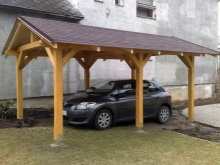
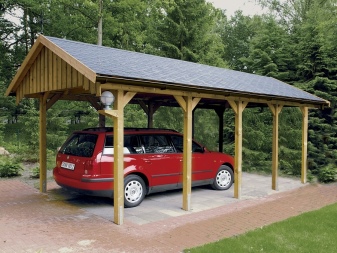
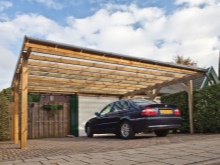
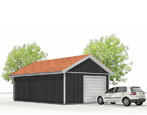
- roof for the car over the car park;
- shelter for a children's play area;
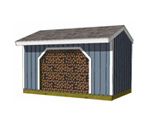
- protection of the stock of firewood, as well as garden equipment;
- pool cover.
Of the various types of awnings, the most demanded is still wooden, and this does not surprise anyone, since the cost of construction is quite affordable, and the quality is high. That is why it is worth telling how to build a wooden canopy yourself.

Design
Quite often, a situation arises when it is necessary to erect a canopy or a canopy over a building. This is a fairly simple design that any man without special skills and abilities can build. There are many ideas for this building on the Internet. Nevertheless it is necessary to take into account certain design features in order for the canopy to serve for a long time and properly.
It is best to create a specific project, according to which the calculations of the future construction will take place.

It is necessary to take into account the climatic features of the area in which the canopy is being created, the location of the building on the cardinal points, and the features of the building foundation. It is equally important to choose the right coating.
The easiest way to create a canopy or canopy is when it is attached to an already finished building. The more thoughtful the project is, the easier it is to make all kinds of calculations of the required material. There are no trifles in construction, and absolutely everything must be taken into account. If the calculations are made correctly, and the project includes all sorts of little things, then the construction will take place with ease.
How to build a freestanding structure?
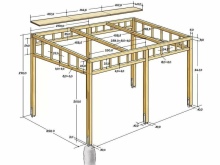
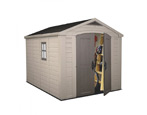
Sun canopies are often built as a free-standing building. The building has a variety of functions. It is not difficult to build a structure, and it will be cheaper than ordering from a construction team. Often, such structures are erected for storing vegetables or some kind of things, as well as for parking a car. In order to correctly construct a detached shed, you need to use the exact diagrams and drawings drawn up when designing the building.
Step-by-step master class.
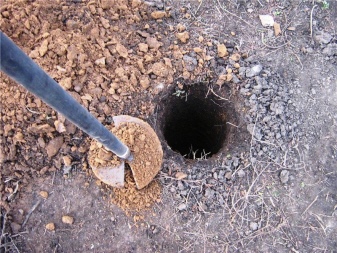
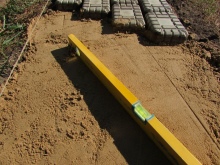
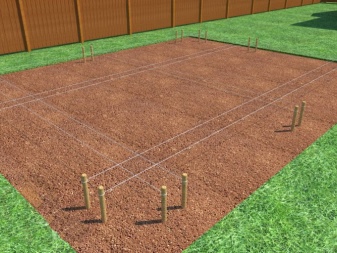
- Any construction must start from the foundation. Part of the top layer of soil should be removed, the selected area should be cleaned of dirt, weeds and stones.
- Next, measure out the place where the corners of the new building will be.
- Holes are made in the corners. Their depth depends on the condition of the soil and climate.
- A small sand cushion is made at the bottom of the hole.
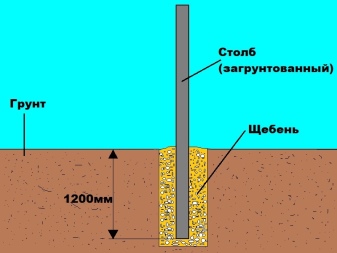
- Wooden supports, which will serve as vertical posts, are lowered into the hole. For durability and protection from decay, it is better to treat them with a special impregnation or wrap them with a piece of roofing material.
- Next, the holes are sprinkled with gravel, the supports are leveled, and the concrete is poured.
After the concrete mixture has completely dried, you can proceed to further construction work. It takes several days for the concrete to completely harden, so in no case should you rush. Next, there is a bunch of vertical pillars with horizontal bridges. The frame of the future canopy is being erected.
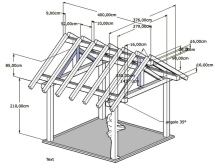
The easiest way to build a pitched roof. To do this, a beam is attached to the supports from above, connected by a kind of rafters, which are installed at a distance of about a meter from each other.
It is necessary to take into account the slope of the roof for precipitation.

The crate is attached to the rafters. It can be nailed down with regular nails. If you plan to use corrugated board or slate as a roofing material, the crate can be pounded at intervals. If the roof is sheathed with soft tiles or roll roofing, then it is better to use boards for the lathing, between which there will be minimal gaps.
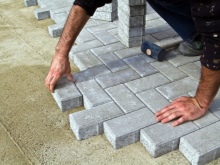
After that, you should start finishing under the canopy itself. First, lay the floor from boards, tiles or pour a cement screed. All wooden parts of the canopy must be impregnated with a special compound.
Construction of a canopy over the porch
It is recommended to study all instructions for the construction of this building. You also need to carefully listen to the recommendations of the best specialists.
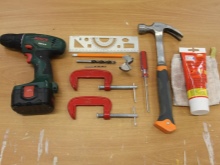
Tools and materials
To build a canopy over the porch, you will need the following inventory:
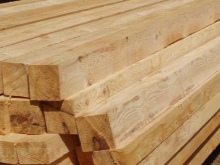
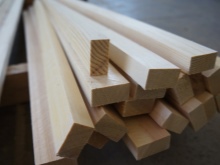
- bar 15x15 cm;
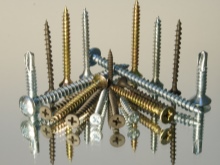
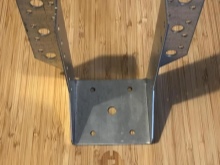
- self-tapping screws, nails, screws, anchor bolts, staples for fastening wooden structures;
- shovel;
- saw, screwdriver, tape measure, ax, plumb line, jigsaw.
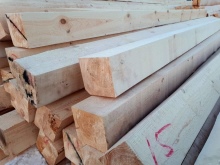
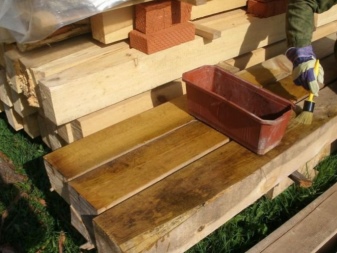
Before carrying out work, it is necessary to carry out preparation. It is necessary to mark the territory, determine where the supports will be located. The underside of the wooden beams should be soaked in materials that repel water. This will prevent rotting.
Beam installation
First, you need to plan the base on which the entire structure will stand, attached to the wooden structure. Many people advise to mount the canopy on simple wooden decks. Then nail the crate onto them and cover the roof. This, of course, is the simplest solution to the problem, but there is a risk that the building may move away from the house during heavy rain. And if the ground in this place is very soft, then the canopy may tilt or skew. These facts should be taken into account when building a building.

As a result, professionals advise to mount the building on concrete supports, which will provide the necessary stability and strength. This will be a solid foundation. The construction process takes place in several stages.
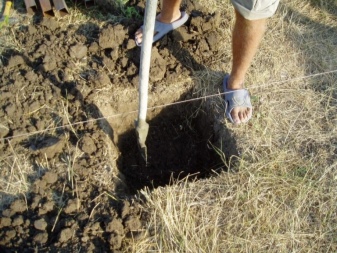
- First, holes are dug to the desired depth. It is better not to make a strip foundation, since it requires a lot of costs. A round columnar bottle will work better. For work, you will need a drill, the diameter of which is 0.35 m. The depth of the holes dug is at least 0.5 m. This will ensure the stability of the canopy and protect the building from subsidence.
If necessary, pits can be dug with a bayonet shovel.

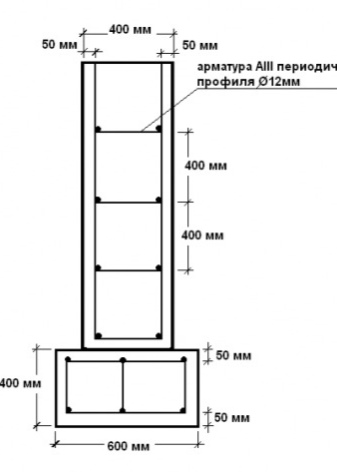
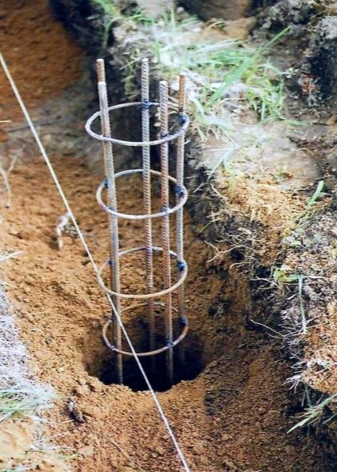
- The second step is to make reinforcement. Note the fact that in this case it is not necessary to mount the formwork. Reinforcement rods are laid in the pit. The thickness of the rods should be about 8 mm. It is necessary to take 4 rods and tie them together with a knitting wire at a distance of 30 cm. The finished structure is placed in the pits.
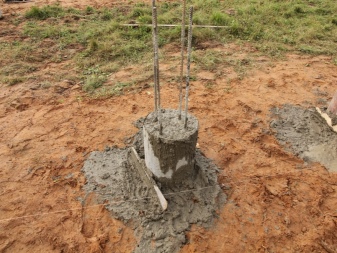
- Further, the supports are poured with concrete. For a wooden building, cement of the M200 brand is suitable. It is mixed in a ratio of 1: 4. It is better to make the consistency more liquid. Prepared pits with reinforcement are poured to the very top. Then the base is mounted. It will raise the structure by 15-20 cm. This will prevent rotting of the wooden components of the canopy. It will be necessary to make the formwork of the desired height. For this, you can use old boards. The cavity is filled with concrete. The boards are removed from the formwork after 3 days.

Then you should prepare wooden logs with a diameter of 30 cm. They are installed around the perimeter of the base. The first strapping will pass through the blocks.
Installation of vertical supports
Procedure:
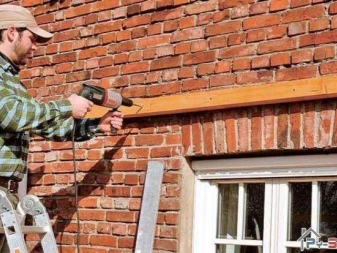
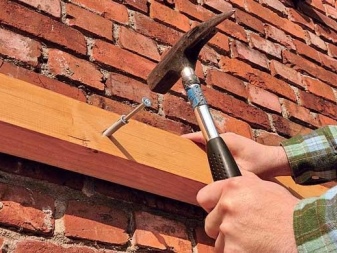
- on the wall of the house you need to apply markings with a pencil, after having measured everything;
- the beam is screwed to the wall with self-tapping screws;
- further, to strengthen the beams, a triangular structure is installed.
Support bars can be mounted in three ways:
- the bar is attached to the formwork;
- a thrust bearing is installed, then a bar is attached;
- the thrust bearing can be fitted onto a wooden or concrete part of the base.
The method of fastening must be selected taking into account the total mass of the structure. If it is compact, then the first technology can be chosen. With a sufficiently large construction weight, it is better to use the second and third options.
Roof installation
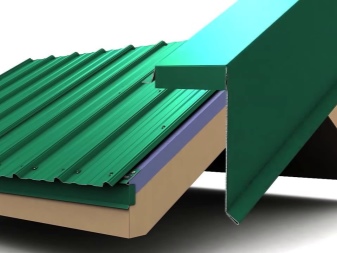
Everyone chooses the coating according to his taste. It can be slate, iron, polycarbonate. The latter material is very popular. To install it, you will need to buy self-tapping screws, special washers with soft pads, an end profile, and connectors.

The works are carried out in the following sequence.
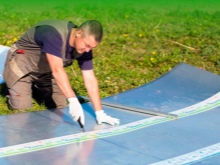
- Cut the polycarbonate with special scissors. The seams should fit into the sheathing. The joint should not hit the stiffeners.
- A sealing tape must be attached to each joint of the sheets. It is better to drill polycarbonate at the points of its attachment to the crate.
- Place a soft seal under the wide washers.
- It is better to connect polycarbonate sheets with a special connecting strip.
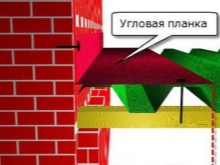
- An angular profile is installed along the perimeter.

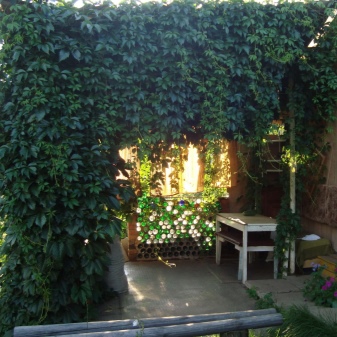
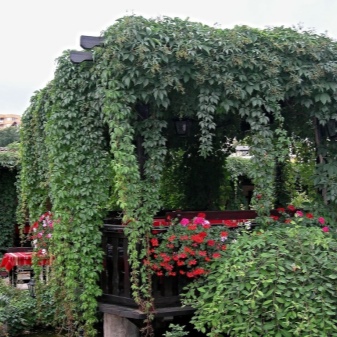
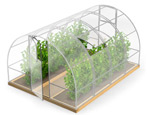
It is noteworthy that many owners do not put roofing material on the roof.They plant climbing varieties of plants around the canopy. Growing up, cultures create a green roof that delights their owners with beauty.
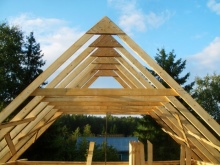
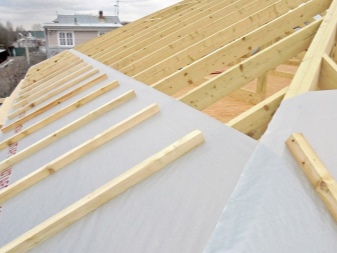
Installation of rafters
To install the rafters, you need to measure everything well. The work requires great care and accuracy. You will need a bar measuring 150x50 mm. This section is necessary for a 6-meter span. It will be necessary to take into account the specific gravity of the building and the simplest slope. The rafters should lie at least 1 m apart from each other. One end of the bar is attached to the support beam, the other side is securely attached to the rack. The rafters must be positioned in a perpendicular direction. They are fixed in 4 ways:
- using self-tapping screws;
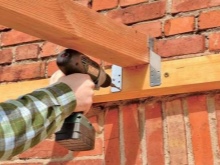
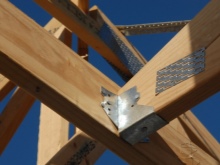
- using metal corners;
- if the wall is made of bricks, it should be fixed with dowels or consoles;
- experts use anchor bolts if the surface is concrete.

To prevent skewing, the rafters are placed on one level.
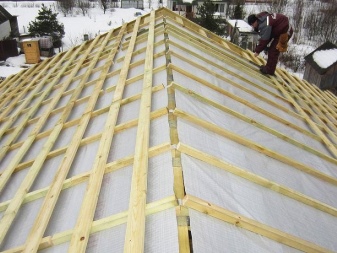
Lathing:
- markings are applied to the rafters with a pencil for cutting grooves;
- depressions are made 4 cm in size;
- boards are inserted into the cut grooves of the supporting structures;
- after installing the lathing, all elements are securely fixed with corners.
Upon completion of all previous operations, you can begin to fix the roofing material.
How to make a visor with your own hands?
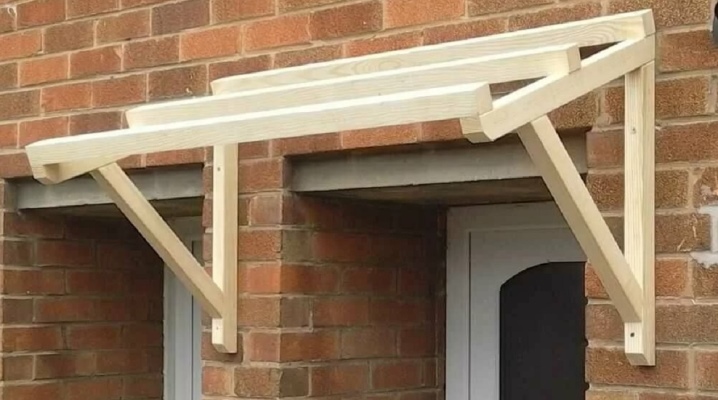
The simplest type of canopy over the porch is a canopy, which is very easy to build with your own hands. A simple structure of small dimensions is made on the ground, and then it is fixed above the porch.
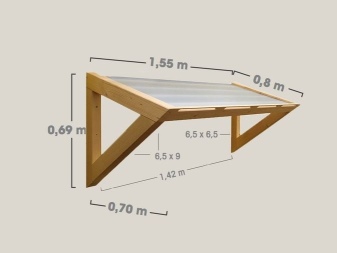
For those who are just learning to build, the easiest option for self-production will be a shed visor. First, a drawing is made and dimensions are determined. The canopy is usually at least half a meter wider than the porch, has a slope length of 80 cm. A 7.5x7.5 cm beam is perfect for consoles, and it is better to use a thinner material for the crate, for example, 5 cm, with a 30-degree tilt angle. All parts of the future visor must be painted or treated with wood preservatives.

The design of the visor consists of 3 bars.
- Vertical - it is attached to the wall and is the base to which a crossbar with a strut is attached.
- Supporting - it is attached to the crossbar and the crate is assembled. It attaches behind the visor to each of the risers. Supports with rafters are connected by rails or boards using self-tapping screws in the form of a triangle. The structure frame is covered with any available roofing material.
- Strut.
To reduce the noise level from precipitation, you need to lay insulation or roofing material on the rafters.
The structure can be attached to the wall of the house using anchors. The fasteners should be of considerable length and two-thirds of the way into the wall to support the weight of the visor.
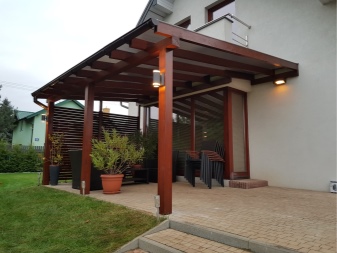
A wooden shed near a private house creates additional space protected from atmospheric precipitation. It is suitable for use as a parking lot, an open summer veranda or a decorative extension, which, subject to a competent approach to planning and construction, can be a decoration of the site. Summing up the above, we can say with confidence that if you are confident in your abilities, it will not be difficult to build a shed to the house on your own. Otherwise, it is better to entrust this work to professionals.
For information on how to make a canopy out of wood with your own hands, see the next video.


The comment was sent successfully.