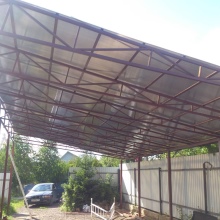
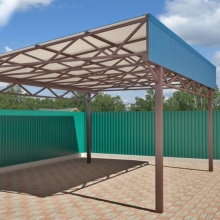
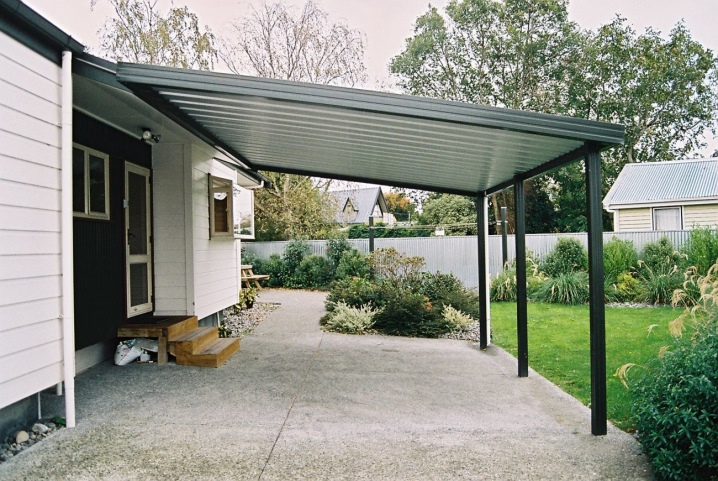
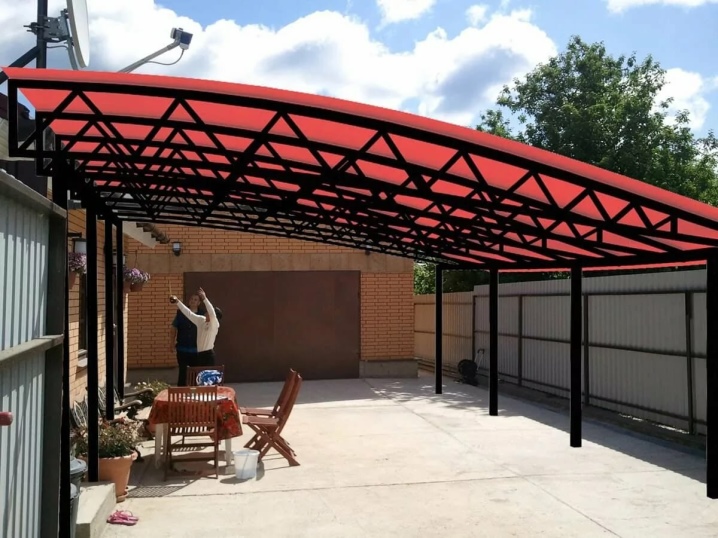
Single-pitched canopies made of metal profiles
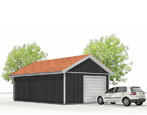
Sheds made of metal profiles are in demand among owners of suburban areas, since it is possible to effectively organize a recreation area or car parking, providing protection from atmospheric precipitation. You can make a lean-to canopy by using different technologies and using scrap materials.
Peculiarities
Many people consider single-pitched canopies made of metal profiles to be a versatile and reliable design. The features of such structures include the following.
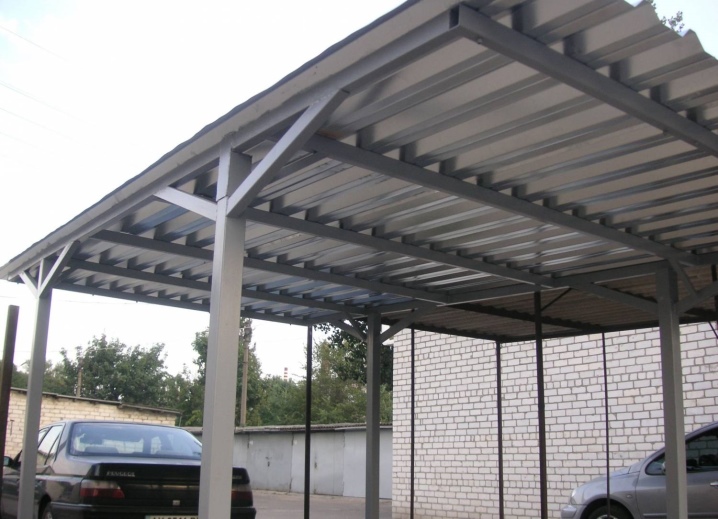
- Simple manufacturing technology. It is not difficult to make canopies from corrugated board. This is a primitive frame with lathing elements, the installation of which is carried out on four or more supports.
- Affordable cost. The profile pipe, which will need to be purchased to organize the racks of the future canopy, is inexpensive. Of course, the cost of a metal profile may vary based on the size, quality of the metal and the purpose. However, almost everyone can afford to buy such products.
- Long service life. With proper processing of the metal frame, the structure will last a long time, will not rust or deteriorate. It is recommended to regularly update the protection to increase the service life.
The listed features make metal profile frames in demand in country houses. The advantage of a metal lean-to canopy is that it creates a reliable shelter from rain from snow, retaining its color and original beauty for a long time, while requiring virtually no maintenance.
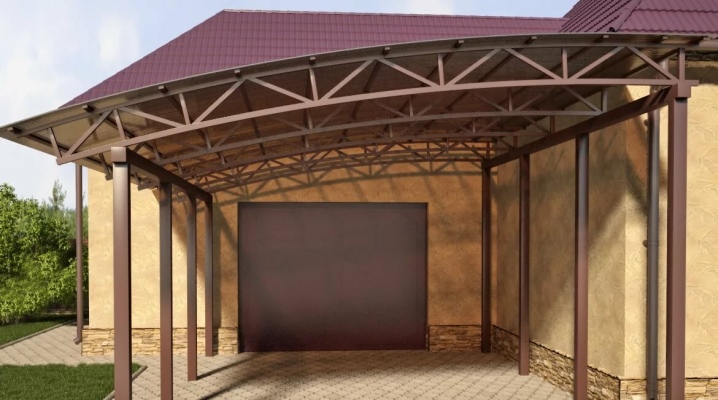
What are the awnings?
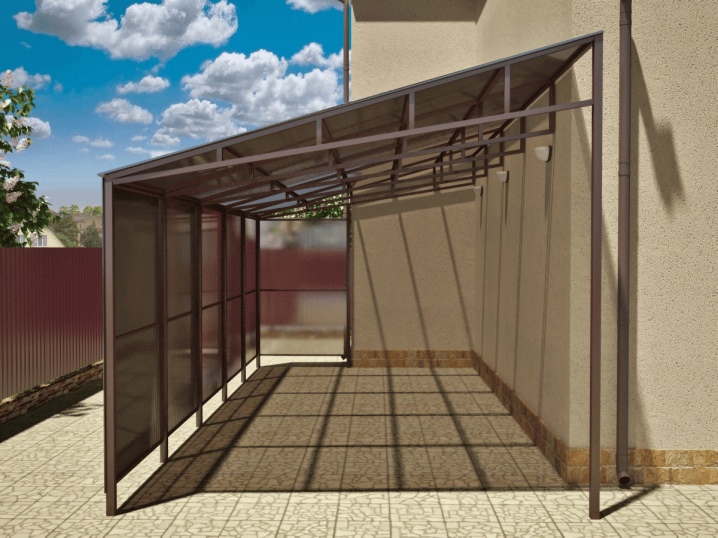
A metal profile canopy adjacent to the house can have a different design and be made of different materials. Basically, such structures are made:
- single-pitched;
- arched;
- with a flat roof.
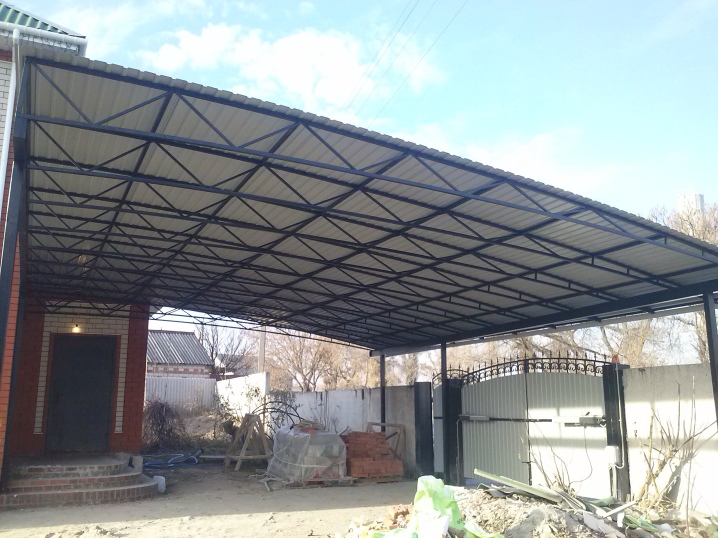
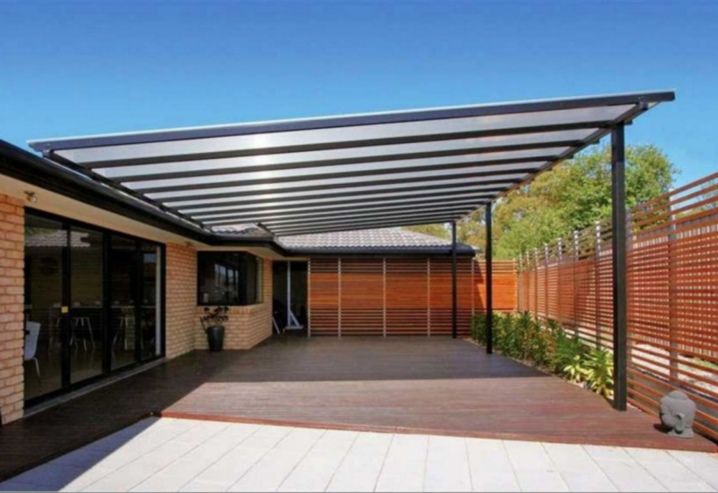
To create a canopy frame attached to a house, a steel pipe or a wooden block of square section is often used. The most common design option is a lean-to shed with an abutment to the house.
The structures are distinguished by their reliability, low price and ease of installation.
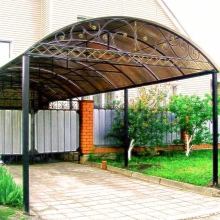
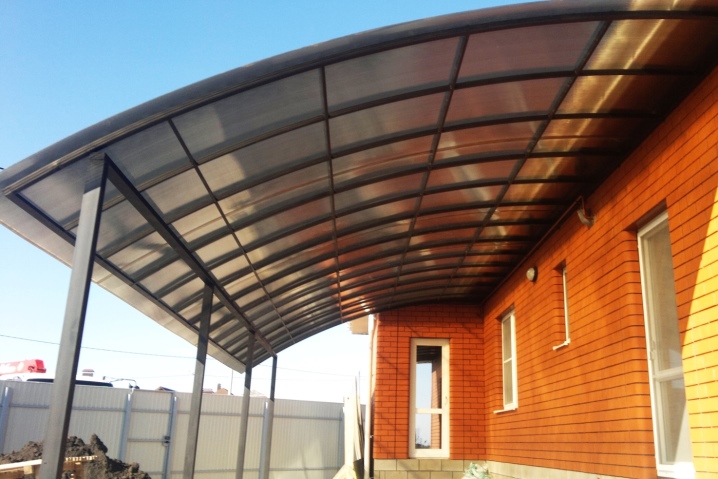
Arched awnings are also installed, but not so often, compared to the first option. The disadvantage of such structures is the complexity of installation. It is not the first time that it is possible to bend the profile pipes equally to create trusses, especially if the work is carried out independently.
Flat roof sheds are in demand in the southern regions. In the middle and northern lane, such structures will not cope with the load from the snow. In order for the roof of a flat canopy to withstand the impressive pressure, a profiled sheet with a large wave height is required to create it.
Site selection and preparation
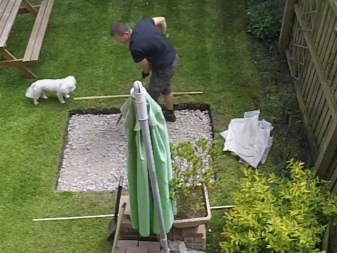
The construction of the future shed begins with the selection and preparation of a site in the courtyard on which it is planned to build an object. It is recommended to choose a place taking into account the purpose of the future structure. So, if you plan to build a lean-to canopy to protect the gazebo or car parking, you should first take care of the required dimensions of the site and calculate the number of supports that can withstand the planned load.
To properly prepare the chosen place for further work, you need to do the following.
- Thoroughly clear the area from vegetation and debris. If the installation of a canopy is required for the improvement and protection of the recreation area, it is not necessary to get rid of the grass.
- Level the surface by filling in depressions or cutting ridges. Otherwise, it will not be possible to build an even and stable canopy.
- If it is planned in the future to fill the area under a canopy with concrete or organize another coating, it is worth removing the top layer of soil 10-15 cm thick.The fact is that it contains plants and their seeds that can break through the coating and destroy it.
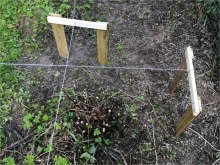
- Mark out to mark the location of the canopy supports. Before this, it is recommended to carry out the required calculations to calculate the number of supports and the pitch between the posts. The markup is the outline of a rectangle on the ground. In this case, it is important that the figure is drawn without distortions in order to prevent a decrease in the strength of the structure during assembly.
- In places where it is required to install supports, make recesses with a depth capable of exceeding the freezing mark of the soil by 10-15 cm. Subsequently, cement mortar will be poured into the recesses to form a foundation.
When all the work on the preparation of the site has been completed, you can proceed to the construction of the canopy.

Tools and materials
If it was decided to make a shed canopy on your own, you should take a responsible approach to the selection of suitable tools and materials. The choice of components is carried out taking into account:
- finance;
- appearance project;
- architecture constructions.

The advantages of choosing a metal frame are obvious:
- long service life;
- minimum care requirements;
- compactness;
- ease of installation.
The only drawback of this design is the complexity of processing, since some processes may require a welding machine or an electric drill.... For the construction of the supports of the future frame, asbestos-cement pipes filled with concrete are often used. They are distinguished by their high strength and fast construction time. As for the roof of the canopy, they generally prefer corrugated sheets.
It is a strong and durable material that is available in different designs and colors.
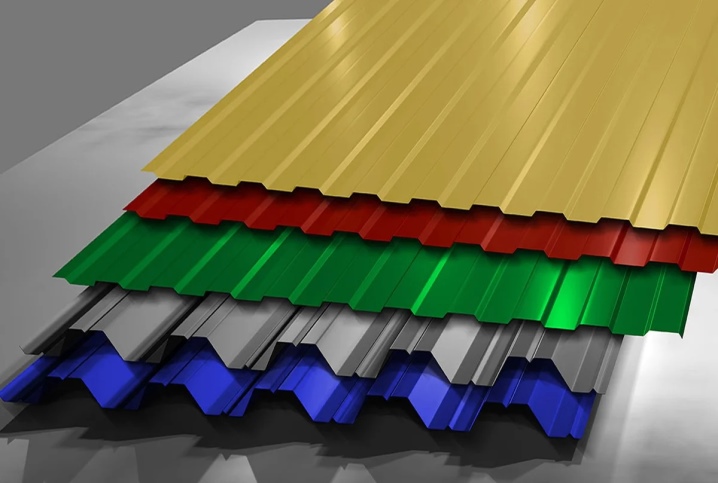
Other available roofing options for metal profile canopies are as follows.
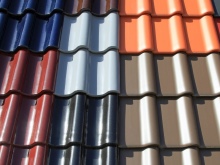
- Metal tiles. The difference is the original shape, which resembles ceramic tiles. To obtain it, a thin sheet of steel is used, which requires laying such material on slopes with a slope of more than 12 degrees.
- Ondulin. Low-cost coating, which is a rolled bitumen material. The disadvantage is a short service life, which does not exceed 15 years. In addition, the appearance of the material also leaves much to be desired.
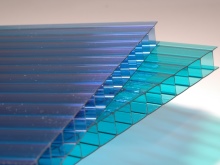
- Cellular polycarbonate. Plastic transparent and flexible roof. The advantages include low weight and resistance to rust formation during operation.
The latter option is best suited for awnings that are installed over swimming pools or recreation areas.
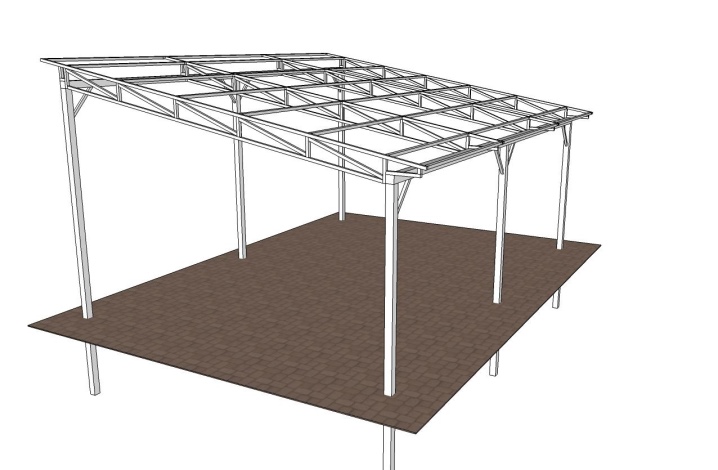
DIY manufacturing steps
To make a shed canopy yourself, you will need to make a structural calculation to determine the appropriate dimensions of the elements in question. It is recommended to calculate the canopy frame for the load from the weight of the snow and the assembly load, the racks are calculated for the wind.
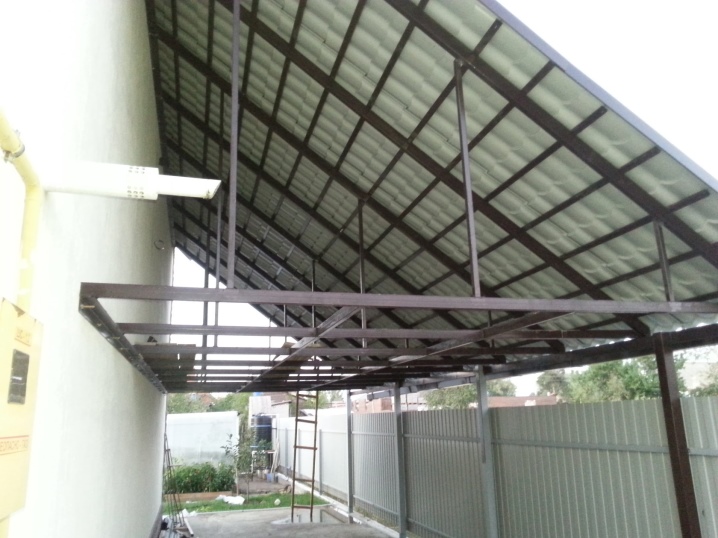
Foundation
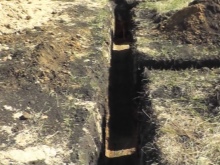
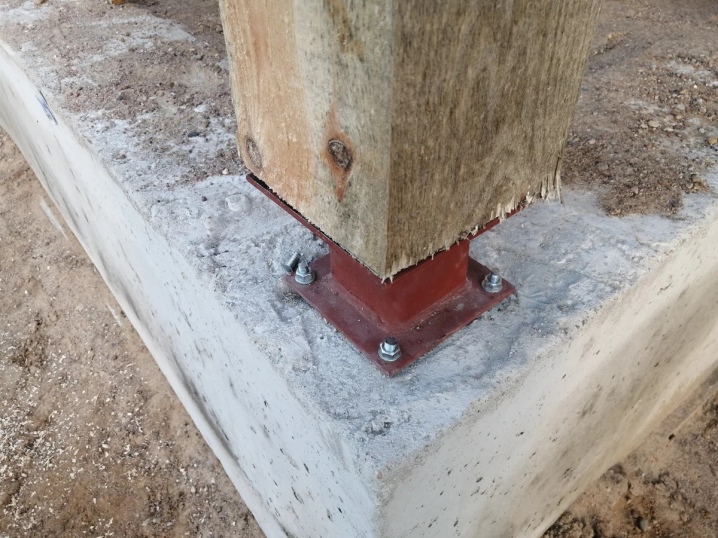
Before proceeding with the construction of the structure, it is necessary to prepare the base for its installation. In this case, soil is taken out in predetermined places where it is planned to install supports. A layer of crushed stone is poured onto the bottom of the formed pit, which is subsequently rammed to achieve the required strength.
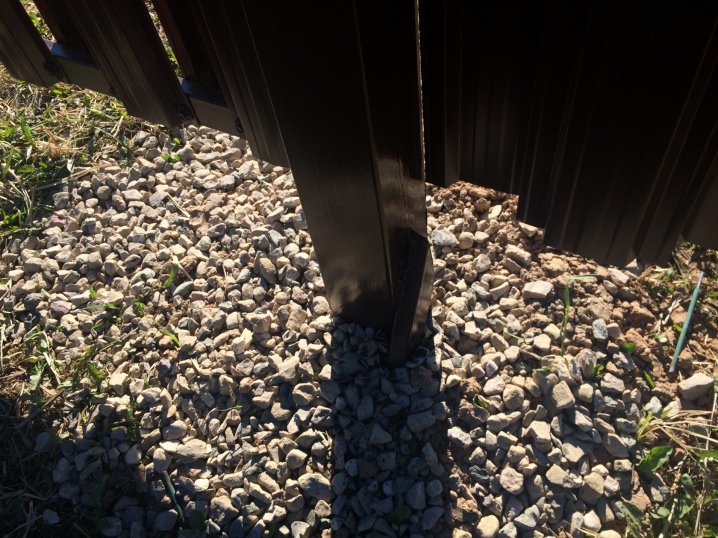
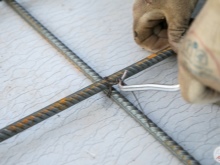
The next stage of foundation preparation is the installation of a mortgage with welded bolts. You can also use reinforcement if you want to achieve maximum structural strength. When all the elements are exposed, prepared cement mortar is poured into the remaining space. The side walls of the future canopy are assembled by connecting trusses and pillars that will serve as a support.When carrying out foundation work, it is necessary to pay attention to the dimensions of the structure indicated in the drawing.
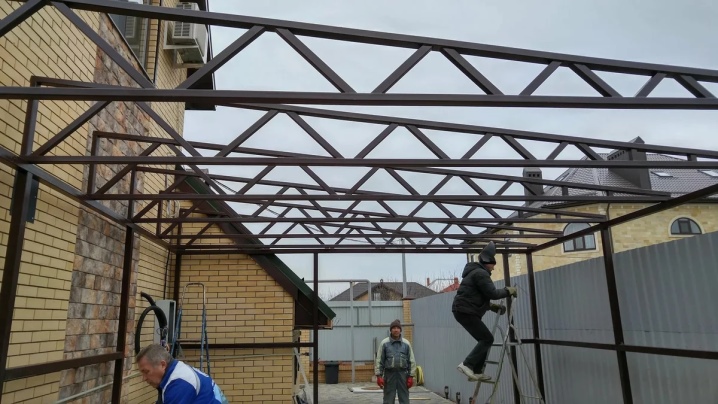
Frame installation
The assembly of the structure is carried out according to the scheme in one of the following ways.
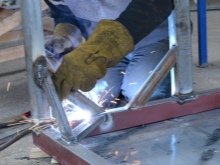
- Welding. This option is suitable for owners of welding machines and those who are used to working with metal. It is important to know how to properly cook a canopy from a metal profile. If there are no skills in carrying out such work, it is recommended to choose another method.
- Using threaded connections. In this case, you will need to stock up on metal corners and fasteners in the form of bolts.
- With the use of clamps. A simple and convenient way that does not take much time.

Assembling the frame is a simple and quite economical process. A do-it-yourself canopy will be cheaper than a custom-made or purchased design.
Roof sheathing
The next stage after installing the frame involves laying the roof from the profiled sheet. It is performed in several steps.
- First, the installation of the roof sheathing is carried out, on which the corrugated board will then be laid. The procedure is standard. It is enough to sew several wooden beams across the beams over the metal frame. Fastening of a bar with beams is carried out by using self-tapping screws. Of course, the corrugated board can be immediately screwed to the metal frame, but in this case, you will need to pre-calculate the structure by determining the pitch of the roofing material. So, for example, it can be a 4x6 or 5 by 6 construction.
- The second step involves attaching the corrugated board to the crate. The process is carried out using self-tapping screws with press washers, which have rubber gaskets. Self-tapping screws are installed through the wave into the lower part to prevent deformation.
- Roofing is the final stage. With its help, it will be possible to make the appearance of the canopy ceiling more attractive, as well as hide the wires that lead to the lighting fixtures behind the sheathing.
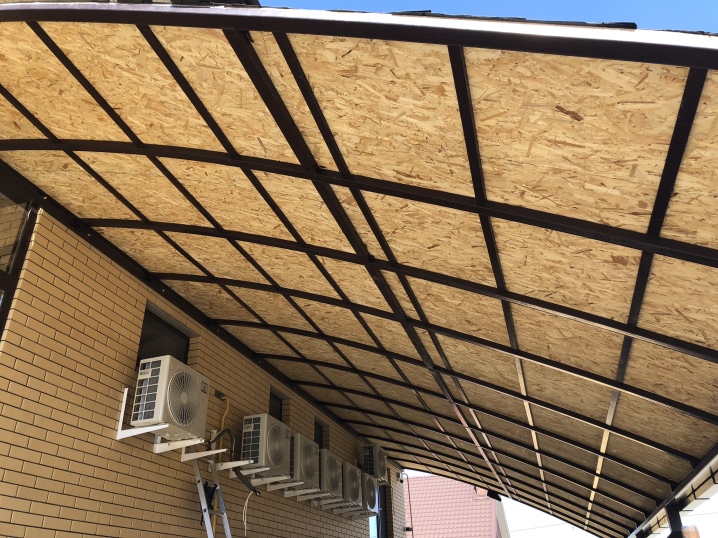
It is recommended to lay the corrugated board with an overlap to prevent the roof from leaking. A single-slope canopy made of a metal profile is a universal solution that will not only protect the selected area from external influences in the form of precipitation, but will also look attractive on the site.
For information on how to make a lean-to canopy from a metal profile with your own hands, see the next video.


The comment was sent successfully.