How to make a change house with your own hands?
In order to be able to constantly rest from the bustle of the city and have fun outside the city with friends, many people prefer to acquire plots of land on which they build comfortable housing. Before starting construction work, you need to worry about having a temporary habitat where you can eat, take a shower, relax and even sleep. A change house is perfect for this, which can be quickly erected with your own hands from any material and placed in the summer cottage.
What kind of cabins can you build?
Despite the fact that the change house is considered by all operational characteristics to be a utility room, its construction and arrangement should be treated responsibly, choosing high-quality building materials and performing decorative finishes in order to create an atmosphere conducive to relaxation.
Before starting the process of building a change house, you need to prepare drawings that you can do yourself or purchase ready-made.
Thanks to the drawings, it will be easy to calculate the required amount of building materials and find the right place for the building, which must necessarily fit well into the landscape design of the site. In addition, you will need a communication system connection diagram.
The layout and dimensions of the building are selected individually, depending on personal preferences and the functions that it will perform. A temporary change house of industrial production, as a rule, has standard dimensions - from 5 to 6 m in length and 2.5 m in width and height. If it is planned to build a wooden or metal structure according to individual projects, then its dimensions may be different.
Buy (rent) a ready-made carriage or engage in the construction of frame structures - each owner of the site decides independently. To do this, you need to calculate all the costs associated with the installation of such a structure.
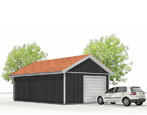
So, renting a trailer from neighbors or friends will be a good budget option, but you need to give it back at the end of the work, and then you have to think about where to store tools, garden tools, and so on. If you choose independent construction, then you can get a lot of advantages. Over time, such a change house can be easily converted into a small garage, summer kitchen or shower room.
To date, cabins in suburban areas are built using the following schemes:
- frame structure made of lumber, wooden beams and boards;
- construction with a metal frame and a sub-floor base;
- temporary house made of panel materials, externally sheathed with OSB plates;
- temporary structure made of plywood sheets;
- warm change house, assembled from sandwich panels.
All of the above schemes can be used for the independent construction of a residential block, even for novice craftsmen who have no experience. At the same time, it is important to take into account the peculiarities of each type of change houses.
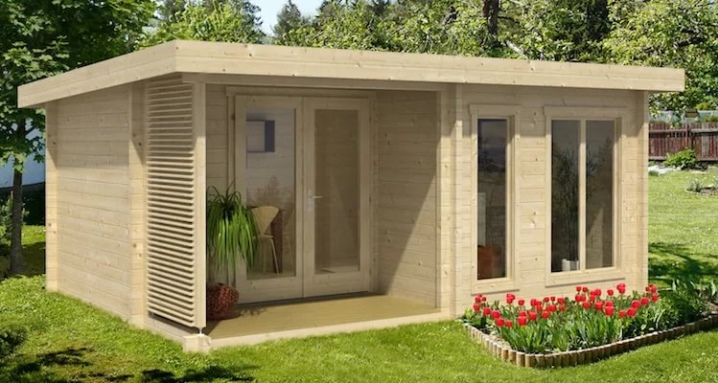
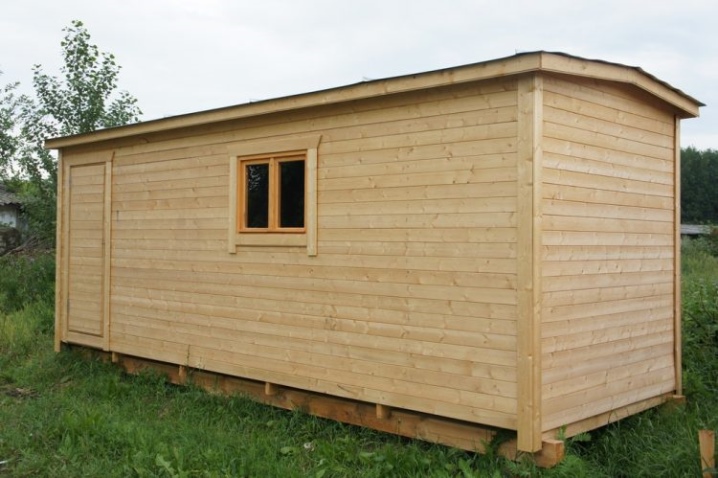
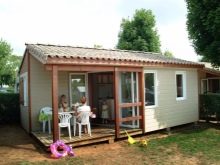
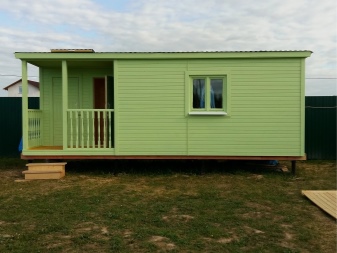
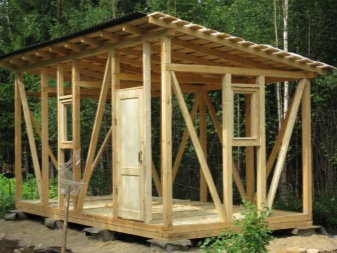
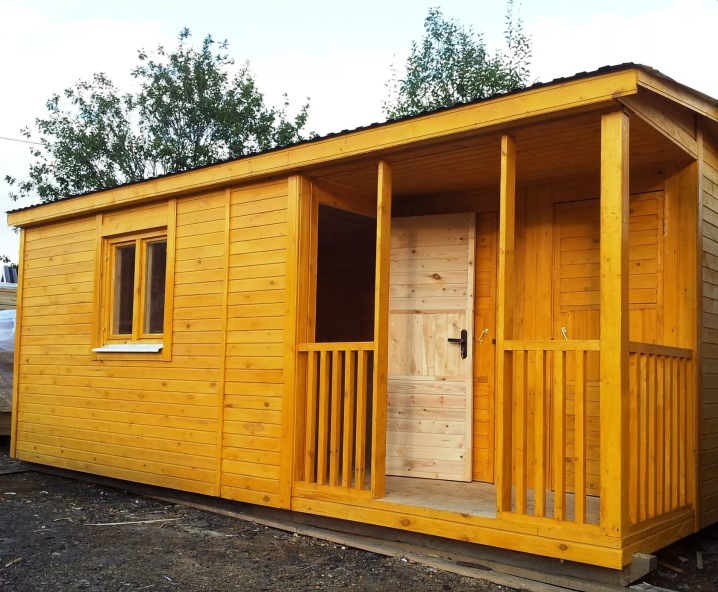
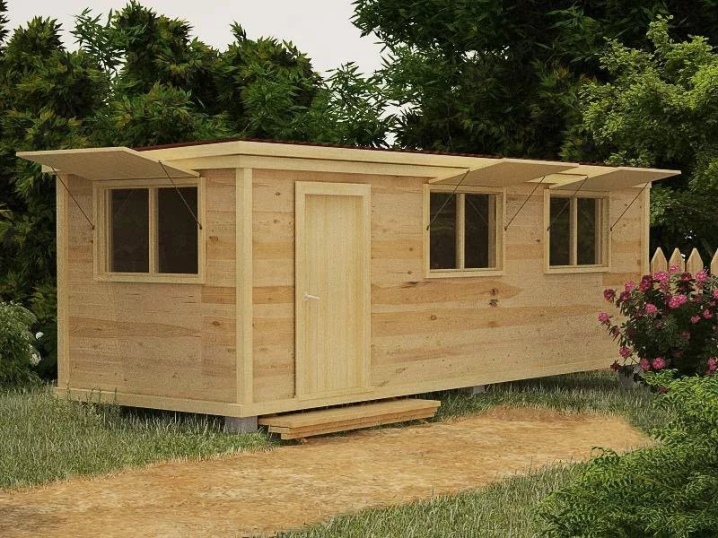
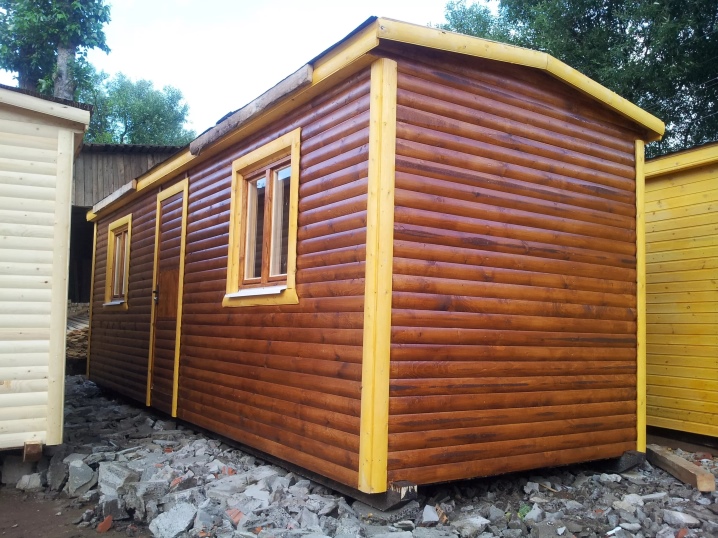
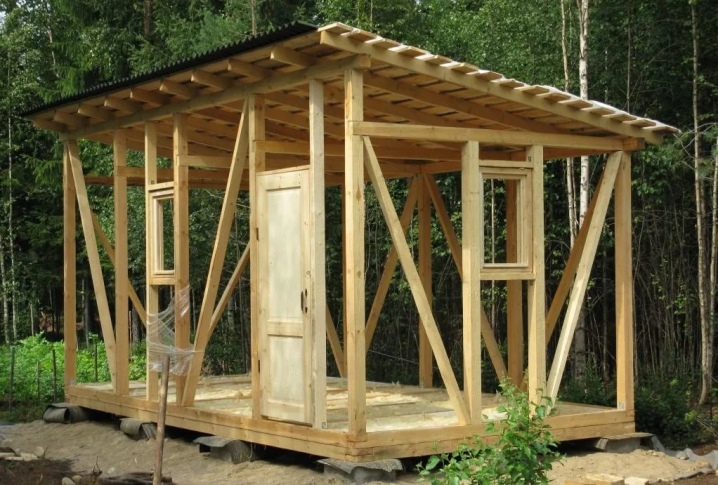
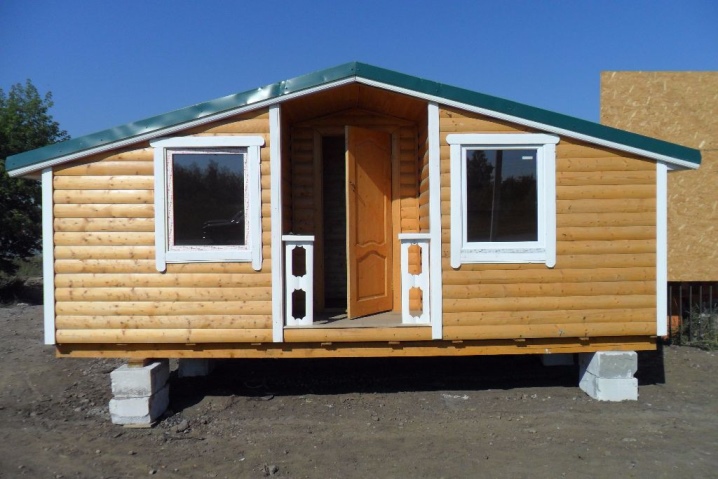
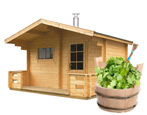
Wooden
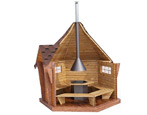
It is recommended to choose this option when the temporary living block is planned to be used in the future as a summer kitchen or a bathroom. For the construction of such a change house, it is necessary to purchase a bar with a thickness of at least 70-90 mm. The box is installed on a foundation pre-filled with concrete or on bored piles.
The non-insulated structure can be operated from May to October (during the most intensive work in the country), for winter pastime, the building will have to be well insulated and an additional heating system installed.
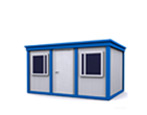
Shield
They are standard inexpensive wagons, which are built according to the panel layout. The main part of the details of such a change house (for the roof, floor, walls and interior cladding) is sold as a ready-made kit. It is enough to bring it to the construction site and install it according to the instructions that are attached to the assembly by the manufacturer. The main advantages of switchboard cabins include quick and easy installation, minimal availability of required tools (saw, screwdriver), low cost, no need to lay insulation.
The walls of temporary housing are usually assembled without a frame from plywood sheets, and this is their disadvantage, since the building can be deformed due to a strong storm wind.
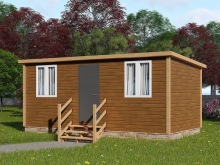
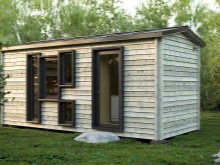
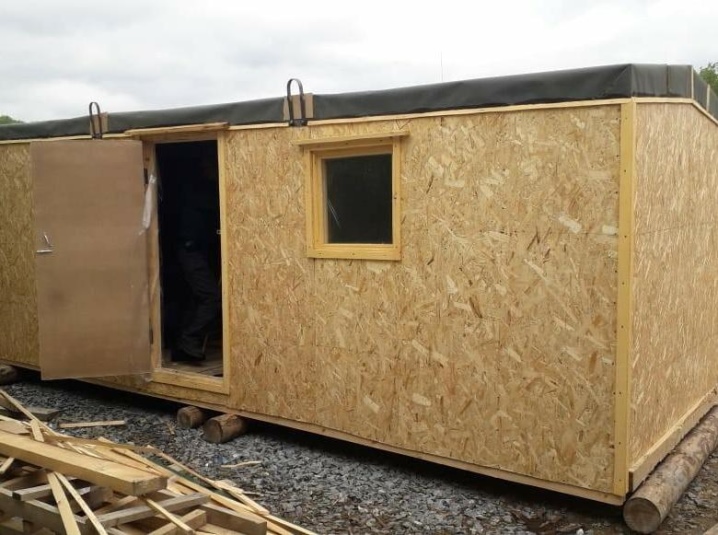
From OSB boards
Today, most of the summer residents prefer to build cabins in the form of frame structures, sheathed outside with OSB plates.
In terms of its operational characteristics, this building material is in many ways similar to plywood, but unlike it, it has increased sound and thermal insulation.
The only thing is that the strength of OSB slabs is lower, therefore, it is recommended to build frame structures from them not panel ones. In addition, the cost of such cabins is higher, since the wooden frame must be additionally sheathed for insulation with expanded polystyrene sheets.
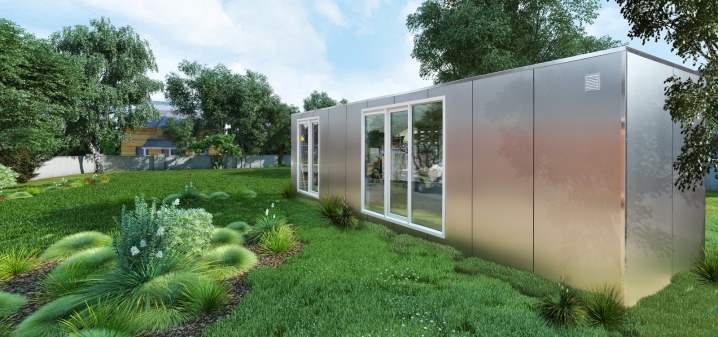
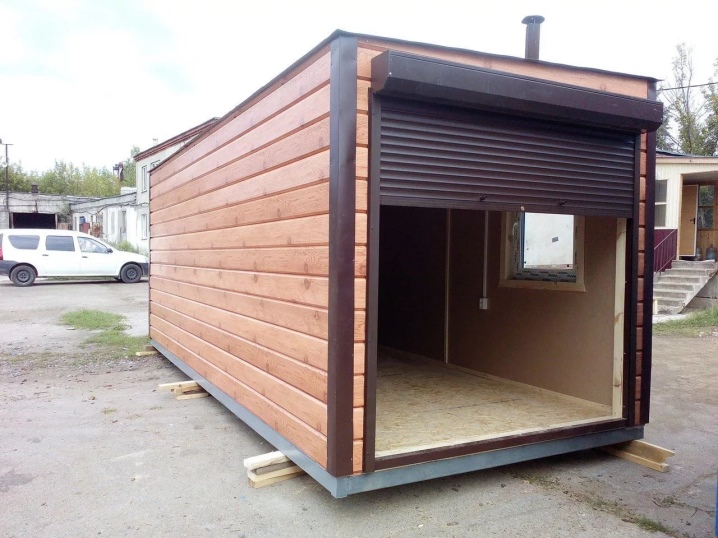
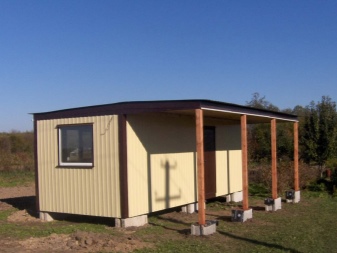
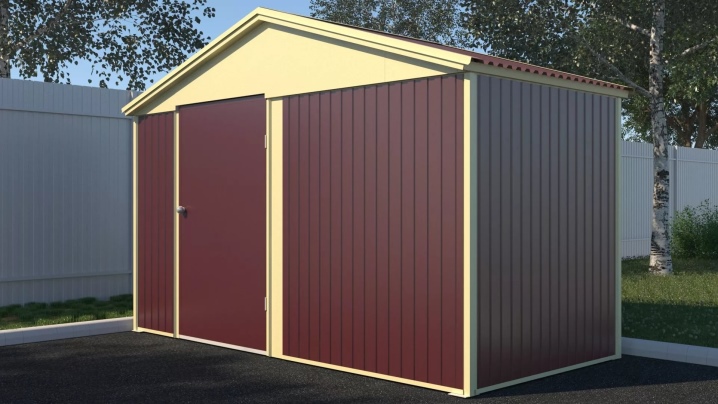
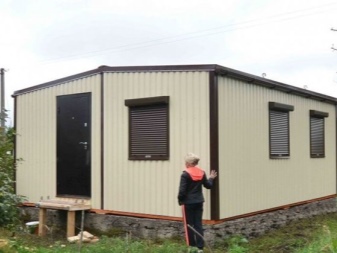
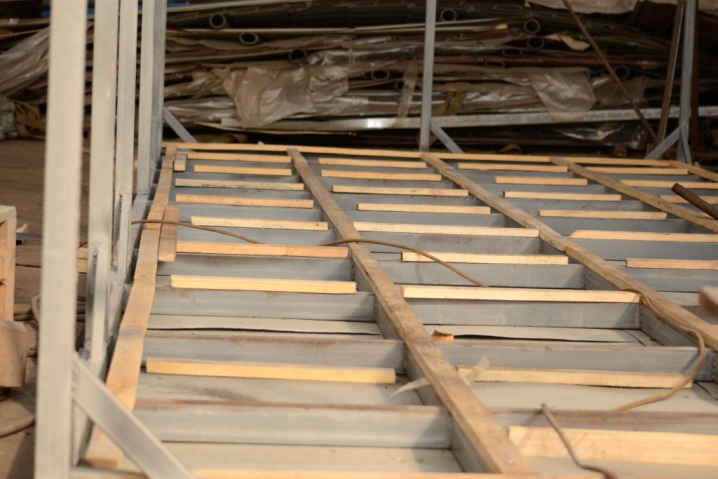
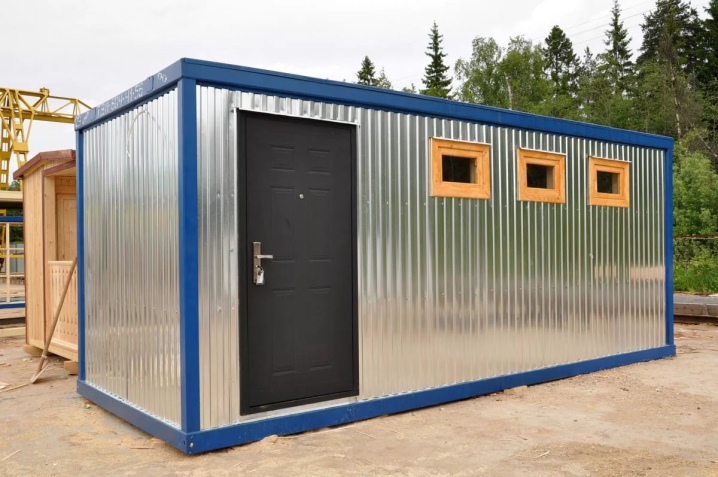
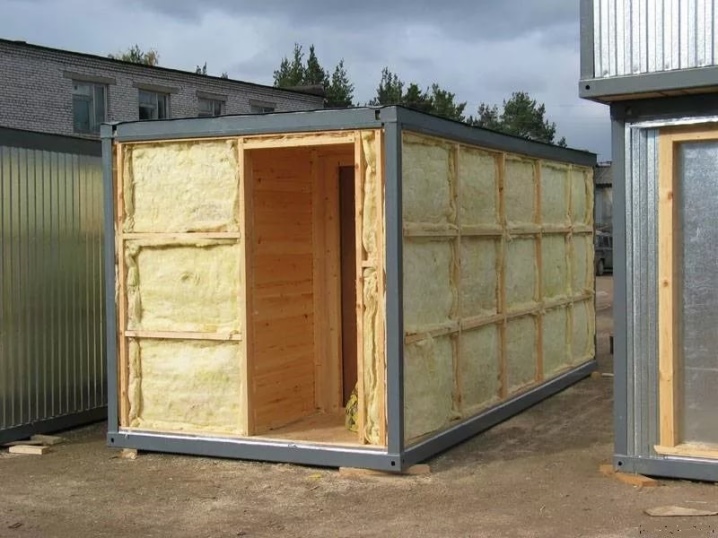
From a metal profile
In order for the change house to be suitable for further conversion into a garage or utility block, it should be made mobile and built using a metal frame made of square pipes. It is impossible to sheathe the structure inside and outside with sheet metal, since it will be hot in summer and cold in winter.
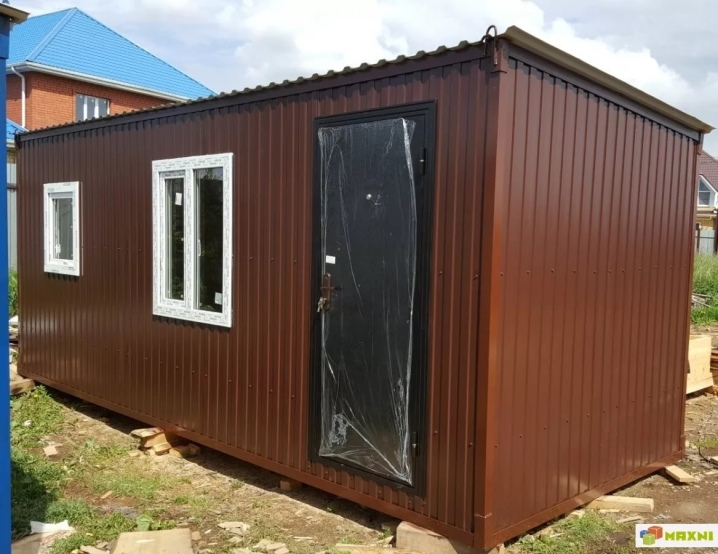
Such cabins are characterized by high strength, but they are not cheap, since they should be insulated with an insulating material of decent thickness. In addition, metal costs several times more than wood and is more difficult to transport. Therefore, experts recommend choosing construction from a metal profile in the case when you need to get a capital utility block with a high level of comfort at the dacha.
From sandwich panels
Of all the above types of cabins, temporary housing, assembled from sandwich panels, is the most comfortable, safe and warm. The only drawback of such structures is the complex installation process, since industrial metal sandwich panels are produced in large sizes 6x3 m. It is possible to build comfortable utility blocks, garages and hangars from this material, but it is not suitable for the construction of residential premises.
The process of assembling sandwich panels itself is similar to the technology of erecting panel houses, when pre-cut blocks of foam are pasted over with OSB plates, everything is laid on a rough frame and fixed with polyurethane foam.

Choosing a place to build
Before planning the installation of a change house, it is important to think over the location of its placement in advance. This structure must be placed on the site in such a way that it is convenient to use, does not interfere with movement and harmoniously fits into the general view of landscape design.
In addition, when choosing a place in the country for the construction of a change house, you should take into account some important points.
- First of all, it is necessary to decide on whether it will be planned in the future to transport the outbuilding to another site, or whether it should be stationary. So, if the construction of a residential building will take several seasons, then you can get by with a temporary change house, which is best located at the exit from the yard.In the event that a building is planned to be converted into a bathhouse or a summer kitchen in the future, it must be installed next to a residential building, but so that it is combined with other annexes.
- When installing a change house, which will later be converted into a shower or Russian bath, it is important to observe fire safety measures. To do this, it should be built in a remote corner of the suburban area.
List of building materials
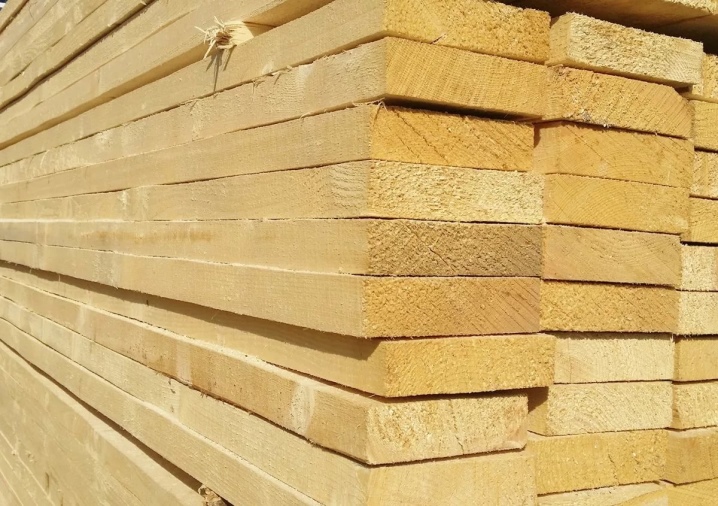
After the issue has been resolved with the layout, drawings and construction diagrams, it remains to purchase the appropriate building materials and start building the building. To do this, it is worthwhile to first make an estimate by calculating the amount of building material. In the event that a tree is used during construction, then you will need to purchase a board and a beam for mounting the frame. Inside, the change house can be sheathed with clapboard, having laid the insulation in advance. If the frame is planned to be cooked from metal, then you will have to buy square pipes.
The installation of a change house made of sandwich panels will cost more, but it will last much longer and will delight with its attractive appearance.
When choosing a building material, it is worth paying attention to a number of points.
- In order to make the base of the frame structure out of wood, strapping beams or racks are used. To do this, purchase a beam of 10x5 cm in size.To insulate the change house, it is necessary to make the walls thicker, increasing the cross-section of the racks to 15 cm.
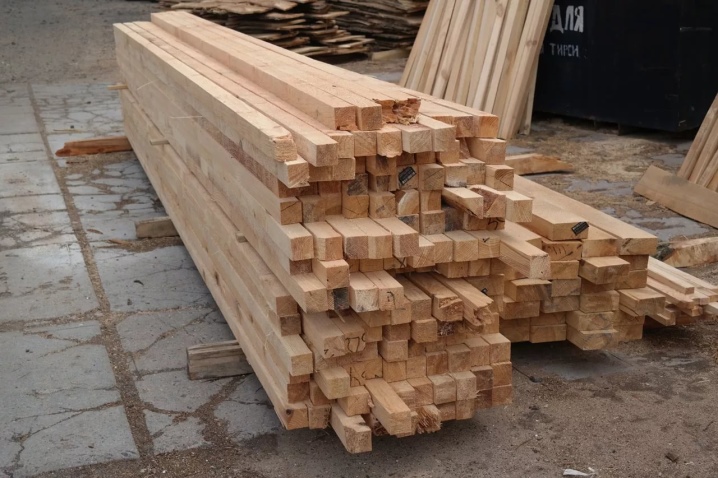
- Rafters and floor joists are usually made from edged boards measuring 50x100 mm. As for the jumpers and jibs, then they will need beams with a section of 50x50 mm. Boards of 25x100 mm in size will be useful for creating a lathing under the roof.
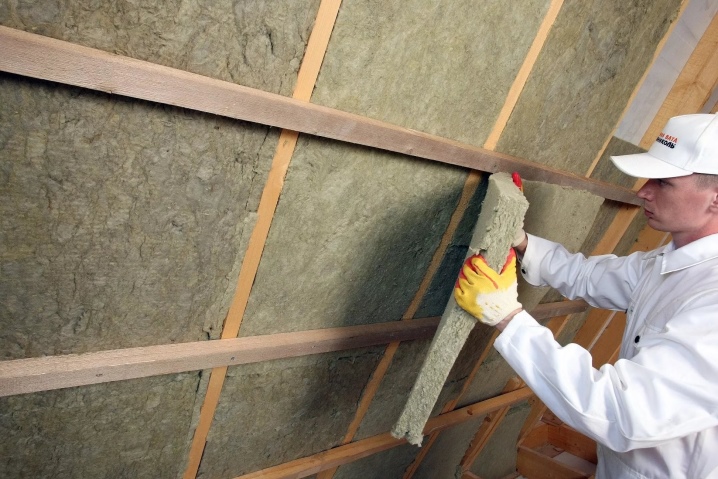
- It is desirable to insulate the change house with mineral wool. It is recommended to protect it from the outside with a layer of wind barrier.
- External finishing of the building can be done with corrugated board, block house or clapboard. Plastic panels are perfect for decorating the structure inside. As for the roof, it can be covered with both ondulin, slate, and corrugated board.
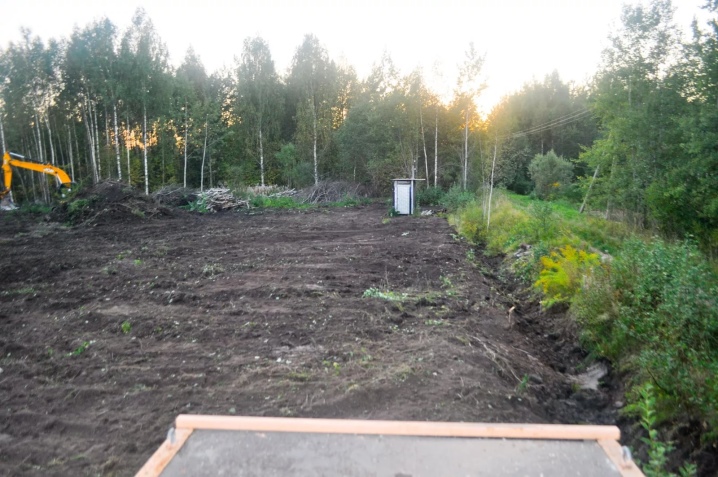
Step-by-step instruction
Many summer residents prefer to build a change house with their own hands, since this allows you to save money on the family budget and embody any design idea into reality. Before starting the construction of a utility block, you first need to start preparing the construction site. To do this, it is necessary to clear the area from shrubs, trees and weeds.
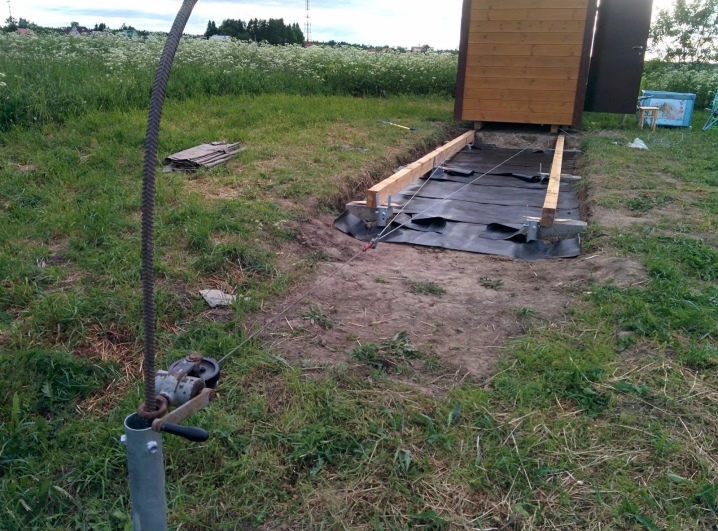
Then the territory where it is planned to install the change house is leveled, covering it with a dense plastic wrap. Its size is selected for the area of the future structure in such a way that one meter remains in reserve on each side - this will protect the base from moisture.
Then you need to step by step perform several sequential actions.
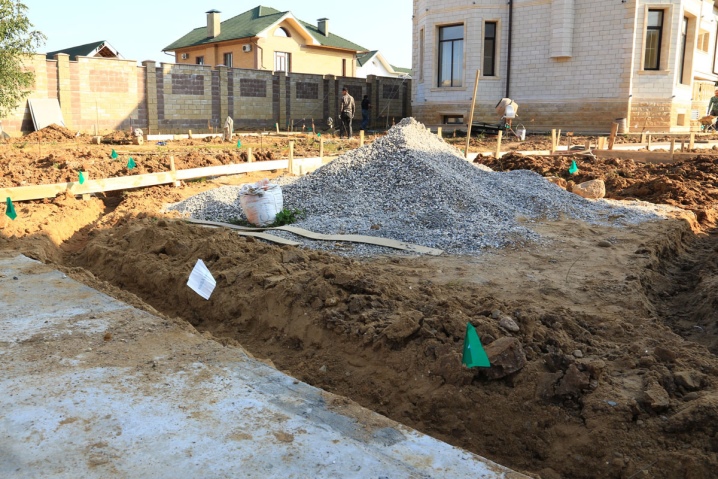
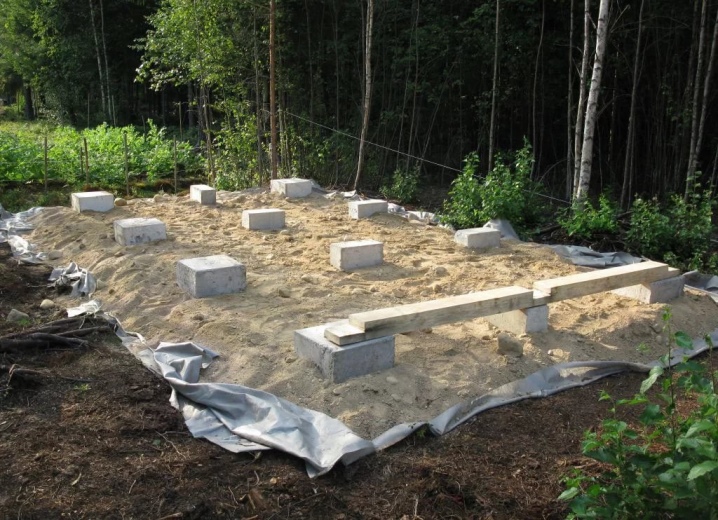
Establish a foundation
For standard size cabins (6x3 m), it is recommended to use concrete blocks. They can be replaced with brick supports, which are laid out in height up to 200 mm. Around the entire perimeter of the base of the foundation, the layer of earth and sod should be removed. The soil on a horizontal platform must be well compacted, covered with a layer of geotextile, and everything must be covered with sand and crushed stone sifting from above.
For a medium-sized change house, it is enough to make 12 columns: you get 4 supports, placed in 3 rows. Column tops should be in the same horizontal plane and aligned to eliminate curvature. Additionally, sheets of roofing material are glued to the supports using mastic insulation. After that, a strapping box is installed on top of the base, which is made from a bar. If it is planned to operate the change house in winter, then you will also have to carry out insulation of the foundation, laying waterproofing before sheathing the subfloor.
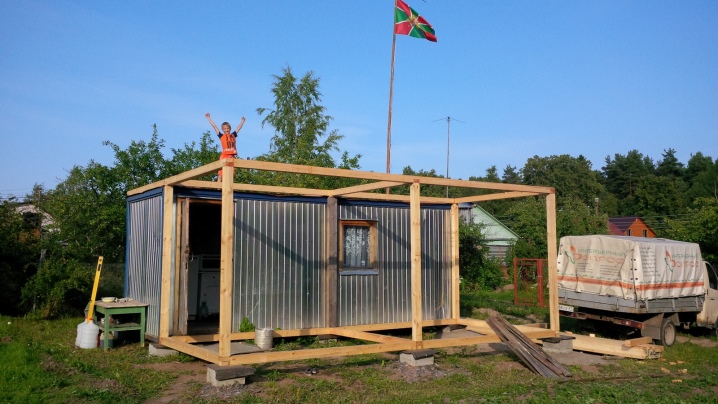
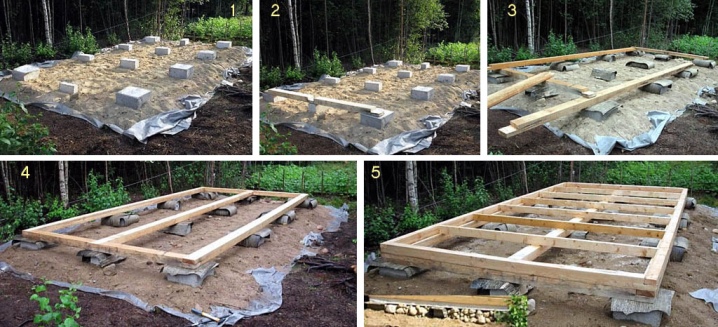
Carry out the installation of the frame
The manufacture of the supporting structure is usually made of square pipes with a cross section of 20x40 mm (they are welded together). You can also assemble the frame of the change house from beams with a cross section of at least 90 mm, for this each rack should be set strictly vertically, making temporary struts on the sides. They are attached directly to the strapping using steel corners, which can be bought ready-made or made yourself from the remnants of rolled metal. The heads of such racks are carefully trimmed one level at a time so that the ends of the bars are horizontally in the same plane. For additional strengthening of the frame, it is recommended to install 2 braces under each rack.
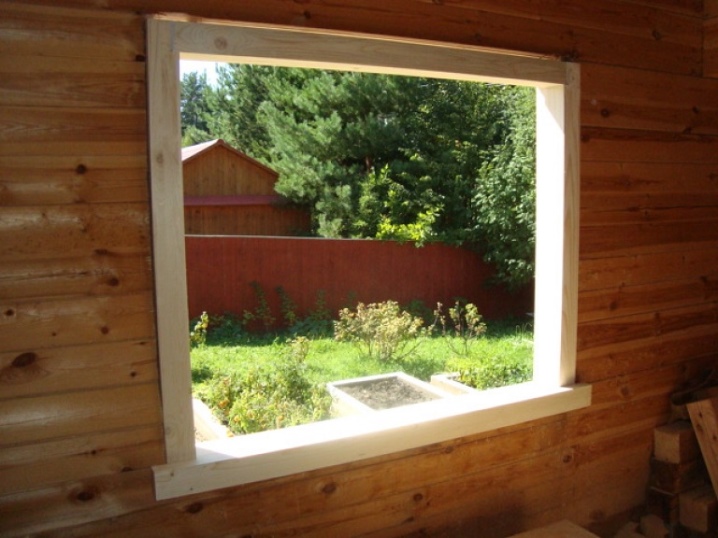
Install windows and doors in the openings
This stage of construction work is not particularly difficult, so it can be quickly dealt with. It is recommended to make accurate markings on the racks in advance where windows are planned to be installed in the future.
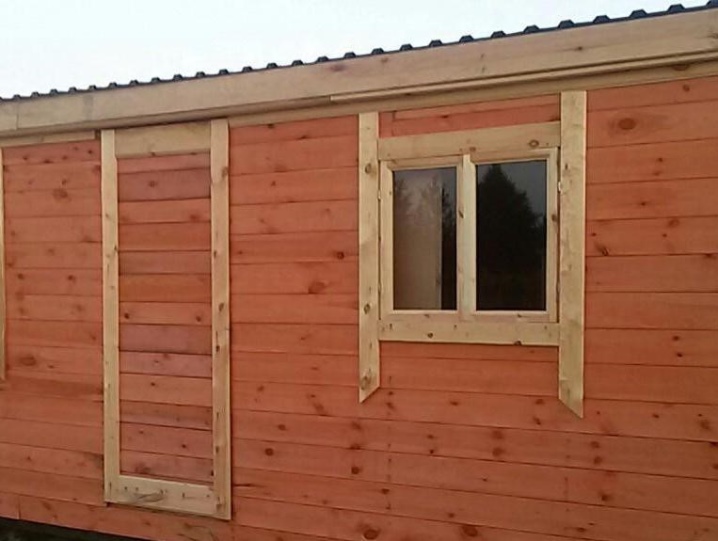
According to the marks, supports should be built in the form of horizontal lintels, the window frames will rest on them. As for the final installation, it can only be done after the thermal insulation has been laid, since the edges of the material must be tucked under the window frames.
When the exterior finishing of the building is completed, platbands are installed on the doors and windows - this will provide good insulation to the walls.
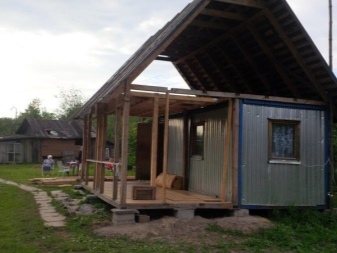
Roof manufacturing
For wooden cabins, a shed roof is usually chosen, which is a reliable canopy. For its installation, a number of vertical posts are fastened. Their front sides should be 400 mm longer and higher than the supports located on the back of the frame. The rafters must rest on a harness consisting of two parallel bars. A crate is laid on the rafters, then a film vapor barrier, a layer of thermal insulation made of mineral wool and sheathing with plywood is carried out. The installation of the roof is completed by laying the roofing material.
Floor installation
At the last stage of construction, it will remain to install the floor, which can be made of both boards and slabs. It is recommended to lay the floor material on a surface covered with a vapor barrier film. The cheapest option for floors is plywood board., but if you have to enter the farm building in dirty shoes, then it will not hurt to additionally lay linoleum.
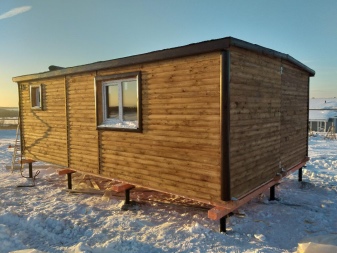
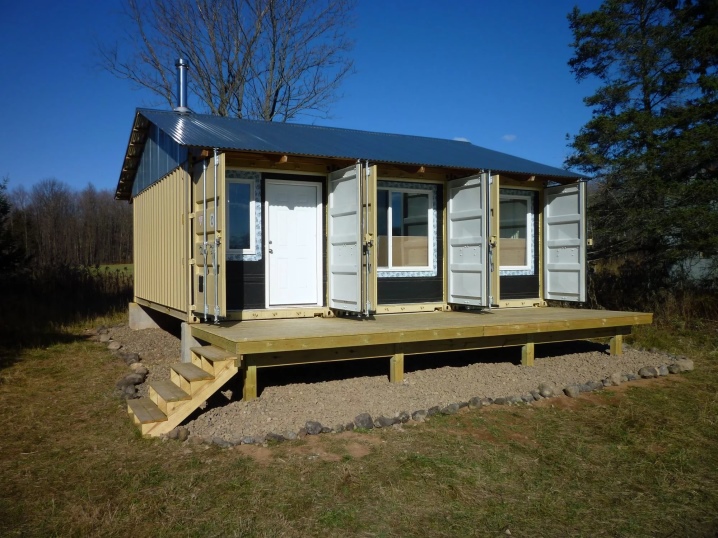
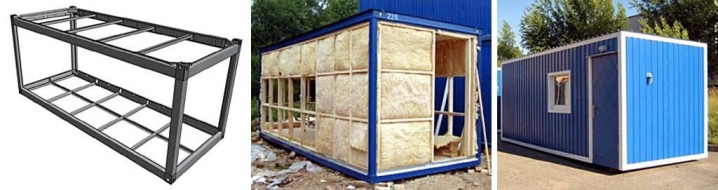
In the event that the summer resident has experience in construction work, and he knows how not only to do carpentry, but also to cope with a welding machine, you can build a change house with a metal frame. Such a structure will be stronger, and during construction there will be no need to install a foundation. In addition, metal cabins, if necessary, can be quickly disassembled and transported to another site, or simply sold.
To assemble such a structure, you need to follow the instructions below.
- Establish the base of the change house. For the manufacture of a metal frame, which is responsible for the power load in the structure, pipes with a section of 80x80 mm are used.
- Assemble the upper and lower battens from paired corners 60x60 mm in size. They can be replaced by brands of appropriate sizes.
- Lay the floor and place the frames with openings separately for doors and windows. Frames can be both metal and metal-plastic, wooden.
- Perform wall cladding outside with corrugated board, and inside with plastic panels or clapboard.
- Install a gable roof and lay communication systems. It is important that there is a sink and good lighting inside the change house.
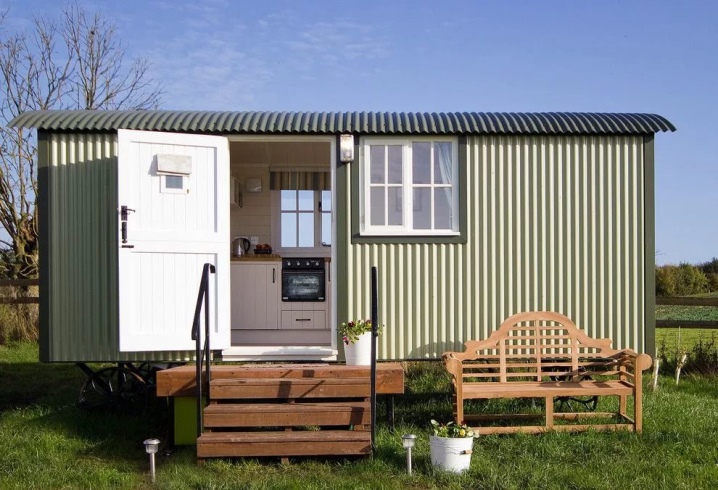
External finishing
After the change house is installed, finishing it outside is considered an important stage. Before that, the walls must be insulated with mineral wool or expanded polystyrene. If a metal frame acts as the basis of the structure, then it is insulated with basalt fiber mats, they are attached directly to the battens of the lathing. The change house insulated in this way can be operated all year round. The joints between the insulating material must be glued with tape.
Then, on the outside of the frame, a windproof membrane is fixed, and everything can be sheathed with OSB plates, which, if desired, can be refined with corrugated board or wood.
In order for such a change house to harmoniously fit into the landscape design of the site, it is outwardly recommended to paint it in a color corresponding to the main building.
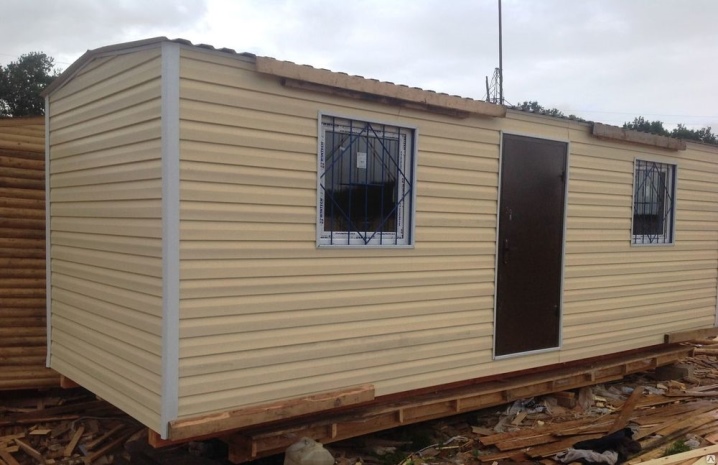
If the change house is installed in an open area, and the overhangs around the perimeter of the roof are small, it is best to sheathe the walls outside with a profiled sheet. Windows for ventilation are additionally cut along the upper and lower edges of the cladding; you can also independently build ventilation ducts to remove water vapor.
Wood is also considered an excellent material for the exterior design of a building, which provides good protection against street noise, natural self-regulation of humidity.
In addition, wood is characterized by a long service life and aesthetics. The lining must be attached to the structure frame using self-tapping screws or cleats.
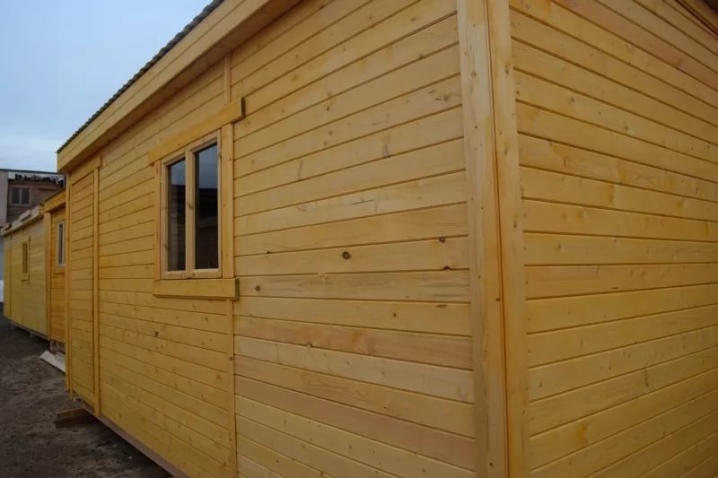
An ideal choice for external cladding is siding, which is installed horizontally on the walls. In this case, the crate must be done vertically. However, siding is not suitable for change houses with flat roofs - in such structures, there is no room inside for a ventilation gap.
Internal arrangement
The finishing touch in the construction of a change house is its interior design.
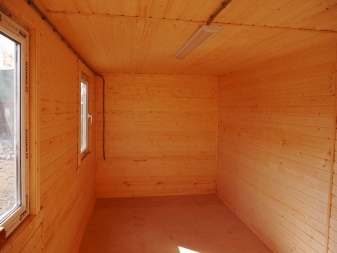
If the outbuilding is planned to be rebuilt in the future as a guest house or a bathhouse, then it is recommended to carry out the interior decoration with clapboard.
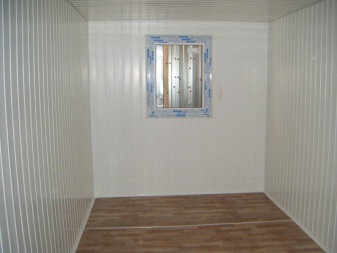
The surface of the walls and the ceiling are sheathed with this material. The only drawback of the lining is that after several years of operation in high humidity conditions, mold deposits may appear on its lower edges. Therefore, plastic panels are an excellent alternative to the lining - they need to sheathe the change house block and the shower room.
When equipping a change house inside, one should not forget about lighting.
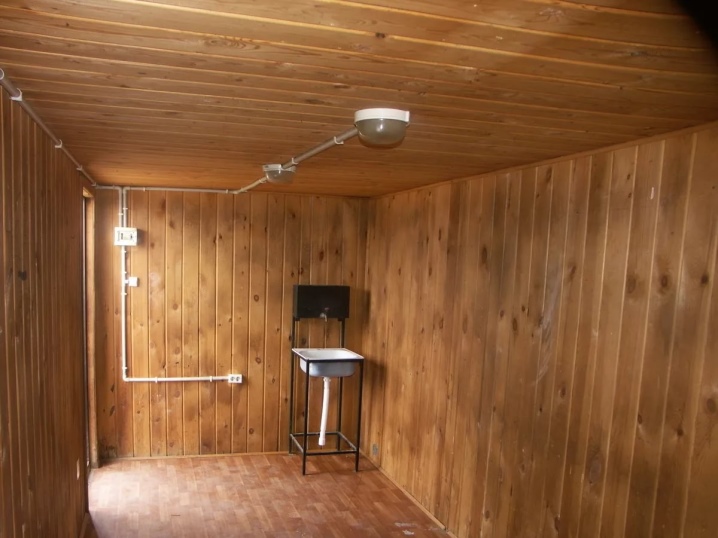
Observing the rules of fire safety, the exit and the place of installation of heating devices must be illuminated. Other areas are illuminated at personal discretion. Usually the change house is conventionally divided into a recreation area and a bathroom.
Plafond lamps are installed in them. Electrical wiring should be installed in special metal corrugations, given that the lines should only be placed on top of the wall cladding. The place for placing the flap with bag bags and an automatic machine must be chosen so that it is well illuminated by a lamp placed on the ceiling.
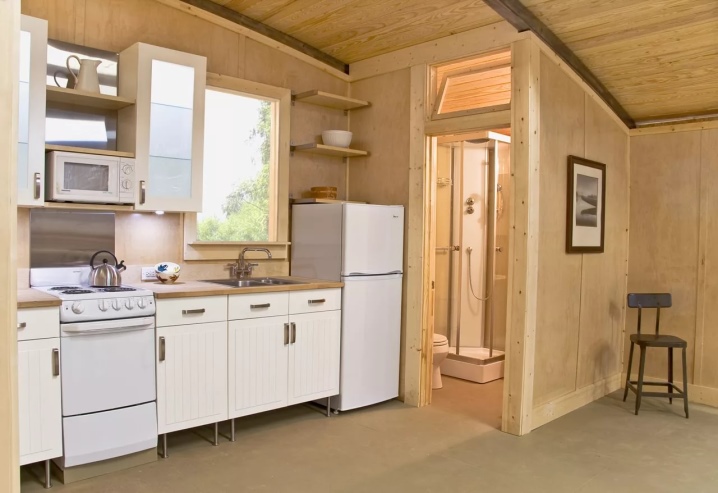
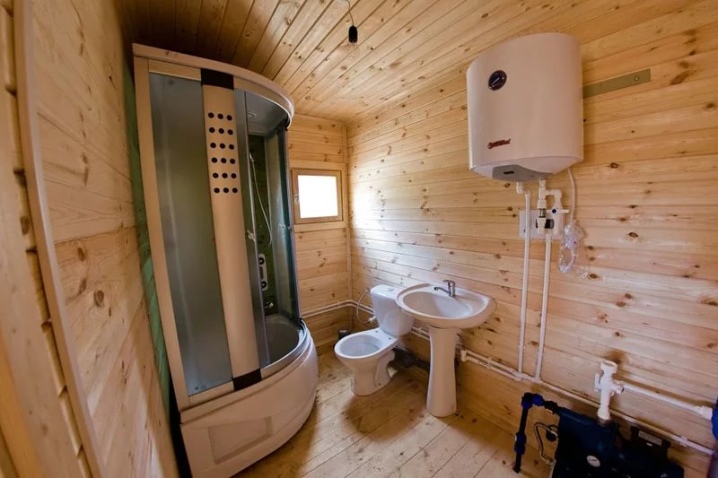
To make the building convenient to use, you should worry about installing the water supply system.
It is not worth making an expensive water supply, it will be enough to connect a rubber hose to the water supply source and introduce it into the room through a hole in the wall.
Additionally, the washbasin should be installed by equipping it with a tap. The installation of a compact water heater will also not interfere, choosing bulk models. It is imperative to connect a corrugation to the sink drain for drainage, it is attached to the sewer pipe that goes into the drain pit.
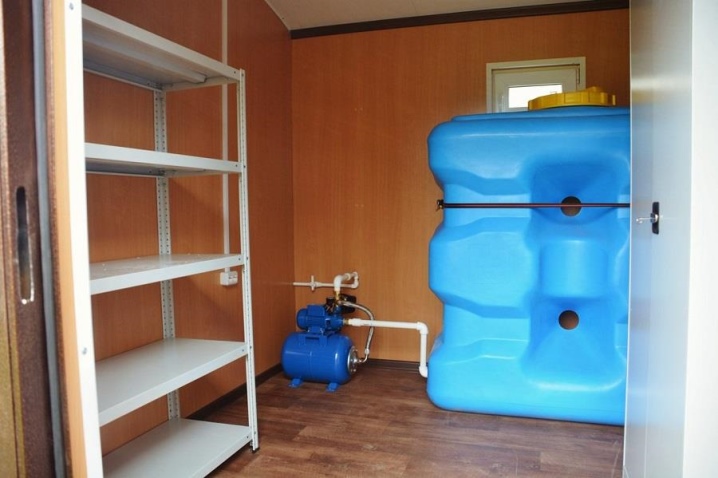
The supply of drainage communications and water inside the structure must be carried out through the rough floor.
In winter, pipes can freeze, and in order to avoid this, a separate collector or caisson is built under the water supply and sewerage system, pre-insulating it with a plastic box.
In cabins that are planned to be used only in the summer, it is enough to connect to the drain and water using corrugated and flexible pipes. For personal taste, you can arrange a beautiful interior, complementing the furnishings with pieces of furniture, textiles and decor elements.
Heating options
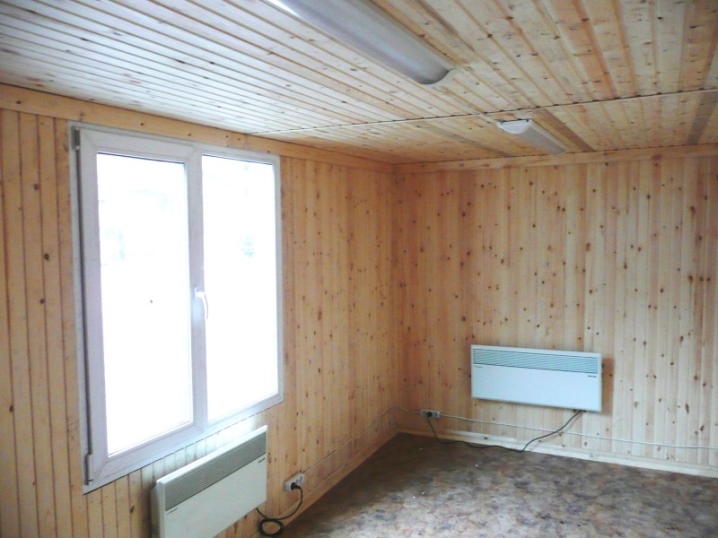
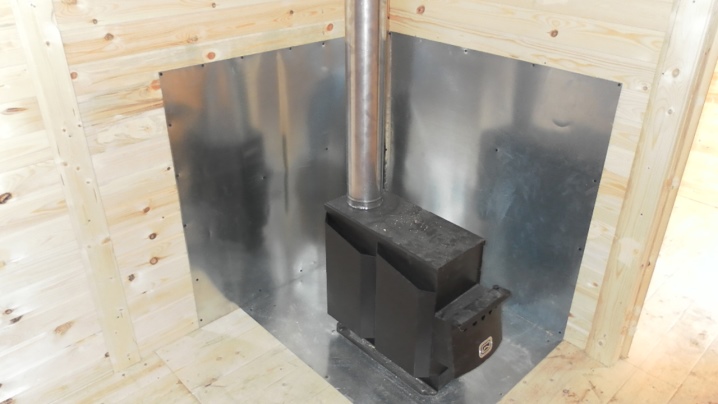
Since most cabins are used in winter, it is important to think over the type of heating in them in advance. To do this, there are two options: to install a heating system from several electric convectors, or to make heating with a wood-burning stove, sheathed with a cast-iron body.
It is worth noting that the electric type of heating is considered the simplest and requires only copper wiring.
For each heater, you should provide its own grounding and cable branch, having built a suspension in advance. For a change house with an area of 15 to 20 m2, you will have to prepare two points of 1 kW each.
As for the wood-burning stove, its installation is much more difficult, since it requires additional construction of a niche. You can also place the stove in the corner of the room, saving usable space. In this case, the floor and all side surfaces of the change house must be sheathed with thick metal. For a change house with a sauna for the stove, choose a secluded corner without windows.
In the next video, you will learn how you can make a frame change house with your own hands.


The comment was sent successfully.