How to make a capsho for a garden with your own hands?
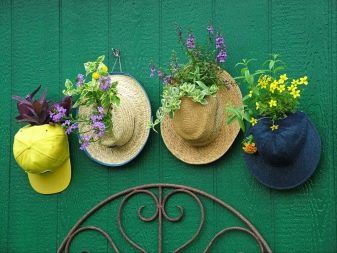
Even the most beautiful flowers need an appropriate decoration. The most popular and effective way of framing flower beds is outdoor pots. Bright hanging compositions from all kinds of scrap materials will become a real decoration of the suburban area. You can also make this art object with your own hands.
We suggest that you familiarize yourself with several ways to create original hanging vases from the simplest things.
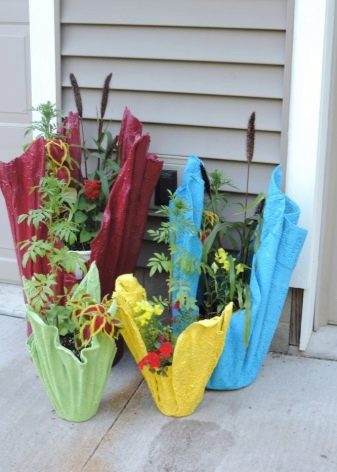
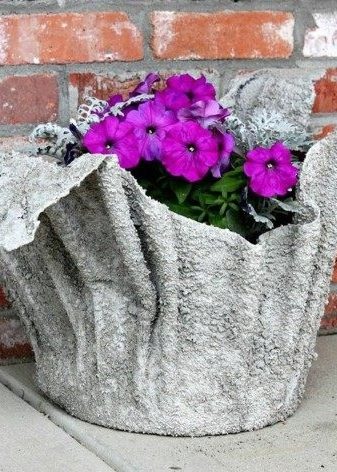
Of fabric and cement
To create such a planter for the garden, you will need the following materials:
- cement;
- unnecessary tablecloth;
- container for the shape of the product;
- drill attachment "mixer";
- dye.
Cement flower pots are the simplest yet most effective way to decorate your garden. This procedure is simple and accessible to everyone.
First, you need to decide on the size of the future pots. To do this, lower the tablecloth into an empty bucket and mark on its walls how much space it takes up. Pour water into a bucket up to this mark, add cement to it and mix thoroughly with a "mixer". The cement mixture should resemble liquid sour cream - the consistency should not be too watery or too dense.

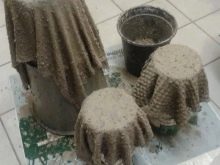
After preparing the mixture, place a tablecloth in it and let it soak well. If the solution is prepared correctly, the fabric will saturate within a few minutes. Next, take the container prepared in advance and hang the cement-soaked tablecloth on it. To make the finished planter even, gently straighten the edges of the canvas and leave to dry completely. After the cement has completely set, remove the tablecloth from the mold and start painting.
For painting, it is best to use concrete paints, their use will help give the product strength and make it more durable. The planter is ready and can be used for its intended purpose.
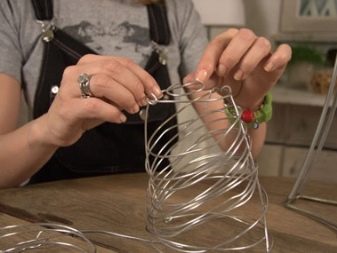
From plaster
This method is the fastest and cheapest. The ease of use of this material allows you to make the product yourself, without using any special tools.
You will need:
- gypsum;
- wire;
- small bucket;
- dye;
- strips of fabric up to 10 cm wide;
- protective varnish.
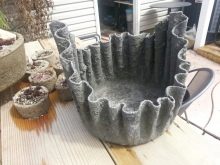
First of all, you need to design a frame that will become the basis for the future pots. To do this, braid the surface of the bucket with wire. For a more beautiful appearance of the product, the edges of the wire should be bent. Trying not to break the resulting structure, remove the finished wire frame from the bucket.

The next step is to prepare a solution from gypsum and water. Stir the solution until its consistency becomes similar to liquid sour cream.
Now let's move on to the final step. Dip the strips of cloth into the resulting plaster for a few minutes. Wait for the fabric to get wet and remove the strips one at a time, placing them on the wire frame. For the structure to be strong enough, the tapes should be applied in several layers. The resulting product should be treated over the entire surface with the remaining plaster composition and left to dry for a day.
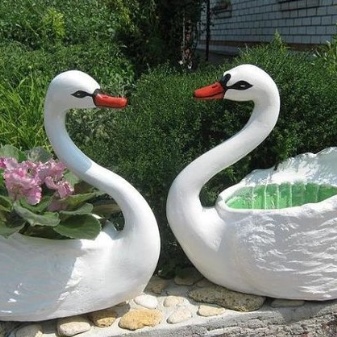
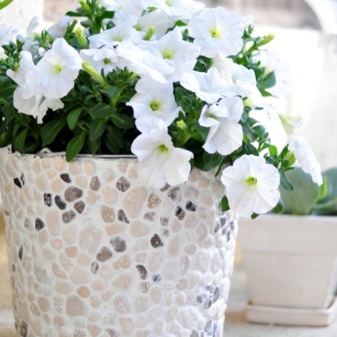
You can arrange the resulting pots at your discretion: beads, pebbles, glass. The design of the product can be anything you like, the main thing is that it is in harmony with the exterior of the garden and you like it.
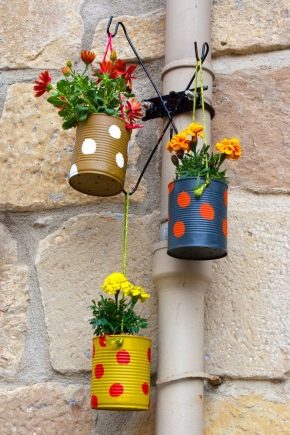
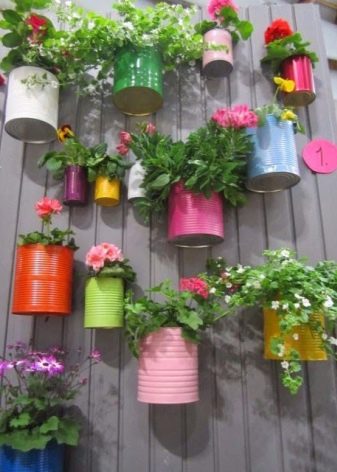
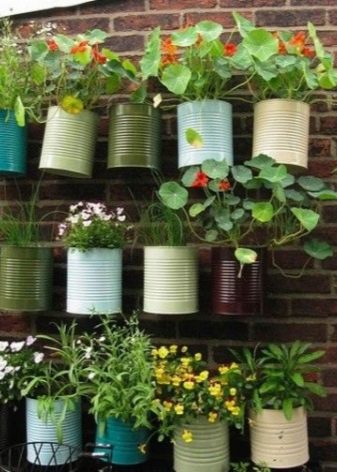
From a tin can
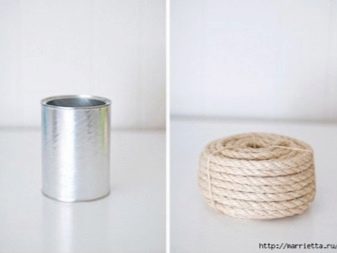
Making a planter from a tin can is one of the most economical options.To make a beautiful product, you just need a tin can, rope, primer and acrylic paints. It is best to use cans from paint and varnish materials, they are more durable and the service life of the planter will be longer.
The first step is preparation. Remove the label and the remaining adhesive from the can. This can be done quickly and easily with a solvent. Next, a primer is applied to the surface of the can. It is necessary not only to improve paint adhesion, but also to help protect the product from corrosion and premature deterioration.
You can paint the finished product in any color, it all depends on your imagination. All kinds of drawings, patterns - any decor is appropriate here. After the paint has dried, the planter must be covered with an additional layer of varnish.
Decorative rope will help to make the product more interesting. Cut it into pieces of 100 cm and assemble into a knot at a distance of 150 mm from the edge - the original planter is ready!

From plastic bottles
Plastic bottles are the most common and affordable material used in handcrafting. Often, large 5 liter bottles are taken as a base, the size of which is optimal for creating an original and effective planter.
The first method is to make a classic pots, for this you need to prepare:
- bottle;
- sandpaper;
- glue;
- scissors;
- two disks;
- paint.
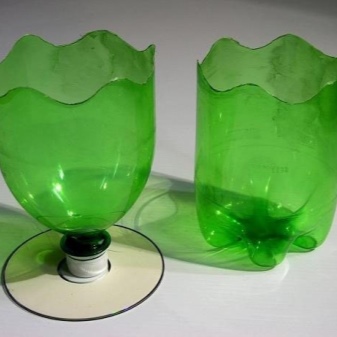
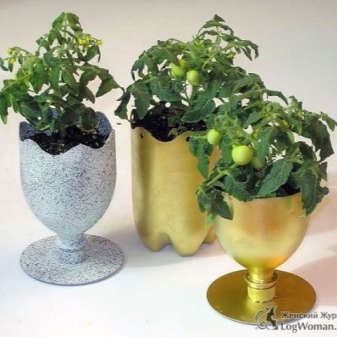
Using a knife or scissors, cut the bottle in half, and sand the surface of the discs with sandpaper. We glue one part of the bottle with the bottom to one disk, and the top to the other, after unscrewing the cap from the bottle. Once the glue has dried, screw the plastic part back onto the lid. Thus, you will make two blanks that can be painted evenly with acrylic paint.
The second way to create a product from a plastic bottle. To do this, you will need:
- bottle;
- paints;
- scissors;
- rope.
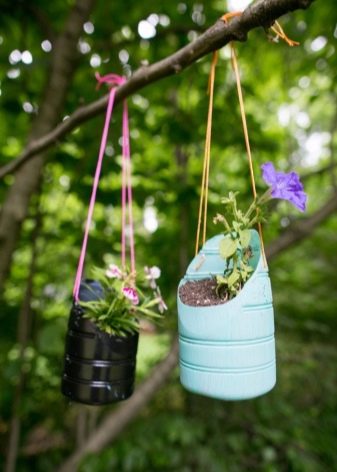
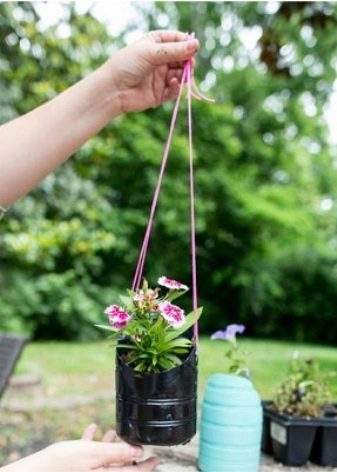
As with the first option, the bottle should be cut in half. In this case, we only need the lower part of it. On the sides of the workpiece, you need to cut small holes for the rope. The final stage is painting and trimming the top edge. All artistic skills can be applied in painting a product. On the walls of the resulting pots, you can draw any patterns, geometric shapes, animals. Pass the rope through the holes and the planter is ready!
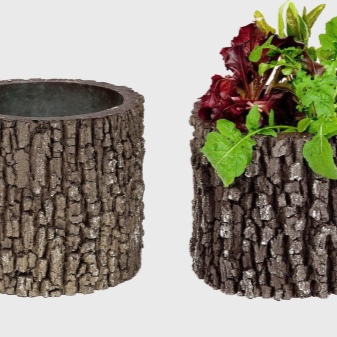
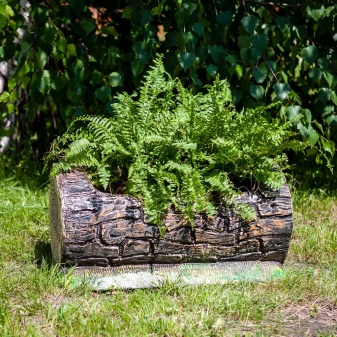
Made of wood
Use a small tree stump, plank, or log to create a wooden planter.
You will need:
- wood;
- drill with a drill diameter and length of 20 cm;
- chisel;
- special impregnation for wood.

Consider in advance the shape of the future homemade pot and, based on this, pick up a log with a small diameter. Having decided on the height of the pots, we measure the necessary part and cut it off. Make a series of holes at the top of the log. This will help destroy the middle of the tree, which can then be easily removed with a chisel. You should have an even, beautiful container.
The inner walls of the product must be treated with a special protective compound, which will avoid wood rotting, extend the life of the pots and give the walls strength.
The wooden planter can be used as a hanging pot. To do this, cover the container with polyethylene and put drainage on the bottom of the pot. Only after that, the pot can be covered with soil and start planting a flower.
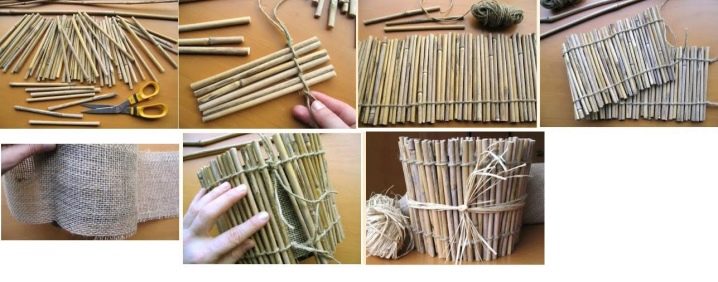
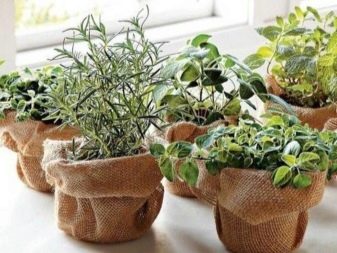
The flower pots made of wooden sticks look original. Many modern designers actively use such decorative items in the creation of author's projects.
You will need:
- small wooden sticks of the same diameter;
- dense rope for fastening parts of the structure;
- plastic pot;
- sackcloth;
- glue.
To begin with, we wrap the flower pot prepared in advance with a piece of burlap using glue.On top of the burlap, the structure is tied with wooden sticks and fixed with a dense rope. Chopsticks must be selected in such a way that they cover the edge of the pot. This planter looks especially impressive due to its natural appearance and is in perfect harmony with the exterior of the garden.
More skillful craftsmen can use the option of creating a pot from beams, boards, solid wood.
To do this, you need to prepare the following materials:
- bars with a section of 25x25 mm;
- boards, the thickness of which should not be more than 15 mm;
- drill;
- self-tapping screws;
- glue;
- special impregnation for wood.
First of all, from the available beams we make a base in the shape of a cube, we cut out details for the bottom and walls from wood. All panels must be carefully sanded, this will avoid splinters and cuts during work and will give the product neatness. This planter needs a high-quality drainage system, so several holes are drilled in the bottom of the planter.
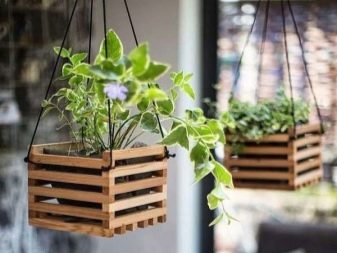
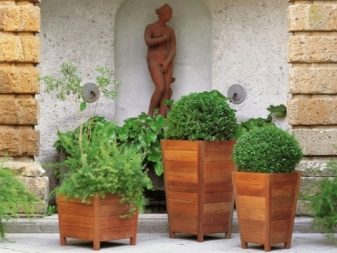
Now, using self-tapping screws, we assemble the structure from the parts obtained. The side and bottom panels must be attached to the frame. To make the product more reliable, all joints are carefully glued. The finished structure is covered with a special protective compound and can be used for its intended purpose immediately after drying.
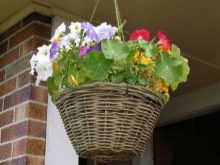
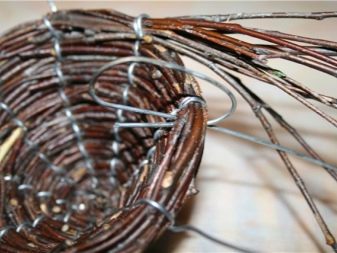
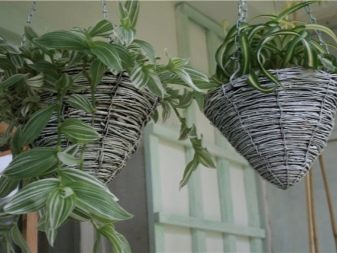
From the vine
A simple but original way of weaving vine pots will appeal to all lovers of floral motifs. In such pots, ampelous plants, such as vines, ivy, petunias, look especially impressive.
To weave a hanging flower pot you will need:
- flexible vine, both fresh and dried stems can be used;
- plywood sheet;
- moisture-proof composition;
- drill;
- sharp knife;
- awl;
- fixing varnish.
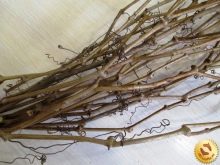
Before you start weaving the pots, the vine must be lowered for a while in a container of water. This will make it more flexible and simplify the work process. We make a bottom of plywood and drill a number of holes in it with a diameter smaller than that of the twigs of the vine. Insert a twig into the holes obtained - and your planter frame is ready.
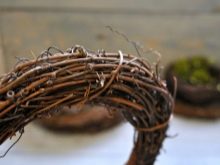
We proceed to the next stage - weaving the product itself. When laying the vine between the twigs, press each row of the new row against the previous one with an awl - this will make the weaving beautiful and even. Continue braiding until the frame is at the desired height.
Using different methods of laying the twigs, you can create fancy patterns and change the texture in the weave.
There are two ways to complete the weaving: by weaving the twigs one by one into the main rows of the frame, or simply by cutting them off. The final stage is the processing of the product with a moisture-proof agent and a fixing varnish.
You can make a beautiful and original planter for the garden from almost any available materials: wood, textiles, vines, even from a cup and saucer. The advantages of the above methods are ease of implementation, the use of simple things and limitless imagination in creating a pots decor.

Applying our recommendations in practice, you will learn how to make real works of art that will decorate your summer cottage.
How to make a planter in 1 minute, see below.


The comment was sent successfully.