How to make an ax with your own hands?
The ax is such a simple yet useful tool that most DIYers have in their arsenal. It is applicable both in summer cottages and in many professional works, where one cannot do without good tools. If you treat the ax with care and do not forget to prepare it correctly, then the result of the work will certainly please and will not cause disappointment. Today we will figure out how to make this tool with our own hands.
Features of a homemade ax
The ax is a simple and common tool that is difficult to surprise anyone. However, thanks to him, you can cope with many complex jobs and get an excellent result in the end. On sale you can find both simple options for axes and more interesting and original ones, for example, with decorative inclusions. If you do not want to spend money on a ready-made option, or you could not find a suitable one among those, you can do it yourself.
Many home craftsmen, not finding the right tool on sale, undertake to make it with their own hands. Such work cannot be called impossible or super difficult, but even here it is very important to follow all the rules in order to get a good result. It should be borne in mind that there are several types of axes that you can build on your own.

For example, there are special cleavers that are very popular today:
- mechanical;
- with electric drive.
Of course, the mechanical version is the simplest and easiest to implement. It is equipped with a manual drive. Making such a model with your own hands is not difficult. Drawings of mechanical tools are quite simple and straightforward, and the principle of their work is in simple mechanical manipulations. This device consists of the following basic elements:
- metal wedge;
- mechanism on a spring.
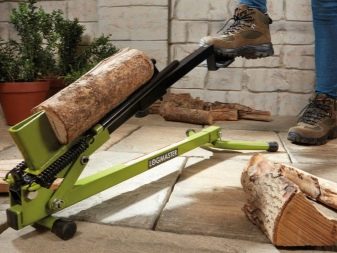
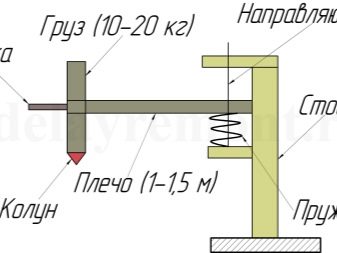
Working with such a tool, the master spends a minimum of effort and time, especially when comparing this cleaver with a standard simple ax. As for an even more advanced electric cleaver, there is one main part in it, which, after activating the engine, begins its movement - it constantly rotates. The master only needs to add a new batch of firewood for splitting.
You should also be aware of other options for axes that many craftsmen can make on their own.
- Joiner. This tool is lightweight and lightweight, and has a sharpened blade. It is used in cases when you need the most accurate and accurate work with wood.
- Taiga. This ax can also be made by hand. It is perfect for felling trees, removing knots and bark.
- Tsalda. This tool is made to clean the area from bushes.
- Kitchen. Such tools are made exclusively for cutting bones. A kitchen ax is a small device with a short handle and a large blade.
- Lumberjack. Suitable only for cutting down trees. Made from a long ax and a wide, sharpened blade. It also has other names, for example, felling.
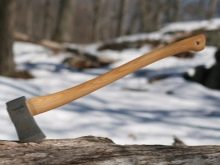
It is the taiga types of axes that are recognized as the most popular and practical. They are distinguished by the following features:
- little weight;
- small area of the piercing area;
- unusual sharpening of the blade (the edge on the back is several times smaller and thinner than the front).

Certain tree species are ideal for making a house ax. It should be borne in mind that materials suitable for such purposes can easily withstand the significant vibration loads that occur at the time of the impact of the tool.
Any homemade ax is distinguished by the fact that it is ideal for the master who works with it. Making this tool with your own hands, there is an opportunity to adjust it for yourself, for your hand. The result is the most convenient, practical and easy-to-use devices.
Tools and materials
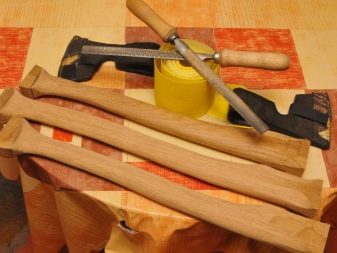
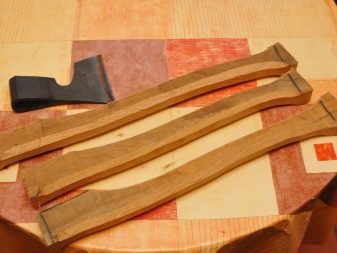
Ease of use of the ax largely depends on the correct manufacture of its handle. One of the following types of wood is ideal for this part:
- maple;
- oak;
- ash;
- Birch.
You definitely need to know what steel the piercing component of the future instrument is made of. Materials with markings 8ХФ, 9ХФ, 9ХС, ХВГ, У7А and many others are acceptable. It is only necessary to avoid the designation of MRTU, OST and TU on these details.

Some of the tools that may come in handy:
- abrasive sharpener;
- file;
- marker for marking;
- chisel;
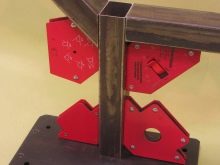
- magnetic corner;
- clamp;
- sandpaper;
- sharpening disc for sharpening the blade;
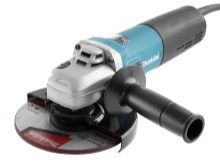
- Bulgarian;
- some work may require a welding machine.

DIY making
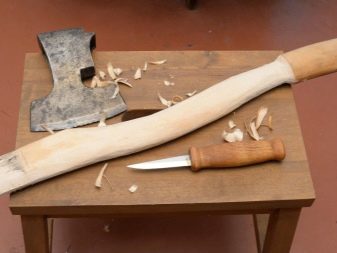
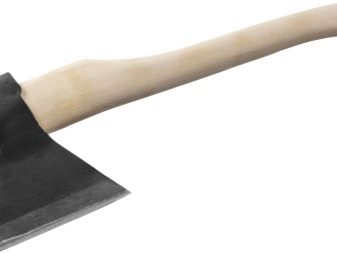
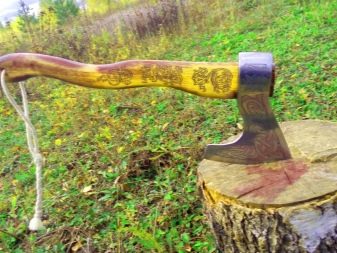
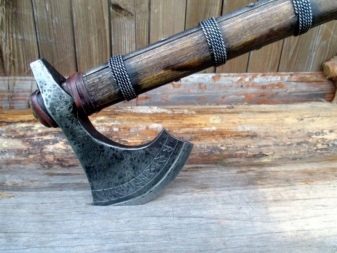
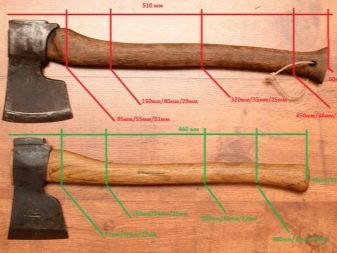
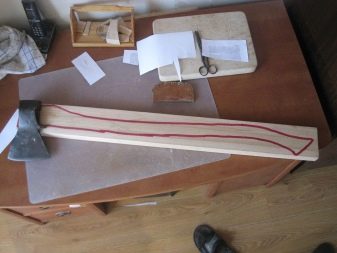
You can make any kind of ax on your own. It can be simple, hunting, Scandinavian, marching, designed for throwing (throwing) or just decorative - there are a great many options. It is also permissible to update the tool and build a completely new and convenient tool of labor from the old ax. In order to do such work yourself at home, you first need to make an accurate drawing with all the indicators of the planned tool. It is important to indicate the sizes of all parts, because they can vary greatly. For example, the handle of an ax is not only quite large, but also medium or small, like the blade.

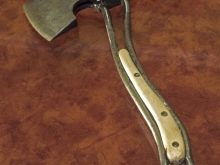
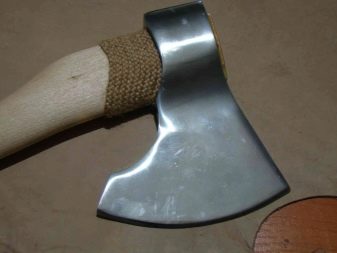
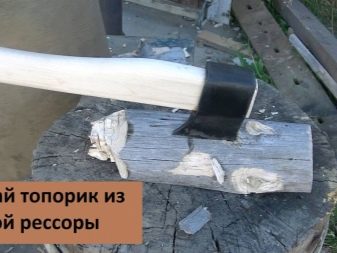
From the spring
A small hatchet can be made from an old spring. It can be not only a worker, but also an original decorative tool, similar to a Viking ax. You need to do such a thing as follows.
- It is necessary to take an old spring from a car with a width of 10 cm and a length of about 40 cm. Using a previously prepared template, apply the contours of the planned device to the springs using a marker.
- Draw out the outlines of the ax using a grinder with cut-off wheels. Then carefully grind the cut out workpiece, giving it the desired shape.
- For particularly difficult metal work, it is permissible to use a drill.
- An old chair leg can be used as a handle. Drill 3 holes in the spring for fastening to the handle.
- Cut a piece of the desired length from the leg. Saw this piece into two halves. Drill 3 holes in each of them. After that, you need to assemble the handle, fixing it with bolts and screws. Draw the shape of the part on a grinder.
- Finally, sharpen the blade. The result is a beautiful mini hatchet. It is suitable for outdoor recreation or in a summer cottage.
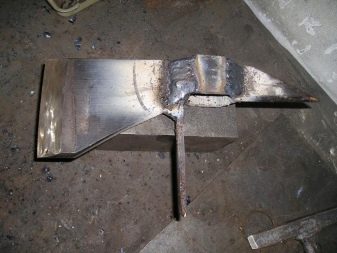
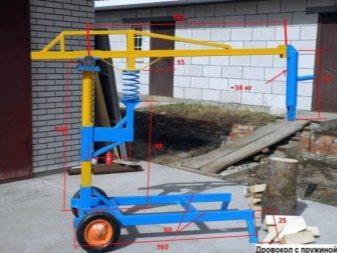
From reinforcement
A good cleaver can be made from this detail. It is done like this.
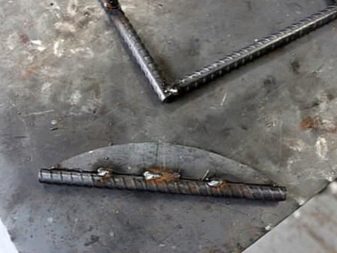
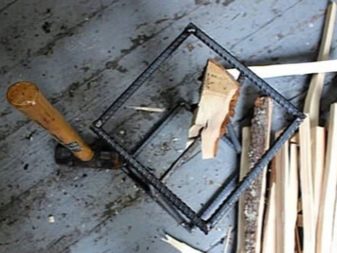
- Take two pieces of reinforcement with a length of 50 cm and 8 blanks to make the bottom and top squares.
- Using rebar, weld a couple of squares. Then weld the racks.
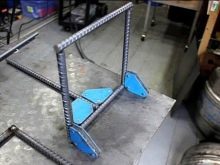
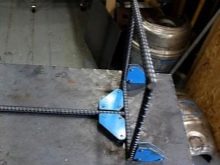
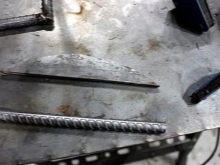
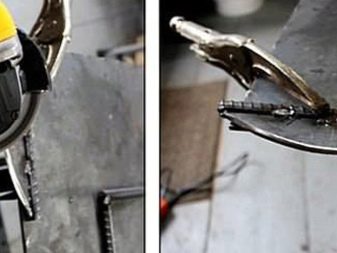
- For the cleaver blade, it is desirable to take steel with a thickness of 8-10 mm. Weld the knife to the rebar.
- Now start sharpening the angle of attack. Place the knife in the middle of the structure.
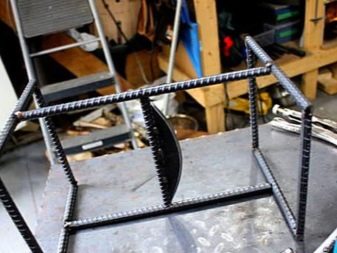
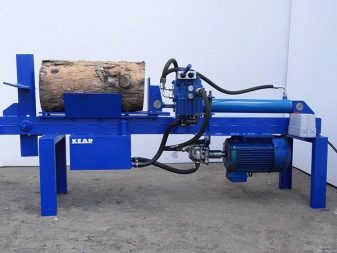
After that, a simple homemade cleaver can be considered complete. It can be a good alternative to a mechanical or screw device.
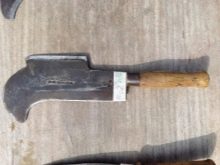
From a circular saw
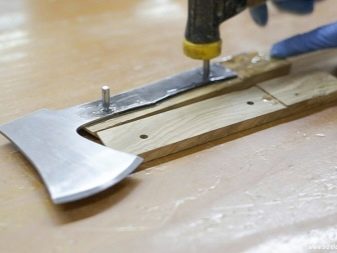
A good ax can be built from an old circular saw. To make a reliable and strong tool, in this case, you only need a carved disk from a circular. Consider how to make an ax from such a part (you do not need to harden the disc, since it is already hardened).
- Make a drawing of the future tool on a cardboard or paper. Cut out the resulting template. Transfer it to disk.
- Cut out the part you want using the impeller.
- Heat the resulting part using a burner. Drill 2 holes for attaching the wood handle.
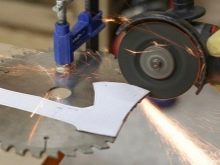
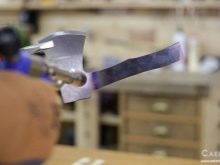
- Cut off the excess remnants of the lower half of the part.
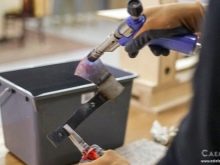
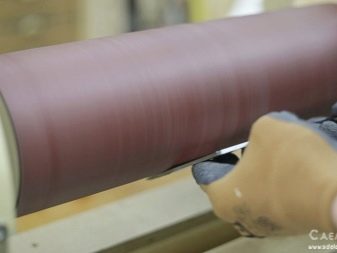
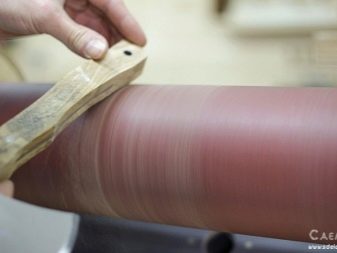
- Clean the hatchet well using sandpaper.
- Cut the hilt out of wood. Lubricate the two halves of this element separated from each other with adhesive, install a couple of screws.
- Strip the handle. Cover with varnish. This will complete the work.

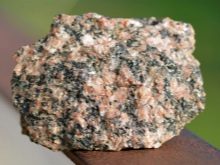
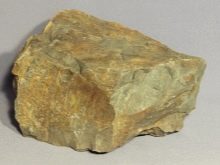
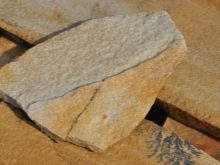
Of stone
You can make an ax using stones. Good blades are made from this material. However, it must be borne in mind that their manufacture is a rather laborious and time-consuming process. The following types of stones are suitable:
- granite;
- quartzite;
- sandstone.
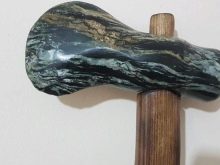
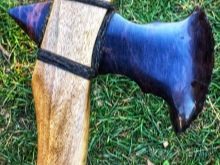
For such a tool, it is advisable to make an oak handle. This material is reliable and sufficiently rigid. Take a pre-made blank. It should be free of knots and other wood defects. Make an incision along the grain below the anatomy of the handle. To do this, use a fine-toothed jigsaw. Make a slight downward slope at the tip of the handle. This is necessary so that the planned ax does not slip in the hands during the course of work.
Further in the stone, you can make a hole specifically for the cone using a drill or a locksmith machine. After that, it will be necessary to hammer the prepared handle into the wedge there. If you make a classic stone ax, then it is worth attaching the blade to a special kevlar tape of large width. Such parts are famous for their reliability and durability, so it will be safe to work with a homemade tool.
These rules should be followed when making a stone ax.
- Grind the stone so that it is as close as possible to the end of the handle. This is the easiest way to bind it.
- It makes no sense to use very expensive specialized devices and machines in the manufacture of this tool. Just peel off the top layer from the stone. It'll be enough.
- Never make the handle out of raw wood. If you do not follow this rule, then over time it will be possible to face the fact that this part will dry out and noticeably decrease in size. The tool will be unusable.
If everything is done correctly, you will get a reliable, durable and wear-resistant tool that will allow you to solve many of the problems that home craftsmen face in the country.
Advice
The handle for the ax should be made so that it does not slip in the hands. That is why it is not recommended to lubricate this part with paints and varnishes or use any special linings. They can lead to the fact that the tool simply slip out of the hands at a crucial moment.
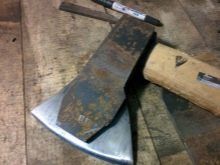
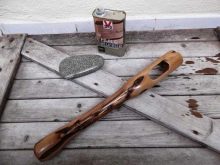
The material you use to make the blade should be free of damage, dents, or strange serifs. Brand new ready-made items can shine like spoons. Make sure that there are no curvatures on such objects.
The types of wood from which it will turn out to make a good handle are acceptable. But it should be borne in mind that not every natural material is suitable for the manufacture of this part. Before engaging in work, the wood should be thoroughly dried.
The wood blank for the handle will need to be dried in a dark place. It is advisable to store it for at least a year, and preferably all five years, before using it for the manufacture of such tools. Only in this case can you be sure that the ax handle will not change its size over time.
Saturate the wooden handle with special agents that will make it resistant to moisture and moisture.Flaxseed oil or good old drying oil is ideal. It is advisable to apply the selected impregnation in several layers.
The ax must be sharpened correctly. For example, when using a grinding wheel, the butt will need to be held at a slight angle of 45 degrees. At the same time, movements should be calm, smooth. There is no need to jerk.
Do not neglect drawing up a drawing of the future design. Many beginners skip this crucial stage, considering it not the most important. In the future, such people face a lot of problems and inconveniences. It is better to prepare all the necessary templates and diagrams in advance. Having them in your hands, making an ax with your own hands will not be difficult.
When buying a ready-made piercing part for an ax, it is very important to pay attention to its markings. Its presence will indicate that the element meets the necessary GOSTs. Items with suitable markings are listed above. The blade should also have an eyelet for installing the handle. It usually has a conical structure.
How to make an ax with your own hands, see the video below.


The comment was sent successfully.