How to make a snow blower from a chainsaw with your own hands?
In the winter season, the issue of cleaning the territory is especially acute for the owners of plots. A snowblower is not cheap, and its design is not very complex. If you have accurate drawings, as well as the necessary materials and tools, it is quite possible to assemble an effective mini-snow blower with your own hands.

Advantages and disadvantages
Before proceeding with the assembly, it is important to understand why it makes sense to give preference to a homemade snowplow.
First, let's look at the advantages of a homemade snowblower.
- Compared to buying a factory model, assembling a homemade snow blower will cost significantly less.
- All materials and tools that may be required in the process, with the exception of the gasoline engine, are readily available. Metal sheets, pipes of the required diameter and other parts, the list of which is given below, can be purchased in any spare parts market, or even simply found in your garage or workshop.
- The dimensions of a snow blower assembled on the basis of a chainsaw are smaller than that of a store-bought one. Such a device is able to cope with snow removal in the most inaccessible places.

The main disadvantages of a self-assembled snowplow include its low power.
Here, however, it is worth remembering that the subject of this article is the creation of a snow blower for personal use (for example, on a personal plot). To achieve industrial capacity, other resources and schemes will be required.

Materials and tools
For assembling a homemade snow blower the following parts list is required:
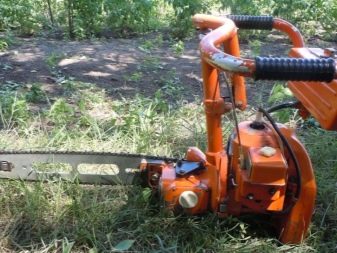
- an internal combustion engine from a chainsaw;

- pipes made of steel and aluminum of different sizes;

- forged shaft;

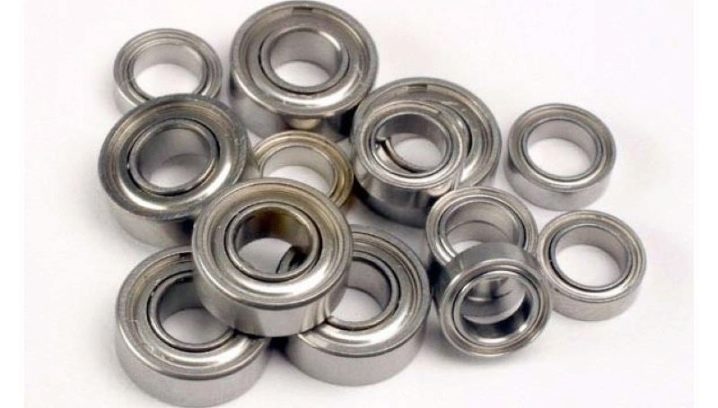
- bearings;
- Sheet steel;

- thick rubber;

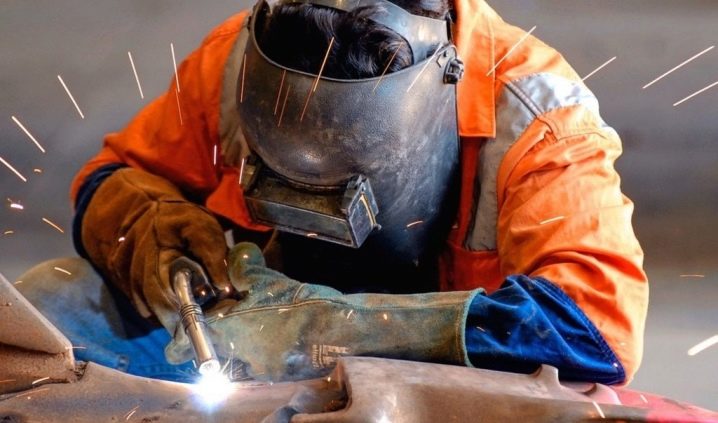
- welding machine;

- improvised tools.

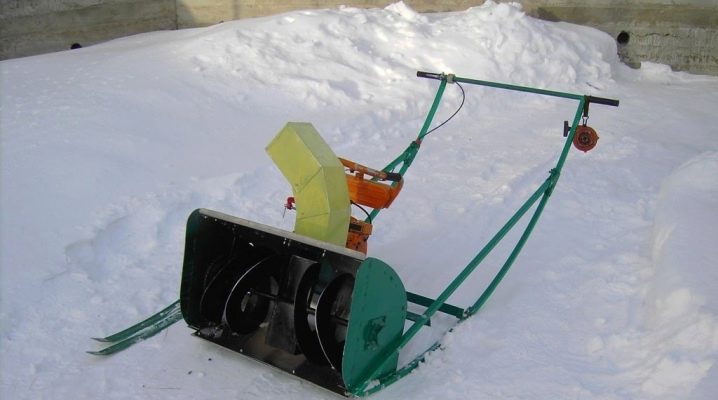
Structure and general principle of operation
The design of a self-propelled snow blower includes the following components.
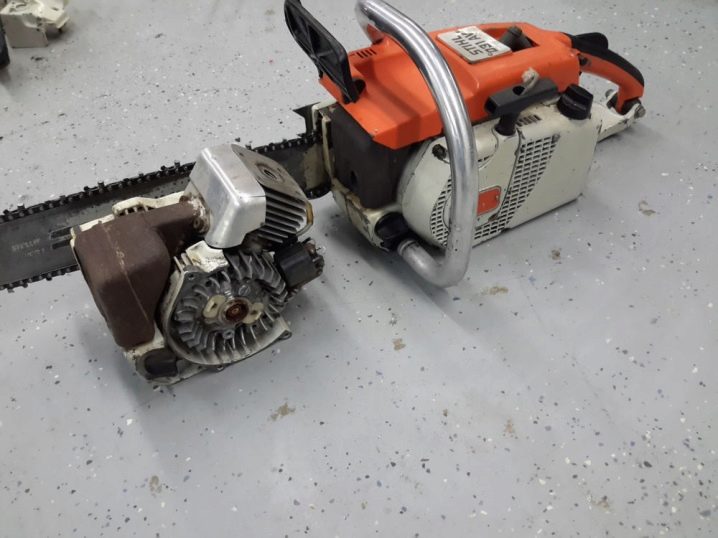
- The driving element. In this case, it is a motor from a Druzhba, Ural or Stihl chainsaw.

- Ladle. Located at the front of the machine. Made from metal sheets or durable plastics.

- Screw. Snow intake module located in the bucket cavity. Responsible for picking up, crushing and moving snow masses along the outlet chute. Powered by a motor.

- Outlet gutter. Made from the same materials as the bucket. Directs the snow stream towards the snow thrower (towards the outlet).

- Chassis. Unit vehicle. Wheels, skids or tracks - it is worth choosing depending on the characteristics of the operating conditions, the available resources and the technical capabilities of the manufacturer.


- Handles. Provide the operator with the ability to control the device and change its operating modes.

How to do it yourself?
Before proceeding with the design, it is necessary to approve the drawings in accordance with the selected parameters. In the diagram, you need to clearly indicate the dimensions of the parts and how they are connected. The process of self-manufacturing a household snow blower can be divided into the following stages.

Frame making
The integrity of the internal device and, as a result, its service life directly depend on the strength, shock resistance and balancing of the frame. It is recommended to assemble the base of the frame from metal pipes of the same thickness. Further, pipes with a smaller diameter will be attached to the supporting frame. When welding the frame, special attention should be paid to the longitudinal pipes, over which the box will subsequently be located. They, in addition to the bearing function, play the role of runners for moving the product. All holes in them must be welded.

This will prevent corrosion of the metal caused by snow accumulating in the cavity.
To create a platform on which the power plant will be fixed, you need to attach one crossbar to the rear edges of the longitudinal runner pipes and another one closer to their front edges, 20 centimeters from the first. Further, these crossbeams are connected by a pair of longitudinal pipes of a smaller diameter, on which the drive is subsequently fixed. The factory sprocket for the transmission of rotation is replaced by a small sprocket (for example, from an old motorcycle). To ensure easy sliding of the snowplow on the surface, it makes sense to weld an aluminum plate along the width of the runners to its base, to which a layer of polyethylene should be attached to rivets.

Assembling the snow intake module
The auger is an axis on which the knives twisted in a spiral are fixed. Their task is to crush the snow and move it to the middle of the box. There, the crushed snow mass is sent to the cavity of the snow plow by rotating blades. For the manufacture of a shaft, you can take a pipe of small thickness. Its length is selected in accordance with the dimensions of the bucket based on the drawings drawn up earlier.

It is very important to choose the right bearings for the shaft when making a snow collection mechanism on your own.
Two rectangular blade plates are welded to the middle of the shaft.

For the manufacture of blades, it is necessary to cut four circles of the same size from sheets of steel. A hole is cut in the center of each circle for the thickness of the shaft, then the resulting ring is cut along the radius and stretched to the sides. The resulting figures (spiral turns) are welded to the shaft towards the blades. Please note: the blades of the knives should be placed on the shaft at the same distance. Otherwise, the balance will be disturbed, and the device will stagger from side to side during operation.

Manufacturing of the cover and groove of the snow plow
The bucket cavity is made of a metal sheet bent so that the bending radius exceeds that of the blades by several centimeters. In the upper part of the sheet, a cut is made for the snow pipe, in the back - a hole for the chain. It is also recommended to make side walls of metal, however, plywood sheets can also be used. Hubs are located in the middle of the side walls, a shaft with a screw is installed. Before this, it is necessary to put the temporary drive pulley on the trunnion. An asterisk is installed on the edge of the shaft, connecting it to the drive with a chain through a hole in the box.

An aluminum pipe for removing snow masses with a diameter of about 15 cm is fixed to the previously prepared hole on the bucket.

Connecting parts
It is recommended to paint the metal parts before final assembly to protect them from corrosion. On the platform of the frame there is an engine, a bucket with a screw. The chain is installed. The drive is connected to the switches on the handle.

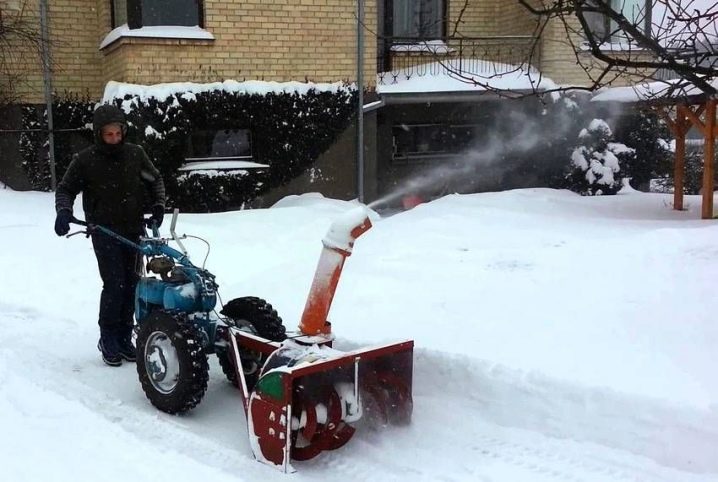
Features of designs with different motors
Chainsaws of various makes and models are equipped with motors with different characteristics. For the most efficient work, when assembling a homemade snow blower, these features must be taken into account. For example, chainsaws "Druzhba" and "Ural" stand out among other models with a high engine power, which causes vibration and noise during operation.

Vibration can be avoided by installing a thick piece of rubber between the engine and frame.
In addition to installing a gasket on the body, the engine can be equipped with a muffler. To do this, the cavity inside the one-piece metal pipe must be filled with a rubber gasket, and the entire resulting structure must be attached to the motor with bolts or by welding. This will reduce the noise level during continuous operation of the device. In addition, high structural loads are associated with high operating power. To prevent the imminent failure of the snowplow based on the Druzhba and Ural chainsaws, it will be necessary to equip it with a chain of increased strength.

The increased reserve of torque and thrust of engines of devices of the brands "Ural" and "Druzhba" allows, if desired, to increase the volume of the bucket and the power of the auger, thereby increasing the overall performance of the unit. The motor from the Stihl brand household chainsaw does not differ in high power. Thanks to this, a snowblower based on it will have a relatively small size and increased maneuverability. The dimensions of the bucket for such an apparatus should not exceed 50 cm in height and 60 cm in width. The device assembled in this way can remove snowdrifts up to half a meter from both dry and sticky snow.
Safety engineering
The following are a number of recommendations, adherence to which will reduce the risk of injury during work.
- It is recommended to wear protective goggles and gloves while working to prevent injury.

- It is highly discouraged to use the welding machine without a protective mask.
- Before installing the auger on the frame, the mechanism is turned by hand. The shaft should rotate without difficulty and the blades of the knives should not touch the frame. Only in this case can the mechanism be fixed to the frame.

For more on how to make a snow blower from a chainsaw with your own hands, see the video below.


The comment was sent successfully.