How to make a trellis with your own hands?
The main function of the trellis is to become the basis for climbing plants. But this device has long ceased to be limited to basic functionality and has turned into an independent focus on the site.... In modern realities, a trellis made of a capital support can become the best photo zone on the territory, a highlight of the site and an absolutely exclusive design. And you can do it completely with your own hands.
Basic rules for creation
The tapestry is close to the gazebo, but initially the functions of the two structures are different. But even based on such proximity of buildings, many summer residents and owners of private houses do not dare to put a trellis: it seems that it is very difficult. In fact, it turns out that even an absolute neophyte in summer cottage construction will be able to build a trellis on the site for climbing plants, for example, for clematis, actinidia, peas and others.
Here are the top tips for a budding gardener.
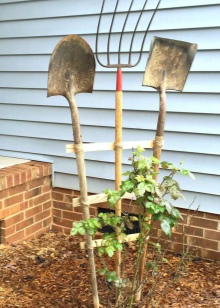
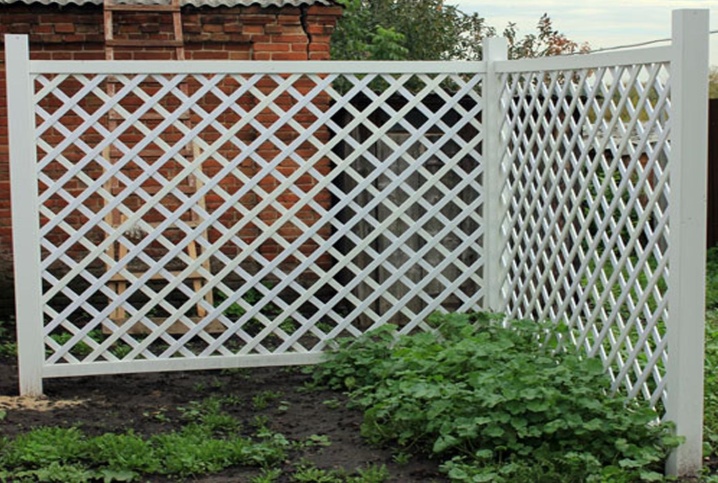
It is very important to correctly choose the location of the trellis. The main requirement is sufficient sunlight. That is, a trellis in an open area is the most common story, although this structure can also go along the house if the sun illuminates this side well. It is worth considering that most of the time the trellis will be bare, and this “bare” structure should not be foreign in the overall composition of the site and the objects on it.

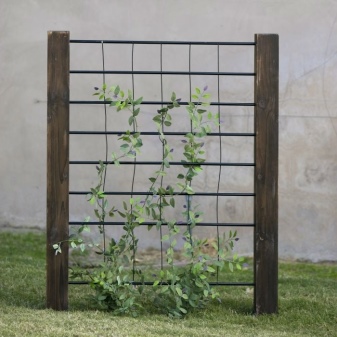
A good trellis is a solid support. It is not so important what it will be: a bar, pipe or fittings - the main thing is to fix the support in the ground in the most reliable way.
The design a priori has a high windage. This means, the support must be resistant to bending. Therefore, the builder takes into account the speed of the wind and its frequency (and is it worth building a trellis in this place at all), he calculates, and what should be the parts of the trellis - aboveground and underground.

Rods and support rails need to be thoroughly anchor... For this, rigid materials are taken with an optimal strength reserve, they must freely withstand the weight of the crops that will live on the trellis.
If the structure is complicated by moving elements, adjustment of its height and width will be available. But this is not always necessary.
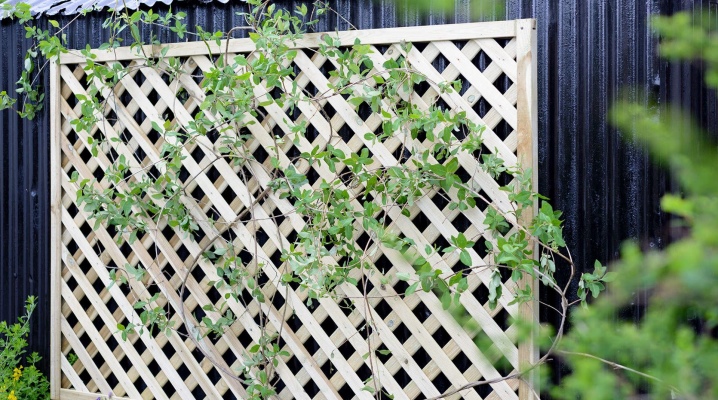
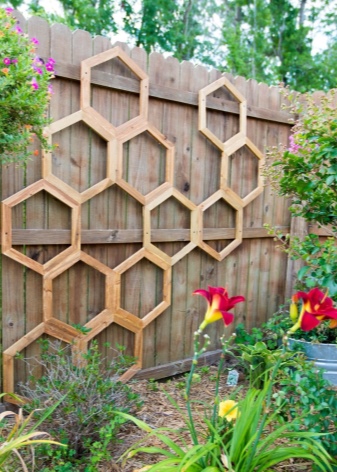
These are the main points that are necessarily foreseen, calculated and negotiated during construction. Everything else is optional. The materials taken for the trellis should be organic to other objects of the site, consonant with them. Diversity is acceptable if the owner has excellent taste and clear design inclinations: then he will know how to combine very different textures, materials, colors, and other aspects in one place. But usually people are not looking for too complex, extraordinary solutions, preferring classic examples. For example, a wooden trellis ideal for flowers.
How to make from wood?
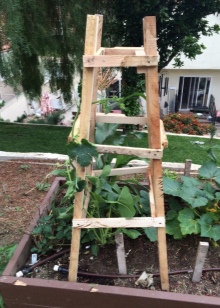
Wood is the most popular material for gazebos, verandas and trellises. This is a wonderful garden design, it will fit into a typical landscape as well as a complicated one. And in terms of availability, wood is a very profitable material.
Tools and materials
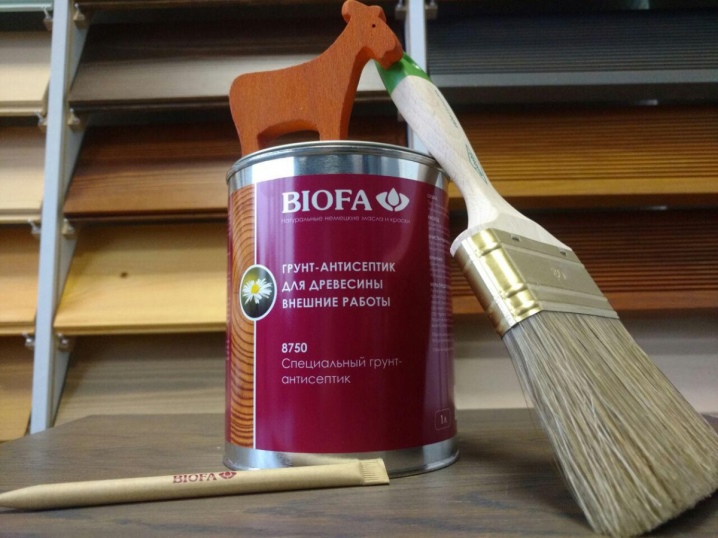
You need to take dry wood for construction, it is advisable to dwell on durable types of wood: that is, ash, oak or chestnut. All elements will have to be impregnated with antiseptics and compounds that will prevent wood from rotting.
For self-production of the base (frame), you need to take:
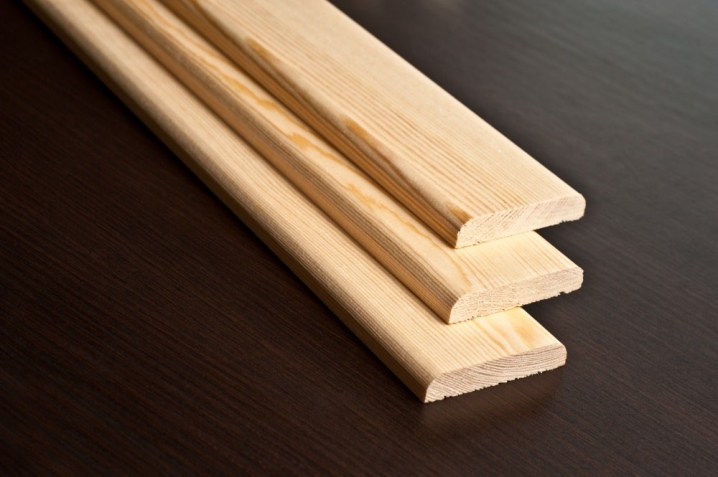
- bars 2.5-3 cm wide;
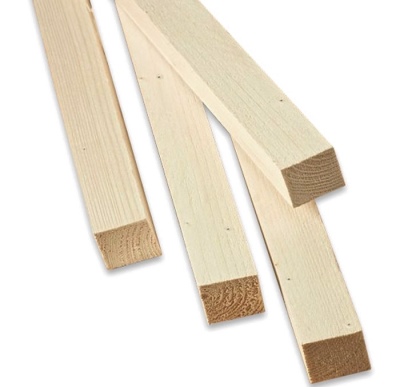
- slats, which in size will organically look with bars (that is, not thicker than 1.5 cm);
- nails or screws for fastening

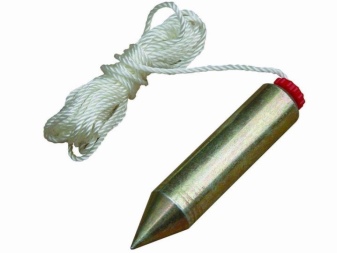
- level, plumb;

- materials for wood impregnation, as well as paints and varnishes.
You can always find ready-made drawings, but those who have already done something with their own hands often work "by eye". And this is correct, especially if the materials are used as leftovers from some kind of construction and repair work. But if you don't have much experience, it's worth looking at the instructions.
Step-by-step instruction
If all the materials and tools are prepared, you need to process the lower part of the beams (which will go into the ground) with anti-rotting agents, and then with roofing material. Instead of roofing material, you can take any suitable insulating material.
Now let's figure out what to do next.
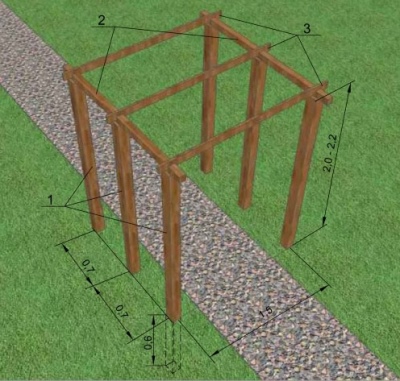
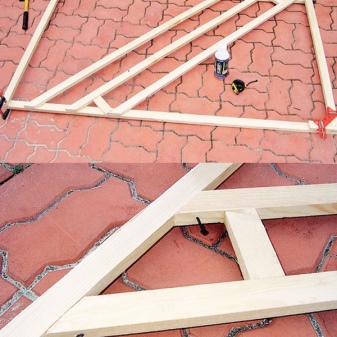
- Strong installation of trellis bases. The bars should be buried in the ground at least half a meter deep. Using a plumb line, you need to check the vertical. The soil around the supports is compacted tightly. It should be spilled with water more than once. Usually the spacing between the supports is 1.5 or 2 m - this is a matter of convenience and preference.

- Attaching longitudinal bars. Of course, nothing prevents them from being nailed or put on screws. But this is not the only solution: steel corners may be a more elegant choice of clips. Sometimes builders glue the joints with glue with waterproof characteristics - a useful measure for greater strength of the structure. It is very important that at the exit the structure is a solid frame, strictly rectangular. That is, one cannot do without a building level that will regulate the work.
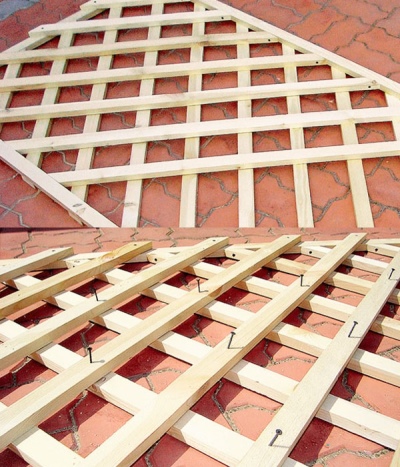
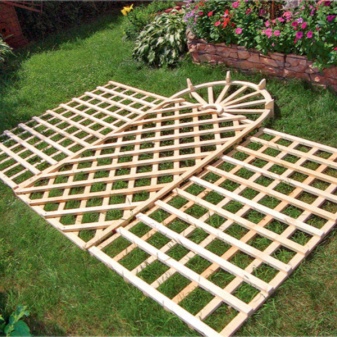
- Filling the gaps between slats... And this already depends on the design of the trellis, or, to be more precise, on the pattern that will form the intersection of the slats. It is advisable to use wood glue at the rack and pinion points. Self-tapping screws or nails will only strengthen the fastening.
- Finishing treatment. The structure is almost ready, but it needs impregnation - anti-rotting compounds, as well as paint or varnish, stain or tinting. Today, lovers of decorating plots with similar structures are increasingly inclined to the idea that painting is the best option. The color should be complimentary to the site and the buildings on it. White is considered practically universal. You can think ahead: what plants will cover the trellis, what color they give, how it will be combined with the base.
An alternative plan: first, assemble the trellis "on the table", process, paint, check the reliability of all fasteners, and then install it in the ground.
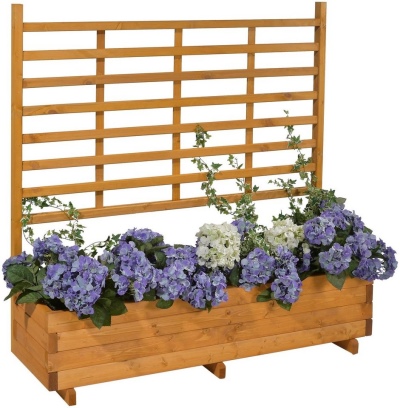
Modern trellises are combined devices... For example, wooden boxes are attached to the finished structure of a standard shape from above or below, where you can put flowerpots with flowers. Some people are even more practical: in such a box on the "second floor" of the trellis they keep small garden tools. But only the owners know about this, since all attention is focused on the plants on the trellis - Chinese lemongrass, grapes, peas and others.
Making trellis from pipes
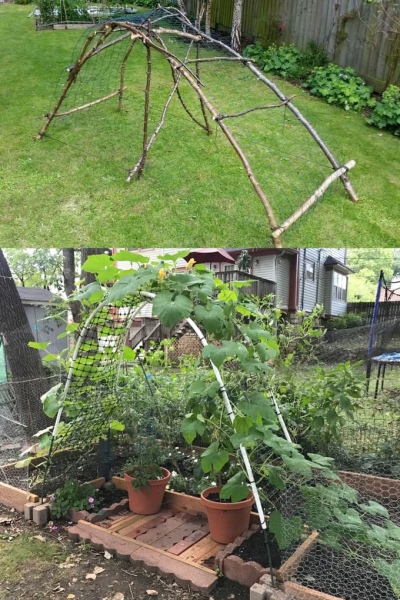
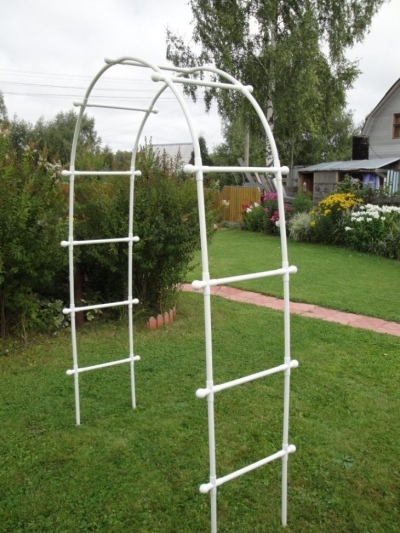
There is also such an option: pipes of any type and order become a convenient structure for loaches. It is not worth worrying that they will not look solid enough - even plastic pipes can be painted, let alone metal structures.
Although, of course, working with metal is more difficult: you need to own a welding machine. With polypropylene pipes, things will go easier and faster.
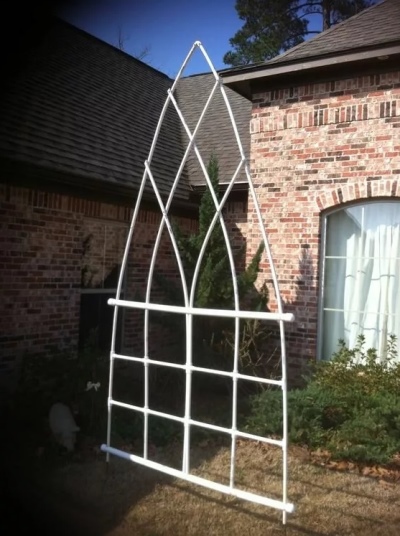
We offer a simple diagram of the structure of a pipe trellis.
The pipes themselves, wooden slats, as well as metal fittings and a hacksaw for metal will be required for work. All materials must be prepared in size - calculated, cut off, sawed off.
The reinforcement must be inserted inside the pipe to add that strength.
The pipe, together with the fittings, must be bent to the shape that is conceived in the design plan (usually it is an arch). There should be at least two such arched elements.Each of the arches is buried in the ground, the distance between them is maintained, everything is done in parallel according to the calculations.
Both bases must be rigidly connected to each other either with wooden slats or with bridges made of other suitable materials (both metal and PVC). It is the strict parallelism of the connections that is important.
Plastic pipes, unlike profile pipes, are ideally bent. In the country, you can actively use this and independently make rather complex curved structures.
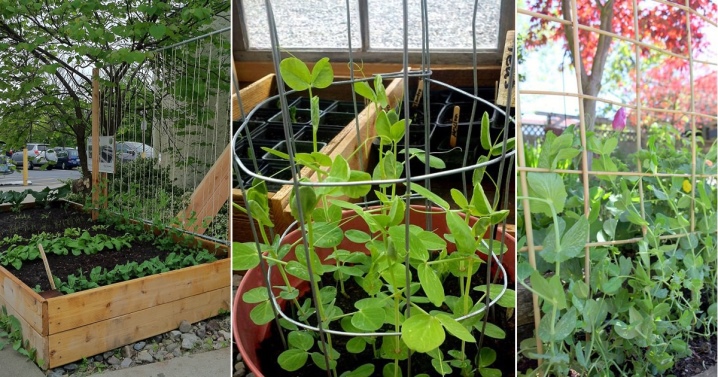
Small trellises are even placed in a greenhouse for cucumber plantings (by the way, you can practice on this). Curved structures that are not very tall are also used to decorate the growth of beans or pumpkins - a good idea for a highlight of the country design.
Other options
Wood and pipes, fittings and metal are not the only options. Decent and functional trellises are also made from mesh. For example, nets are constructed from ropes and strong ropes, from steel wire (reinforcement of the object), from the same wooden slats and PVC pipes.
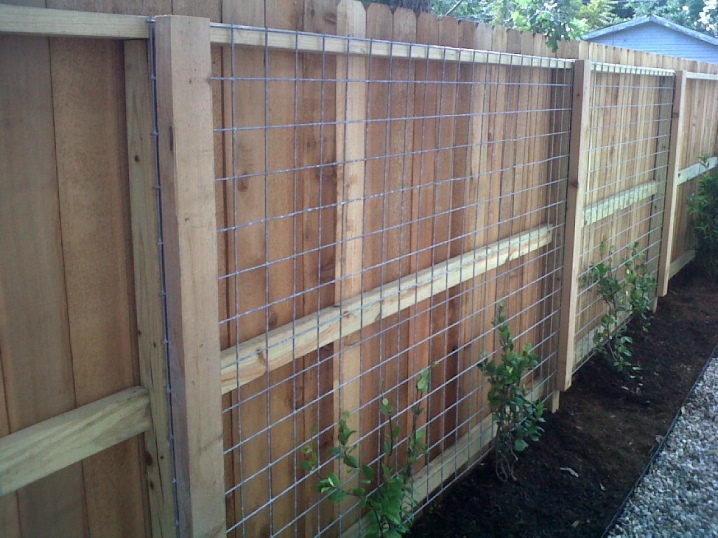
The most affordable version of the mesh model is the pillars, between which the nylon is stretched. But the nylon mesh, although it will become a cheap solution to the problem, is not the most profitable model. The plant will mature, ripe fruits will weigh down its total weight, and the net itself may not withstand such a load. That is, for ornamental, low-weight plants, this option is permissible, but not for those crops that give heavy fruits.
Consider an example of how to make a mesh trellis out of scrap materials.
- Need to prepare 2 support pillars, 3 m high, slats from any convenient material, mesh.
- Support pillars dug into the ground for half a meter. They must be well reinforced.
- Over the pillars you need to fix horizontal slats.
- Pull the net itself parallel to the ground between the posts. A thin rope or wire can be used instead. If the net is not taken, then it is necessary to place the pegs in the places where the cucumbers are planted.
- You need to pull the rope up to the top rail, so that an installation with cells of the same rectangular shape comes out.
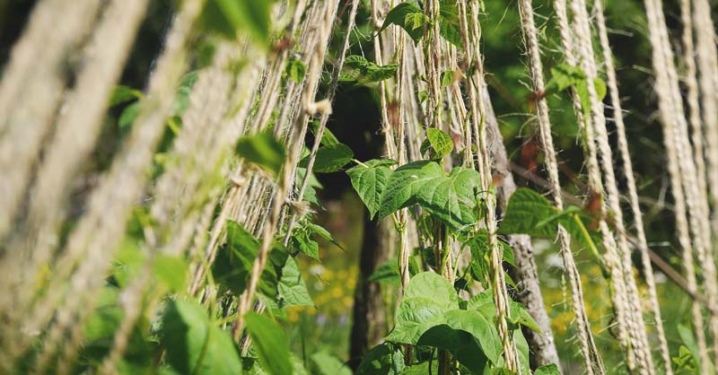
The mesh construction is very convenient for making what is called a hedge. The very base from under the overgrown plant may not be visible, and there is a feeling that currants or hops, for example, are growing by themselves. This is a great trick for landscape zoning.
Sometimes, in this way, a full-fledged fence is drawn up on the site, although it costs a lot of work.
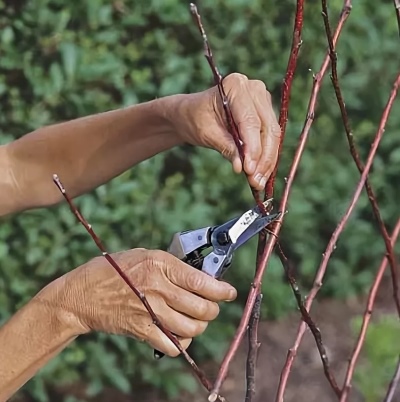
And here is a small instruction on how to make a custom trellis from cut branches:
- will be required trimmed tree branches with a diameter of about 1 cm, flexible wire, pliers and garden pruning shears;
- branches need sort by length, the first two main rods are used, which will represent the beginning and end of the structure, and they need to be stuck into the ground by about 15 cm;
- near the first rod, maintaining an angle of 60 degrees, the third rod is fixed (towards the second), the next rod is placed after 14-16 cm, and so the process is repeated until the flight;
- then the whole procedure changes direction and seems to be going backwards - from the second rod to the first, one must remember to preserve the angle;
- where the twigs intersect, you need to do wire fixation;
- the tips of the branches protruding beyond the plane of the future trellis are cut with a pruner - the design must be of the correct shape;
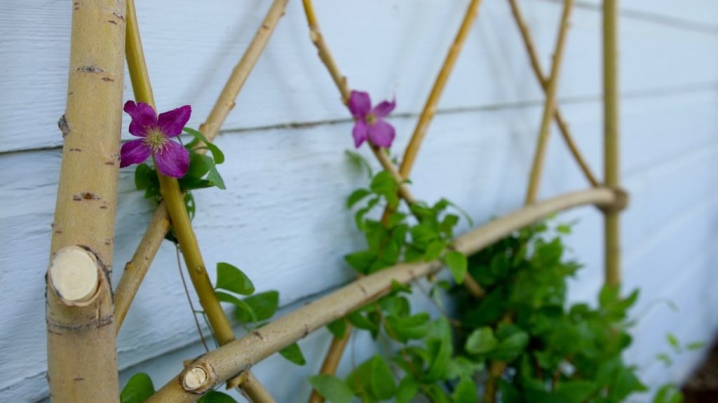
- result of work - trellis, the cells of which are diamond-shaped.
It is, of course, a little naive to hope that the trellis made of branches will last for a long period. But such a design will definitely withstand one season, and this period is quite worthy of the amount of work and costs in general that will be used to make a beautiful trellis. Perhaps this will turn out to be not just a support for climbing plants, but a whole photo zone or a festive background for some important event - from a birthday to a wedding.Such options are not uncommon, and it looks not only natural and environmentally friendly, but also authentic. The same trellis made of fiberglass reinforcement cannot achieve such an effect.
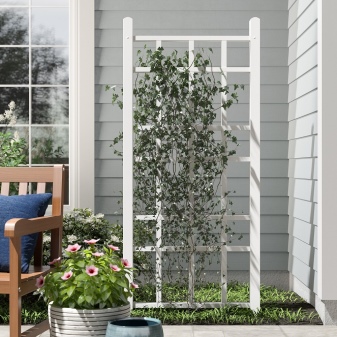
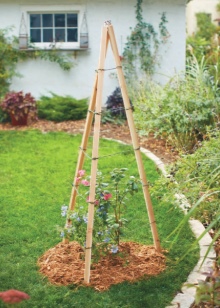
If the question of choosing a design lies in fashion, the desire to please the landscape novelties of the season, it is better to turn to classic solutions. For example, you can make a light wood trellis adjacent to the wall of the house.
And let a climbing plant with large and bright buds on it. But that's not all: below you can break a long narrow flower bed, which will become the lower tier of a very delicate and beautiful design. Surely in this place every guest will want to take a memorable photo.
In search of the ideal option, one should not start from complicated decisions: usually the eye rests on symmetry, natural materials, basic colors, and color consonance. The design can be simple, but well-groomed, in harmony with the image of the site as a whole. And it is possible to create it with your own hands.
For information on how to make a trellis with your own hands, see the next video.


The comment was sent successfully.