Reproduction of juniper by cuttings: step by step instructions

Juniper is one of the most popular crops in landscape gardening. Propagation of this ephedra by cuttings is a relatively simple method that allows you to get many young and strong plants.
What varieties can be propagated?
As you know, the overwhelming majority of ornamental plants retain their distinctive features only during vegetative propagation by cuttings. However, not all juniper varieties can be propagated in this way. The following types of culture are subject to cuttings.
- Meyeri - an ornamental shrub with blue-green needles and a pronounced steel sheen. This plant belongs to the dwarf - its height varies from 30 cm to 1 m, so it is often used to form bonsai. It looks consistently impressive thanks to the hanging shoots and dense crown.
- "Mint Julep" - this plant attracts attention with wide branches and thick mint-colored needles. In winter, the needles of this juniper do not tarnish. The plant is resistant to prolonged frost, gas pollution and summer heat.
- "Mordigan Gold" - golden juniper with pronounced antiseptic and bactericidal properties. The plant looks extremely noble thanks to the horizontally diverging shoots and the unusual color of the ephedra. It grows slowly, reaching 2 m in diameter by maturity.
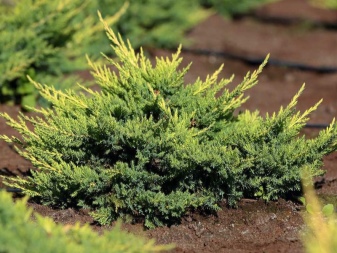
- "Wiltoni" - an unusual juniper, forming a creeping carpet with needle-like needles of a silvery shade. It is difficult to imagine, but a small stalk over time can grow by 3 meters in all directions, and in addition to the main lashes, it gives a lot of lateral ones, so you can get 2 square meters from one bush. m of fluffy carpet.
- Dream Joy - another juniper with creeping shoots. The height of the bush reaches 40 cm, the crown diameter is only 1 m, the annual growth is 15-25 cm.
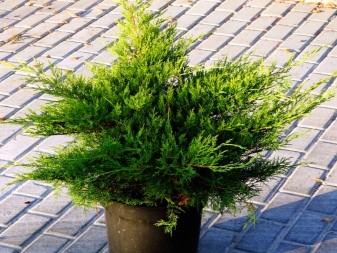
- "Gold Coast" - a low-growing bush no more than 1 m high with needles of a pleasant yellow-green color. Prefers illuminated areas; in darkening, the color loses its saturation and depth. Unpretentious to soil types and air pollution.
- Lime Glow - another interesting juniper with rich green needles. The shoots of this plant grow radially, a slight depression forms in the middle, by September the needles acquire a bronze tint.
- "Hit" - a dwarf variety of junipers with a height of no more than 20-25 cm. The branches grow unevenly, the young shoots are distinguished by a pronounced herbaceous color, which sharply states with a shade of aged needles. Used to decorate rockeries and walking paths.
Terms of cuttings
Depending on the type of juniper, rooting branches can be harvested at different times, from early spring, when the snow melts, to late autumn.
It is best to collect shoots in spring, optimally in March, during this period sap flow and bud awakening begin, such planting material can be completely rooted in the current season.
Summer harvesting of material is allowed. It is best to do it in early June, when active growth ends and lignification of the young growth occurs. Depending on the type of ephedra, rooting lasts from 2.5 months to a year.Some varieties of junipers give only callus in the first year, and a full-fledged root system is formed only by the next year.
In autumn, already lignified branches are cuttings - they are planted only next year.
We draw your attention to the fact that the first roots of a juniper appear in 27-30 days, but in order for the root system to become viable, it will need to grow for at least one more month. That is why the shoots harvested from July to September are planted in an open area only a year later.
Procurement of planting material
Juniper grown from cuttings can grow both healthy and fluffy, and crooked, weakened. This largely depends on how the planting material was collected. In order for the plant to fully meet all your expectations, you should adhere to the following recommendations.
- As a mother plant, it is best to take a plant at the age of 5-8 years, since at an older age, the ability of conifers to root formation is significantly reduced.
- The parent plant must be healthy, with a dense crown of bright color.
- For creeping varieties, the cut location does not matter. In this case, it is important to choose a well-developed, spreading branch that is exposed to sunlight. This is especially true for bright varieties.
- In cone-shaped, columnar and pyramidal varieties, it is necessary to cut the central shoots of the 1-3 orders of magnitude from above. If you take cuttings from a side branch, you risk getting a juniper actively growing to the sides.
- It is important that the branch intended for grafting has a living apical bud and a full-fledged growth cone, otherwise the seedlings will begin to bush strongly.
- Experienced gardeners recommend using shoots on which slight lignification has already begun, since too young cuttings and too old branches give a low percentage of rooting.
- Procurement of material should be done in cloudy weather or early in the morning. This will significantly reduce the evaporation of moisture from the cut area.
- Do not touch overly thin branches, as they will use up the entire supply of nutrients long before the roots begin to grow. It is best to take one-year cuttings with a length of 20-30 cm.

Cuttings obtained from the trunk and large skeletal branches are best taken with a fragment of a tree. This promotes rapid establishment.
It would be more correct not to cut off the branches, but to pluck them with a quick downward movement. If the tongue is too long, then it will have to be trimmed.
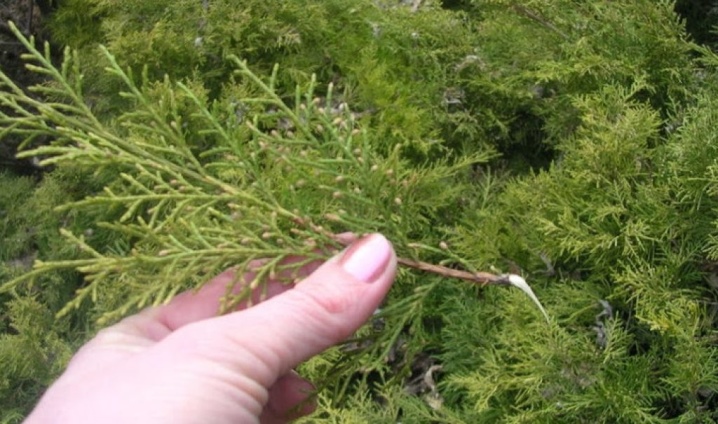
If the material is harvested from a large and thick shoot, you will need a garden pruner or a knife with a sharp blade, while the cut must necessarily capture 1.5-2 cm of the lignified fragment.
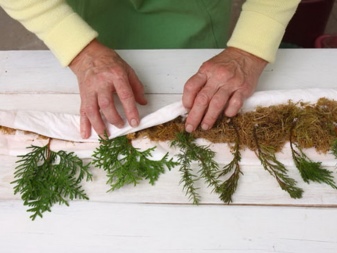
After the planting material is collected, it is necessary to rid the lower part of the cutting of needles by 3-4 cm. It is best to do this with your hands, since in this case, when tearing off, wounds are formed, which will contribute to faster root formation.
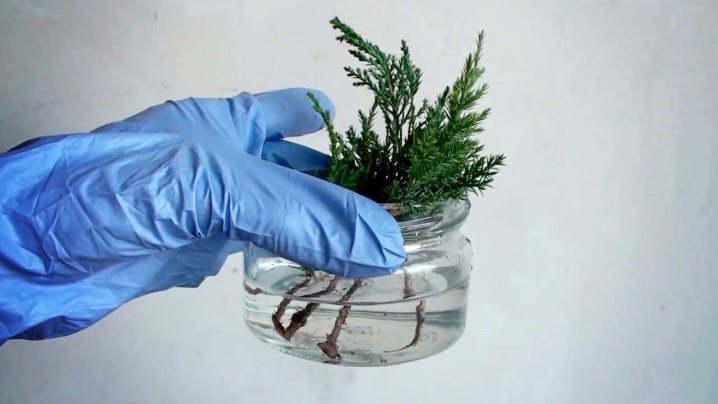
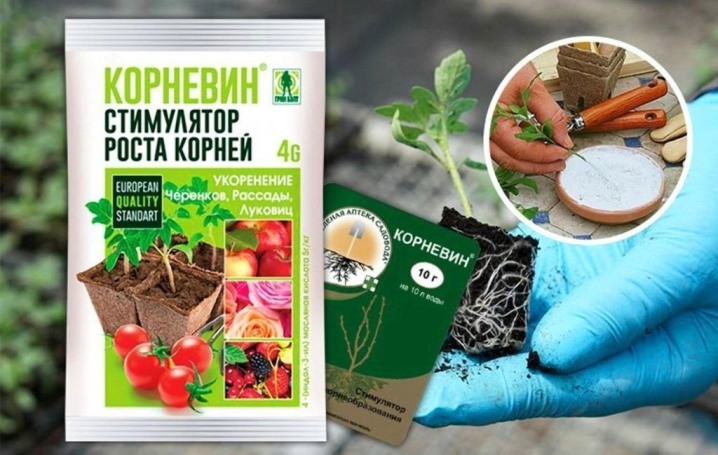
Immediately before placing in the substrate, the cut sites are sprinkled with "Kornevin", "Heteroauxin" or other stimulants based on succinic acid. But it is not necessary to keep the branches in solutions with an activator - with prolonged exposure to moisture, the bark begins to flake off and the plant rots. For the same reason, it is better to carry out further rooting not in a jar of water, but in a container with a nutritious soil mixture.
Rooting features
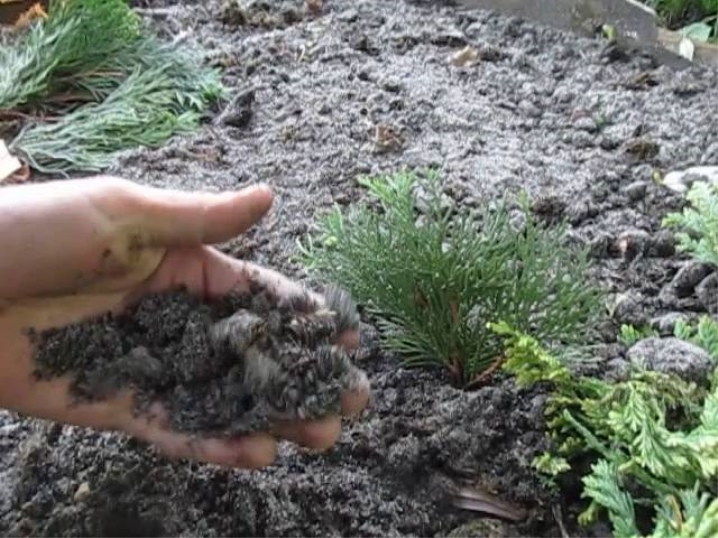
Juniper cuttings are rooted in a nutrient substrate - the earth should be light, aerated, with a neutral or slightly acidic reaction. It is best to use a mixture of peat, turf and river sand with the addition of perlite and vermiculite. It is not recommended to add ash, shells or lime, as they give an alkaline reaction to the soil.
If you are going to root a couple of cuttings, then you can use a flower pot. Expanded clay, crushed stone, large pebbles or any other drainage are certainly poured at the bottom, then the prepared soil mixture is covered with a layer of 15-20 cm and sprinkled with sand. If the number of seedlings is large, it is better to plant the blanks in large boxes or greenhouses.
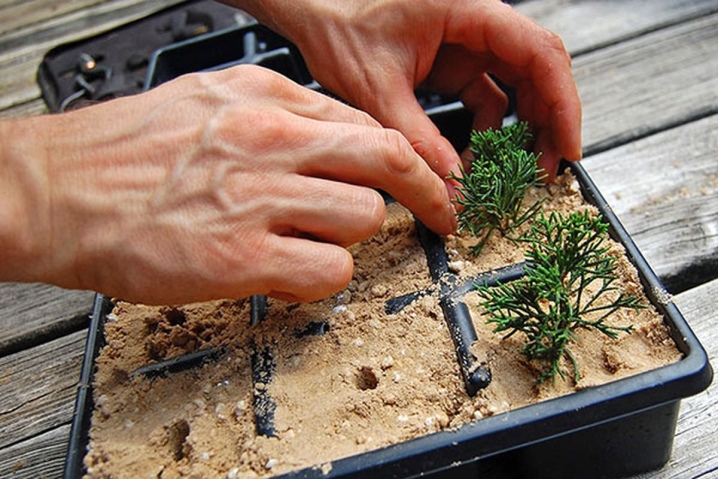
Planting cuttings for rooting has its own characteristics - just sticking into the ground is not enough here. Step-by-step landing instructions include several stages.
- Using a wooden peg, a hole is formed in the prepared ground at an angle of 50-55 degrees. If you plan to plant several shoots, then the distance between the holes should be about 7-10 cm.
- The cuttings are laid at an angle, deepening them by 3-5 cm.
- The earth around the processes must be properly compacted, so that no voids remain.
- Seedlings should be watered through a spray bottle or through a sieve so that the soil is thoroughly moistened.
- It is better to plant the cuttings in a greenhouse - for this they are covered with plastic wrap or a bottle.
Intensive root formation in juniper occurs at a temperature of 21-25 degrees and a humidity level of 95-100%. At this point, direct sunlight should be avoided.
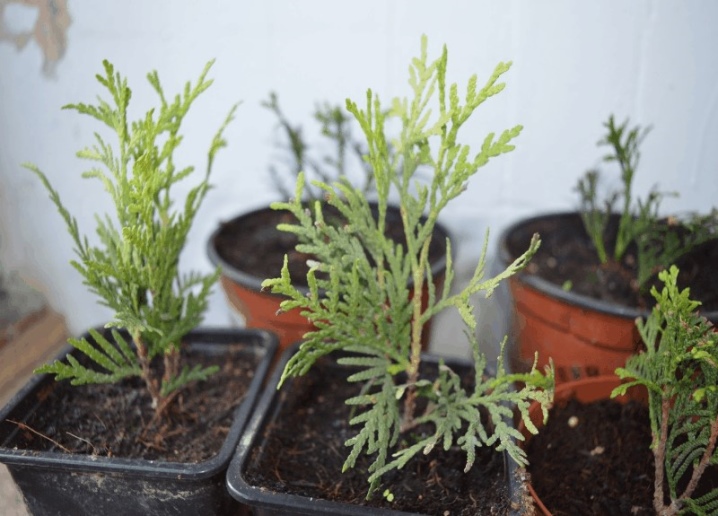
On average, seedlings are ready to move to a permanent location in 3-4 months. However, this time frame may shift for different varieties. Root formation often stops in the summer and continues in the fall.
During the period of root formation, it is necessary to keep the soil moist. If the seedling remains indoors until the next season, it is necessary to treat it with fungicidal solutions once a quarter to prevent disease. Lighting should be diffused, but bright - light contributes to the formation of phytohormones responsible for root growth.
After the roots reach 1.5-2 m, it is necessary to harden the juniper little by little. To do this, open and ventilate the greenhouse every day.
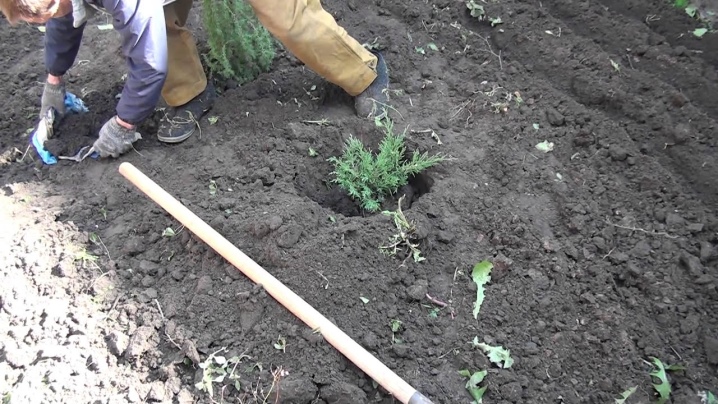
Open ground landing rules
You should not rush to move the juniper to a permanent place. If the cuttings were harvested in spring or at the very beginning of summer, the planting time should be selected so that the bushes have time to adapt before the onset of winter. Ideally, at least 70 days should pass from the moment they are planted in the greenhouse.
If the cuttings were harvested later, they can be replanted next spring, as soon as the snow melts, with a later survival there is a high risk of yellowing of the needles in the sun.
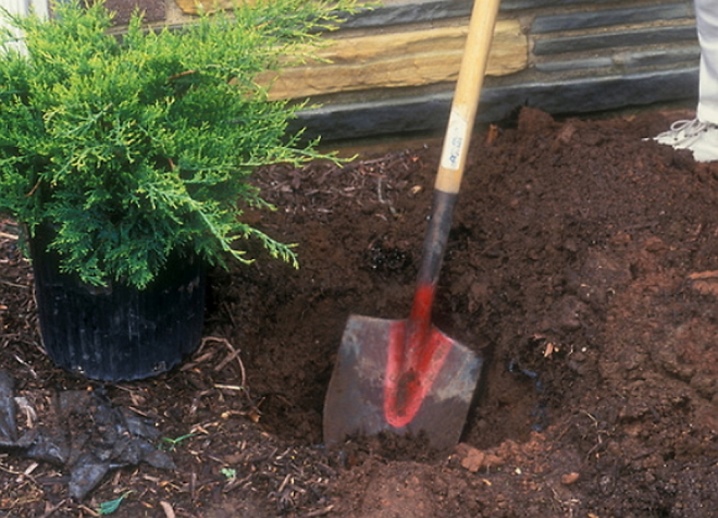
For seating, you should choose a well-lit place, slight darkening is allowed, but semi-darkness should be avoided. Planting material is transferred into the ground together with an earthen clod so that the roots do not suffer, since they are very fragile and thin in juniper.
Column-shaped juniper should be planted vertically, bush varieties deepen at a slight angle.
For planting, you should prepare a planting pit 1 meter deep and 2-3 times the diameter of the earthy coma. At the bottom, it is necessary to pour drainage, sprinkle with garden soil, carefully place the seedling and cover with the remaining soil mixture. The root collar should remain close to the surface.
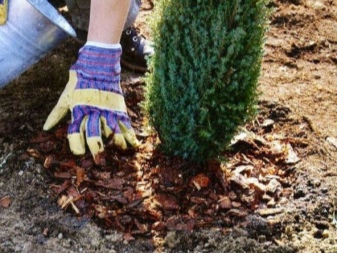
Immediately after planting, the juniper must be well watered and covered with mulch. In the first year of life, the seedling should be protected from bright sunlight, wind and winter frost. This plant is undemanding to moisture, it can easily withstand drought, but it does not tolerate waterlogging of the earth. In spring, the seedling will need an ammophos subcortex at the rate of 45 g per 1 sq. m, in the summer it will be useful to add mineral organic fertilizers - they are used once a month if the young plant develops too slowly.
Breeding a juniper with cuttings at home is not difficult, even a novice gardener can grow it from a branch. But at the same time, it is important to strictly follow all the rules for harvesting, rooting material and growing a seedling. All varietal characteristics are fully preserved only if all the basic rules of reproduction have been observed.

Reproduction of juniper cuttings in winter in the video below.


The comment was sent successfully.