How to transplant a juniper?
A juniper transplant is needed when the place for the plant is not very well chosen, and it feels uncomfortable in the shade or in the sun. Sometimes this may be due to the desire of the gardener to create a new landscape composition. In any case, you need to know when and how to do it correctly without damaging the ornamental bush.
When can you transplant?
Depending on the season, the ability of junipers to form new root shoots changes, and therefore it is important to know when to move the shrubs to another location. Despite the fact that the coniferous crop can be transplanted at any time, experts in this field are of the opinion that it is better to transplant in the spring, since sufficient moisture in the earth helps the plant to take root quickly after the snow melts.
The best time for this is the end of March, April.
There are certain transplant rules at this time:
- a seat is prepared in the thawed soil, and around it the soil is cut with a shovel and allowed to stand for 2-3 days;
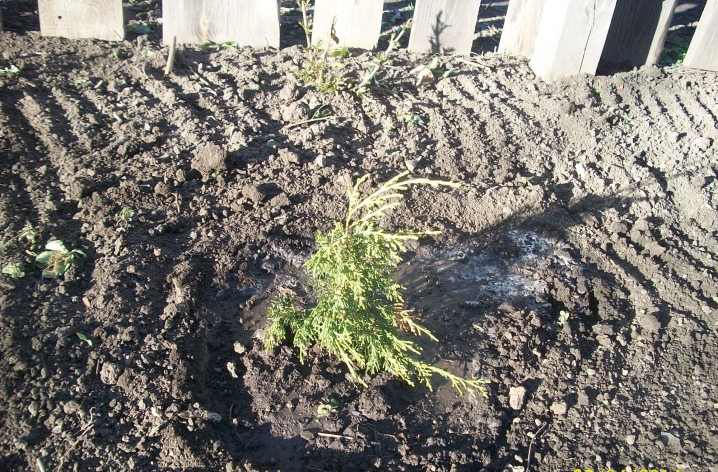
- after transplanting, the plant is watered and the soil around it is mulched, and also shaded so that the crown does not burn out - the shelter can be removed only in June;
- you need to water the plant little by little, but regularly, in order to increase the vitality of the root system.

A diametrically opposite opinion - a juniper can be transferred from one place to another in the fall, in September. There are reasons for this - due to the increased humidity of the soil and air, the plant can more easily transfer planting to a new place, and quickly adapt to the changed environmental conditions.
Autumn transplant has its own characteristics:
- it is not required to cut through the soil around the bush - it is simply dug in so that it is easier to remove it from the ground;
- it is necessary to ensure that the earthy clod remains on the roots - this will help to avoid damage to them;
- the transplant should be carried out when the sun is covered by clouds, preferably warm but cloudy;
- you cannot carry out the procedure immediately before the onset of frost - you need to transplant at least a month before the cold snap;
- after placement, the juniper should be irrigated moderately, avoiding stagnant water, and before night frosts, it is required to stop watering;
- the near-trunk area must be covered with a layer of mulch to protect it from waterlogging and cold;
- an adult bush can not be closed for the winter, but in March it needs to be protected from bright sunlight, so shading will be needed.
In the summer, it is not recommended to transplant, since the plant can lose a lot of moisture, which means that the roots that extract useful substances for it from the soil may suffer.
Adaptation in this case is difficult, and often the juniper cannot take root.
If necessary, you can, of course, transplant, but they do it taking into account the following requirements:
- the dug out plant must be placed in a separate box or container with soil prepared in advance;
- shade with a film or take it to the greenhouse, burying the container in the ground;
- plant in a permanent place in late summer or early autumn, choosing partial shade, while the juniper is still weak and too vulnerable to ultraviolet radiation.
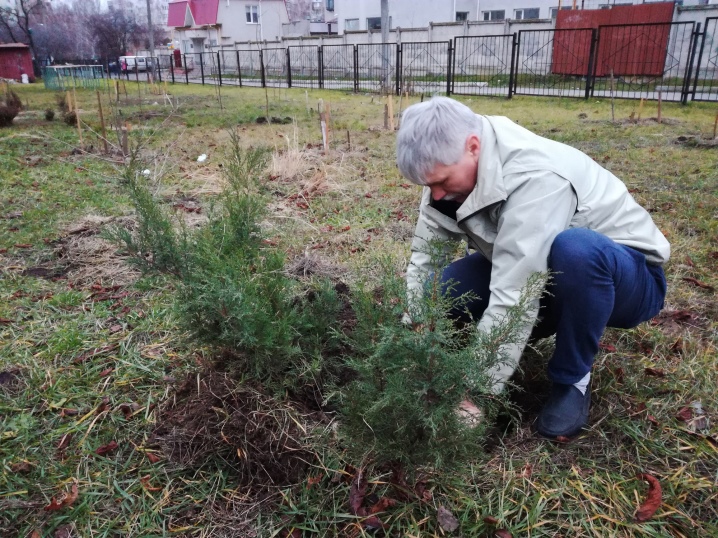
If you need to move a tree or bush from the forest to the site, it is wiser to choose early spring for this. In order to injure the juniper as little as possible and increase the chances of its rooting, it is necessary:
- take a plant with a large earthen clod and adventitious fibrous roots;
- inspect the bush for diseases and pests;
- immediately mark the sunny side of the culture;
- after digging, wrap a lump of earth in a film;
- can be planted in partial shade, away from residential buildings, in order to prevent damage from snow sliding from roofs.
For forest juniper, a complete nutritious substrate is prepared from peat, coarse sand, compost and fertile soil. For the first six months, the plant will need watering once a week (24 liters of water per tree).
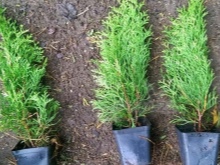
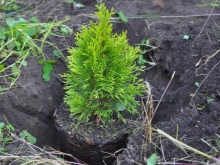
Most often, young plants not older than 3 years are transplanted with a height of 1 m. It is better not to touch adult juniper bushes without special need, since they take root badly. Moreover, you need to choose plants growing on medium-heavy loamy soils - they are distinguished by better rooting.
Choosing the right place
For transplanting, you will have to choose an area where the plant will feel comfortable, and it will not need to be injured once again by new movements.
- The choice of location depends on the type of juniper. If the plant grows in its natural environment on the slopes of the mountains, then an open hill with good lighting will be suitable for it. But since young plants are mainly transplanted, even sun-loving conifers will not hurt a little shading.
- Likewise, depending on the variety, you need to select a suitable soil for the culture. Some varieties of juniper prefer clay and sandy loam soil, while others prefer soil with a high lime content. When creating a decorative group from different species, it is important that the same land is suitable for everyone, otherwise caring for them will be difficult.
- It is better not to plant junipers next to such garden crops as pear and apple trees, as fruit trees can get rusty.
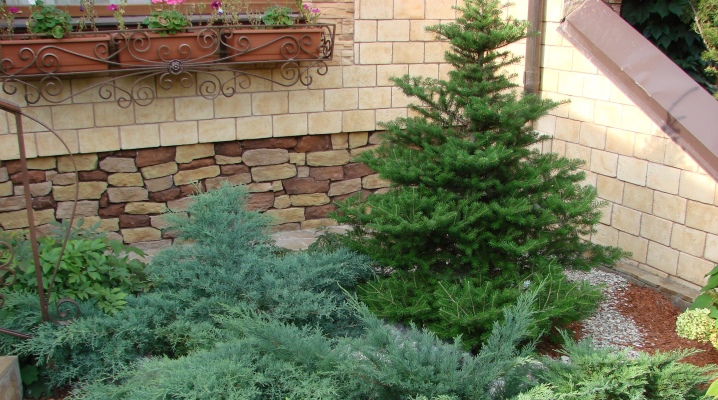
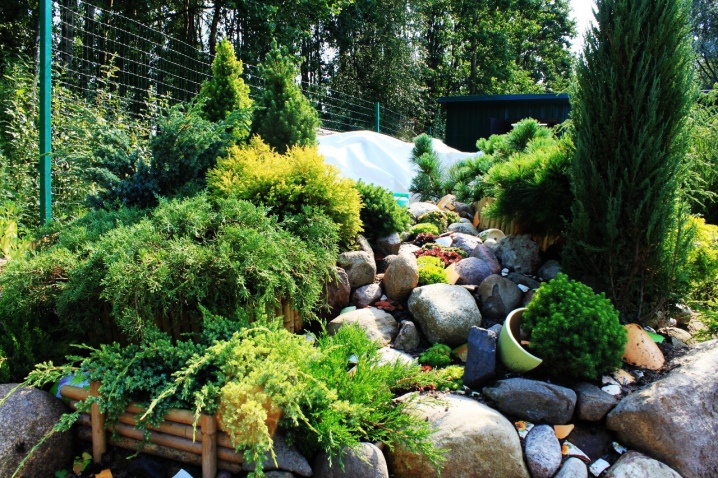
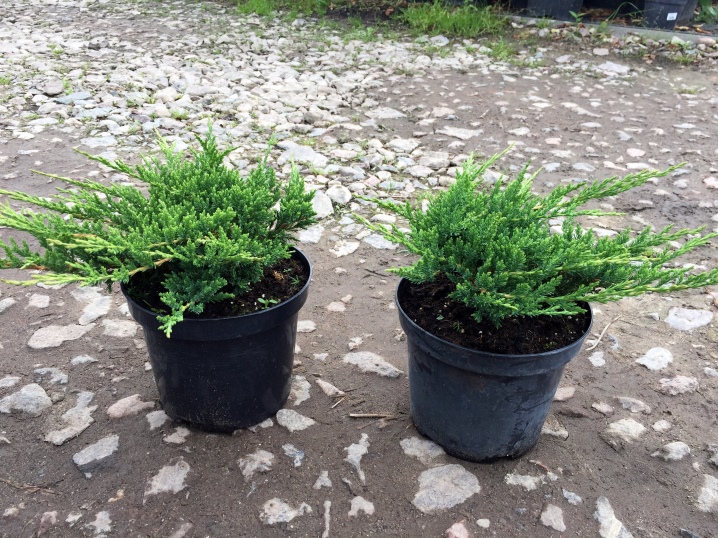
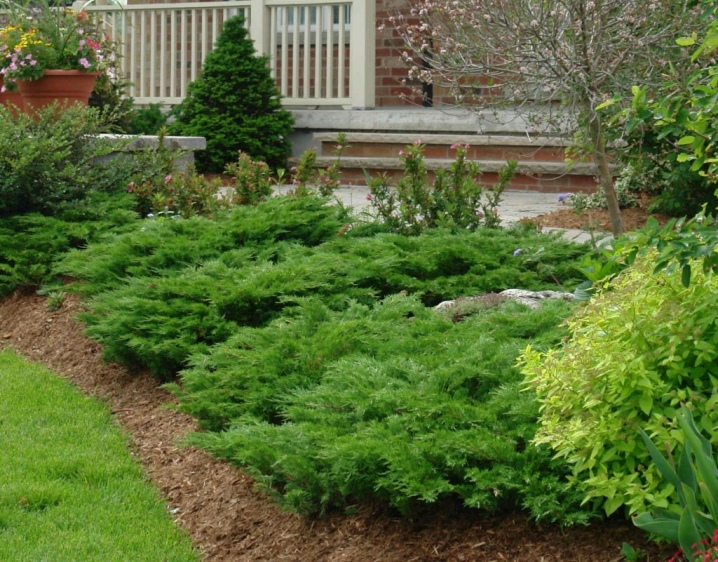
- For landscape ensembles, a spacious place is chosen, taking into account the fact that the plant grows strongly in width, especially its undersized varieties.
For creeping plants growing in nature on stony soils, you can create flower beds and hills, covering the area with pebbles and gravel.
Step-by-step instruction
Preparatory work will help to carry out a juniper transplant with high quality and will eliminate various problems.
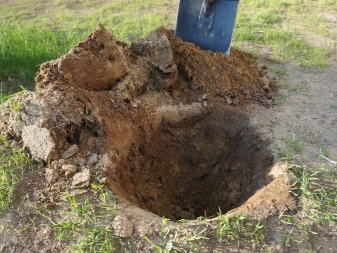
- Around the tree chosen for placement in another place, a sharp shovel is thinned the ground to its length (50 cm), this must be done 12 months before the procedure.
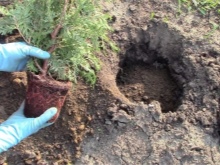
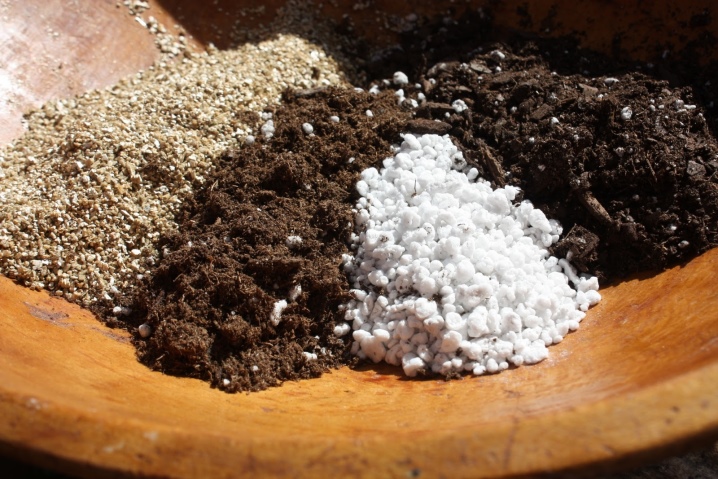
- The planting hole is prepared 2 weeks prior to placement. The potting mix is usually made from sand, peat and turf with the addition of dolomite flour or lime. Some varieties require organic fertilizers and compost.
- For a small seedling, a hole with dimensions of 50 × 50 × 50 cm is needed, but if the juniper is large, then they are guided by an earthen clod - the hole should exceed it by 2-3 times.
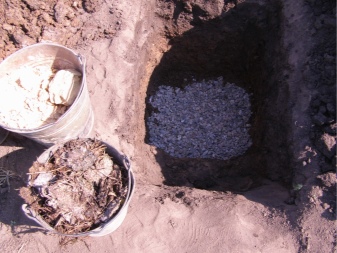
- At the bottom, a drainage layer of pebbles, crushed stone or sand with broken brick 15 cm high is laid out.
- A layer of soil mixture of 8-10 cm is placed on the drainage. You can add to it the upper soil layer of forest litter, on which forest junipers grow.
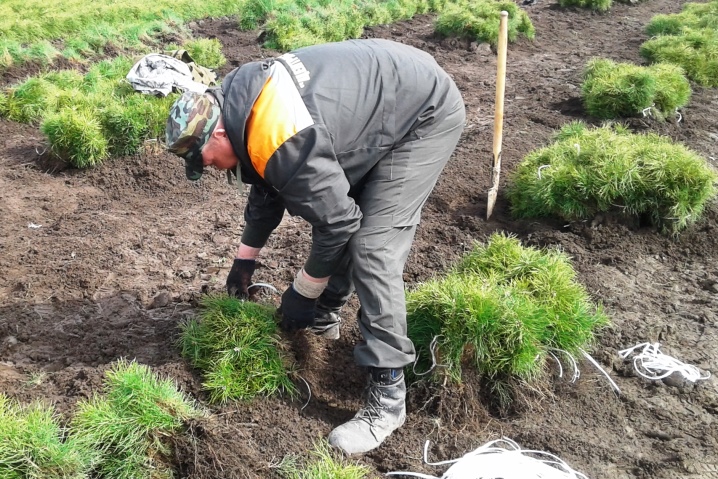
The correct transplant is carried out as follows.
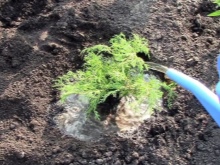
- Remove juniper from the soil with care so as not to damage the root system. Therefore, at first, it is carefully dug in from below and laid on a burlap, with which you can drag the shrub to a new place in the garden.
- For better rooting, a clod of earth along with roots is treated with compounds that stimulate the activity of the root system, especially if some shoots are knocked out of the coma.
- When planting, the juniper is placed evenly, focusing on the cardinal points, the root collar is placed at ground level. The roots are covered with earth, compacting it so as to exclude voids.
- Next, you should water the plant well, wait for the moisture to be absorbed and, if necessary, top up the soil.It is necessary to mulch the space near the trunk with peat, wood chips, crushed cones, pine bark, layer thickness - 5-7 cm. When replanting tree varieties, it is important to fix the trunk with twine and three pegs.
For preventive purposes, the plant must be sprayed with fungicidal and insecticidal agents.

Follow-up care
After replanting, the juniper must be regularly looked after, this will increase the chances of its survival.
Simple actions will help speed up adaptation.
- In a new place, the culture should be watered once a week. The earth must be constantly moistened, it must not be allowed to dry out. However, when watering the near-stem circle, avoid hitting the above-ground part of the plant.
- Also, the needles of the tree need to be periodically sprayed, this will ensure its density and beautiful color.
- Plants transplanted in autumn are fertilized with complex mineral agents in the spring.
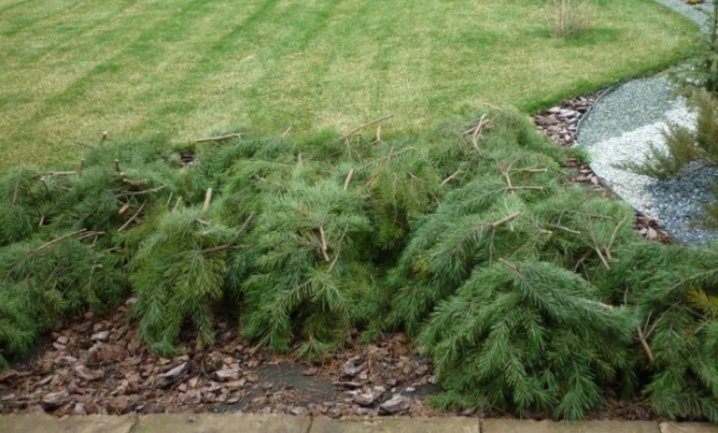
- It is necessary to cover the displaced juniper for the winter for 4 years in a row. To do this, a frame of wood is erected around the plant, the twigs are bent and fixed to the trunk. Cover the top with a non-woven protective material.
- Regardless of the time of year, after transplanting, the juniper must be protected from the sun's rays, which are harmful to its crown, especially from the southern side of the tree.
- Until complete rooting, the culture continues to be treated with special means against diseases and pests.
You can understand that the juniper has taken root when it grows, that is, new, fresh shoots will begin to form on it.
Possible problems
After transplantation, a juniper that has not yet had time to root normally can be affected by aphids, scabbard and spider mites. Besides, poor drainage and water on the crown can lead to fungal diseases of the plant. That is why it is important, after moving to another place, to carry out preventive work to prevent these troubles.
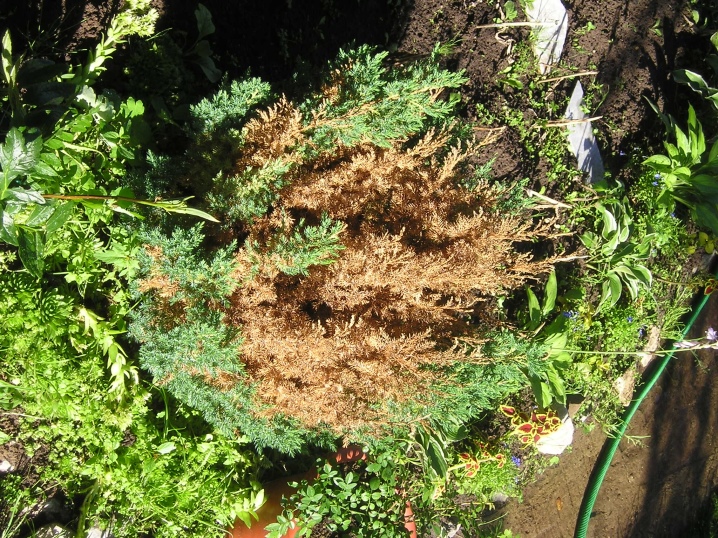
It is often possible to observe how the needles of a juniper turn yellow after transplanting, especially the one that is closer to the trunk, in the middle of the crown. This can mean a lack of moisture, so care must be taken that the soil surface under the tree does not turn into a dry crust. But also the same diseases and harmful insects are the cause of yellowing.
The fight against them should be started when the first signs of trouble appear and alternate between different means, since pathogens often develop resistance to the same drugs. The affected branches must be removed, and the sections must be treated with garden varnish or copper sulfate.
The transplant process is, of course, important and must be carried out according to all the rules, but for the adaptation of a juniper in a new place, proper care of the plant is of great importance.
How to properly transplant a juniper, see below.


The comment was sent successfully.