Chain-link fence

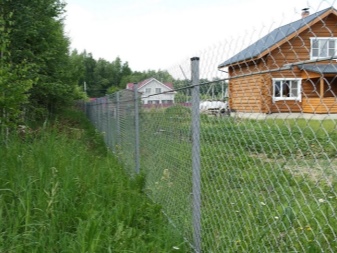
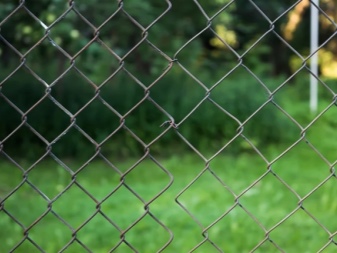
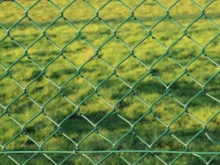
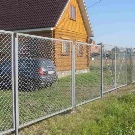
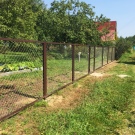
Fences constructed from a chain-link mesh can be found in many summer cottages and suburban areas. The popularity of the material is due to its performance and installation features.
Features, pros and cons
Each person who owns a summer cottage or a private house faces the choice of a high-quality fence for their territories. Some people prefer to build fences made of wood or brick, while others - from a chain-link mesh. Many people choose the mesh because it has a lot of positive qualities.
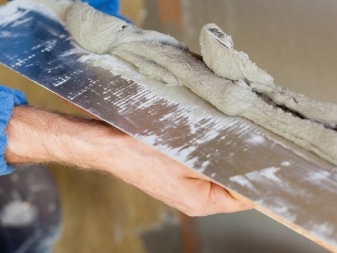
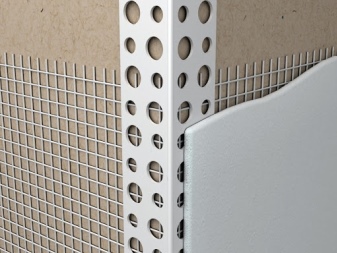
The very name of the chain-link comes from the name of its creator Karl Rabitz. For the first time, he began to exploit this type of material instead of the standard shingle grating in order to strengthen the plaster layer.
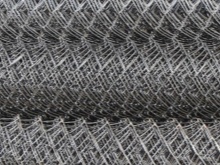
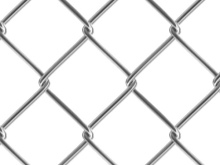
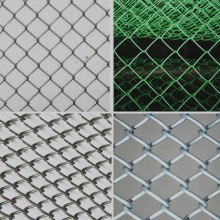
Currently, the structures under consideration are used to equip fences. The chain-link mesh is made of a material based on a special low-carbon mesh with a diameter of 1 to 6.5 mm. It is on the characteristics of the material used that the size of the cells and the scope of the chain-link as a whole directly depend.
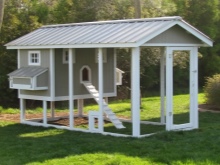
For example, grids with larger cells are usually used to construct fences. Fine-mesh options are more suitable for building aviaries and cages that contain pets and birds.
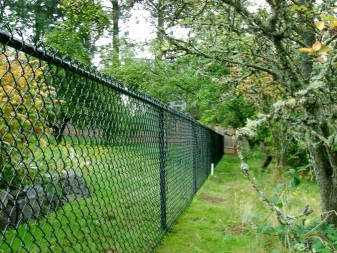
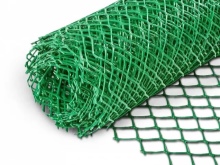
Often, the chain-link is used to fence the internal territories of a site or areas between neighbors. To separate from neighbors, a special chain-link made of polymer materials is ideal.
She will not be able to withstand heavy loads, therefore, to a greater extent, it performs a decorative function.

As mentioned above, the netting has many positive qualities that make it very popular. Let's get acquainted with the most significant of them.
- The chain-link mesh boasts a relatively affordable cost. Homeowners who want to save money on building a fence often prefer this kind of democratic material.
- A chain-link fence is quite easy to install. Even an inexperienced home craftsman who has never done such a job before can easily cope with such work.
- If the netting is made of practical galvanized wire, then its service life can exceed 50 years. In durability, not every type of fence can compete with such material.
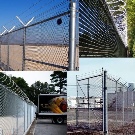
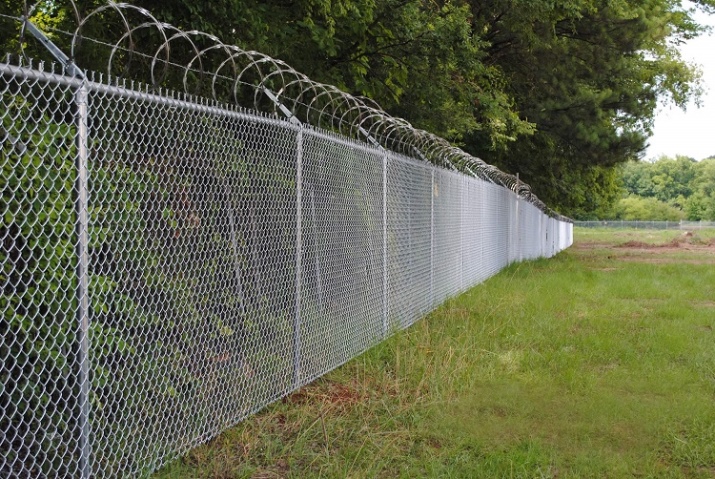
- To make the structure of the fence more reliable, strong and wear-resistant, barbed wire is often pulled along the edge. Such a fence turns out to be especially safe and protects the fenced area well.
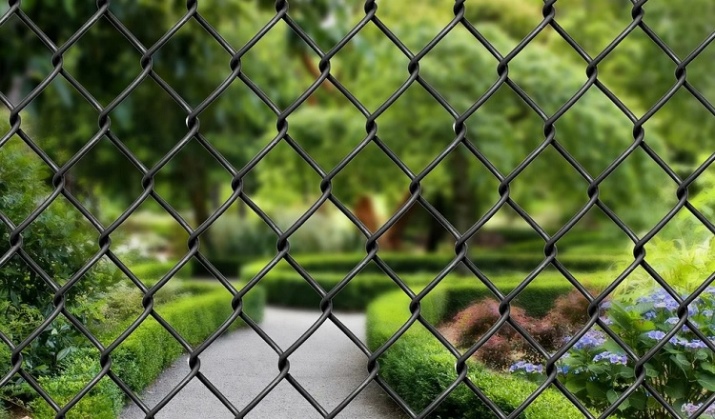
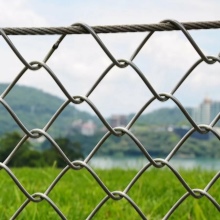
- The chain-link mesh is a win-win type of fence for those areas where there is a lot of vegetation. Such a fence can allow enough sunlight to pass through, as well as moisture and fresh air, which has a positive effect on the condition of garden plants.
- Using a properly selected mesh-netting, you can divide the existing area into several functional zones.
- The material in question is also attractive because it does not require special care. It does not have to be regularly treated with antiseptics or protective compounds. Periodic repair of the mesh is also not required.
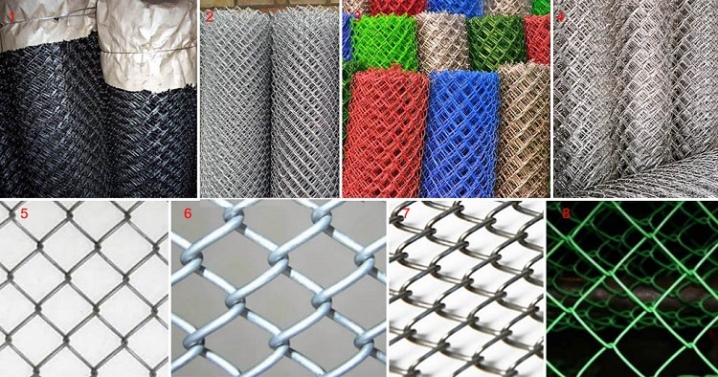
- The chain-link mesh is presented in a wide range. Homeowners may come across structures for sale with different mesh sizes and different wire thicknesses. It will be possible to find the right product for any purpose.
- Such a fence will not have much weight. That is why it is very easy to work with a netting-netting, because it is light and pliable.
Despite the large number of advantages, the chain-link mesh is not without its disadvantages. Before buying and installing a similar type of fence on your site, it is better to familiarize yourself with them.
- One of the main disadvantages of the chain-link mesh is its unpresentable appearance. It looks simple and inexpensive. If you want to emphasize your status and effectively decorate the site, then it is better to take a closer look at other materials for the construction of the fence.
- If you mount a fence made of a chain-link mesh and do not supplement it with living fences of greenery, then the site will be very clearly visible both from the street and from neighboring territories.
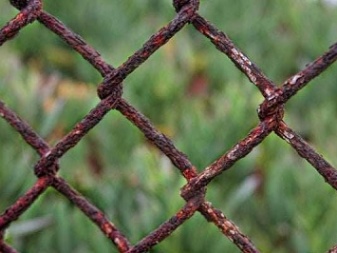
- A fence made of a chain-link mesh is susceptible to corrosion.
Mesh selection
The mesh-netting must be chosen correctly. It should be borne in mind that such material is sold with different standard sizes. Especially popular and widespread are the options in which there are cells with the following dimensional parameters:
- 0.4x0.4 cm;
- 0.5x0.5 cm;
- 0.6x0.6 cm.
You can also find on sale copies with intermediate parameters:
- 0.45x0.45 cm.;
- 0.55x0.55 cm.
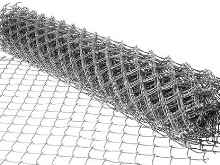
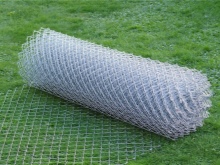
Choosing a suitable mesh-netting for the construction of a fence, you need to pay attention to the indicator of its height. It is worth choosing the optimal design with a height of 120, 150, 180 or 200 cm.The length of the mesh fabrics themselves also obeys certain standards: there are lengths of 10 or 15 m. When choosing a high-quality mesh-netting, it is very important to pay attention to the thickness of the wire from which it is made.
The quality of the metal must be flawless. The mesh should not bend too easily. In a correct and high-quality grid, all cells will have the same size. Any traces of deformation will indicate poor quality of the metal used.
The spirals in the netting should never be twisted. If you do not immediately pay attention to this serious defect, then after a while the already installed mesh runs the risk of bursting. When choosing a mesh netting, it is recommended to inspect both ends of the roll. Each end of the wire must reliably connect with adjacent elements, and also be bent.
The length of the bent "tail" of the wire should be no more than half of one cell. Otherwise, the edges of the stretched mesh may open after some time, which ultimately will certainly lead to serious deformations.
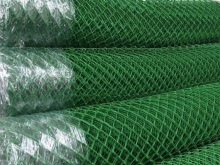
If the choice fell on a mesh, supplemented with a special plastic coating, then in the cheapest version it will be too easy to bend. Budget varieties of such materials are processed only with low-quality polymers, which begin to crumble after a few seasons. For this reason, it is recommended to check with the seller all the warranty periods of operation established by the manufacturer.
In order not to spend too much time looking for an ideal mesh-netting, it is advisable to determine in advance what cells you need (small, medium or large), in what color the fence is planned to be mounted.
You should look for a high-quality mesh netting in specialized stores.
Types of fence structures
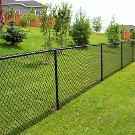
As mentioned above, fences made from chain-link mesh are very common. It must be borne in mind that they are not of the same type. Chain-link fences may differ in their design. Consider what are the structures of fences made of the material in question.
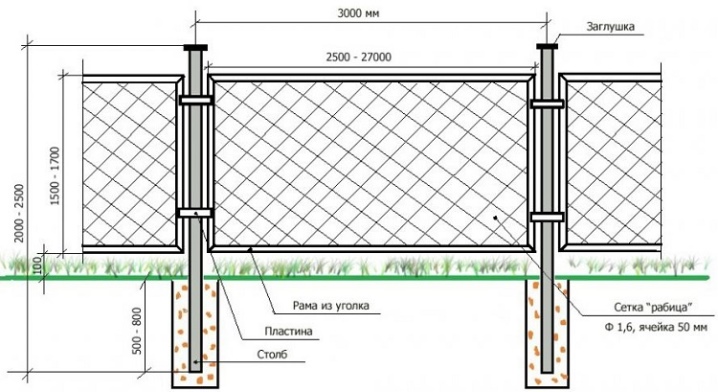
With slugs
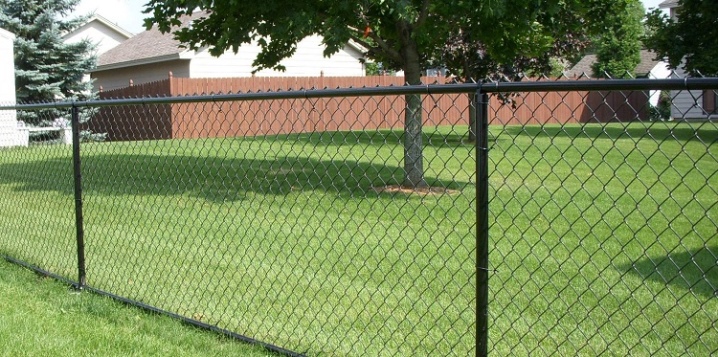
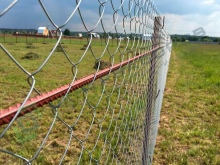
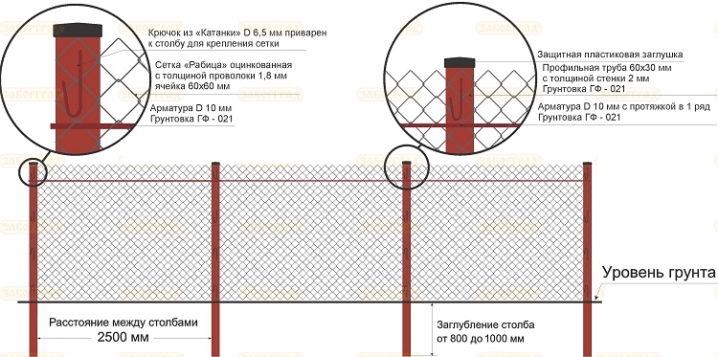
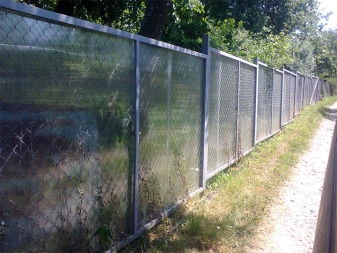
To make the mesh-netting fence look more aesthetically pleasing and presentable, 2 longitudinal guide rails are often attached to the posts. Due to this, the design also turns out to be more reliable, strong.
The guides can be made of metal, or they can be made of timber. Wood, as a more pliable and elastic material, easily “survives” ground shifts, but a welded pipe can lead to all sorts of difficulties.
The level of rigidity of such a fence is higher. If the pillars are suddenly "squeezed out" due to the heaving of the soil, in certain places the pipes can simply be torn off. In order not to face such problems, you will need to bury them at a level below the freezing depth in your region.
Everything else remains the same: a hole is dug 15-20 cm deeper than required, rubble is poured at the bottom, then a pipe is placed.
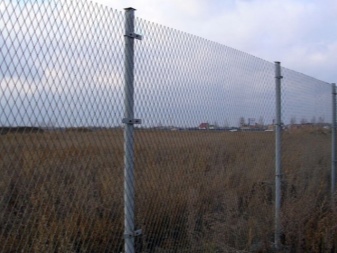
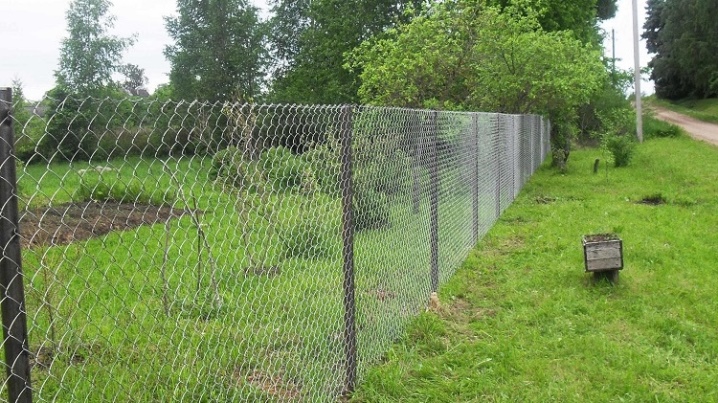
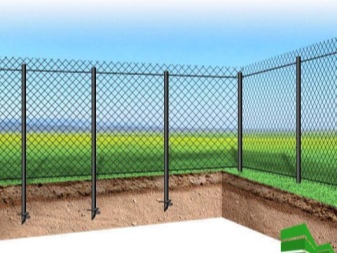
Without guides
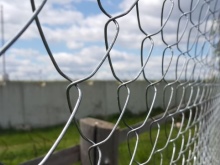
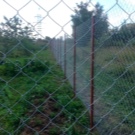
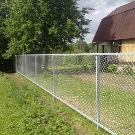
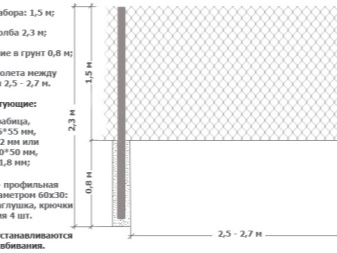
This is the simplest type of fence construction from a chain-link mesh. Easy to execute, does not require special knowledge and skills. In this case, it is necessary to install (bury) the pillars and stretch the mesh material between them. As a rule, the pillars are buried to a depth of less than 1 m.
In conditions of soils that drain water well, such fences “feel” very well. All excess fluids will seep naturally here - through the layers below. Even if severe frosts come, and the sand and gravel around the pillars are frozen, the moisture content will be too little to somehow affect the support part.
On clays and loams, you can use the same principle, but only with the obligatory backfilling with gravel. At the bottom of the dug hole, 10-15 cm of gravel is poured, and the pillar is installed only after this step.
Sectional
There is also a sectional design of a chain-link fence. In such options, frames are welded from the corner, onto which the mesh is then pulled. The sections made are then welded to the installed posts. The result is a very rigid and sturdy construction.

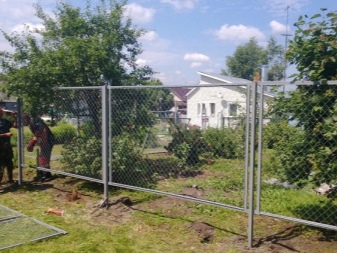
Being in conditions of heaving soils, the pillars of these structures must be buried 20-30 cm deeper than the level of soil freezing. Concreting is best avoided. If the crushed stone is poured with concrete, this will increase the risks of extrusion of the column in the future.
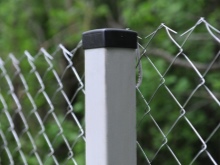
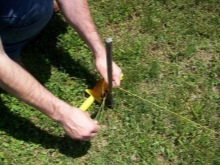
Installation of pillars
The first step in installing a chain-link mesh is the installation of pillars of the future fence design. Before this, the site must be properly prepared.
- All large plants, roots and debris are removed from the post installation area. Be sure to level all the hillocks and depressions.
- At the corners of the prepared area, pegs are driven into the ground, between which a cord, a special thread or cable is pulled.
- Along the string from the side of the entrance to the site, the position of the pillars of the wicket and gates is marked.
- Measure the distance between the corner marks, as well as from the corners to the installation site of the goal posts.
For each side, it will be necessary to select the length of the span (from 2 to 2.5 m) so that an integer number is placed in the intervals between the markers, and they themselves are equal along the entire perimeter of the fence. Now it remains only to designate the location of the supports. Next, pits are dug under the pillars. Their depth should be from 10 to 15 cm. A pillow of sand or sand and gravel (10-15 cm) is poured onto the bottom of the holes. The materials will need to be compacted in layers, after spilling with water.

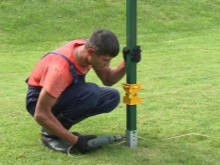
The next step is to install the pillars.
- The heel and hooks must be welded to the supporting parts. Then the pillars are covered with soil and paint. The buried half of the supports is covered with bitumen or polymer-bitumen mastic.
- Next, mount the extreme support bases. Each of the pillars is placed perfectly vertically by means of a plumb line, and then temporarily fixed with brick fragments or wooden wedges.
- Using the level, it is determined which of the racks has the top lower. Sand is poured under it until both racks are equal in height.
- After removing the wedges, concrete is poured into the pits with drains or a mixture of sand and soil is sent.
- A cord is stretched horizontally between the supports. A thick wire is placed between the lace and the posts. Then the intermediate pillars are mounted.
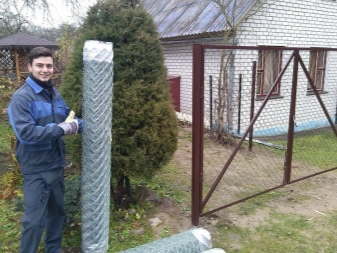
Installation of the mesh
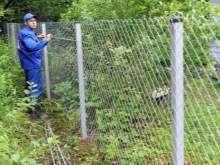
Having installed the support pillars, you can proceed to the installation of the chain-link mesh itself. Let's look at the step-by-step instructions.
- The easiest way is to take and unfold a roll of mesh material. Careful stretching should be done first. You can also do without hooks - you just need to tie the canvas with wire or clamps. However, such a fence risks sagging soon.
- You can also sew a panel with wire, passing it through each of the cells. Then the installation of the web itself is carried out, pulling either tensioners or ties. This is the optimal installation method, but it is quite time consuming, especially since you will need to use two or three strings.
- First, wire stretches are pulled between the pillars, and then a canvas is tied to them by means of the same wire every 20-30 cm.
Thus, it is easier to install the mesh with your own hands.

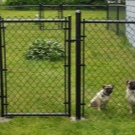
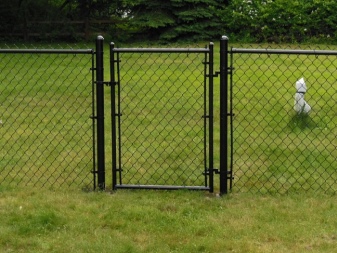
Installation of a wicket
From a chain-link mesh, you can build not only a fence, but also a wicket.
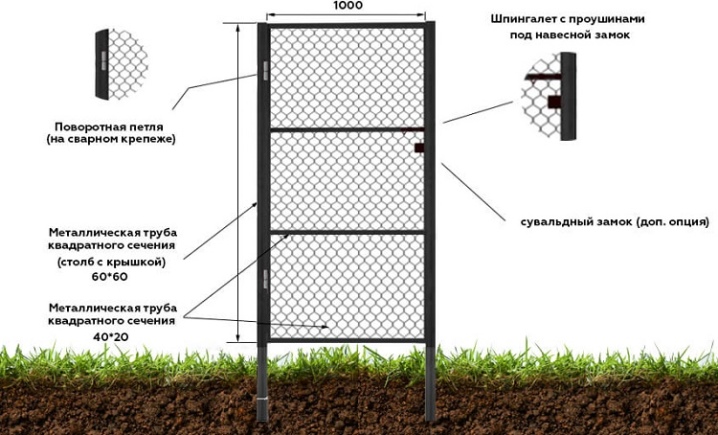
- The gate is always installed after the installation of the fence. A gate is made from the remains of a chain-link (1-1.5 m). For supports, a square pipe 4x4 cm is suitable, and for transverse logs - 4x2 cm.
- Before you build a gate with your own hands, you need to prepare all the necessary drawings.
- If there are no swing gates nearby, a single-type wicket will compensate for their absence. Having determined its width, the extreme post is installed.

Installation of a wicket door will consist of several stages:
- preparation of a profile pipe;
- installation of the frame of the future wicket;
- reliable fastening of the hinges;
- filling the frame base with a chain-link;
- hanging a door leaf;
- cleaning, painting of parts.
The gate can be easily and quickly erected by one person without resorting to assistance. If everything is done correctly, it will be easy to install and secure it with high quality.
Combined options
A chain-link fence can be combined. Such combinations of materials are permissible.
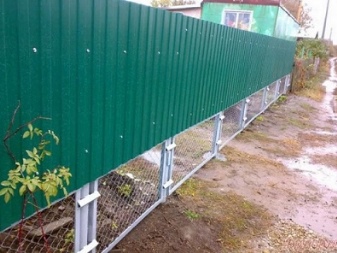
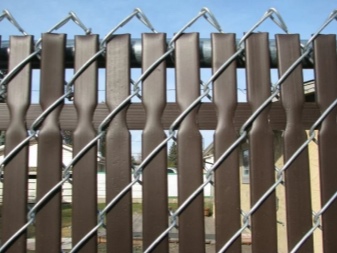
- With a professional sheet. Fences made from this combination of materials are different. In them, the front side of the site can be closed with solid sections or metal picket fences, between which a chain-link is installed. Also popular are options in which, at the level of a person's height, the fence is made deaf, and its lower half is framed with a net.
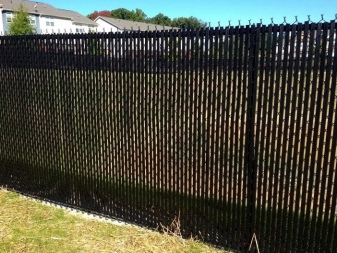
- With polycarbonate. Not only a professional sheet is combined with a chain-link, but also another material popular in the country - polycarbonate. Most often, these fences are made in two layers. They look more neat and aesthetically pleasing than made from mesh alone.

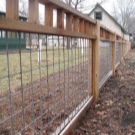
- With a picket fence. Can be combined with chain-link and picket fence. Such structures are very strong and reliable, especially if the picket fence is made of metal. They look attractive and neat.
How to paint?
The netting must be painted correctly. There are several ways to do this.
- You can use a roller or brush. This process will take a long time, especially if you use a brush. The fur-coated roller will paint the netting very well.
- It is advisable to use a spray gun. So the work will go much faster and better. True, the material consumption will then be quite large. In addition to the fence itself, all surrounding surfaces will be painted.
- It is convenient to paint the fence with a fur mitten. It is dipped in a dye composition and the chain-link is manually painted.
The chain-link is prepared before painting. If there is an old coating, it is sanded and removed. It is necessary to degrease the mesh with a solvent, coat it with anti-corrosion primer. Then the paint itself is applied.
Dismantling the fence from the chain-link
A fence made of a chain-link mesh can be independently dismantled, if necessary. This is done in several stages.
- First, the state of the fence is determined. All fasteners and connections of the structure should be considered.
- Next, the chain-link is disconnected from the supporting pillars. In this case, the mesh must be held and all fasteners removed, moving from top to bottom.
- Then the supporting pillars of the structure are also removed. If they were concreted during installation, it will be necessary to moisten the earth well around the foundations. Then you can pull out the pillars using a shovel as a lever, which will tuck the parts. If the pillars are too high, it is advisable to call a special technique.
- It is necessary to remove the concrete foundation of the dismantled fence. This is best done with a jackhammer.

Useful Tips
If you decide to install a chain-link fence yourself, you should arm yourself with some useful tips and tricks on this matter.
- Before starting the construction of a chain-link fence on your own, it is very important to draw up a detailed plan for future work, draw detailed drawings indicating all dimensional parameters. Having a plan of action at hand will make it easier to work.
- Installation of the pillars of the future fence is not difficult. The master may well do all the work alone.
- If it is planned to manufacture a mesh fence in rocky soil conditions, then there will be no point in pouring a concrete base. Here, even without concrete, the support bases will not deform.
- When preparing pits for the installation of pillars, you need to fill them with a sand pillow. It is recommended to moisten it additionally well - this way it can be tamped much better.
- If, when installing the pillars, you poured them with concrete, in the course of its hardening, you should resort to installing removable jibs. They will help to avoid possible deformation of the exposed supports.
- After installing the support pillars of the future fence from the chain-link mesh, for the first couple of days every 10-12 hours, it is recommended to pour water over their concrete base. This will allow the mixture to set evenly.
- The easiest way to put a chain-link fence is to fasten it with wire. This is an elementary and cheap job, but then the fence can be very easily stolen.
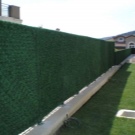
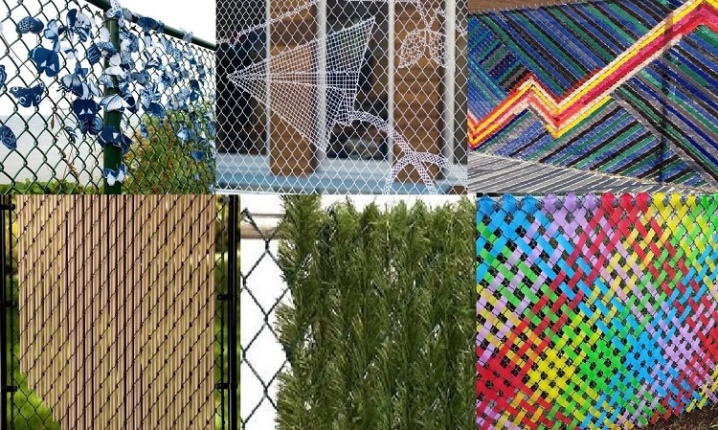
- If it seems to you that with the chain-link your site has become too visible, and its attractiveness has completely disappointed you, you can resort to covering the fence with a special camouflage net. She can solve similar problems.
Beautiful examples
The mesh-netting will help not only to enclose the summer cottage, but also to refine it, to make it more attractive. Let's look at some beautiful examples.
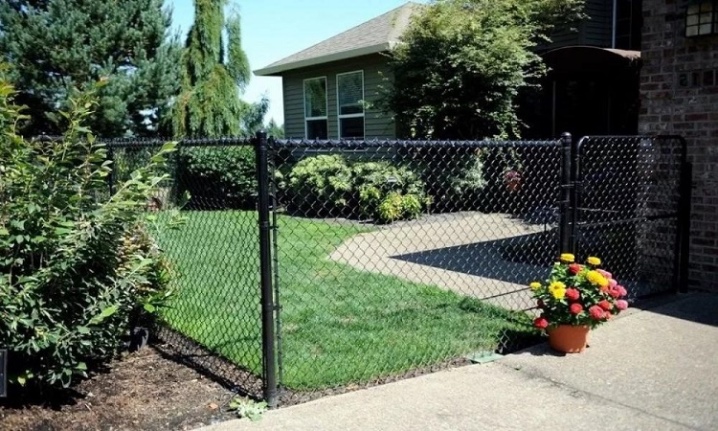
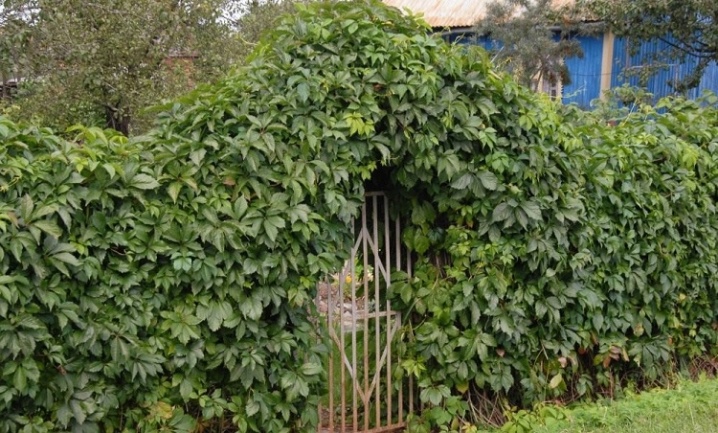
- Chain-link fences, which are entangled by wild grapes, ivy or other climbing plants in large quantities, look very beautiful and natural. Such a fence will not only decorate the dacha, but also well isolate the site from neighbors and other prying eyes.
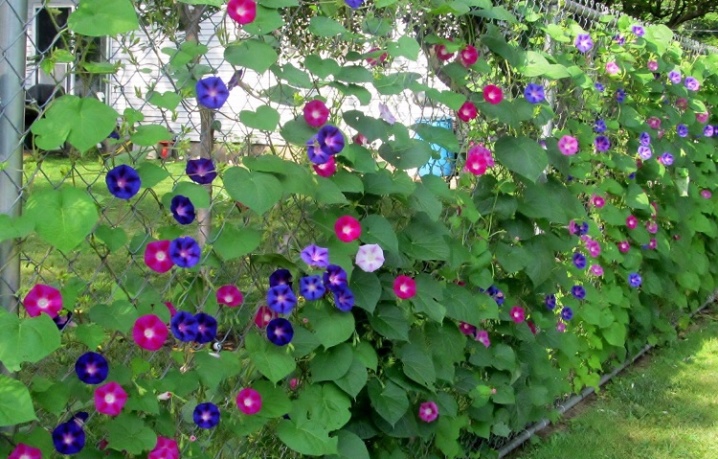
- You can plant beautiful flowers of the most varied and variegated shades along the fence base made of a chain-link netting. Against the background of such plants, a nondescript fence will sparkle with new colors and will not look boring.
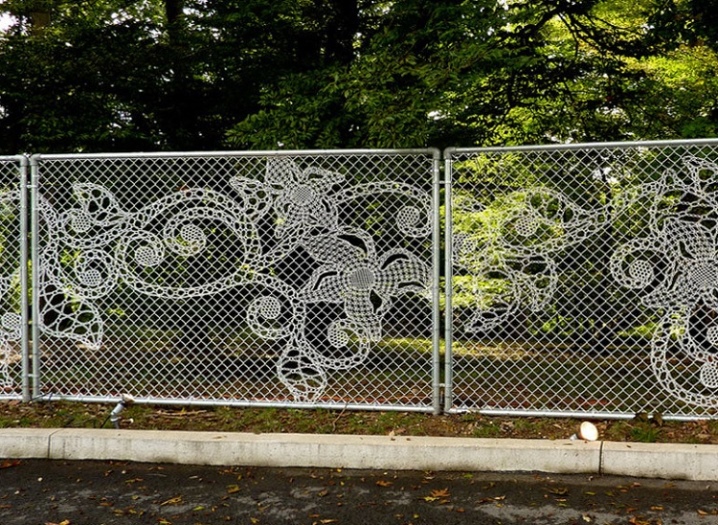
- Fences made of mesh-netting are different. On sale you can find more original options with wire patterns. Such fences will decorate a plot of both 6 and 19 acres. Often these solutions look so unusual and aesthetically pleasing that they do not have to be additionally decorated with flower plantings.
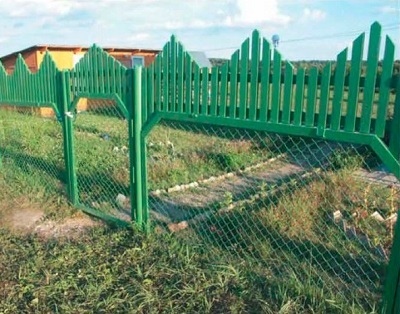
- Fences made of netting and picket fence look very original and attractive. In such structures, the entire lower half of the fence can be made of an extended mesh tape, and the upper half of a picket fence in the form of houses.
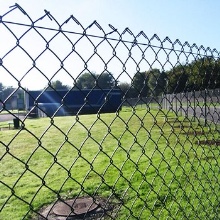
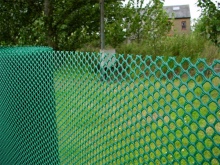
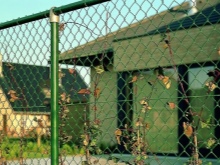
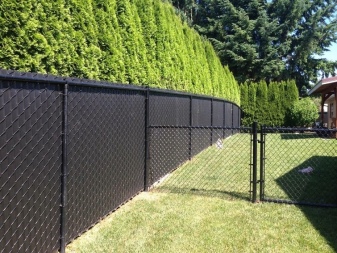
A green colored fence will look especially aesthetically pleasing.
In the next video, you will find a quick and high-quality installation of a chain-link fence.


The comment was sent successfully.