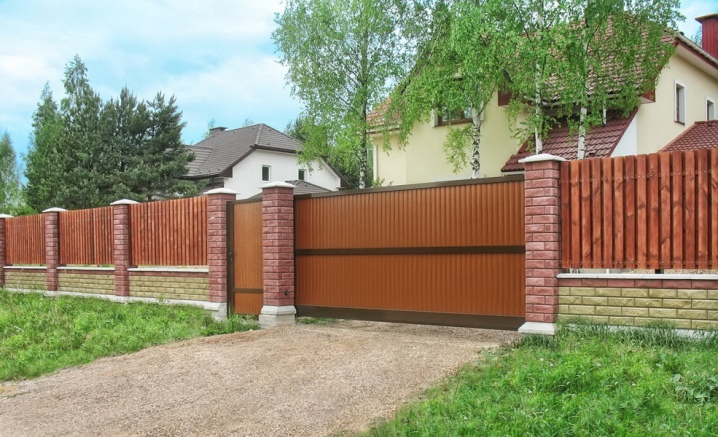
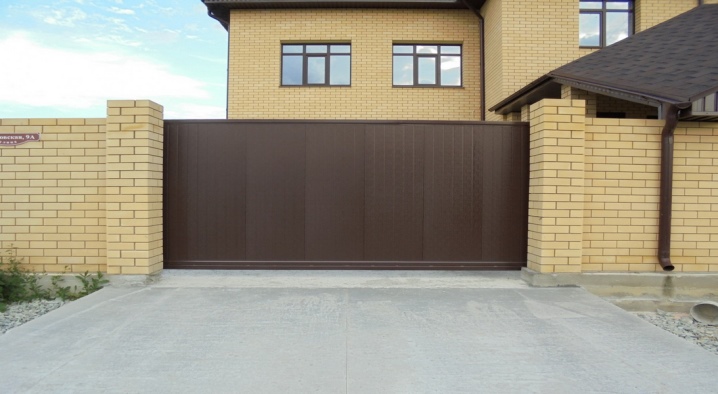
Arrangement of arrival at the site

After the completion of the construction of a new private house on the site, as well as the construction of the fence, the next stage is to equip the drive to your own territory. In fact, a check-in is a single or double parking lot, which, according to the method of its construction, resembles a multi-place parking lot.
Peculiarities
Arrival at the site - a single parking lot fenced off from the rest of the territory, where the owner of a private house drives his car. This zone should differ from the rest of the territory in some ways.
- Purity. Clay, soil, sand, stones and more should not stick to the wheels.
- Comfort. Check-in to the suburban area should be free of foreign objects, for example, the remnants of building materials, interfering structures.
- Certain dimensions. According to fire regulations, a fire brigade must fit into the driveway. The minimum size coincides with the dimensions of most passenger cars (for example, jeeps), plus a margin for width and length, so that you can easily get out of the car without damaging it or nearby structures. And also the car should have easy access so that the owner (and his family) could go on business.
- Check-in is not included in the garage area. If a large family lives in the house, and each adult member has his own car, it is more appropriate to build a parking lot with a margin of space so that you can leave and arrive without interfering with each other. But such a situation is very rare.
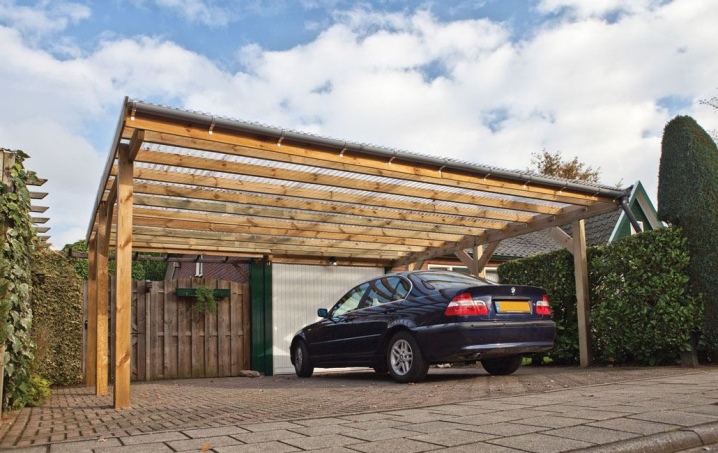
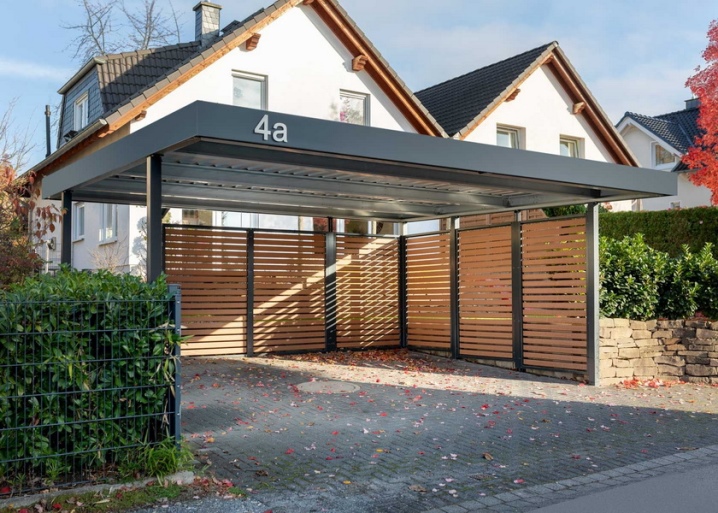
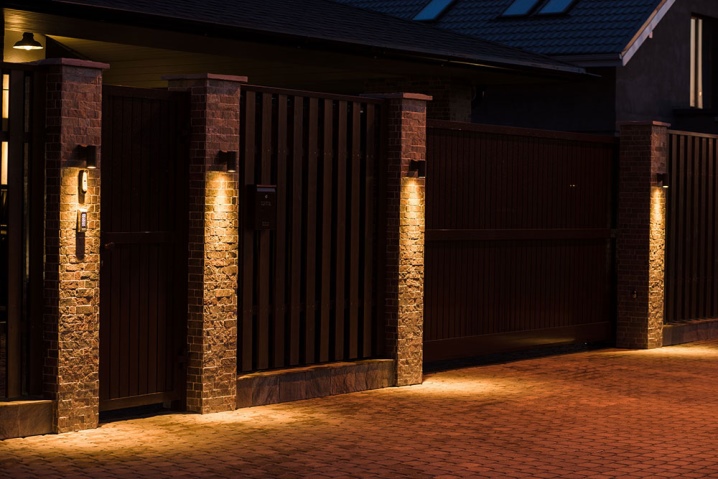
- The check-in must have a rain canopy. Not every car will endure constant showers, hail that happens from time to time, snow drifts with snowdrifts more than half a meter. Ideally, the yard should be covered in the place where one or more cars are parked.

Having identified such patterns for himself, the owner will begin to develop a plan for a comfortable arrival.
Preparation
The race project is characterized by a number of characteristics.
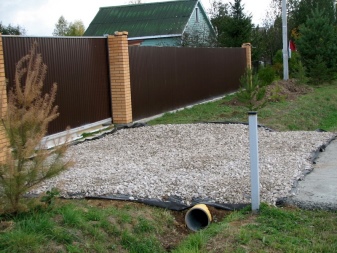
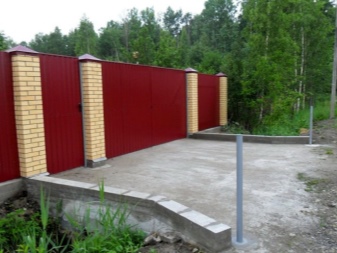
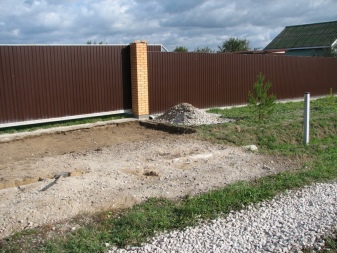
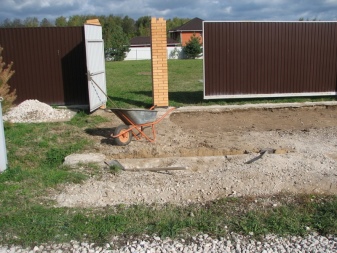
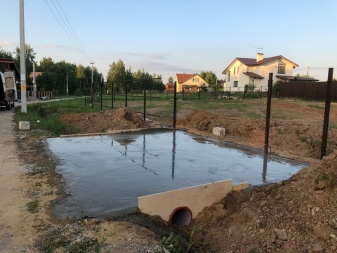
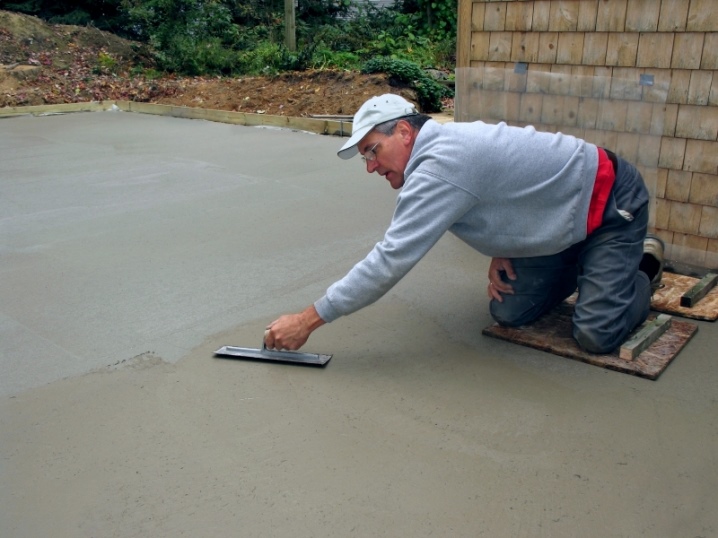
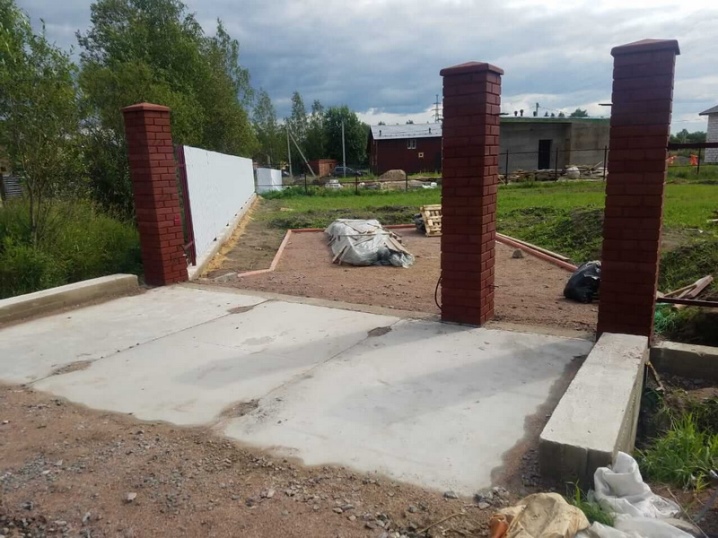
- It is best to make the base concrete. The ideal option is a reinforced concrete slab, reinforced with a reinforcing cage; this will last for many decades.
- The typical area for one car is 3.5x4 m. The fact is that most cars have a width of 2 m and a length of 5. As an example, a Toyota Land Cruiser jeep: its dimensions are somewhat larger than the indicated dimensions, typical, for example, for a Lada Priora car. The stock is necessary so that you can get into the car freely without damaging its doors.
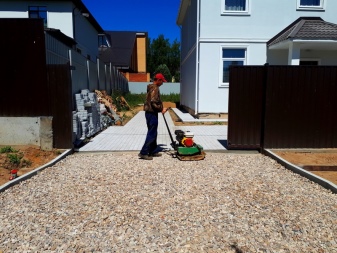
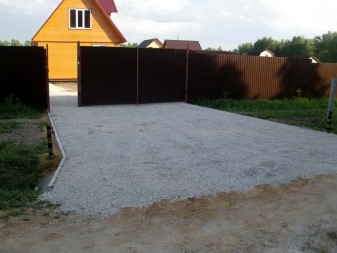
- The length and width of the canopy coincides with the dimensions of the parking space 3.5x4 m. You can do a little more, for example, 4x5 m - this will protect the site from oblique rainfall and snowfall. The ideal option is to close the parking space from the sides, leaving only the entrance from the side of the gate and the entrance / exit from the other end, communicating with the house. Then even a blizzard winter will not contribute to the need to clean the arrival area (and the car) from a thick layer of snow. The height of the canopy is no more than 3 meters, if you do not use, for example, a GAZelle cargo van, whose van could rest against the ceiling. It is better to make the roof of the canopy rounded and transparent. For example, cellular polycarbonate has good transparency. The supporting structures of the canopy must be steel - a professional pipe and fittings are used here.
- Shallow and smooth "patch" will give increased comfort to the rideconnected with the courtyard driveway, sliding gates, for example. If possible, behind the driveway you can build a garage with the same sliding gates.
- The check-in area must be well lit. During the day, sunlight penetrating through the polycarbonate coating serves as good lighting. At night, one or two spotlights serve as the light source.
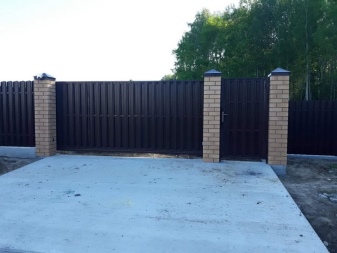
- The gates of the yard and garage (if there is a garage) are made with the same width. The car must move freely, and the passage of people on the sides, when the car doors are closed, even when stopping in front of the gate, must not be closed.
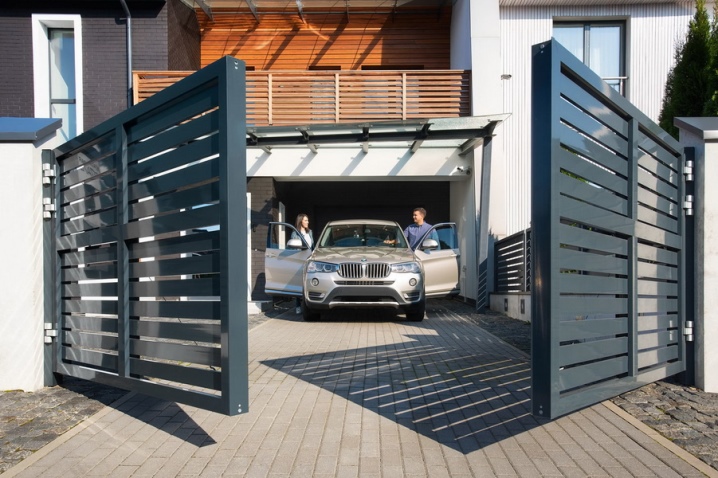
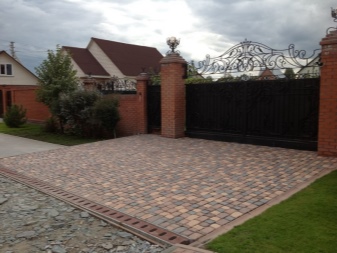
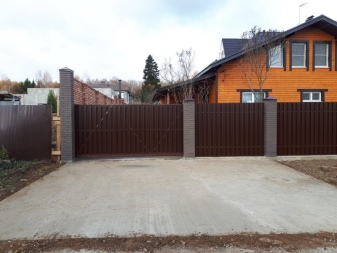
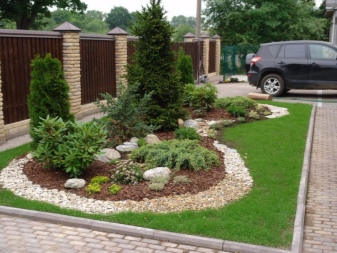
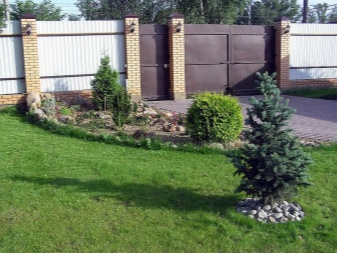
The landscape around can be anything: a playground or garden beds - this does not matter for the fenced-off area of the arrival. It is not recommended to make an entrance from the corner of the plot if the territory is large enough to install the gate in the middle, and not next to a neighbor. If not one car is parked inside, but a group of cars, the check-in should be common for everyone: cars enter and leave one after another.
Arrangement of the entrance path
Entering a courtyard or a plot begins with an entrance path - organizing a section of the passage / carriageway through which a car will pass before it enters the main territory. This is a small carriageway in front of the gate with a length of one to ten meters, depending on the proximity of a road, highway or street.
This driveway can be arranged in different ways: covered with gravel or filled with concrete. The driveway is not the property of the owner, as it is located outside the perimeter (fence).
Here's a step-by-step guide on how to set up your driveway.
- Dig a shallow pit no more than 10 cm deep in front of the gate.
- Fill in sand or sandy loam by 3-7 cm.Unrefined quarry sand is suitable - it contains up to 15% clay. Even when wet, it does not stick to the feet in a thick layer.
- Fill in a thin - a few centimeters - layer of gravel. Any shredded material will do, even secondary ones.
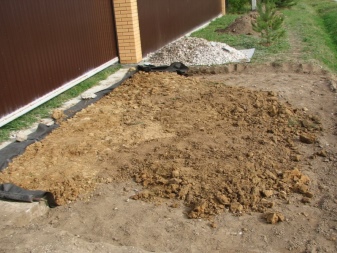
If there is extra money for the further arrangement of the driveway, you can concreted this driveway in the same way as the main driveway to the site. This check-in design is 100% complete. Most of the owners of plots (and houses built on their territory) are limited only to the arrangement of gravel cover from brick and glass broken, other building materials that have served their time. It is not recommended to fill this path with wooden waste - the tree will rot in a few years, nothing will remain of it. The gravel bed can be at the level of the rest of the landscape (and the road), or rise above it by a few centimeters.
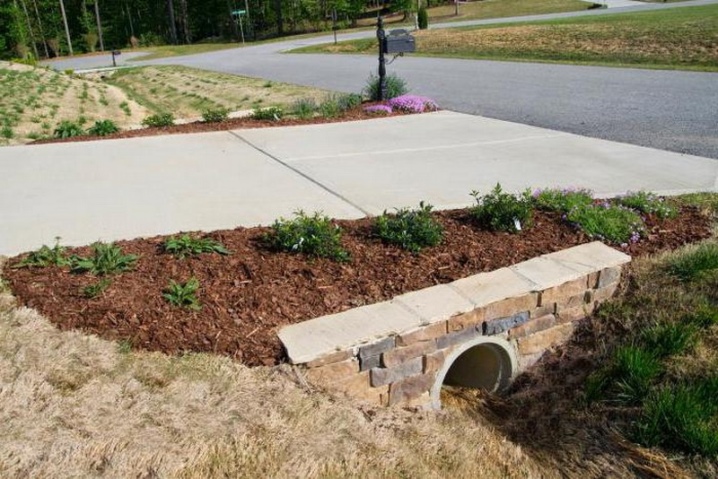
How to make a ditch entry?
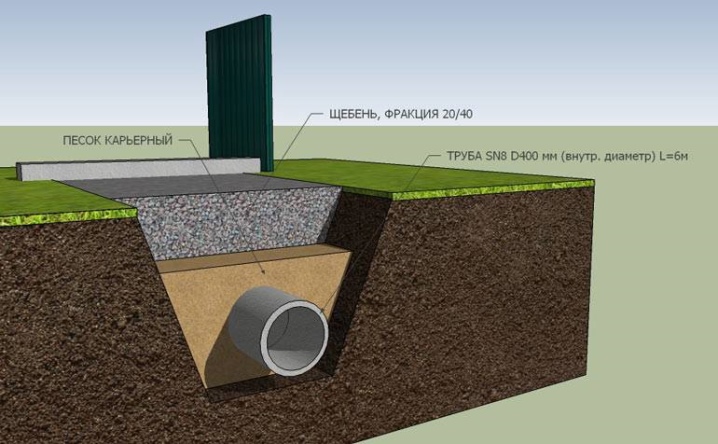
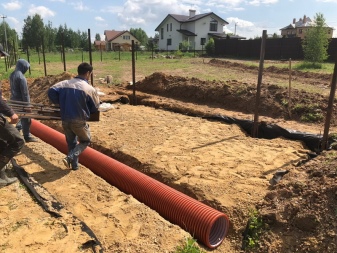
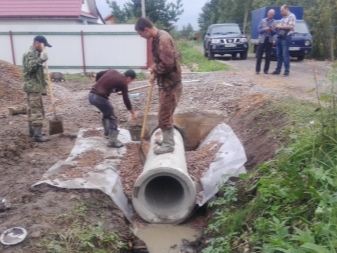
If there is a gutter in front of the property or house (storm or liquid waste), you will need to lay a plastic or metal drainage pipe in it. At the same time, so that the entrance way does not fall into the ditch in this place, blocking it, this pipe must be buried at least 20 cm from the level of the road or terrain. They do the same when there is a stream in front of the site that gives rise to the river.
Let's figure out what to do to arrange the entrance through the ditch.
- Deepen the ditch (if necessary). Install the pipe and sprinkle it with earth on top. Tamp the area with your feet until the ground is firm.
- Lay the sand and gravel layers on top as before.
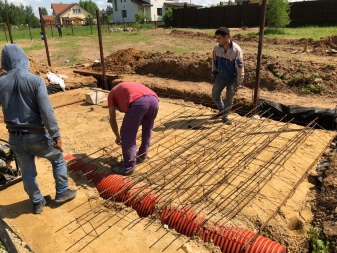
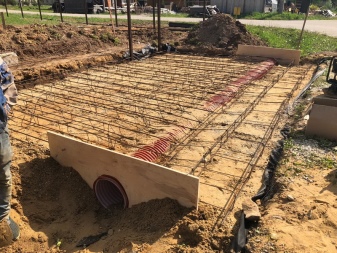
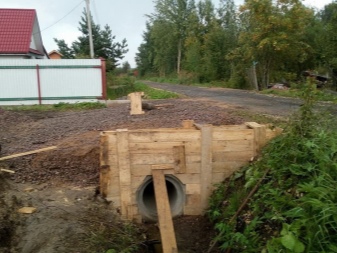
- Install formwork to restrict the driveway to the width of the pipe.
- Tie the reinforcement cage. Fittings A3 (A400) with a diameter of 12 mm or more are suitable. The knitting wire can have a diameter of 1.5-2 mm. If A400C reinforcement is used, welding instead of knitting is allowed. The frame should rest in several places, for example, on bricks - this is how it is held in the middle (in thickness, depth) of the future slab.
- Dilute and pour the required amount of concrete into this place.
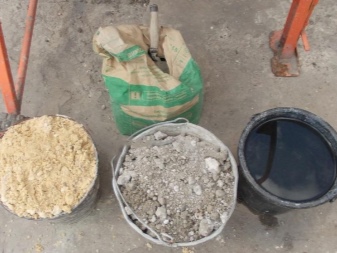
For concreting with your own hands, use Portland cement of the M400 / M500 brand, seeded (or washed) sand, granite crushed stone with a fraction of 5-20 mm. The proportions of concrete for mixing in a wheelbarrow are as follows: a bucket of cement, 2 buckets of sand, 3 buckets of rubble, and water is poured in until a consistency is prepared, in which the concrete does not flow off the shovel and does not stick to it.When mixing in a concrete mixer, observe the same proportion of "cement-sand-crushed stone" - 1: 2: 3. It is allowed to fill the slab in parts, preparing as many batches (portions) as you can physically handle when working alone.
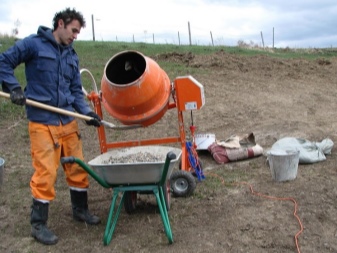
The concrete mixer will speed up this process up to several times - all the work on the arrangement of the access road through the ditch will take 1-2 days.
The concrete sets in a maximum of 2-2.5 hours. After 6 hours have passed since the end of concreting, water the flooded area with water for 28 days. The hardened concrete is watered as it dries - in the summer this is done every 2-3 hours. If the flooded area is in direct sunlight, then water this place more often - during the day, until the heat subsides. This will allow the concrete slab to gain the declared strength.
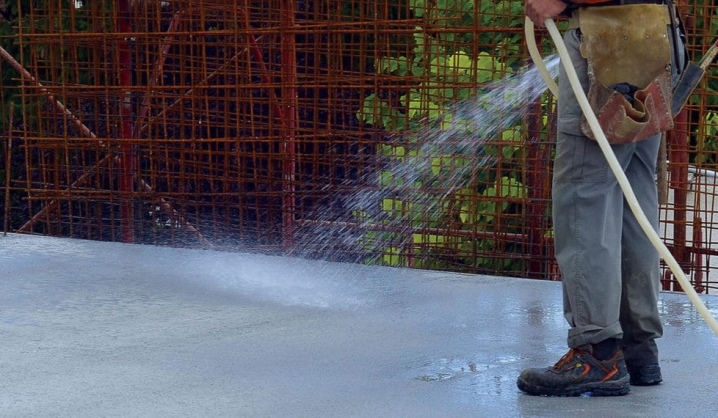
And also, when the concrete began to set, but did not completely harden, you can carry out the so-called ironing - sprinkle the poured segment with a small amount of cement, smoothing the formed thin cement layer with a trowel so that it is saturated with moisture. "Iron" concrete or cement-sand composition will acquire additional strength and glossy shine after hardening and gaining maximum strength, and it will be difficult to break it.
The reinforced concrete slab, which has gained the ultimate strength, will not be squeezed even under the truck, if its thickness is at least 20 cm. This will preserve the pipe through which the drain of the ditch now flows. It is not recommended to equip this place with a slope - the slab may move over time under the influence of passing cars.
With a pipe
The method involving the laying of a drain pipe in order to direct the liquid in the ditch under the entrance requires explanation. The concrete pipe can be cast by yourself. In this case, it is made square - an additional frame is laid around the future drain (on three sides, except for the bottom wall). A secondary (internal) formwork is installed inside the frame, concrete is poured around, eventually covering this frame. For this, the ditch is temporarily blocked off - until the concrete hardens. But this method is very difficult to implement; it is better to use an asbestos or steel pipe, and pour concrete around it. Instead of steel, any corrugated (plastic, aluminum) is also suitable - the concrete poured from above (iron) will not allow it to wash out even under the weight of a truck, if the minimum permissible plate thickness, the diameter of the reinforcement and the proportions of the ingredients from which the poured concrete was prepared are observed.
In general, the material of the pipe does not matter, it may not be there at all - instead of the pipe, a passage is made, the walls of which are part of the slab.
With the laying of reinforced concrete slabs
You don't have to lay a pipe at all. On top of the ditch, on a sand and gravel cushion around it, ready-made reinforced concrete slabs are placed. Their area is sufficient so that the ditch does not collapse "inward" under the weight of a loaded vehicle. The length of the slabs should be at least several times the width of the ditch. The slabs are placed end-to-end, without gaps - the absence of cracks will allow the sewage not to block the way through this place below.
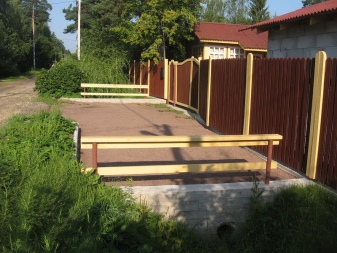
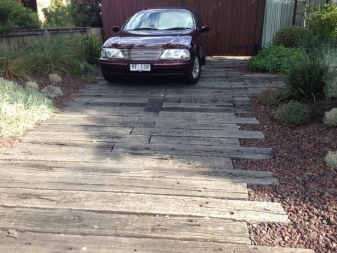
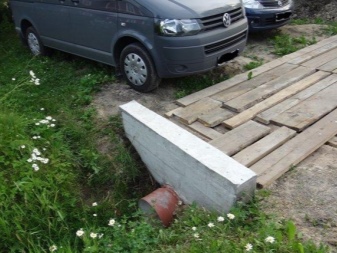
With wooden sleepers
Wooden sleepers, beams, logs - no matter how thick they are, moisture will erode them in a few years. This will be facilitated by both precipitation and ditch evaporation. Moisture, absorbing into the wood, destroys it - microorganisms and fungi multiply in it, and over time the wood turns into dust.
Wooden sleepers (beams or logs) are also placed back to back - like reinforced concrete slabs. The advantage of such a solution is that costs are much lower than for reinforced concrete. The measure is temporary - to properly strengthen the drive with a concrete structure, and not using available materials.
For information on how to enter the site through the ditch, see the next video.


The comment was sent successfully.