Features of thuja propagation by cuttings
Despite the fact that the homeland of thuja is Asia, it is equally popular in our country. Unpretentious to growing conditions, it can be given almost any shape, and it will also become the main decoration of any site.
But first, the thuja must be grown, and it is best to start this process by grafting the branches. We will tell you about what this procedure is and what subtleties it has in this article.
Pros and cons of the method
Reproduction of thuja can be carried out by various methods, but it is cuttings that are considered the most popular, and for novice gardeners and the simplest. But in reality, not always everything turns out to be what it seems.
You still need to be able to propagate this coniferous plant by cuttings correctly, and do not forget about the nuances of this method, both positive and negative.
The main advantages of this method are the following:
- saving time - a person does not have to look for high-quality seed, and then plant it correctly and wait for the appearance of healthy seedlings;
- cultivation of thuja by cuttings accelerates the process of growing a full-fledged ephedra;
- choosing an adult plant as a seed, you can immediately assess the height and state of health of its parent, which means that there is an opportunity to choose the best material for propagation by cuttings.
In addition, cuttings for many are generally the simplest and fastest way to propagate or breed any plants.
This method also has some disadvantages. And all of them are united by the need for experience in cutting any plants. It is necessary not only to properly cut the thuja branch, but also to choose the right time of the year, the further conditions for its cultivation and maintenance. And sometimes even experienced gardeners cannot take into account all these necessary factors.
But, despite all these potentially possible difficulties, it is the cuttings of thuja that are really the most popular and easiest way to grow it. But only if all the recommendations below are followed.
The right time
To date, it has not yet been established at what time of the year it is best to cut thuja branches for further grafting. Someone insists that it is better to do this in winter, while someone believes that the best time of the year is summer or autumn.
Professionals say that it is possible to breed thuja from cuttings at any time, but it is best in spring - this way the root system is formed faster, and it is stronger and more resilient.
But at the same time, there are some additional recommendations:
- branches should be cut in spring in April;
- in summer, cuttings are collected in June;
- if autumn is chosen, then the collection of shoots is carried out in October;
- for winter cuttings, branches are cut at the end of December.
However, if you collect the material correctly and root it in accordance with all the rules, then the season will not play any key role.
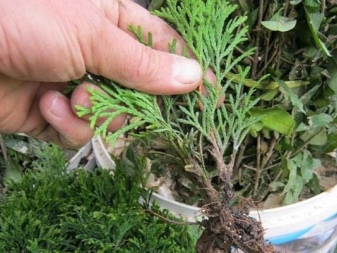
How do I prepare branches?
So, it is from the correct choice of shoots for cuttings that not only the success of the entire procedure for growing and rooting them will depend, but also the health, as well as the appearance of the coniferous plants themselves in the future. Therefore, further actions will be as follows.
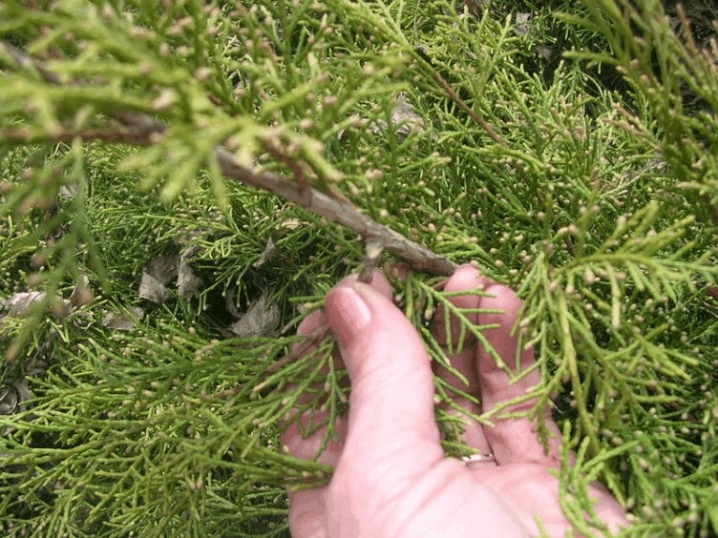
- It is necessary to decide in advance whether the thuja on your site will be in the form of a voluminous shrub or a thin and slender tree.In the first case, branches are broken off from the lateral shoots of the plant, and in the second - from the central crown of its trunk.
- The age of the thuja from which the branches will be cut for subsequent grafting should not be less than 4 years. At the same time, it is worth abandoning the collection of materials from plants that are older than 9 years. In the first case, the thuja will still not be sufficiently strong, and in the second, the amount of nutrients required for the normal growth of the cuttings will be too small.
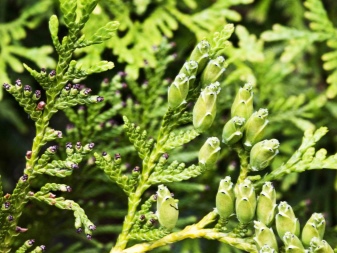
- Particular attention should be paid to both the appearance of the tree itself and its condition. The branches, which will be further grafted, should already be lignified. The color of the needles is bright, uniform and rich. The plant itself should not have any pests, as well as traces of fungal diseases, since it will be impossible to grow a healthy plant from such material in the future.
Only a thuja chosen according to these recommendations can be a really suitable choice for collecting branches of a plant for further propagation by cuttings.
Here's a step-by-step instruction on how to build branches correctly.
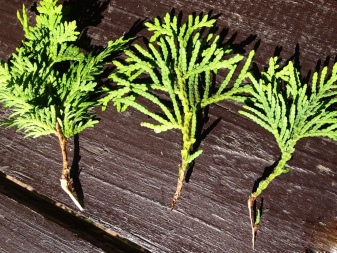
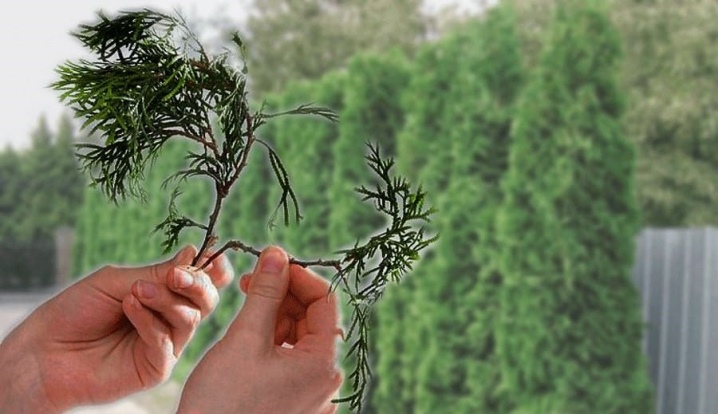
- You should only break off a branch for further grafting with your own hands. It is strongly discouraged to use any gardening tools, including pruners and knives.
- A small piece of bark in the form of a comma should remain on the broken branch at the very bottom.
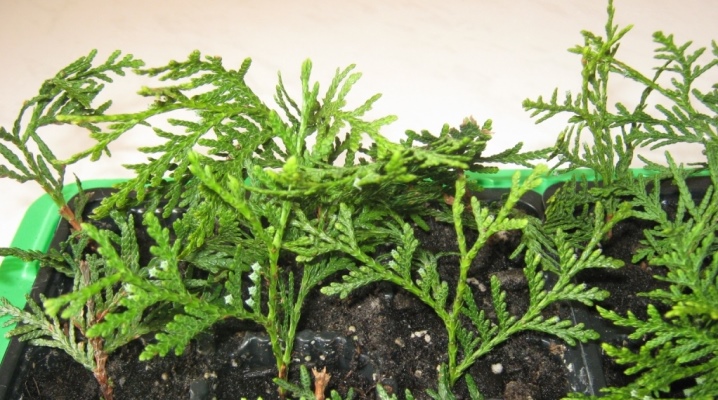
- The length of the selected seedling can be from 15 to 40 cm, there is no ideal parameter. Professionals advise to break a few branches and choose the strongest plant after the rooting process.
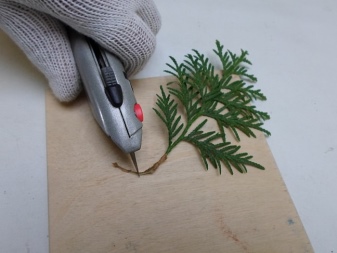
- The bark and needles are cut from the collected blanks from the lower part at a height of up to 3 cm. If in some places near the place of breakage the bark began to flake off, then it must be cut off. If you skip this stage of preparation, the cuttings will not develop normally.
Only after the most suitable cuttings have been collected, as well as after their initial processing, can you proceed to further growing operations.


Rooting methods
At home, harvested thuja cuttings can be germinated in several ways. It is difficult to single out one of them as some of the best, it all depends on the skills, desires and skills of the gardener himself.
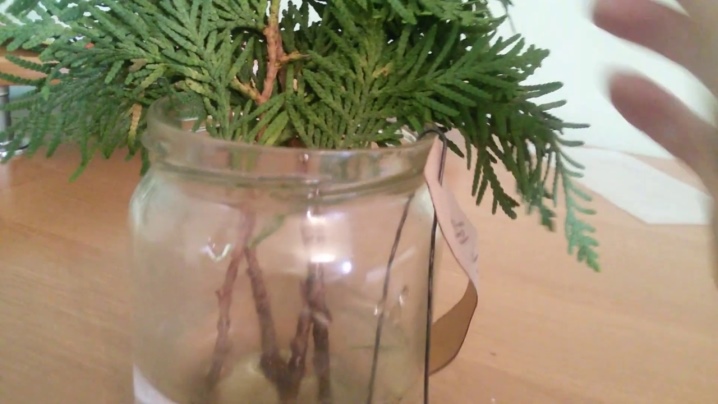
In a jar of water
This option for rooting cuttings is the simplest and most budgetary. Its essence is simple:
- clean water must be poured into a glass jar so that the cuttings immersed in it are in the liquid no more than a couple of centimeters;
- 2-4 thuja branches are dipped into each container with a volume of 1 liter;
- once a week, the water is changed, and for its disinfection, manganese crystals are placed in the container in the amount of 4 pieces;
- Daytime lighting is saturated, its duration should be at least 10 hours.
It is important to ensure that the needles and the uncut part of the branches are not in the water, otherwise the cutting will not take root, but will simply rot.
How to plant cuttings in moss
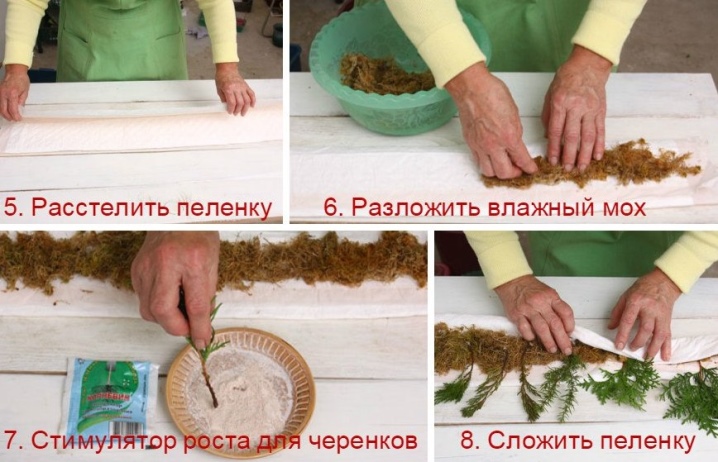
It is no secret that moss is a humid and warm environment, which means it is an ideal place for seedlings to root. That is why thuja branches are often planted in sphagnum - peat moss. The sequence of actions in this case will be as follows.
- Moss is poured with warm and always boiled water. Leave to swell for 180 minutes.
- Prepare a large piece of cheesecloth, folded in two. It is necessary so much that sphagnum can be laid out on one half and completely covered with the second part of the fabric.
- Spread the moss on cheesecloth.
- Prepared cuttings are laid out on top of it at a distance of about 8 cm from each other in such a way that the cut off part of the branches is completely in the moss.
- Now the landing is covered with a second piece of gauze and taken out to a well-lit, warm place. Hanging gauze is considered the best option.
Once a week, moss the moss abundantly and make sure it does not dry out. If everything was done correctly, the first roots will appear after a couple of weeks.
Rooting the cuttings in the wick
The wick is a special design made on the basis of ordinary plastic disposable cups. Surprisingly, practice shows that it is this grafting option that allows you to get a 100% positive result.
- A hole is made at the bottom of a glass with a capacity of 200 ml and a wick made of ordinary cotton wool is inserted into it.
- A drainage layer in the form of small pebbles is poured at the bottom of the container
- The rest of the space in the container is filled with special soil. 2-3 thuja branches are planted in each glass.
- Water is poured into another container of a smaller diameter and a glass with cuttings is placed on it so that the cotton wick is 70% immersed in liquid
- On top, the cuttings are covered with another glass to create a greenhouse effect and prevent the soil from drying out.
After 4 weeks, the cuttings will have a well-developed root system, which means that they can be planted in a permanent place. Experienced gardeners recommend, before rooting the cuttings in any way, to dip the place of their cut in a special solution of a growth stimulator.

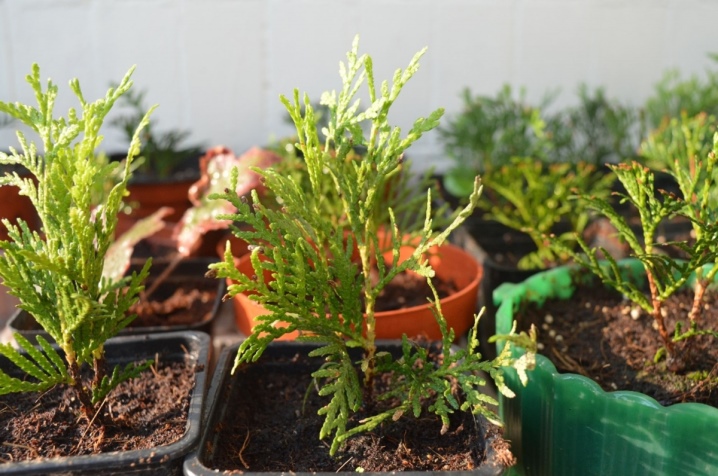
Further care
But it is not enough to simply root the collected cuttings. In order to grow a healthy and beautiful plant, they must be properly cared for.
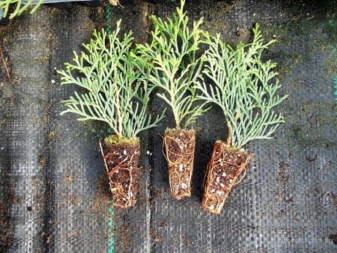
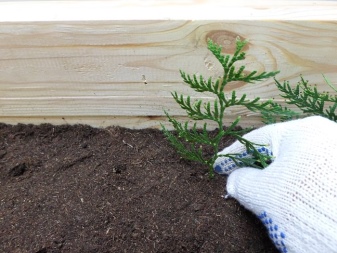
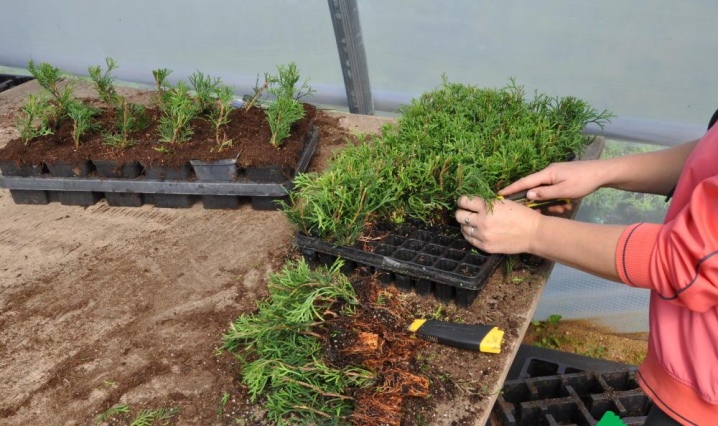
- After the roots appear, the cuttings are planted on a prepared separate bed. Specialists call it "shkolka". If even the rooted seedlings are too weak, and the bed is not ready, then they must be planted 1 piece in separate containers and left to grow for 1-2 months.
- Mineral fertilizers must be applied to the soil in accordance with the dosage indicated by the manufacturer. Do this before planting the cuttings.
- If the branches were cut in the spring, then they are planted in the school in the fall and vice versa.
- It is important that the plants are not exposed to direct sunlight, it is best to choose partial shade. When winter comes, be sure to cover the planting with spruce branches or special covering material.
It is worth remembering that thuja is a culture that grows for a long time, therefore, its planting in a permanent place is carried out no earlier than 2, and preferably 3 years after the rooting of the cuttings. Only in this case you can grow a really healthy and beautiful thuja on your own.
For the propagation of thuja by cuttings, see below.


I did not try to root thuja with a wick, I did not know about such a method. This year I will definitely try. Thanks for the information.
The comment was sent successfully.