How to remove the drum from the washing machine and disassemble?
The washing machine is a complex mechanism in which, sooner or later, breakdown occurs. In the event of some malfunctions, there is an urgent need to remove the drum to eliminate them. Let's find out how to remove the drum from the washing machine yourself.
Drum functions
Washing machine drum - it is one of the most important components in the design of the entire device. It is this element that experiences the greatest stress during operation. It is advisable to pay special attention to this node when choosing.
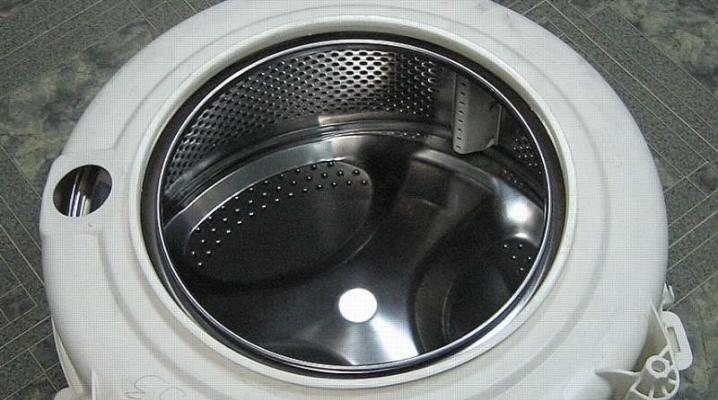
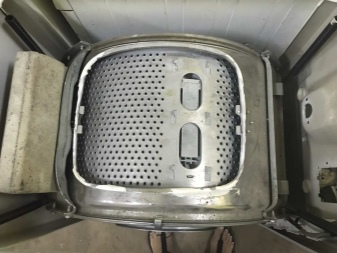
The entire washing process takes place in the drum. It is made entirely of stainless steel and is placed in a tank where water is kept during washing. The tank can be made of various materials. Modern cars have plastic or metal-plastic tanks. The drum has a large number of technical holes for water circulation through it.
Each manufacturer decides for himself what size the drum will be and how many holes there will be, but these parameters do not affect the quality of the process.
The dimensions of the part in question only affect the amount of laundry brought in for washing.
The main disadvantage of the drums present in the device of automatic washing machines is wear of the material during washing. At high speeds, the threads of the garment experience strong stretching and lose their elasticity and appearance. And soft tissue can penetrate slightly into the water drain holes. Because of this, manufacturers have developed several washing modes based on the types of loaded material.
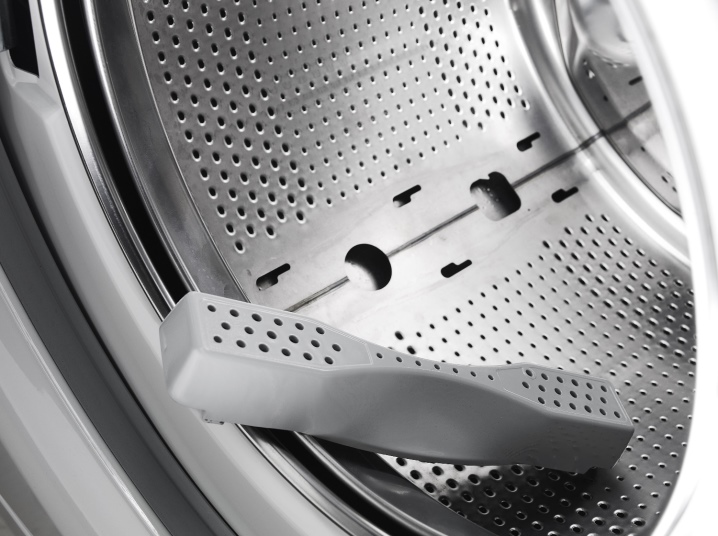
The introduction of a honeycomb drum has become an additional protection against premature wear of the fabric. It is divided into small cells that resemble a honeycomb, and there are holes in the corners to drain the water. This engineering solution allows for more delicate handling of clothes during washing.
Replacement features
The drum may become unusable from long-term use or due to a factory defect. This could be:
- damage to the inner wall of the drum with partial rupture of the metal;
- wear of the bushing seat.
With such problems, you need to change the drum. This procedure is quite laborious, since you will need to disassemble almost the entire machine, but it is quite doable on your own.
It is very rare for manufacturers to ship drums separately. Most often they are assembled with a tank.
The procedure for replacing the tank on a washing machine will differ depending on the design of the unit itself. This can be a front-loading machine or a vertical one. Each case has its own replacement algorithm.
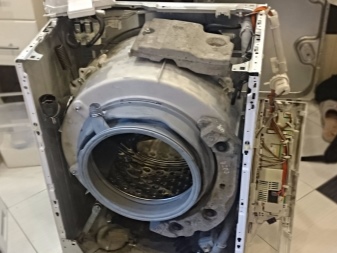
For front loading machine
With this design of the washing machine, the drum is attached to 1 shaft to the tank from the back. To get the part in question out of this kind of device:
- unscrew the screws that hold the top cover;
- dismantle all attachments located above the tank (control panel, powder hopper, filling valve, hoses, upper counterweight);
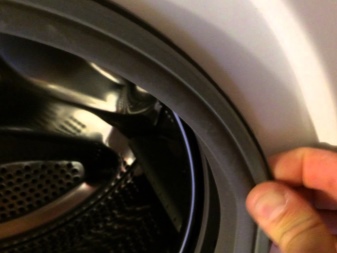
- then you need to remove the cuff of the hatch, for this we remove the sealing collar and fill the cuff inward;
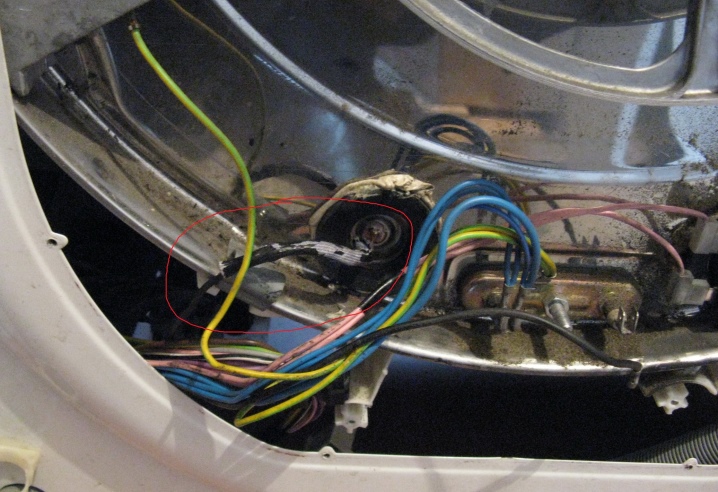
- behind the tank there are wires from the heating element and the engine, which must be turned off;
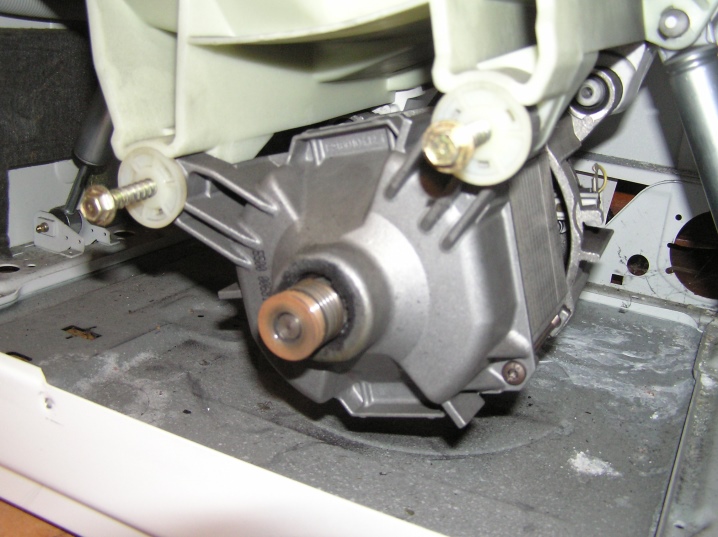
- To simplify the process of removing the tank from the body by pulling it out through the top, the engine can be removed - this will greatly facilitate the design.
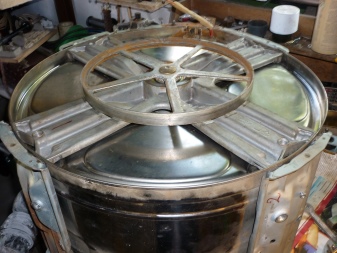
For vertical
In this design, the drum mount is located on both sides, which greatly complicates its disassembly. The procedure for this procedure will be as follows:
- first of all, we unscrew all the screws on the front and rear walls;
- dismantle the side panel;
- turn off all the wires and unscrew the mounting screws.
The second side is disassembled in the same way, and after that you need to unscrew the shaft mounting bolts and get the drum.
How to disassemble and remove?
Before starting to disassemble the washing machine, prepare all the necessary accessories. To do this, we need a common tool that can be found in any garage:
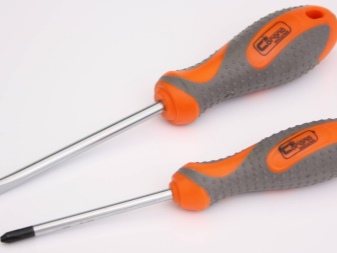
- flat and Phillips screwdrivers;
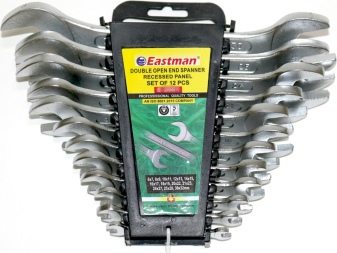
- set of open-end wrenches;
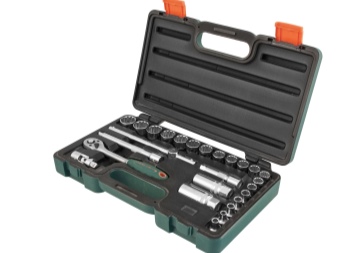
- set of heads;
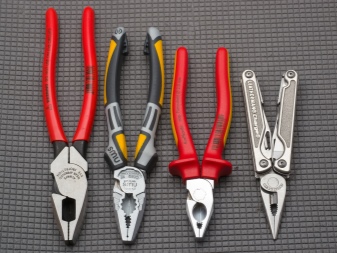
- pliers or pliers;
- bearing puller;
- hammer and drift.
Now that all the tools are ready, you can start the disassembly process. Before commencing any repair work on electrical household appliances, they must be disconnected from the power supply and other communications without fail (plumbing and sewerage systems). When all these conditions are met, we proceed to disassemble the washing machine.
In order to change the drum on a front-loading washing machine, first of all we unscrew the screws securing the top cover, remove it and put it aside.
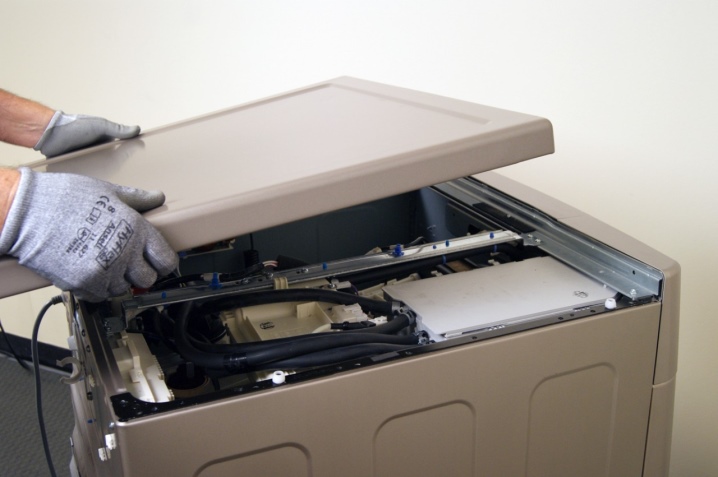
It won't be needed anytime soon. Now we begin to dismantle all components and assemblies that will interfere with the removal of the tank from the body.
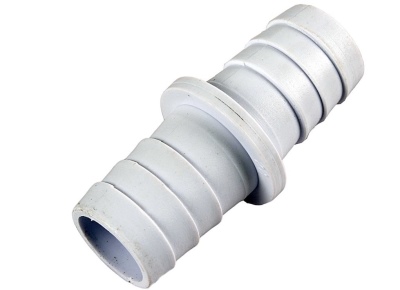
The first thing to do is to remove the detergent hopper. It is mounted on self-tapping screws, and rubber hoses fit to it. After unscrewing all the fasteners, disconnect the hoses. To do this, we will use pliers. We open the self-tightening clamps. This must be done as carefully as possible so as not to break off the fittings on which the hoses are put on.
Next, remove the control panel... It is fastened with screws, and in some models of washing machines special hooks are provided, which allow not to disconnect it completely, but to take it out of the case and hang it on board during repairs. This is a very convenient solution.
Now you need to remove the hatch seal. Use a flat screwdriver to pry the retaining clamp and remove it. We straighten the cuff from the groove and bend it into the inside of the tank.
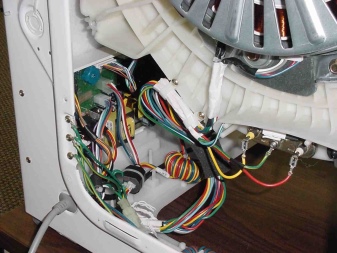
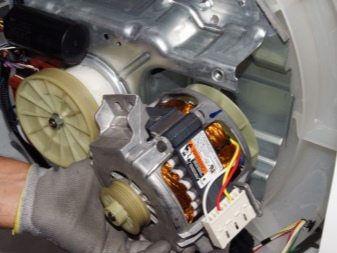
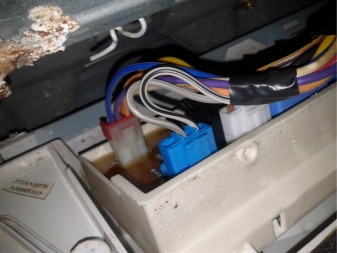
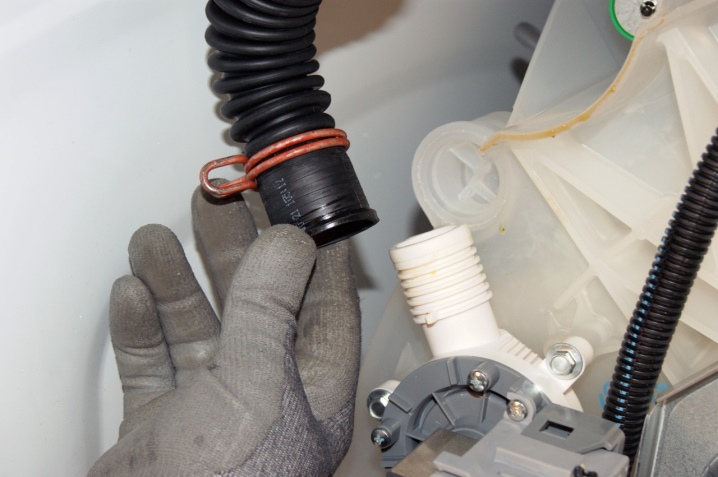
When all unnecessary parts have been removed from the top of the washing machine, move on to the back half... There we need to disconnect all wires from the engine and heating element. It is necessary not to forget to disconnect the drain pipe at the very bottom of the tank.
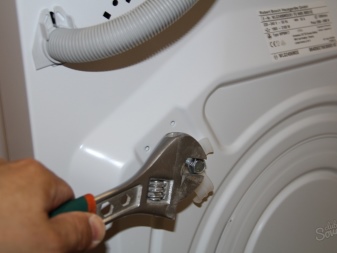
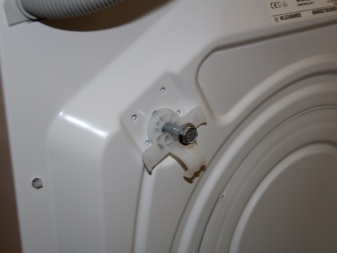
The last step, before removing the tank from the body, you need to disconnect the counterweight and shock absorber... The counterweight is removed after unscrewing the fastening nut, and the shock absorber simply snaps off from the fastener. It is not necessary to completely dismantle the shock absorber, since it will easily come out of the seat when the tank is raised. To lighten the overall weight of the structure, the engine can be removed from it. After making sure that the tank remains hanging only on the springs, you can take it out.
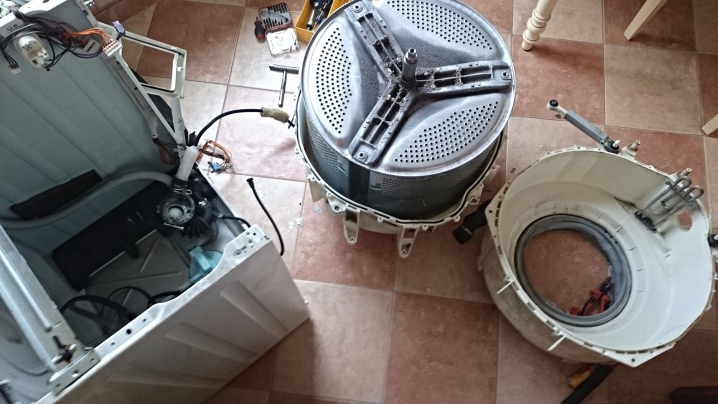
When the tank is removed, it must be disassembled into 2 parts to get the drum. But first, you need to carefully remove the heating element so as not to accidentally damage it during the removal of the drum. It is attached to 1 nut, by unscrewing which we press the pin inward. We pry the heater with a screwdriver and gently, with swinging movements, gradually pull the heating element out of the tank.
Now it's time to cut the tank in half. We unscrew all the bolts around the perimeter and carefully disconnect the tank.
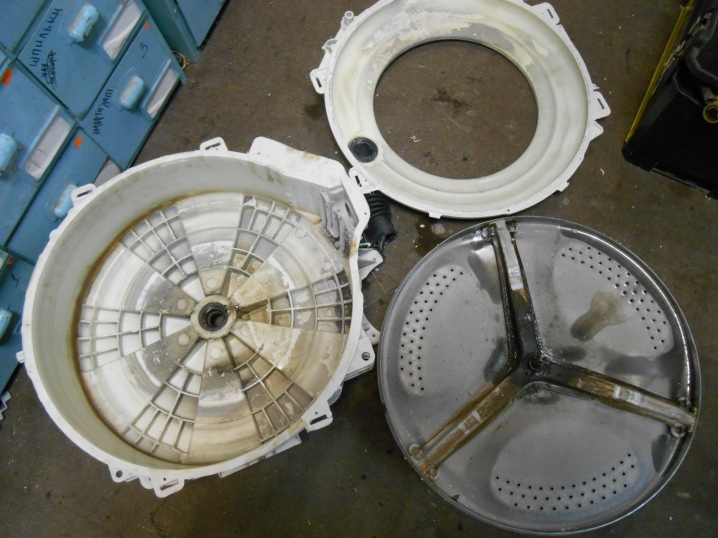
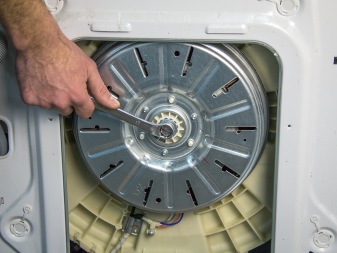
After completing this procedure, we will only have to remove the drum itself from the disassembled structure, where it is held on bearings. Having removed the pulley, we install the puller, and we begin to squeeze out the drum shaft. If the tank is made of metal or metal-plastic, then the shaft and bearings can be knocked out with a hammer, and if it is plastic, then it will be necessary to act carefully, and it is undesirable to use the hammer. Otherwise, the tank may split.
Disassembling a top-loading washing machine is a little tricky. This is due to the design features. First, we need to remove the dashboard from the top of the car. It is mounted on self-tapping screws and is removed by sliding it forward. After that, it is necessary to disconnect all the wiring from it.
Further disassembly of this type of machine is very similar to the disassembly of the previous model.... Remove the washing powder tray. Further, having unscrewed all the screws, remove the cladding of the machine. The sealing lip is removed with a flat screwdriver and tucked inward.
Now we unscrew the counterweight, which is fastened with a through pin and tightened with a nut. We unscrew the shock absorbers. For the convenience of further work, the engine can be removed.
The next step is to remove the tank itself, and you can start disassembling it. Having unscrewed the bolts around the perimeter, we disconnect the specified structural element, but this must be done carefully, since it is made of plastic and can crack.
During disassembly of any type of washing machine on your own, without having enough experience in repairing household appliances, it is necessary to mark all hoses and wires with a marker, and it is better to take pictures. This will save you from the problem of incorrect assembly. With such a problem, the machine may simply not work, and in the worst case, some element will burn out.
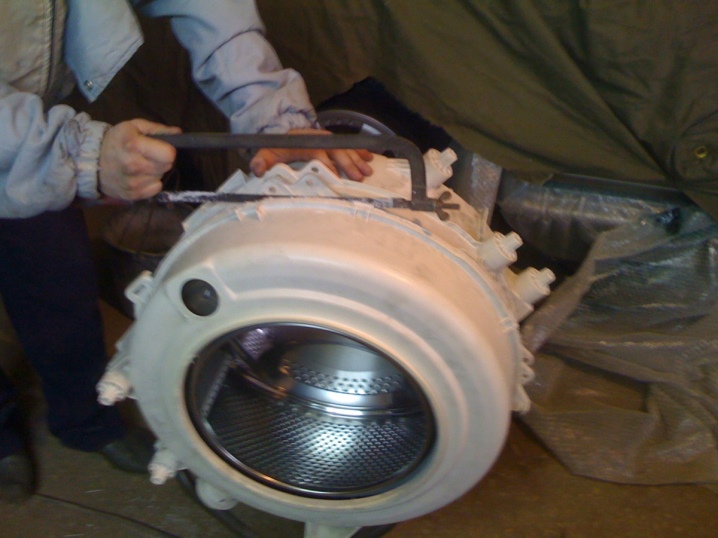
Some washing machines are equipped with a non-separable tank. The two halves of the plastic tank are welded together. But if desired, such an element can be disassembled and reassembled.
To do this, you need to get the tank itself out of the washing machine. The seam looks like a protruding seam. It will need to be cut with a hacksaw for metal, but before that it is necessary to drill holes around the entire perimeter of the tank for future bolts. They need to be drilled at least 15 cm apart.
When all the holes are drilled, you can start cutting the non-separable part of the tank. Having divided it, we proceed to replace the necessary parts, and then we begin assembly.
To prevent the sawn tank from flowing, it must be coated with silicone sealant around the entire perimeter. Next, we install the bolts in the pre-drilled holes and begin to tighten the nuts.
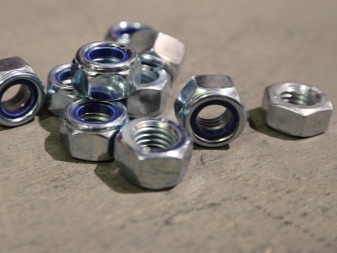
For these purposes, it is advisable to purchase special self-locking nuts or to counter the usual ones. Tightening must be done very carefully so as not to break the side of the tank.
Care Tips
The best repair is the one that did not exist, so it is easier to save the thing than to try to restore it later. In order not to have to do this, it is necessary to comply with all the instructions that are in the operating instructions.
- Do not overload the machine with laundry... Due to overload, not only things are not normally washed off, but the bearings and support shaft will also wear out.
- Avoid running a typewriter with a half-empty drum. This will cause all things to collect on one side during spinning and create an imbalance in the drum, which will cause a strong vibration in the machine. This runout on the shaft severely breaks the bearings and the oil seal, after which it becomes necessary to repair.
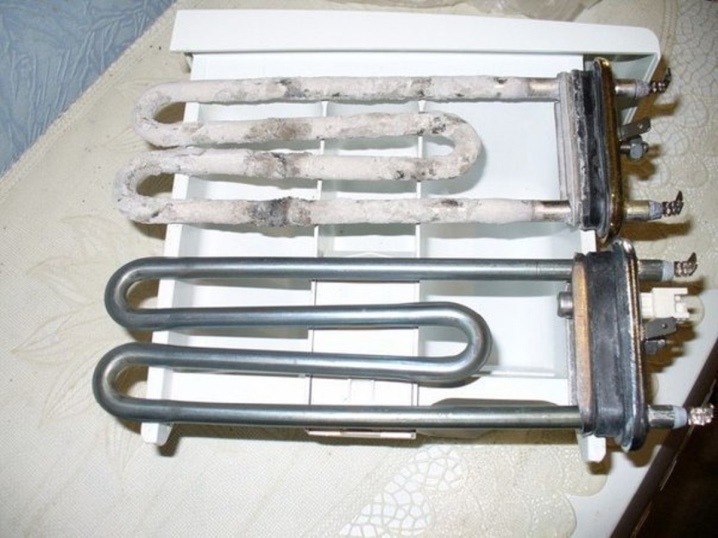
- Hard water deposits scale on the heating elements, which leads to a decrease in their life. This problem can be solved by installing special filters in the water supply system, which reduce the carbonate hardness of the water. Thanks to this, the scale will be much less, which means that the service life of the heating element will be longer. It happens that scale accumulates on the drum - hence it must be removed with special means.
- Clean the machine's dirt filter regularly... It is located at the bottom of it, most often on the right side. Its clogging will lead to the fact that water will stop draining from the machine, and it will not be possible to do without a complete analysis of the drain system and its cleaning.
- Do not put too much powder in the tray.... The remnants of wet powder, when dry, turn into a very hard substance that can clog the water supply pipes to the tank. Use just enough powder for the wash cycle.
- Never send items to the wash that may have small items in their pockets, such as paper clips, buttons, and other similar items. During the cycle, they will fly out of pockets and can seriously harm the drum. Keep track of this as you prepare your items for the scheduled wash.
How to cut and glue the non-separable tank of the washing machine, see below.


The comment was sent successfully.