How to make a do-it-yourself fence from a chain-link mesh without welding?
A chain-link mesh is a great option for fencing your summer cottage. The material is inexpensive, moreover, it will be possible to install it with your own hands, without using a welding machine for this. By installing a mesh-netting as a fence, you will not only fence off your summer cottage, but also create good conditions for the development of plants in the garden and vegetable garden.
The material does not interfere with the passage of sunlight, and also contributes to the process of natural ventilation on the land. We will reveal the secrets of making such a practical fence and tell you what is needed for this.

Tools and materials
First of all, prepare everything that may be needed during the installation of a fence from a chain-link mesh. In order not to waste time and not be distracted in search of the desired element later, prepare everything in advance.
You will need:
- the netting itself (it is advisable to take a little with a margin for fastening);
- pillars that will act as supports (made of wood, metal or reinforced concrete);
- special fasteners (hooks);
- construction composition in the form of crushed stone, screenings, sand, cement;
- construction equipment: drill, shovel, level, tape measure, hammer;
- self-tapping screws (nails or bolts can be used).
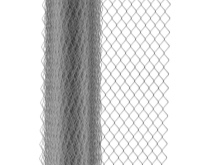
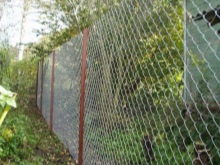
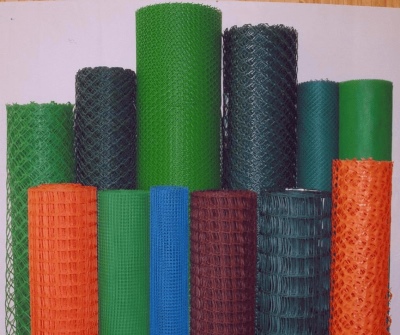
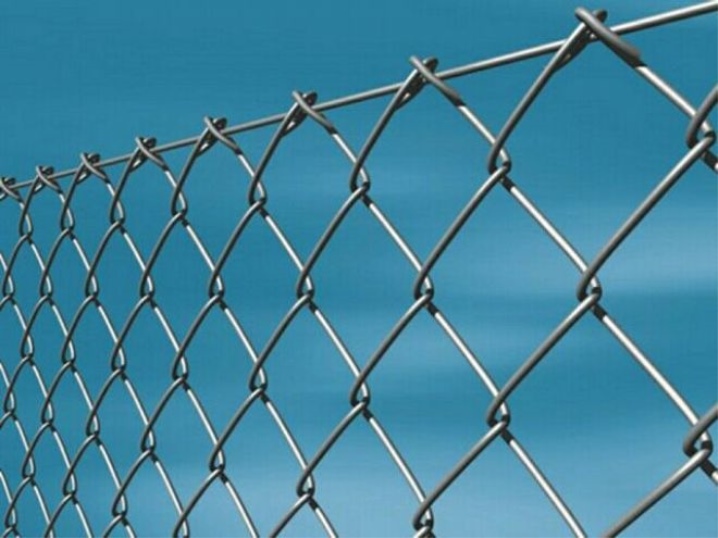
For fencing, as a rule, a mesh-netting is used in rolls of 1.5 meters wide with cells of 40-50 mm. The cheapest option is a mesh without an anti-corrosion coating. But it is only suitable for temporary construction, moreover, it will need to be painted at least 2 times a year.

In order not to have additional worries, immediately purchase a galvanized mesh-netting or a mesh with a polymer coating.
Of course, the last two options are more expensive, but such a mesh is durable: it is not corroded by corrosion, and the polymer is also attractive due to the protective film, which can be of different colors.
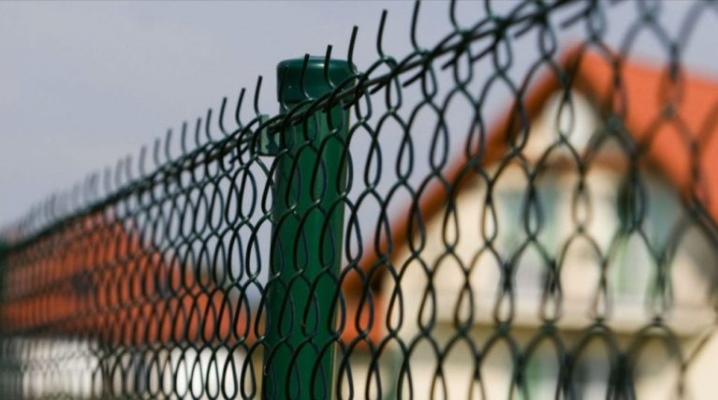
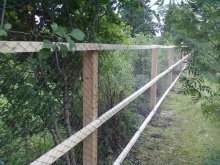
For mesh fences, it is better to purchase ready-made racks with hooks already welded to them as supports.
An alternative would be wood or concrete pillars. But due to the fact that the first are short-lived, and the second are cumbersome, they are not popular with summer residents.
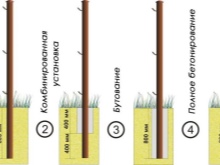
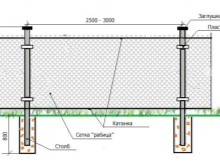
Well, what is cement, sand, crushed stone for? The solution is used to strengthen supports in soft soil. In dense ground, you can not fix them with concrete, since the mesh fence can resist the force of the wind, but when the ground is looser, it is better to hedge and secure the pillars.
In the process of work, you may need another corner (depending on the design) and wire.
If you yourself will attach the net to hooks, then keep in mind that there should be at least three of them for each support.
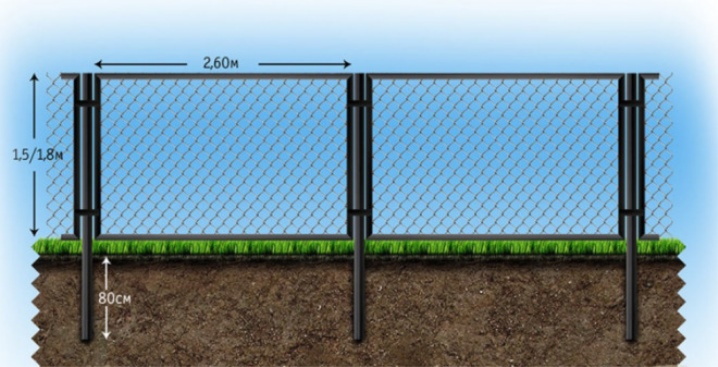
The posts are installed at a distance of 2-2.5 meters from each other.
So if you have a fence perimeter within 200 meters, then you will need 80 to 100 posts. As for the netting, it comes in rolls of 10 meters, respectively, buy 21 rolls of netting (1 roll in reserve). All necessary materials and tools should be at hand.
How to install correctly?
The easiest way to build a fence from a chain-link mesh with your own hands without welding is a tension version. And do not be afraid: in fact, it will take a little time for this, and the process is not so complicated.
In order to make it more convenient to pull the mesh and fasten it to the posts, it is better to get an assistant.
We will tell you step by step the sequence of work on the construction of a fence from a chain-link mesh in a tension way.
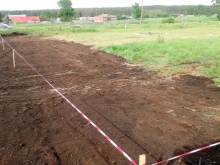
- The first step is to clear the area where you have to work: remove branches, garbage - nothing should interfere with the process of being busy with business.
- Next, you need to make a markup and set the perimeter of the fence. To do this, a rope is pulled on wooden pegs throughout the entire section of the proposed fence and measurements are taken with a tape measure.
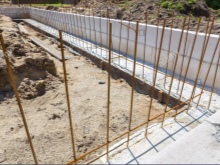
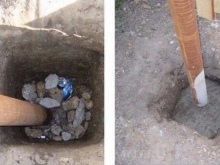
- Remember that the support pillars are installed at a distance of 2-2.5 meters, at their location we dig holes to a depth of half a meter (if we have to fill it with sand and rubble, then we make a hole 10 centimeters deeper).
- Support posts, depending on the material, are best treated with an anti-corrosion agent or anti-rot.
- In the case when the pillars need to be securely fixed, a strong solution is made (cement, sand, screening are mixed).
- The prepared columns are placed in pits and fixed with spacers, then they are poured with a solution or covered with earth and rammed (when the soil is solid and there is no need to additionally reinforce them with concrete).
- If the pillars are filled with strong mortar, work must be suspended for 1–2 days in order for the structure to grasp well.
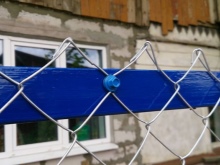
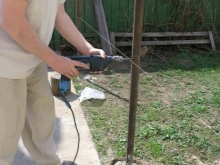
- Then, special hooks or bolts are installed on the supports to fix the netting. Here, depending on the material of the posts, you will need a hammer or a drilling machine (drill).
- It is necessary to fasten the mesh from the corner post and then pull along the entire perimeter. Fix the netting on hooks or bolts.
- On the finished fence, remove all sharp ends, paint the pillars and refine the area around it.
This is the most budgetary option for fencing the territory. Cope with the assistant much faster, so do not bother with capital construction of the fence, if this is just a summer cottage on which you plan, in addition to rest, also to grow products for yourself.
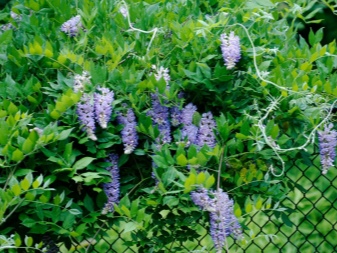
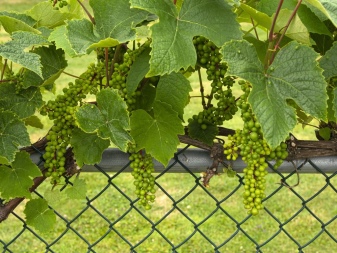
Plants will definitely love this fence., and cucumbers, zucchini, pumpkin, beans, grapes, curly flowers planted along the net will also thank you for additional support. Clinging to such a fence with their offshoots, they will create a "hedge".
Recommendations
Experienced summer residents share their secrets of making such a design. Perhaps these recommendations will be useful to someone too.
- So, they recommend not dropping the mesh directly to the ground, but leaving a small amount of airspace. Thus, the load on the mesh will decrease, and it will not corrode at the bottom when it comes into contact with the ground.
- In order to obtain sufficient tension on the corner supports, in this place it is better to make a joint seam of two pieces, otherwise, no matter how hard you try, the contour of the canvas will not give a tight tension.
- The mesh can sag over time. To prevent this from happening, when installing it, you need to pull it well (tight).
- In areas with a slope, the length of the intermediate posts is increased. In this case, the mesh is fixed on one side above, on the other - below. The fence turns out to be stepped: the steeper the slope, the shorter the spans are made.
- If the mesh fence is to serve for a long time, it is better to choose a galvanized chain-link for its construction (the minimum service life is 25 years), a non-galvanized one is suitable for a temporary structure, but after 2-3 days (especially after rain) it will begin to rust - immediate painting will be required.
- It is better to paint a metal mesh with a brush. A roller will not be able to achieve a uniform effect, and a spray gun will use up a lot of paint - this is an unjustified decision.
- To make the mesh fit the exterior, select the desired color from the plasticized version.
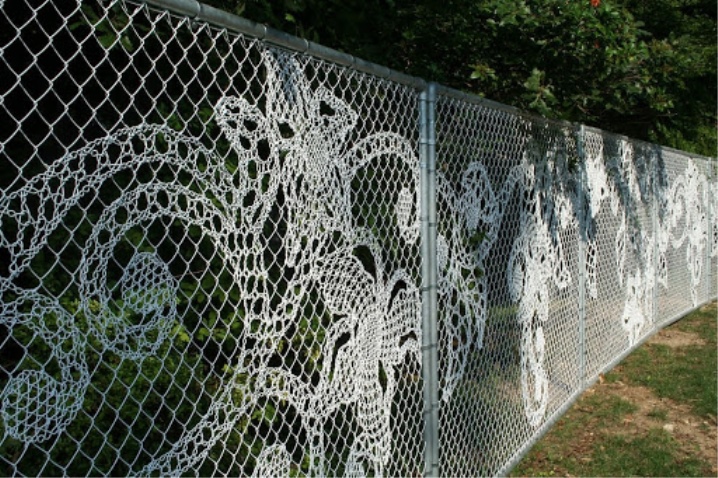
- To make the chain-link fence not seem so boring, it can be refined with additional decorative weaving made of thin wire on the spans of the fence. You can hang a flowerpot on it or plant climbing plants along it.
If such a fence is covered with a military camouflage net, the view through it will decrease, but the design will look more attractive and interesting. Fence decor is already a secondary occupation, the main thing is to start making it. As you can see, without being a builder, it is quite possible to cope with this on your own.
How to stretch the mesh netting, see the video below.


The comment was sent successfully.