Making concrete flowerpots with your own hands: the perfect frame for street flowers
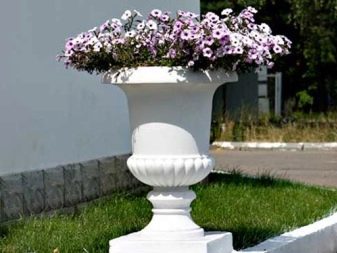
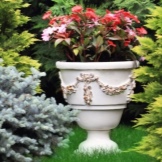
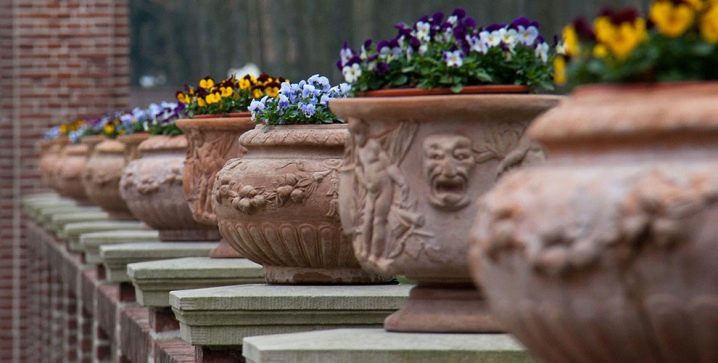
History relates the use of concrete flowerpots to the traditions of park art in palaces. The royal summer residences were inconceivable without luxurious alleys, and alleys without prim baroque concrete bowls. Gradually, flowerpots moved into modern times, received a permanent residence permit in city gardens, at the front entrances of buildings. Designers loved them for the opportunity to shade greenery with a practical small architectural form. Consider options for how to make such a container with your own hands.
Modern trends in landscape design
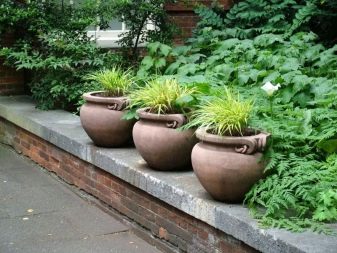
Landscape designers agree that concrete flowerpots give special presentability to the owners of a garden, cottage or cottage. Bowls for flowers both decorate the territory and perform the practical function of a platform for placing green plants almost anywhere. The trends in decorating adjoining territories require the owners of flowerpots to have containers made of materials that resemble natural ones as much as possible.
Decorating lawns made of natural stone is too difficult and expensive. A practical direction in their creation is the use of materials for a monolithic composition: concrete and cement.
Designers find concrete flowerpots especially functional.
With these massive bowls:
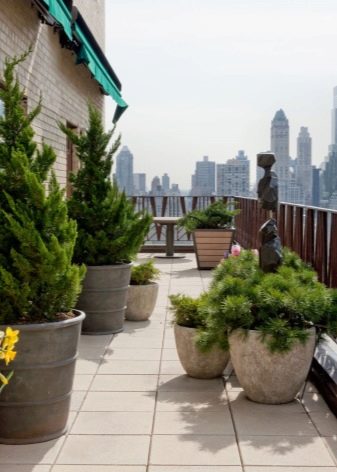
- a special aura of a suburban or urban local area is born;
- concrete flowerpots zone the space, collect its details into a single picture.
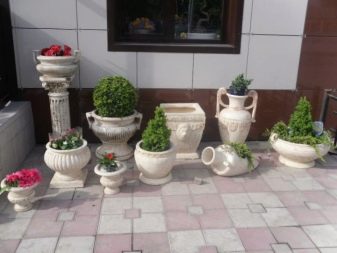
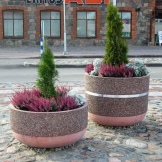
Massive vases are actively used by decorators in private households, parks, squares, on sites at the entrance to cultural objects, as well as in administrative buildings.
Concrete vases have many advantages that make them popular:
- bowls are affordable, it will not hit the budget;
- concrete is not afraid of moisture, fire, frost, it is strong enough;
- availability of capacity for the implementation of any ideas of artists (vases can be given a variety of shapes);

- environmental friendliness and mobility: plants grow excellently in such flowerpots; for whimsical flowers, you can choose an exclusive place for installing the bowl;
- outdoor flowerpots can be made in the style preferred by the customer (from modern to classic);
- concrete lends itself to staining and finishing, so flowerpots are easy to decorate in any range.
Shapes and sizes
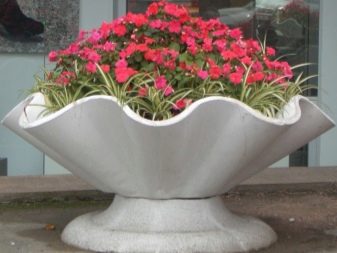
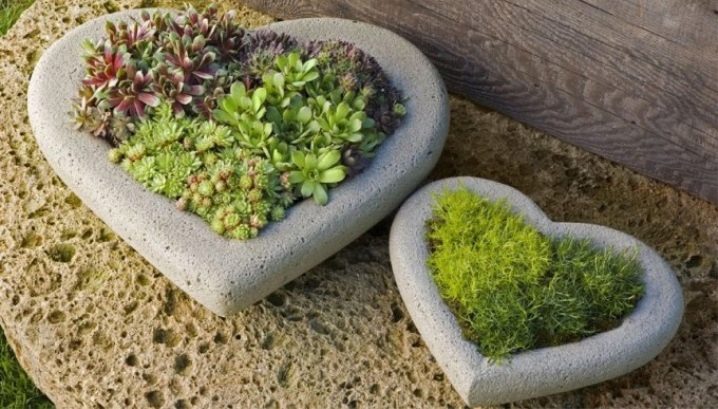
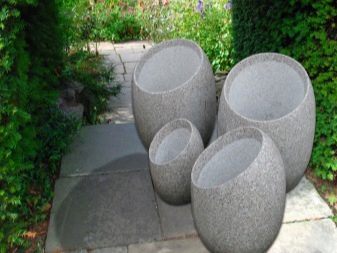
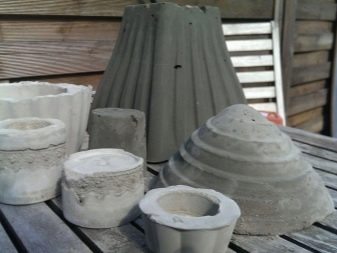
The shape and size of the flowerpot is not limited by anything, except for the tastes of the owners of the territory that the objects will decorate. Products made on industrial conveyors are made according to the standard: they have a reinforced concrete frame, a bowl, a base, and sometimes a leg. Their height reaches 60 cm. You can get a copy of a more original form with your own hands.
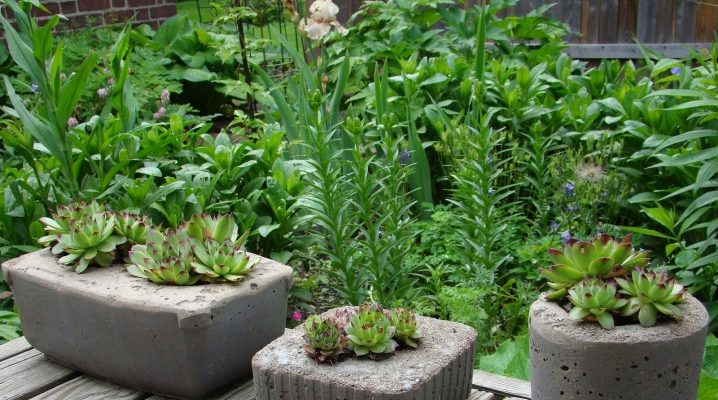
For natural flowers, concrete flowerpots are given a solid depth. Any type can be set: the cement slurry will take the parameters that you define for it. Even if you like hex, such a configuration is also doable, you just need to first construct its frame from wood, plywood or cardboard.
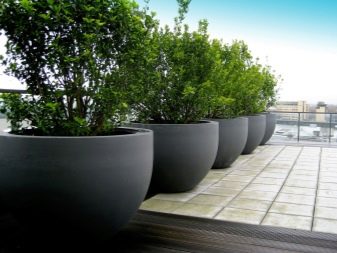
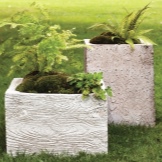
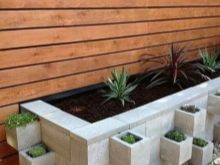
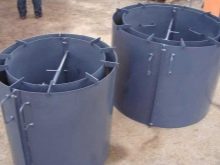
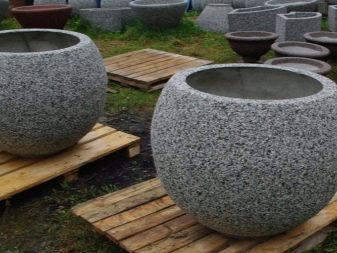
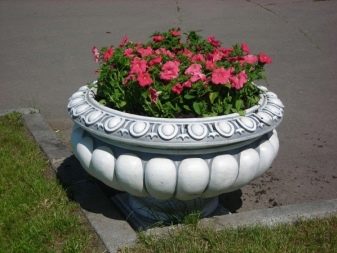
Rectangular flowerpots are practical, square, round large bowls look beautiful. Unusual products suggest the use of bowls, basins, and even a bowling ball as shapes. This is a frame of the so-called inner shape. In general, you need two forms: you need an internal and an external one, between which the solution is poured. After the concrete hardens, the inner frame is pulled out or broken.

When you decide on the size of the flowerpot, be sure to correlate it with the area of the site where you plan to display the product. Do not squeeze a giant vase over a tiny patch: the whole aesthetics will immediately be destroyed. Also, a small container will be lost in the vastness of a huge garden. Flowers in a single vase on a long alley will feel very uncomfortable.


It is necessary to achieve the proportions of concrete containers with the surrounding interior.
How to: step-by-step master class
The steps will depend on how much pot you decide to create. Let's look at a specific example.
For a large product, you need a plastic mold with parameters approximately 53 cm in diameter and 23 cm in height. The solution is made up of white cement, perlite (agroperlite) and peat in a ratio of 2: 1: 2. A one and a half liter ladle can serve as a measuring container. Dilute the mixture with water until a thick mass is obtained.
This is a heavy lawn, it is better to immediately do it in the place where it will stand constantly. We keep a plastic form (inner) ready. We put a solution 4-5 cm thick on the bottom (easy to measure with a toothpick). Install the wire cage for strength. Due to the size of the capacity, four to five mixtures of the cement composition will be required.
We put a plastic pot wrapped in cellophane film into the first mold, straighten the folds. We put the solution around the pot. It is necessary that such a bulky structure dry completely (it will take at least 8 days). Then the flowerpot is removed from the mold and treated with a brush. Rinse and dry again. Cover with damp burlap, a piece of cloth and leave to harden further until the material acquires a light shade: this is a sign that the bowl is ready.
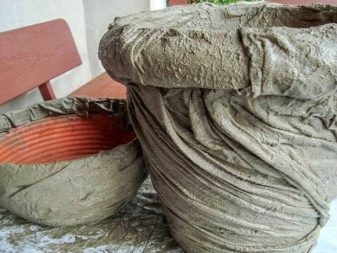
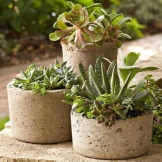
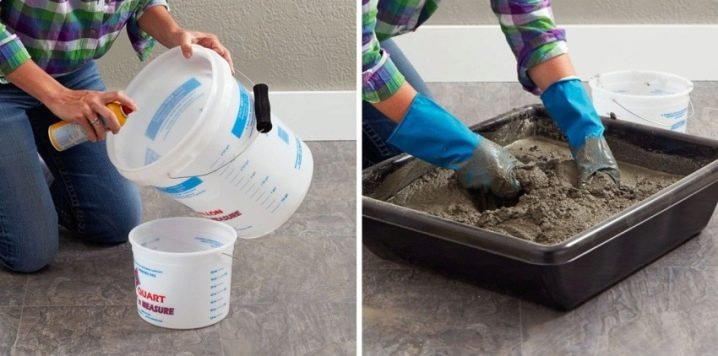
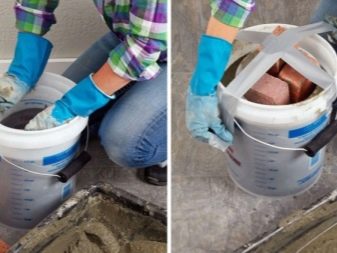
A small concrete flower pot for the garden can be made with your own hands using cement mortar and an ordinary rag.
The sequence of actions is as follows:
- Old towels or any thick fabric will work well. Use an old bucket for the initial shape (be sure to wear gloves on your hands).
- Turn the cement into a creamy consistency. Turn the bucket for drying the flowerpot over and cover it with polyethylene, otherwise you will not remove your product.
- Dip a towel or rag into a container with a solution so that it is completely saturated. Then take it out and straighten it out.
- On an inverted bucket, "put" a towel in the cement, smooth the bottom. What is now the bottom of the bucket will later become the bottom of the vase. Let the folds hang down, you can give them any shape you want.
- The cement-laden fabric dries in this form for two days. Take out the bucket from under the frozen flowerpot: here is the simplest flower girl for you.


What do you need?
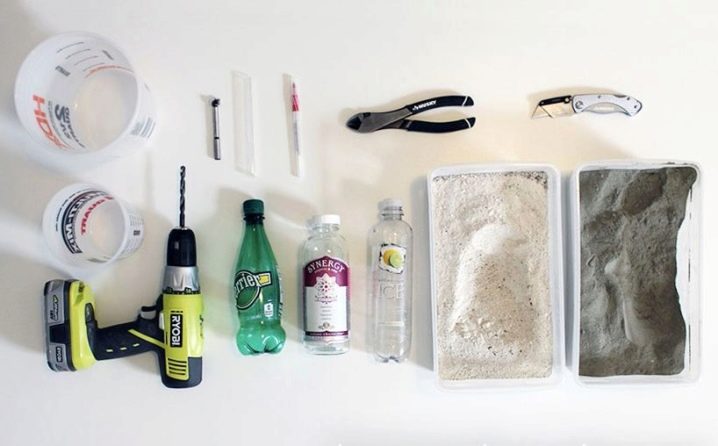
It is worth listing in detail the entire range of necessary materials to create a universal flowerpot.
- Concrete. It's easier to buy a ready-made mixture in the store.
- Forms and molds. Unleash your imagination, do not get hung up on standards. The main requirement for the form is that a dried product can be taken out of it. Almost any container will do: cups, cardboard boxes, glass containers that you will not mind breaking, jugs, basins.


- Non-stick spray. Concrete containers can be easily removed if the mold is sprayed before pouring; you can get by with vegetable or engine oil.
- Water (for mixing the solution). Not cold or hot, warm, in large quantities.
- A stick as thick as a pencil (needed to remove air bubbles).
- Concrete mixer (you can take a garden trowel).
- A rag for making the simplest flower girl from fabric (certainly dense).
- Buckets and other containers that you do not mind throwing away later.
- Paints and broken ceramics (if a finished flowerpot is to be decorated).
Preliminary work
In order to fully prepare to start working on a flower pot, it is better to make a detailed drawing of the product in advance. Then a shape is cut out according to it, determined by the original template, or by yourself invented.The workpiece must be glued, for strength to pass with glue over the entire surface.
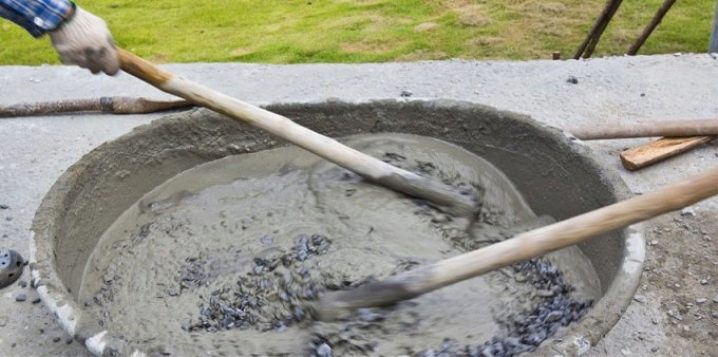
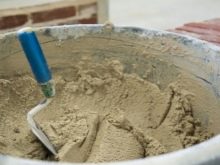
It is logical to pre-prepare the composition of the desired consistency (the solution should not spread). To do this, take 2 parts of cement, 3 parts of sand, add water in small quantities, then stir the components until the solution is completely ready. When the mixture is mixed, you can start pouring it into the mold.

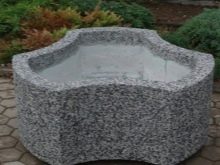
If you suddenly decide to swing at a luxurious version of a garden bowl made of washed concrete, consider the characteristics of the material. Washed concrete contains natural stone (pebbles, crushed granite, quartzite, marble chips, travertine) and artificial additives (glass chips, smalt, cast iron shot).
The texture is unusually beautiful and durable. But this is achieved by complex manipulations. The concrete mixture with the listed additives is put into the mold. The seized (semi-hardened) product is removed and the top layer is washed out under pressure. Cement sand leaves, natural stone appears.
It is very effective, but it is better to implement this topic together with professionals. The color of the product is unique, only natural stone has such a color.
Manufacturing process
To make a classic concrete flowerpot for a garden, you have to take the necessary steps:
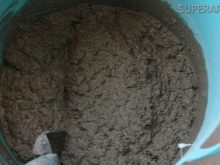
- A solution is prepared, the filler is created from small fractions. Maintain a ratio of parts of cement and sand 2 to 3. You can immediately add pigment to shade the mixture. The solution should be medium in consistency.
- The forms that you intend to use for pouring must be lubricated with vegetable oil to avoid adhesion of the solution.
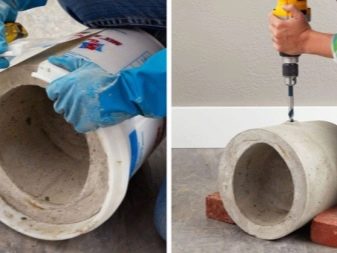
- If the flowerpot is conceived with a bottom, it is better to provide drainage for future flowers right away. It is performed as follows: a portion of the solution up to 2 cm is placed in the large (first) form, metal tubes are inserted vertically into this layer: after hardening, they will provide drainage holes.
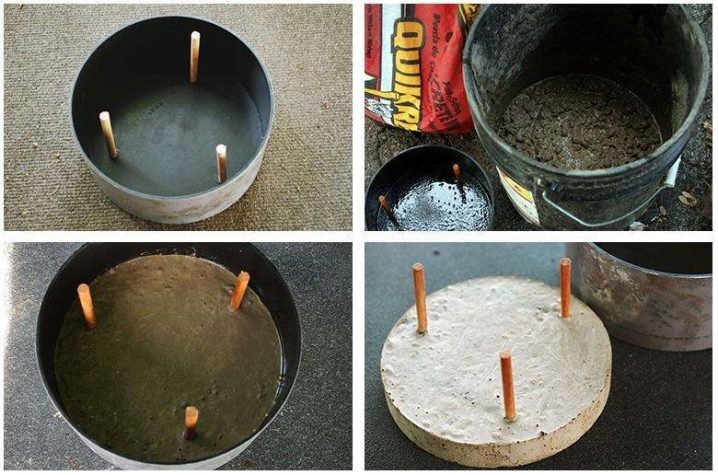
- Next, we will install the second (internal) container. There is painstaking work to align the edges of the first and second shapes. It is necessary to achieve the same size of the walls of the future lawn around the perimeter.
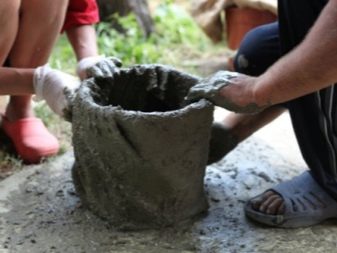
- The next step is to carefully fill in the solution, compact in portions. No voids should remain, then the wall of the flowerpot will be strong.
- If the second form turned out to be easy, we will pour small stones and sand into it. Knock on the walls with a hammer. We pierce the solution with a thin stick: it is necessary to free the concrete from air bubbles. He will then sag a little. Then, with a smooth object (spoon, garden spatula) we level the side and leave the "flowerpot" for a day.
- After 24 hours, we take out the inner mold, spray the pot with water inside and cover it with plastic wrap. We must give him a final grasp. We spray and cover a few more times: drying and hardening should go evenly. Take your time to avoid cracking.
- For absolute strength, concrete is covered with damp burlap or immersed in a bath of water, kept in such conditions for up to a week. It should dry slowly. And no direct rays of the sun, no acceleration of the solidification process can be allowed.
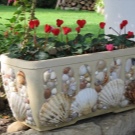
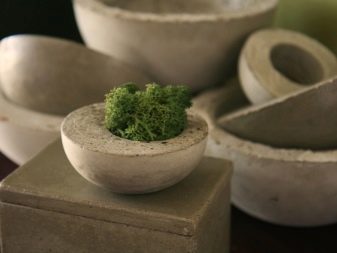
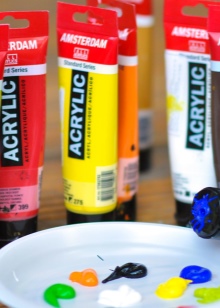
- Now it's time to start decorating the bowl. It can be painted with acrylic paint or laid out with pebbles, mirror shards, and shells. The product will become more beautiful if you carefully grind the entire surface with a special block. When the described technology is mastered, it is worth stocking up on enthusiasm and time. It will not be difficult to create a series of unique, fancy containers for the yard or suburban area according to your own author's developments.


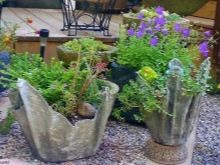
Spectacular examples
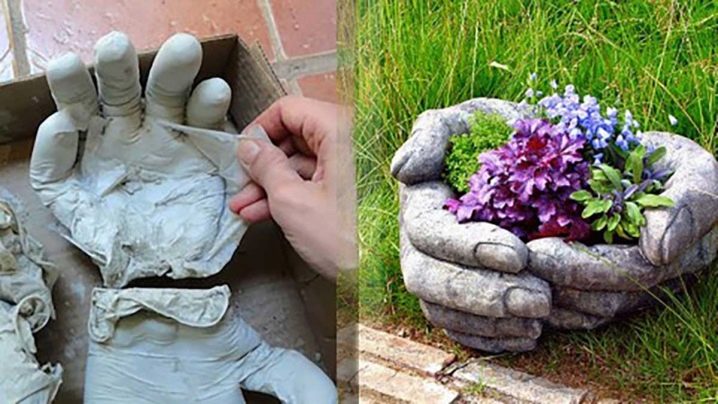
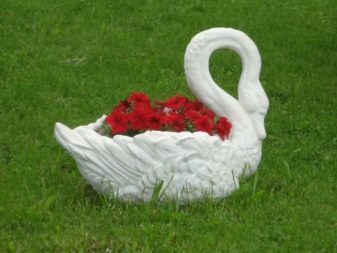
The collection of design finds contains many different beautiful ideas and spectacular examples. Subtle natures will not remain indifferent to the flowerpot in the form of open palms. The technique is as follows: latex gloves are filled with a solution, they are given the shape of hands before hardening, carefully holding delicate flowers.
Hungarian technology has found its fans.Its essence is that the role of forms is played by plywood templates with a semicircular notch and wire loops on the side.
The sequence of steps is as follows:
- In the center of a sheet of plywood (or roofing material), pour a mixture of sand and cement, mix everything, form a slide; in it we create a hole, where we carefully add water.
- We immerse a metal rod with loops from the template described at the beginning (we will create the inner walls). We rotate the rod like potters: a hemisphere comes out of the mixture. Put the film on top, again a layer of the mixture, then a metal mesh, another solution on it.
- The final step is to use the second template. It will "support" the outer walls of the product. And the result will be a kind of openwork-fantasy construction, completely unlike heavy cement monuments. It remains to remove the core and leave the product to dry.
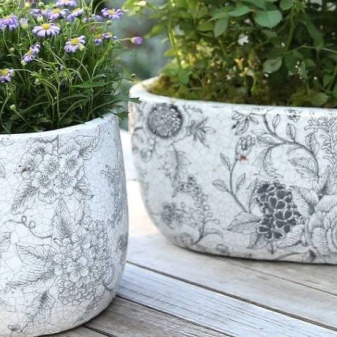
If the appearance of the flowerpot seems faded to you, designers are advised to decorate it. Bright acrylic painting looks spectacular. Concrete is easy to paint. You just need to carefully prime the surface before applying the painting, but do not overdo it in the palette. The decorations on the flowerpot should not, in terms of color, prevail over the natural flowers that you are going to grow in this container.


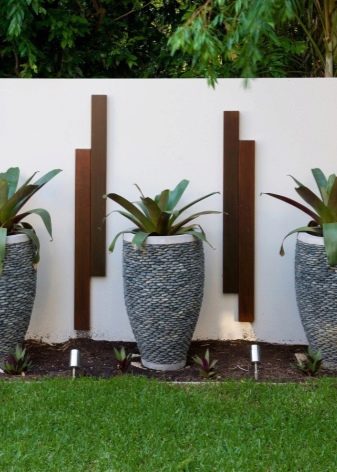
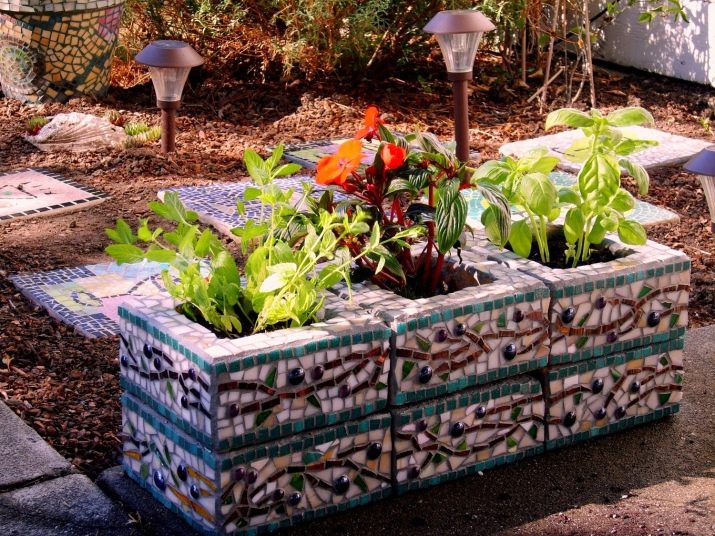
The unexpected effect of the iridescent multicolored surface of the flowerpot is given by the mosaic finish. As a mosaic, you can use pieces of broken ceramic tiles. Fragments of tiles are laid after the surface of the concrete product is covered with a thick layer of special glue (5-6 cm layer). A tile is pressed into it.
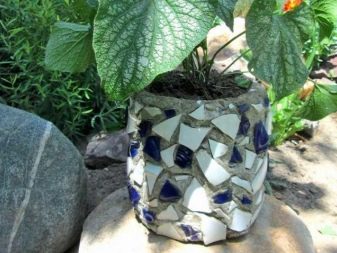

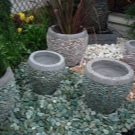
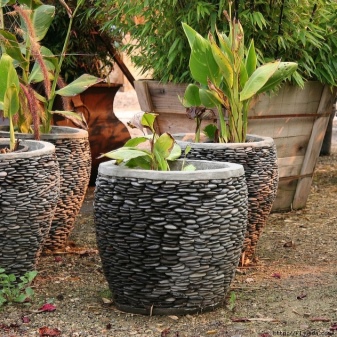
The same method is suitable for decorating a flower container with pebbles. Only here you need to be on the lookout, immediately remove traces of glue from the pebbles, otherwise you will not be able to take it out later. To make it more elegant, the gaps between the fragments of the decor are rubbed after the glue has dried. Vases with mosaics, painting in the Byzantine or Indian style look beautiful.
A non-professional can also make flowerpots from concrete. The main thing is to study the step-by-step instructions and follow its recommendations. Concrete bowls look beautiful after decorating with paintings or stones. Thanks to your imagination, you get an exclusive and durable container in which you can grow flowers annually.
How to make do-it-yourself concrete flowerpots, see below.


The comment was sent successfully.