Pool from pallets: features, materials and step-by-step instructions
A pallet pool is just as attractive as more traditional solutions. However, you need to know its features and basic materials. Only by studying such nuances and step-by-step instructions can you succeed and soon enjoy bathing.
Advantages and disadvantages
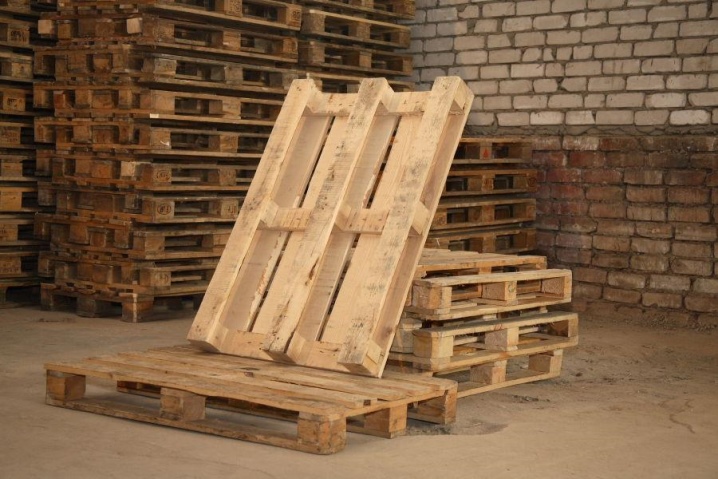
First you need to figure out why it is worth (or not worth) to build a pool from pallets at all. The obvious advantage is that it will be possible to use the pallets remaining after construction or overhaul. The bowl made on their basis will be relatively light, but at the same time it will be very durable. Do-it-yourself pool assembly from pallets is possible in 2-3 days. To speed up the work, you should prepare all the materials in advance, and then find yourself helpers. With everything ready and helpers, the work will take no more than a few hours.
In cases if you have to buy pallets, they are very cheap... You can often find them for free. Usually they buy only tarpaulin or strong construction film to cover the inside of the bowl. Having beautifully decorated the pool, you can turn it into a real decoration of the garden area or the adjacent space. If necessary, dismantling the structure (with transfer to a new place or with complete dismantling) will not take much time. In this case, most of the time it will take to drain the water.
The disassembly itself is easy enough for any trained person. However, it must be borne in mind that it is impossible to save a pool from pallets for the winter. It will need to be completely disassembled and then reassembled next season. In addition, old pallets are unreliable as they are not durable, so they should not be used. And even with careful selection and very careful work, they are short-lived.
Necessary materials
Although pallet construction is fairly straightforward, it is imperative that a project is drawn up. A number of manuals, however, argue that you can do without it. But the overall result is worse. When there is a sketch, it is easier to calculate the required materials, and the assembly will be easier. Given the shape of the blocks, a rectangle or a square is preferable.
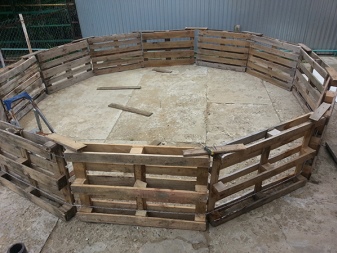
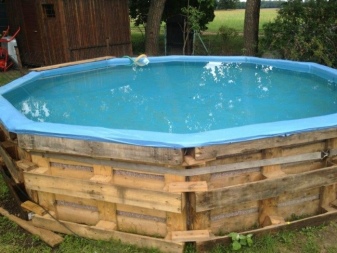
Polygonal, oval and round structures can also be assembled by hand, but in addition to them, you will have to use more powerful fasteners. Without them, the structure often falls apart or does not last long.
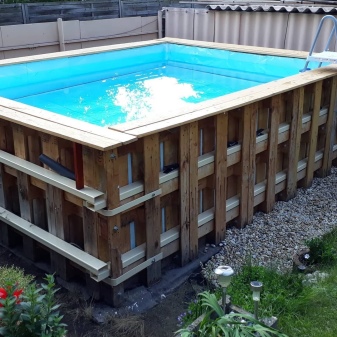
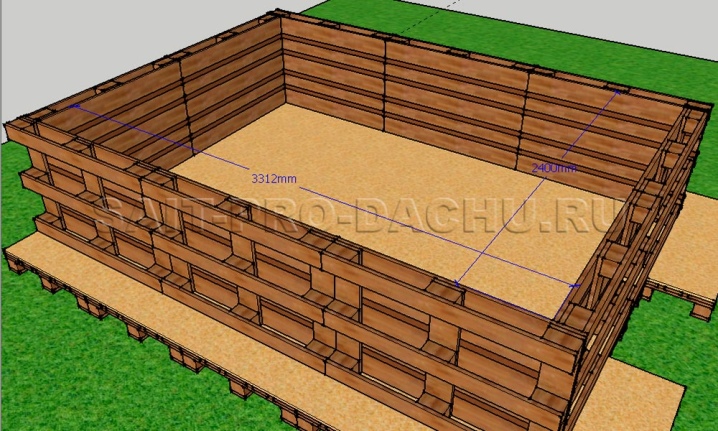
A medium sized pool requires at least 10 pallets. The vertical walls of the rectangular bowl are made from 4 pallets, and 3 pallets are placed vertically on short sides. Therefore, the typical dimensions of the structure are 3.2x2.4 m. It is quite a spacious summer hot tub for one family.
4 sides of a rectangular bowl are made from 14 pallets. Another 6-8 pallets will be required for laying the bottom. In addition to the main structural blocks, you will have to acquire a film. The correct choice of the type of waterproofing plays an important role. Greenhouse films are not able to withstand significant loads. Therefore, a special pool film made of rubber will be more reliable.
How to do it?
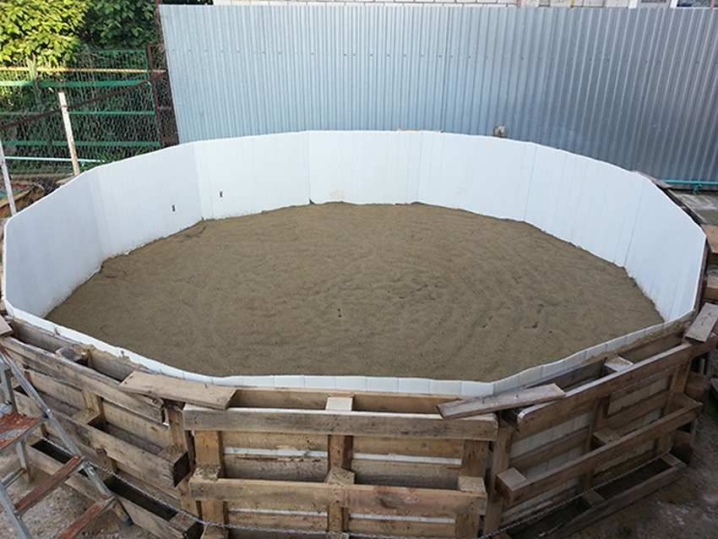
It is possible to build a pool from pallets with your own hands step by step only in a well-prepared area. Any irregularities and stones are unacceptable here. We'll have to uproot all the vegetation. It is advisable to arrange the substrate from foam plates. A layer of tarpaulin should be laid on top of the foam or simply leveled ground.
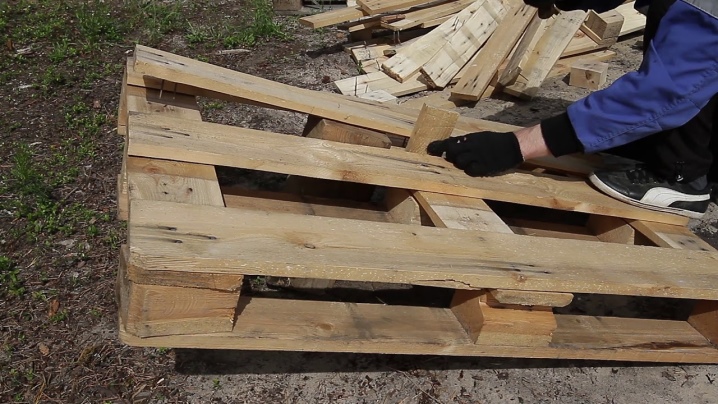
The next step is the formation of the boards.Putting the pallets in series, they immediately join them with fasteners. Initially, the pallets are sewn with planks. For greater strength, use clamps or mounting angles. As soon as the sides are assembled, the bowl is covered from the inside for the purpose of insulation:
carpets;
unnecessary blankets;
felt.
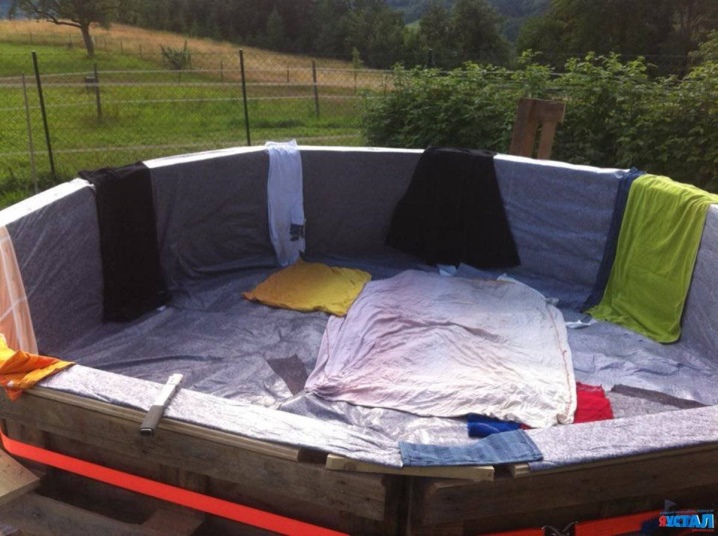
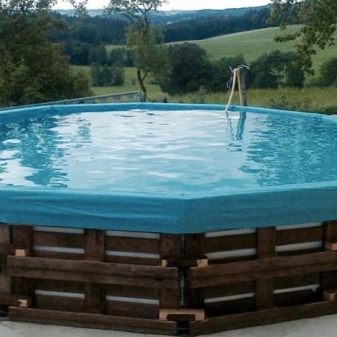
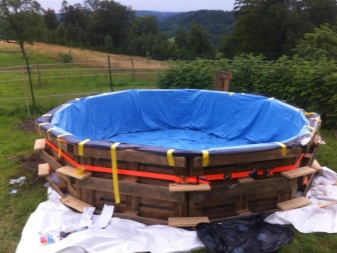
On top of these layers, a film is laid in a uniform layer. It must be taken out of the side along the entire perimeter (with an overlap of 20-25 cm). At the edges, the film is fixed with tape. Advice: you should buy either black or blue film. In this case, the water in the pool will have a more aesthetic appearance.
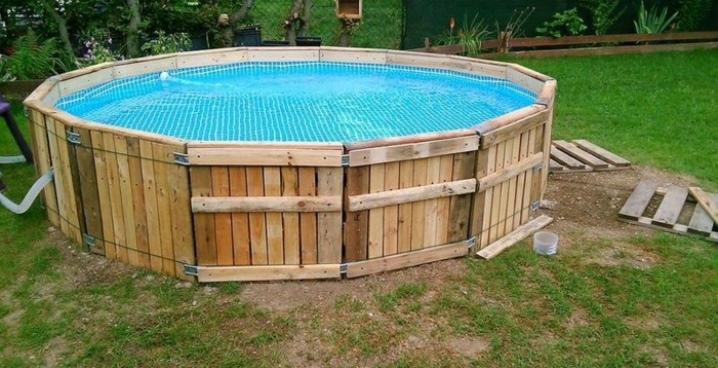
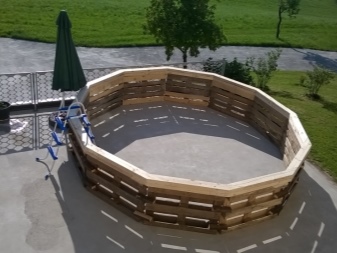
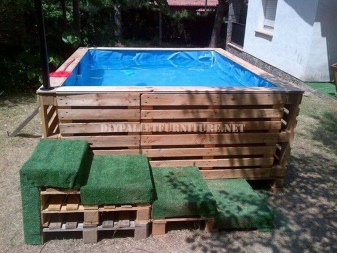
To prevent the destruction of the bowl under water pressure, it is helped by tightening it with a cable or assembly straps like a hoop on a barrel. Additionally, the outer surface is sheathed with clapboard and an elegant edging made of edged polished board is stuffed onto the ends of the sides.
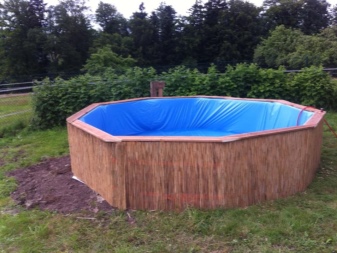
This edging can replace benches. The boards are impregnated with a protective compound and varnished. The final stage is testing the pool with water filling. When everything is ready, you can put the ladder and lighting fixtures. The podium is usually built from decking, mounted on a frame.
For fixing the boards, stainless self-tapping screws are used. The spaces between the boards are 10 mm. Decking composite boards can be placed side-by-side. The podium must be designed for a load of at least 400 kg per 1 sq. m. Concrete or stone is used as a base.
How to maintain and use?
Covering the bowl with a tarp helps to reduce water pollution from various debris. It should be dark in color. This will avoid water bloom and speed up its warming up. If some contaminants do get into the pool, they are caught with a net. When a bad smell appears, disinfectants are used. It is best not to clean the small bowl, but to periodically pump out the water and change it completely to fresh.
How to make a pool from pallets and a 9-cube film with your own hands, see the next video.


The comment was sent successfully.