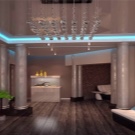
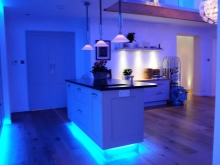
LED strips in the interior of rooms
LED strip can be used in the interior of almost any room in the house. It is very important to choose the right accessory, as well as to securely fix it on the selected surface. In order for the LED strip to look organic in the bathroom, in the kitchen and in the living room, it is important to make the right choice of accessory.
How to choose?
The LED strip is compact, flexible and safe. In order for this accessory to look good in different rooms in the house, you need to choose it correctly. There are certain unspoken rules for choosing LED strips. So, it is very important that the backlight does not irritate people in the room. That is why experts do not recommend choosing a blinking or very bright LED strip for the bedroom, as well as for the children's room.
You can place the LED strip on almost any surface in the room. The most popular are:
- walls;
- ceiling;
- existing niches;
- all kinds of designs.
But no one forbids fixing the LED strip on furniture and other objects in the room.
Diode tape can be solid or colored. In addition, there are devices with a remote control. With the help of such a device, you can adjust the brightness of the LEDs, as well as adjust some other parameters.
If you arrange everything correctly, then the LED strip in the interior in most cases looks good.

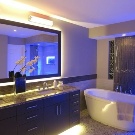

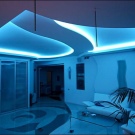
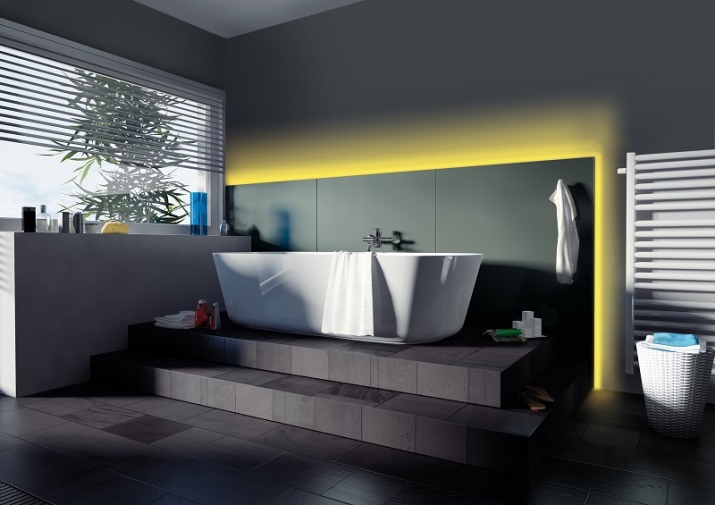
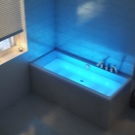
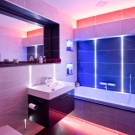
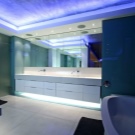
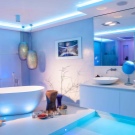
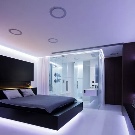
Bathroom lighting
Oddly enough, the bathroom and toilet are two of the most popular places where most people choose to place an LED strip. This popularity is due to two points at once:
- the backlight looks very good, since the diodes are reflected in the mirrors and on the tiles;
- at night or in the early morning, there is no need to turn on the light that hurts the eyes - it is better to do with the existing backlight.
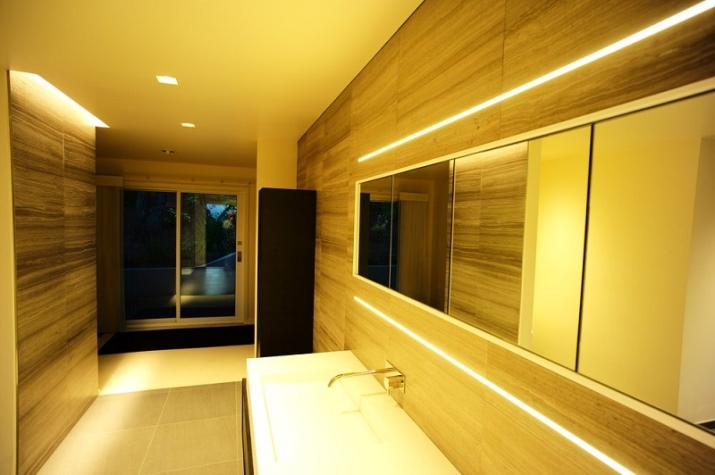
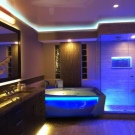
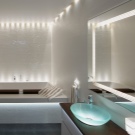
If we talk about color, then it is customary to use blue neon lighting in the bathroom and toilet. But if you want, you can choose any other color. The only condition that must be observed without fail is that the LED strip must be moisture resistant.
You can place the lighting on the bathroom, shower or toilet. It's a good idea to illuminate the contour of shelves or mirrors.
It is also possible to run the tape along the ceiling or on the floor in the areas where the skirting boards are located.

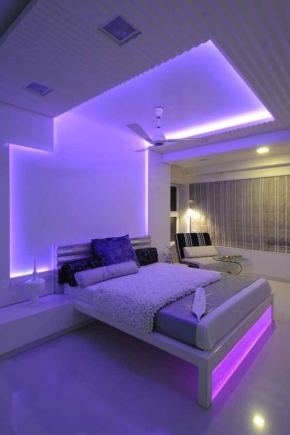
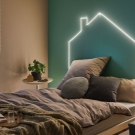
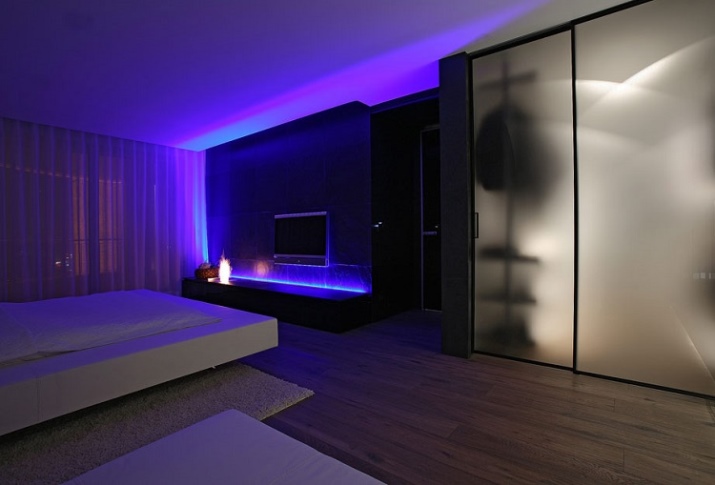
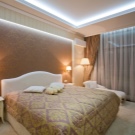
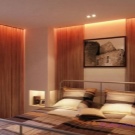
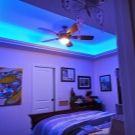
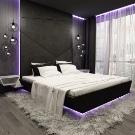
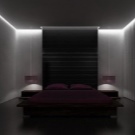
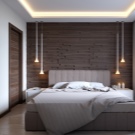
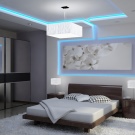
Tapes in the bedroom interior
The bedroom is traditionally a place of rest, rest and relaxation of a person. That is why the LED strip used to decorate such a room should not be excessively bright and flickering. This is a general principle that applies both to the design of the bedroom for adults and the children's room.
Despite the general decor of the apartment, it is recommended to choose more muted illumination colors for the bedroom, since bright light can provoke the activation of the nervous system.
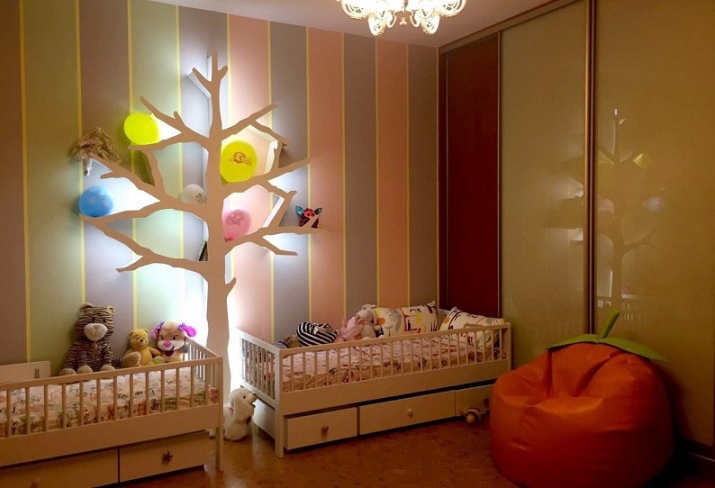
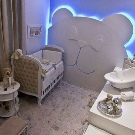
In the nursery
Very often, children do not like to stay in the room at night, they are afraid of the dark. In this case, an LED strip placed around the perimeter of the room will be an excellent solution to the problem. You can place the tape in the area of the bed, door, window, or computer desk (if available in the room).
Since the children's nervous system is not yet sufficiently matured, it is better to choose muted colors for backlighting. It is also important to take care of the color of the diodes. So, for example, pink, lilac or purple is suitable for a teenage girl. For a boy, it is better to opt for a blue, blue or green shade.
But most importantly, the light level should be muted.
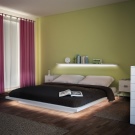
For adults
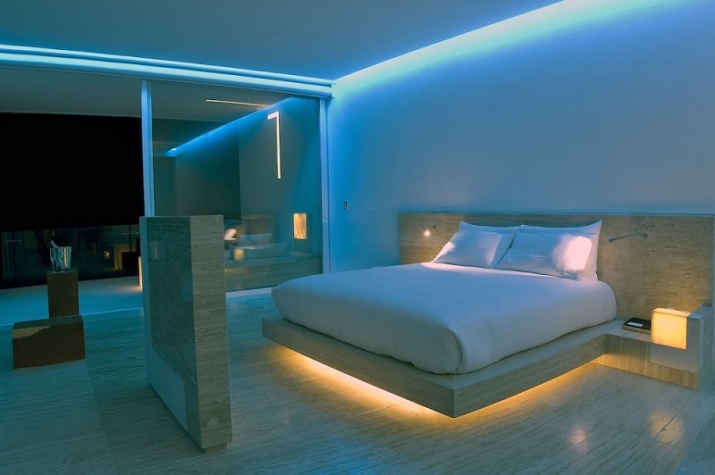
If we talk about the use of LED strip in the bedroom for adults, then it is best to place it in the following places:
- in the bed area;
- instead of bedside lamps;
- near the dressing table or bedside table.
If the bedroom has a loggia, then the LED lighting can be placed there.
The LED strip in the bedroom is an additional light source. It allows you to save on electricity and unnecessarily not turn on the lights in the bedroom at night.
If you place the tape at the head of the bed, then this light will be quite enough even for comfortable reading of books.

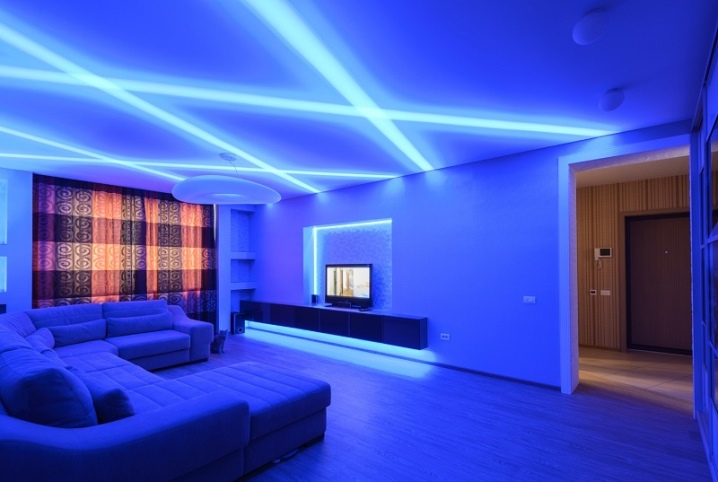
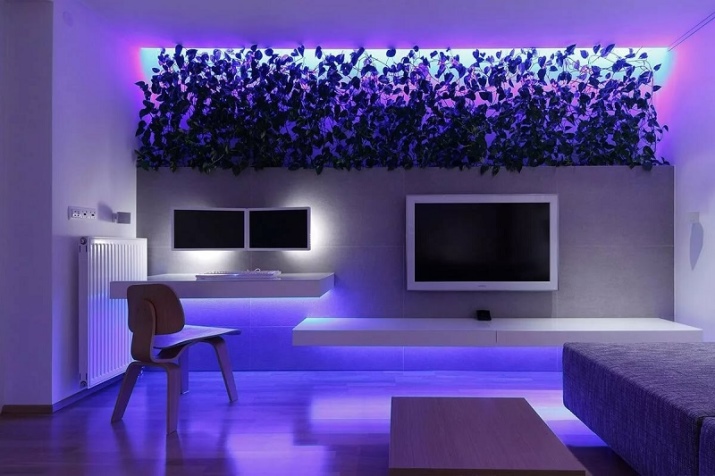
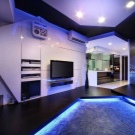
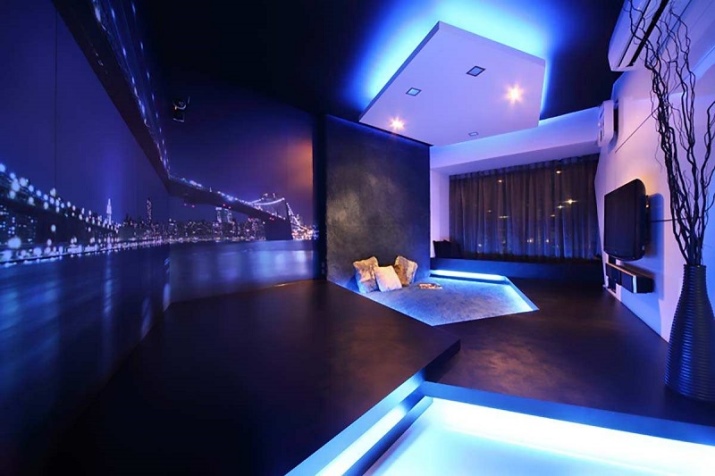
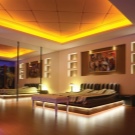
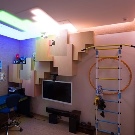
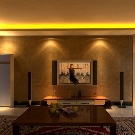
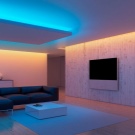
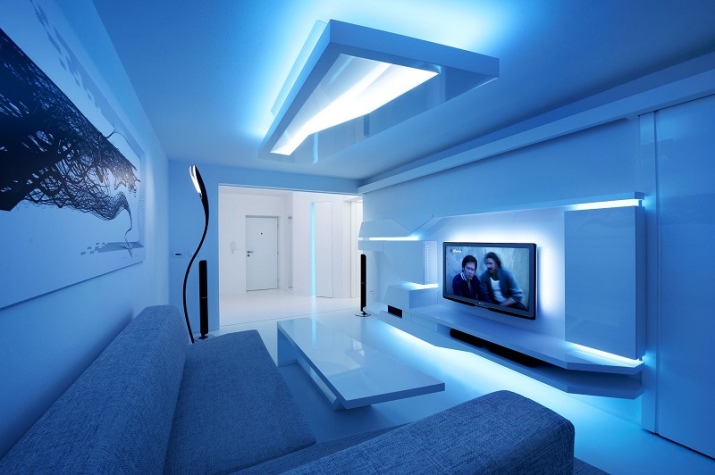
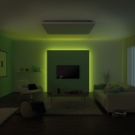
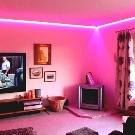
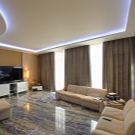
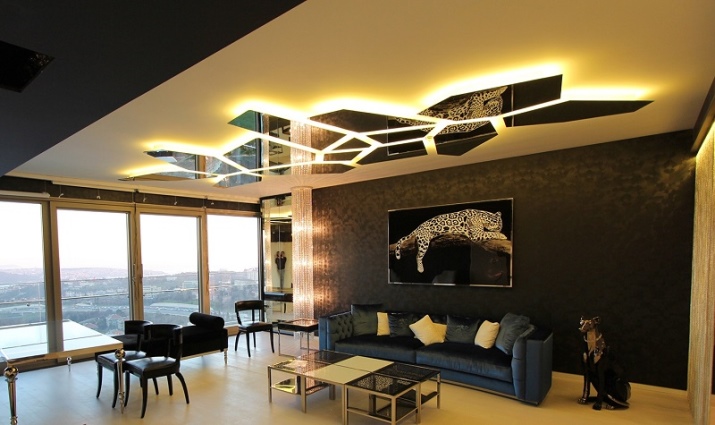
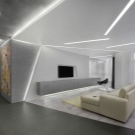
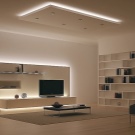
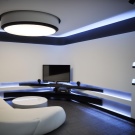
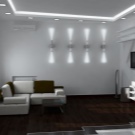
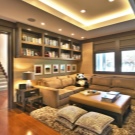
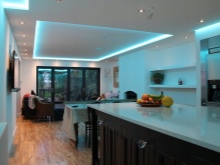
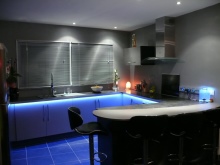
LED living room lighting
The living room, regardless of its size, requires good enough lighting. The living room should have a source of bright light (chandelier, ceiling or wall lamps). As a rule, such lighting is turned on during an evening reception or for other matters that require good lighting. For a cozy home atmosphere, the lighting provided by the LED strip will be enough. In order to make it convenient to use the tape, it is advisable to divide the living room into several zones.
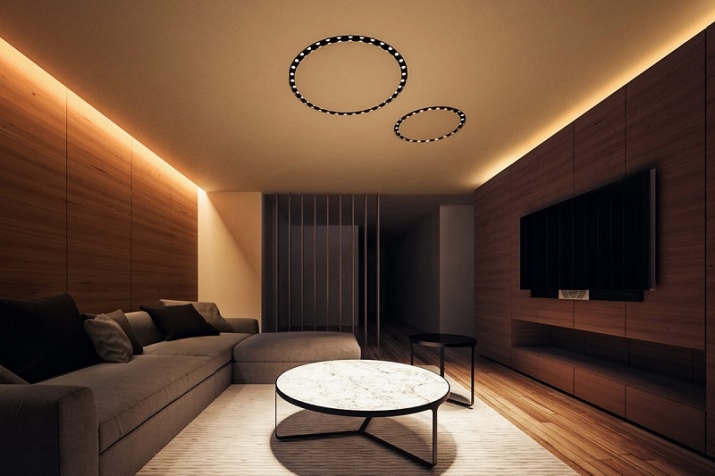
It is recommended to translate zoning into reality according to the following principle.
- Illumination of the area in which the TV and other equipment (home theater, etc.) are located. For an attractive appearance, the diode strip should be placed on the back of the TV, as close to the edges as possible. Thanks to this fixing principle, sufficient illumination is obtained.
- When there is an opportunity to equip an impromptu fireplace in the room, then it is possible to beat it with an LED strip. For this purpose, it is best to choose a backlight of yellow or orange warm hue.
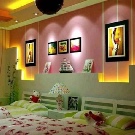
- If there are paintings in the living room or an area where photographs are placed, then you can beat them with an LED strip. The strips must be glued along the contour of the photographs.
- In principle, you can glue diodes on tape to almost any object, and furniture is no exception.

In general, the design depends on individual preferences. But the living room is exactly the place in the house where it is permissible to use bright lighting. You can buy and stick a tape that is controlled by a remote control.
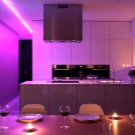
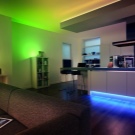
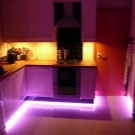
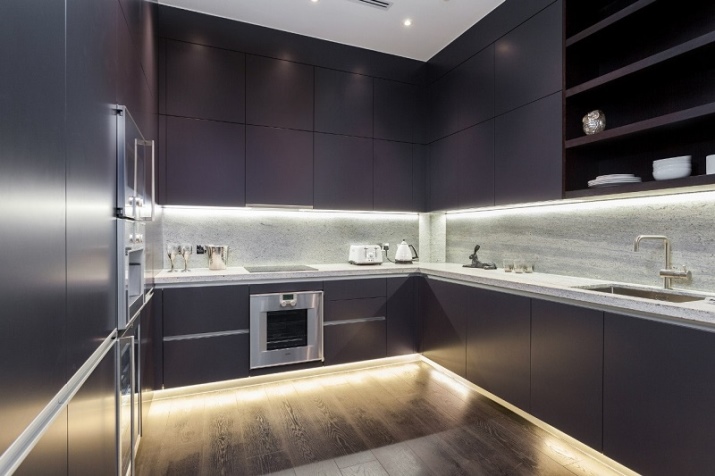
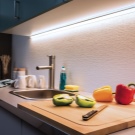
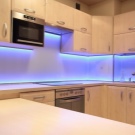
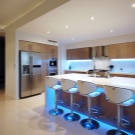
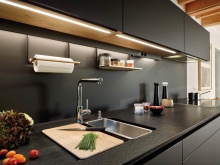
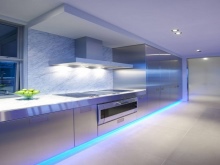
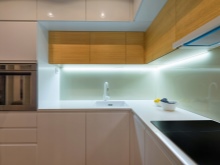
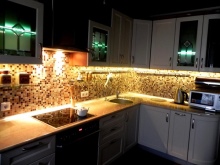
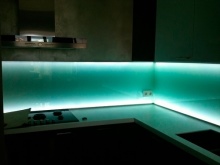
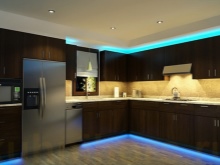
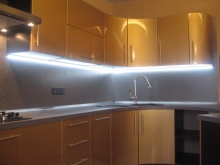
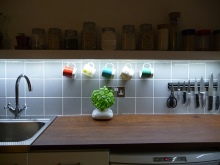
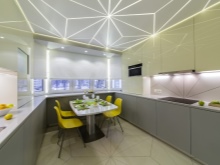
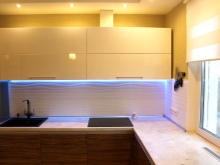
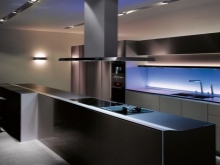
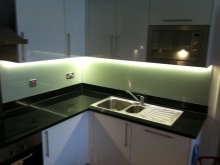
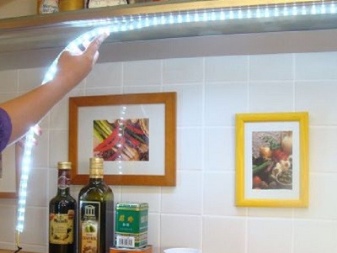
Using tapes in the kitchen
Nowadays, most modern kitchen interiors are difficult to imagine without additional lighting, which is organized using LED strip. And this is the right design decision, since, being in the kitchen, a person can partially block the luminous flux coming from the lamps from above. The LED strip creates additional illumination in the work area.
But in order for the lighting in the kitchen to bring significant benefits, it must be correctly placed and installed. All work on the selection and subsequent fixation of the tape can be divided into several stages.
At the initial stage, it is worth making the right choice of materials.


- LED strip for the kitchen should be bought one that has a fairly high light output index (about 90%). But since the tape will then be placed in an insulating matte layer, you can get by with a leaky option.
- You need to take care of purchasing a power supply. Its main task is to convert the current strength. So, with 220 volts using the power supply unit, you should get from 12 to 24 volts. If you miss this important point, then the tape will last a short period. The high voltage will overheat the product significantly and ultimately fail completely after a few days.

- Experts recommend additionally using a special infrared sensor, which allows you to turn the backlight on and off with a simple wave of your hand. But in this case, it is better to refuse push-button switches. Their use is deprecated.
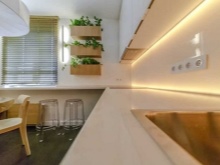
- Since the kitchen is traditionally considered the cleanest place, no dark corners should be made in it. Everything should be as open and light as possible. But first of all, this rule applies specifically to the working area. Here additional lighting is a necessary attribute almost at any time of the day.
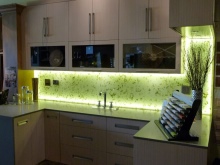
- For modern kitchen design, cold, but at the same time bright shades of additional illumination. However, for a kitchen made of natural wood, it is better to choose backlighting in warm colors.
There is one more important rule regarding the design of the work area in the kitchen. It consists in the fact that the illumination should be uniform.
Now it is important to decide where exactly to place the LED strip in the kitchen. So, there are many all kinds of options:
- the most popular place is the butt between the wall and the bottom of the kitchen cabinets;
- a good option is to highlight the table, as well as decorate chairs or sofas;
- you can put the lights on the ceiling or existing niches.
Wherever the backlight is placed, the most important thing is that it is useful.
Almost any idea can be translated into reality.
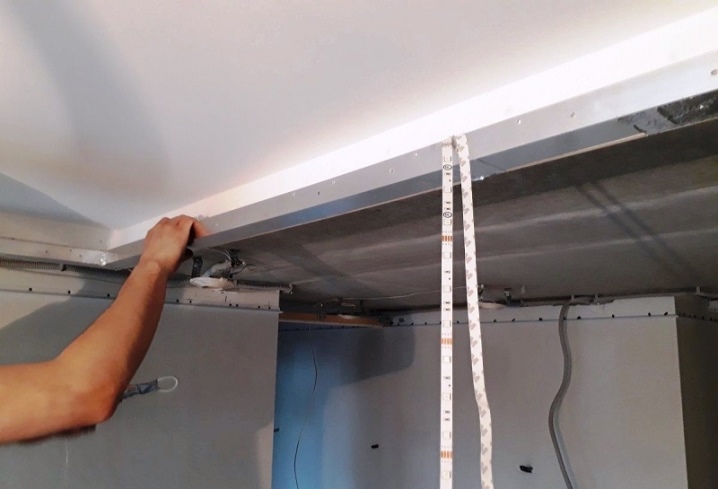
How to fix it correctly?
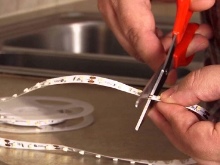
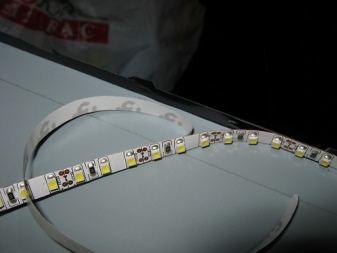
After the places for placing the LED strip are finally determined, you can proceed to the crucial moment - installation work. Typically, LED strips are sold in rolls that are 5 meters long. There are short soldered wires on the sides. Subsequently, they are closed with a special heat-shrinkable tube.
Before installing the LED strip, you need to arm yourself with a tape measure or a measuring tape and carefully measure those surfaces on which you want to glue the product. For accuracy, it is better to write down all measurements on paper. Next, you need to take scissors and separate the pieces of the required length from the 5-meter skein.
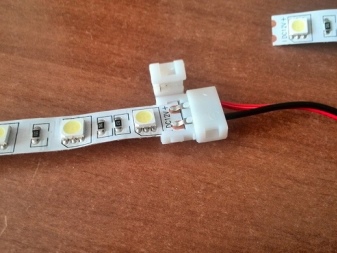
When the segments are ready, they must be connected to the so-called contact pads. Otherwise, the LED strip will simply not work. In order to significantly facilitate the process of connecting the diodes to the power supply, experts recommend using the simplest method - mechanical.
This requires an LED connector.

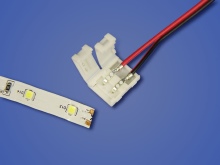
The connection process is quite simple. It is necessary to take the contact pads of the existing tape, attach them to the connector contacts and close the cover until it clicks. The only drawback of this connection method is the high cost of the connector.
If you do not want to spend a lot of money on installing the backlight, then it is better not to use the mechanical method using a connector. For those who want to save money, it is most rational to use the soldering method. At first glance, this method may seem quite complicated. But if a person has at least some experience in this matter, then soldering the contacts of the LED strip will not cause any particular difficulties. The most important thing is to comply with two important conditions:
- work must be done with a sufficiently heated soldering iron;
- the tool should have a narrow tip - no more than 2 mm.
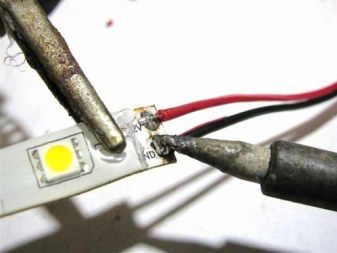
The number of contacts depends solely on the type of tape. So, a standard RGB device has 4 pins. For correct operation of the tape, a separate conductor must be soldered to each of them. It is also important to use a sufficient amount of solder during the soldering process. Beforehand, each wire must be tinned.
Since the voltage at the contacts of the LED strip is low (from 12 to 24 volts), it is not necessary to insulate the place of the pack. But for safety reasons and aesthetic appeal, it is better to wrap this place with insulating tape, and also put on a heat shrink tubing.At the final stage, it must be warmed up with a construction hairdryer or an ordinary lighter.
Before overhauling the backlight, you should carefully consider every detail. Otherwise, the entire system will have to be dismantled, and the diode tape after such actions may be unsuitable for re-fixing.
On the reverse side, a special glue is applied to the tape. The initially sticky side is protected with plastic wrap. Before fixing it must be peeled off. With any smooth surface, the grip will be excellent, but sticking on a rough surface can be problematic. In this case, experts offer two options for solving the problem.
- It is recommended to stick a strip of double-sided tape to the surface before attaching the tape. This is necessary in order to align the plane as much as possible.
- If you have extra funds, then you can purchase special metal strips. They are fixed on self-tapping screws. And you can install the backlit tape on them.
Such methods provide a secure fit. But self-tapping screws are not suitable for any surface, since they will spoil the appearance with the resulting holes.
If you plan to connect the LED strip to the power supply, then it is better not to place this device in the bedroom and children's room, since the noise generated will disturb the peace. It is more rational to take the power supply unit to a separate room.
With the correct connection, the backlight will become an indispensable accessory for more than one year.


The comment was sent successfully.