All About USB LED Strips

LED strips have long been included in our life as an element that allows you to decorate various places in the room. In addition to decorative, they also perform a lighting function, which significantly expands the possibility of using such a device. Particularly popular today is the USB diode strip, which works with LED diodes. Such a solution does not consume much power and can be powered even from a computer.... Let's try to figure out what features such a device has, where it is used and how to connect it correctly.
Peculiarities
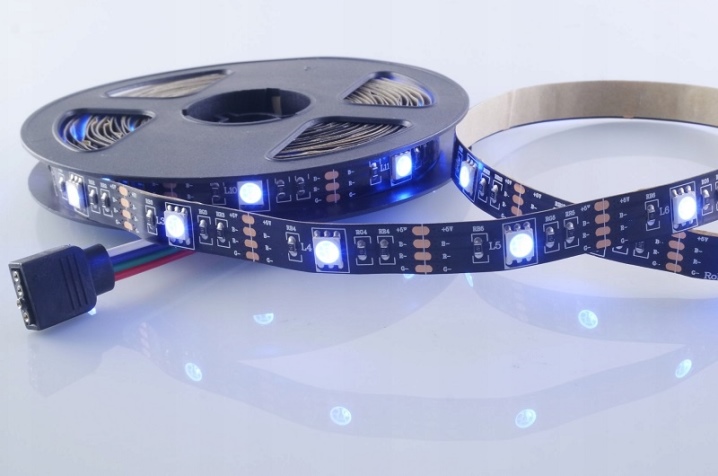
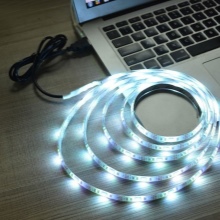
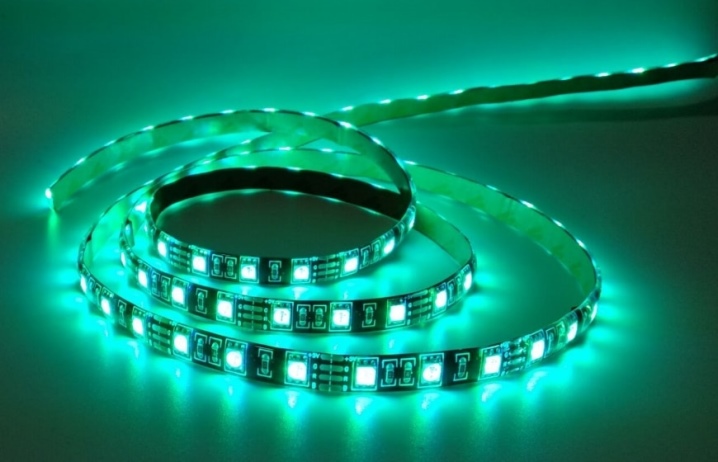
If we talk about what constitutes a USB-tape powered by LED technology, then this is a whole chain of low-current type LEDs, designed for power supply of 5 volts. Interestingly, most of the manufacturers of such devices are located in Southeast Asia. In our country, they are practically not produced.
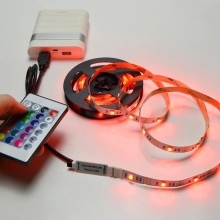
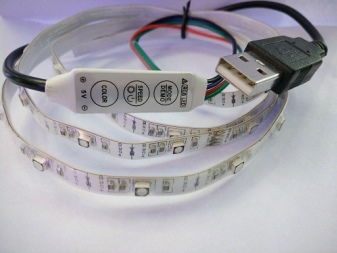
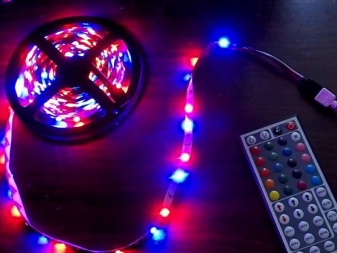
USB tape can be regular, single color, or multi-color RGB tape. But almost all models require a special control device called a controller for normal operation. If the tape is monochrome, then it emits only white light, which is also emitted by lighting-type LEDs. But multi-color solutions boast such shades as blue, red, green and yellow. But such backlighting is not bright, which is why it is difficult to use it as a source of full lighting.
But as a decorative element, it is a good solution.
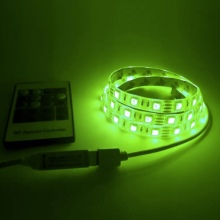
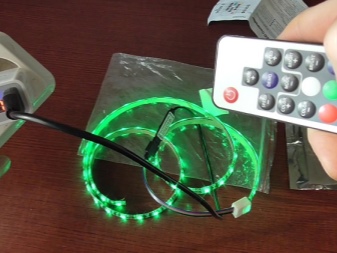
It should be added that it can work in various modes. For example, continuous or wave-like light, or the so-called 1 through 2. The operating mode will depend on the factory settings. In addition, garlands are now very common, changing their mode of operation every few minutes. But for this, as already mentioned, you will need to have a special controller. Often it is necessary to purchase it, and sometimes it already comes with the purchased USB-tape. In this case, all that remains is to connect it to the computer, and it will work.
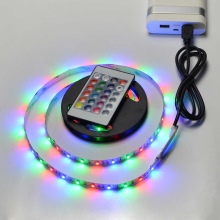
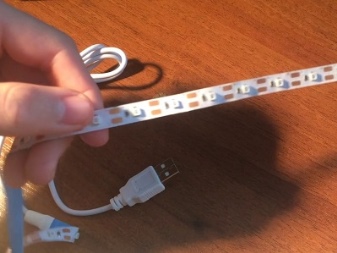
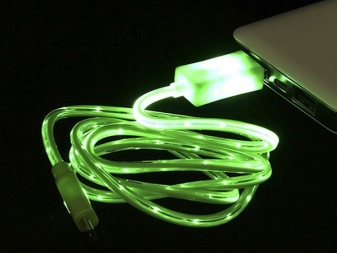
The three-color tape is somewhat more complicated in structure, because 3 categories of LEDs are mounted in it at once: blue, red and green. It is used in a large number of modern TVs, laptops and monitors, or more precisely, their matrices, operating on LED technology. And, of course, a feature of such a device will be a USB connector at one end.
This allows the device to be plugged into the appropriate jack.
Applications
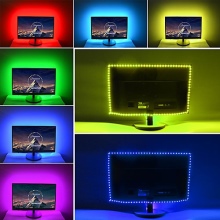
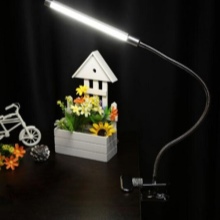
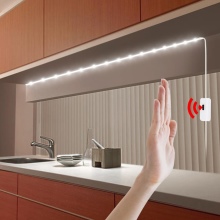
If we talk about the purpose of such a device, then first of all we are talking on the performance of a decorative function... There are often opinions that mounting an LED backlight on the back of a monitor would be a great solution to reduce eye fatigue. But in this case, all the same, the backlight performs only a decorative and ornamental function and nothing more. Users usually mount this USB powered fixture in different locations:
- monitor design;
- creation of table lamps, floor lamps or other types of lighting equipment;
- mounting on the edges of wall shelves or a table;
- decoration of a pull-out table for a mouse and keyboard;
- decoration of various items in the immediate vicinity of a laptop or PC;
- placement on the inner or outer surface of the system unit of a personal computer.

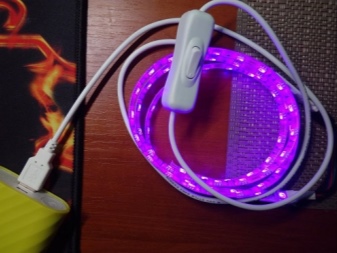
In principle, everything here is limited only by the imagination of a person, because you can find a lot of options for using such LED backlighting... Moreover, its placement is a process that cannot be called time consuming. By the way, such a device, often equipped with a remote control, does not load the computer's power supply at all. Another important advantage of such a device will be soft light that does not dazzle at all and, as it were, helps the eyes to relax somewhat.
And such illumination will definitely not interfere with other family members, even at night.


How to connect?
Now let's talk about how to connect such a device to a computer via a USB adapter or simply to the USB port that is on the computer. To get started, you need to have the following elements on hand:
- connecting wire - it is better if there are several of them;
- multimeter;
- LED strip;
- wire or separate USB plug for soldering;
- screwdriver and pliers;
- scissors or a knife, which will be used to remove the insulating layer;
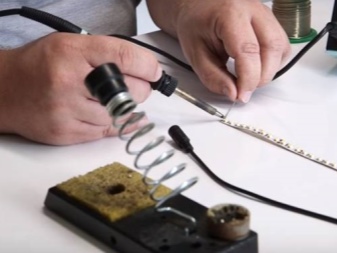
- soldering iron or soldering station;
- current-limiting resistor.
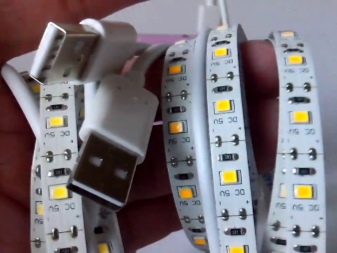
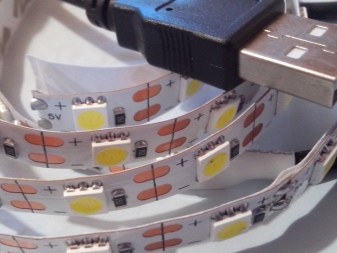
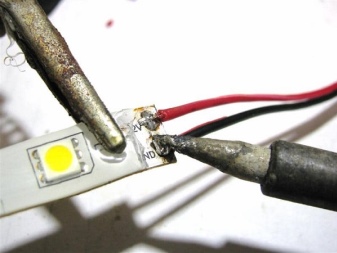
Now you need to make a USB pinout... Typically, modern computers and laptops are equipped with USB 2.0 ports. They use 4 cables, 2 of which transmit data and the other 2 are + and - 5 volts. In standard devices, the plus wire is usually red and the minus wire is black. The contacts in a simple flat-shaped socket are usually placed so that the data wires are located in the center, and the power wires are located at the edges.
It should be said that for different types of mini-USB sockets, the placement will be the same, and for USB type B, usually used to connect printers or various peripheral devices, the power will be located on pins 1 and 4, which are located on the right one above the other if the beveled edges are on top. To more accurately determine the plus and minus will make it possible to ring with a multimeter. When connecting, the location of the contacts should be taken into account, because you have to solder the plug, where everything is placed in mirror order.
Now let's talk about the connection itself. Its circuitry for ribbon to USB cable is quite simple: a current-limiting type resistor must be connected to +, to which the corresponding ribbon contact must be soldered. And the wire must be connected to the same pin on the socket. In this case, it will be very important not to reverse the polarity. In addition, it should be remembered that when soldering the plug, the contacts will be located in a mirrored position relative to the socket.
But here you first need to calculate the value of the above-mentioned current-limiting type resistor using the following formula:
R = (U pit-U led) / I led, where:
- U pit - supply voltage equal to 5 volts;
- U led - voltage reduction on the LED, which will depend on how long the emitted wave is;
- I led - LED current in operating mode.
When the rating is calculated, you can prepare the solder connector, as well as the wire, for work. If you use a ready-made USB cable, then one end should not be touched, because it will need to be connected to a laptop or computer socket, and the second should be cut to length and stripped of a pair of extreme contacts, namely the plus and minus, which are red and black, respectively ... A couple of other wires, through which information is transmitted, should be shortened and insulated to avoid the possibility of a short circuit forming.
If you plan to use a soldering plug, then you need to disassemble it, and then solder it to the extreme wired contacts. You can make it even easier and immediately solder a resistor to the contact of the plus plug, and solder the electrode of the connection wire to the minus contact. The plus is required to be connected to a free resistor contact after the plug is assembled.In addition, the design should be checked for possible closure of contacts with each other.
After all, they are located quite close to each other, and during soldering, you can inadvertently connect adjacent leads.
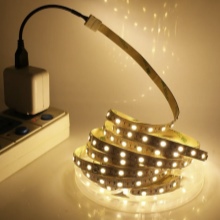
But if there is already a ready-made tape with a 5-volt power supply or a standard 12-volt tape with a converter, then everything will be even easier. Especially in the first option, because here you don't need any preparation for connection at all, except perhaps installing the tape on the previously selected plane. It only needs to be plugged into the USB connector and that's it.
The second case will be somewhat more complicated due to the fact that it is used less often.
Here it would be better to use a standard 12 volt power source, which will be connected to a regular 220 volt power supply.
Besides, There is another method for connecting an LED-type backlight to a personal computer. Its power supply unit produces stable 12 volts, but this voltage indicator is simply not supplied to USB connectors. However, no one bothers to find a free molex connector in the PC system unit and connect the tape to it. A yellow electrode suitable for the connector will be + 12V, and any black wire can be a minus.
This connection option is best implemented using a standard molex plug, to which, in the required order, the contacts of the LED strip will be connected by soldering.
Such a solution is suitable exclusively for the system unit, but for a laptop you can use one of the USB connectors and a special tape designed for 5 volts.


The comment was sent successfully.