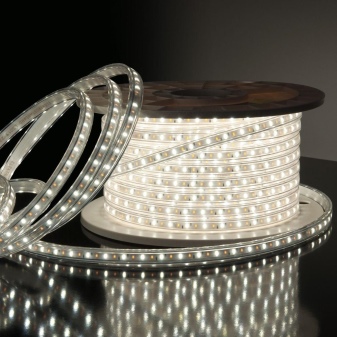
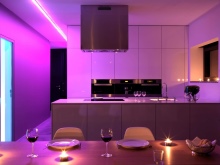
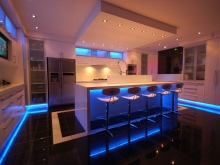
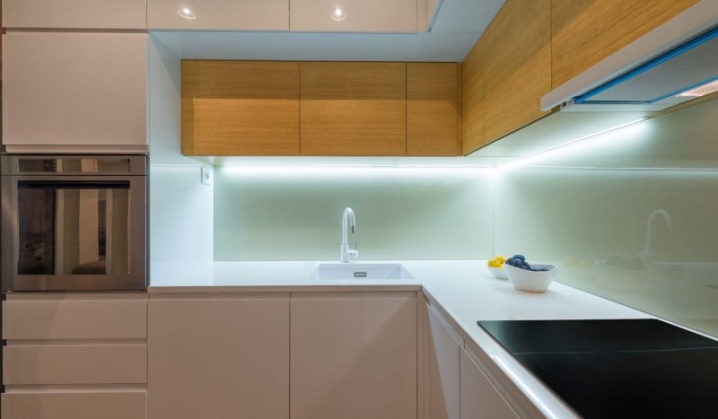
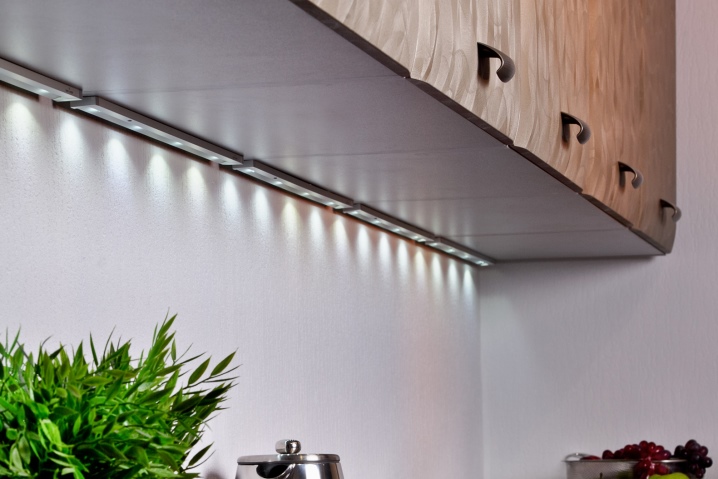
LED strips under cabinets in the kitchen
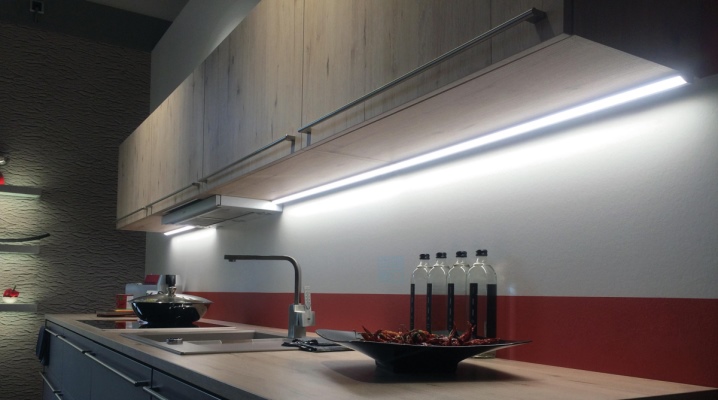
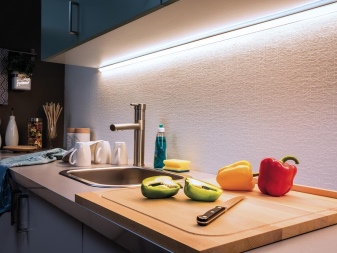
In the interior of the kitchen, the lighting under the cabinets looks very stylish and modern. In addition, the LED strip makes the room more comfortable and additionally illuminates the cooking area. The undoubted advantage of this solution is the ease of installation of flexible glow strips. Therefore, it is worth learning all their advantages and nuances of use.
Advantages and disadvantages
The advantages of LED strip include the following facts:
- fully illuminates the workspace;
- at the moment of switching on, it shines at full power;
- is used for a long time, regardless of the frequency of use;
- economical (low power consumption);
- installation does not depend on wiring;
- high quality lighting;
- silent operation without overheating.
The only noticeable disadvantage of Led lighting is its high cost, which is covered by a long service life and energy savings.
Views
An important characteristic of the LED strip for effective lighting in the kitchen is its resistance to water vapor. Insufficient protection of the LED enclosure of the device can lead to a short circuit with a high probability of fire. The degree of protection is determined by the two-digit marking.
The number is preceded by Latin letters - IP. The first number is an indicator of dust protection and resistance to mechanical damage.
The second shows the level of tightness. Both parameters are rated on a special scale ranging from 0 to 9.
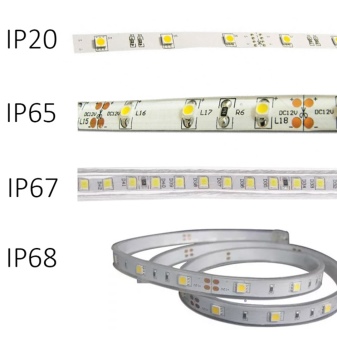
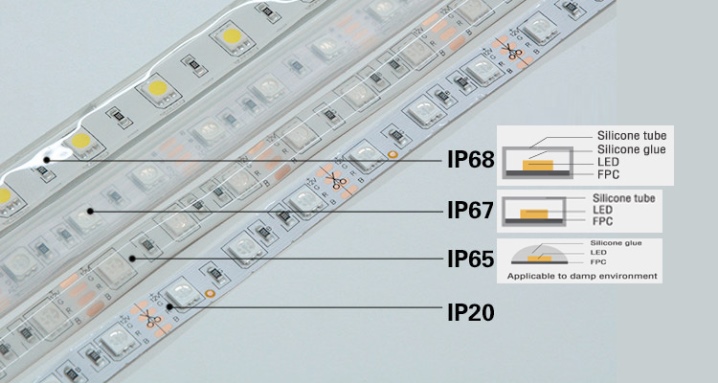
LED strips come with the following markings:
- IP20. The minimum level of security, prohibited for use in high humidity.
- IP33. Open conduit, not recommended for kitchen installations.
- IP65. Wire with one-way tightness on the side where the electronic components are located.
- IP67 and IP68. Fully sealed tape, ideal for lighting under kitchen cabinets, bathrooms and swimming pools. If the patch tape with LEDs has insufficient security, it is important to use special profiles that ensure security at the proper level.
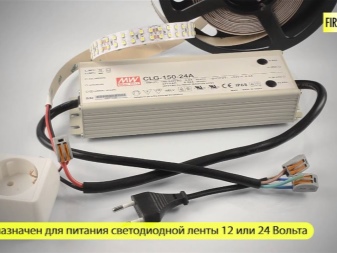
Power supplies
It is not possible to plug the LED strip into a regular household outlet! The device will instantly burn out, since it is designed to operate at a constant current of 24/12 V, obtained by converting pulses in the power supply.
Its power must be suitable for the aggregate power consumption of all strip lamps connected to it.
The pulse converter is selected with a margin of up to 20%.
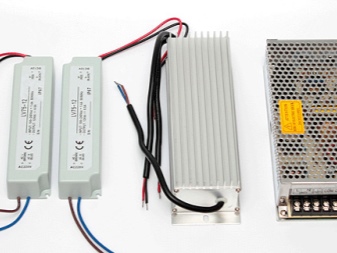
It may differ in design.
- Compact, in a waterproof plastic case.
- In a sealed aluminum case. A more expensive option, resistant to climatic influences. Often used for outdoor lighting.
- Open unit in a perforated casing. The most inexpensive, but also the most dimensional and requiring additional moisture protection.
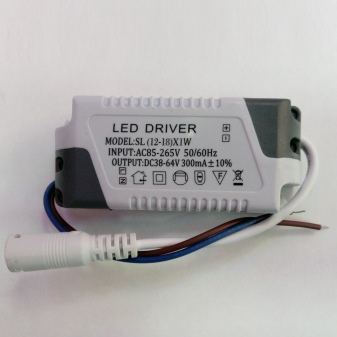
- Low-power AC adapter (up to 60 W). Multiple diode strips require individual power supplies.
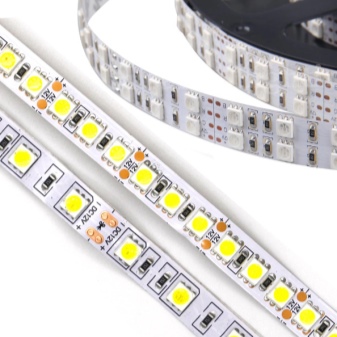
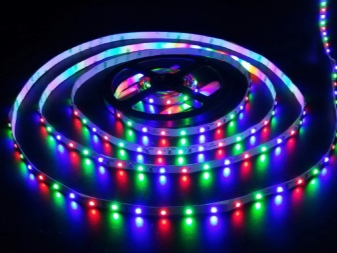
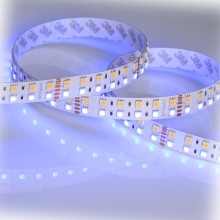
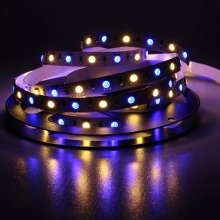
Color variety
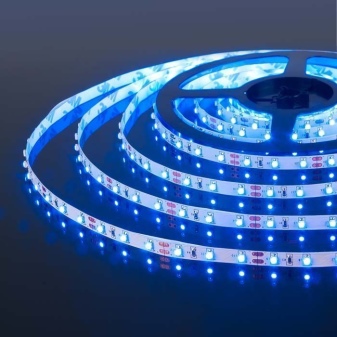
Monochrome diodes are characterized by a narrow emission spectrum, which must be taken into account when choosing a backlight. Based on this, the lighting under the cabinets, in addition to white and yellow, can be orange, red, green, blue and purple. In the color spectrum, products and objects are significantly distorted and look different than in natural light or under fluorescent lighting.
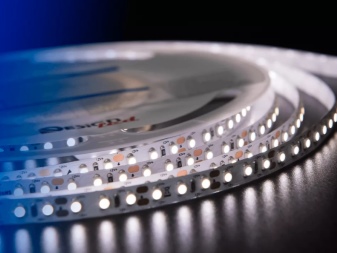
White monochrome LED is a semiconductor coated with a phosphor that emits ultraviolet light. In principle, it is similar to fluorescent lamps.
The shade can be selected from "warm" to "cold" glow, which is indicated by a certain glow temperature, expressed in Kelvin, like LED lamps.
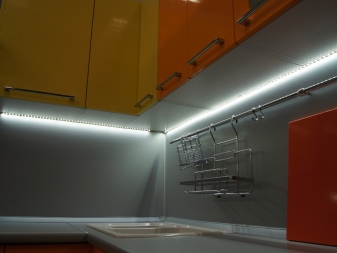
Typically, a printed circuit board with LEDs is printed on a white surface, but you can make a yellow, brown or even black base. Color options look more interesting on cabinets when installed open. To simplify the installation process, an adhesive strip is applied to the back of the tape.
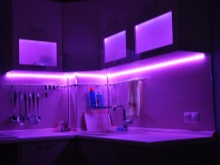
The color of the lighting is selected depending on what the LED backlight is for. If you plan to use it as a source of additional light, a white backlight is preferable. For design, color is more suitable.
How to choose?
Sometimes it is quite difficult to decide on the choice of LED strip for kitchen cabinets. Since the existing species have a certain similarity and are represented in a great variety. Lighting with LED bulbs differs in several ways:
- the number of crystals;
- type of glow: monochrome or full color;
- parameters (1.06x0.8 mm - 5.0x5.0 mm).
Before purchasing strips with LEDs, you have to decide on the desired type of lighting.
- It is good to use a tape with uniform brightness (5.0x5.0 mm) as an additional illumination.
- Single-chip equipment (3.5x2.8 mm) is suitable for decoration.
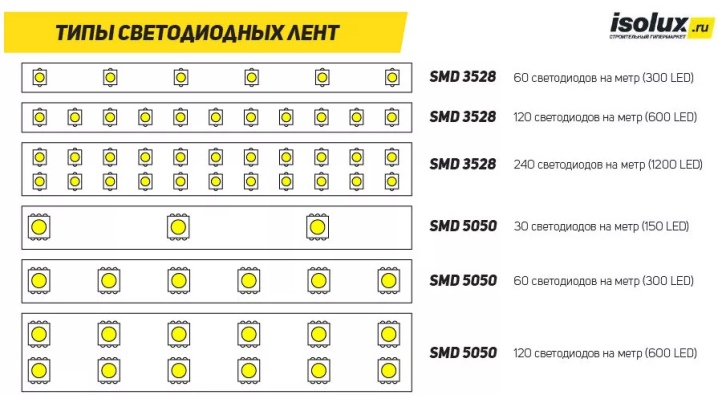
It is also worth taking into account one more point that classifies the tape - the number of LEDs per one running meter.
The quality of lighting and how much energy will be consumed depends on it. About 60 LEDs per 1 running meter will cope with the decorative task, and for good lighting, 2-3 times more diodes are needed, based on the same length.
Mounting
To make the lighting under the cabinets look aesthetically pleasing, you need to make a high-quality installation. Of course, the tape can be simply glued to the cabinets, but it will look artisanal and sloppy.
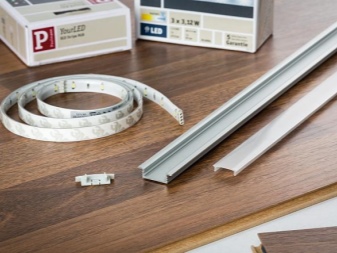
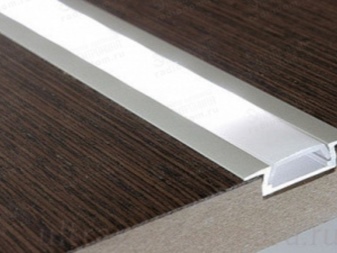
To make the lighting look pleasant, it is worth using aluminum profiles with a matte lid.
In addition, glass can be installed on the aluminum profile, which additionally protects the diode tape from contamination.

To organize LED strip lighting, the following manipulations have to be performed.
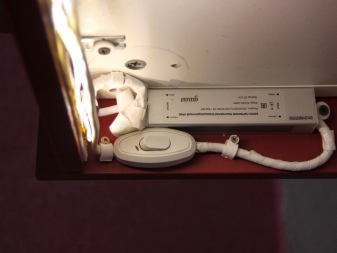
- Install the power supply. It is advisable to place it out of sight.
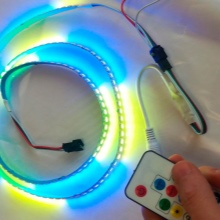
- Install the control module.
- Determine the area of attachment of the diode strips.
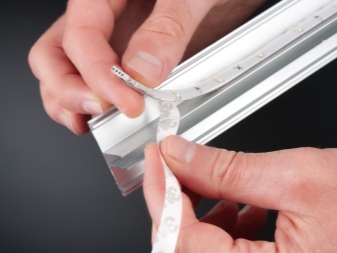
- Attach an aluminum profile. If the tape "shrinks" only on an adhesive base, it is recommended to first degrease the work surface.
- Cut a strip of the desired length from the tape and fix it in a metal profile or stick it on the plane of the furniture.
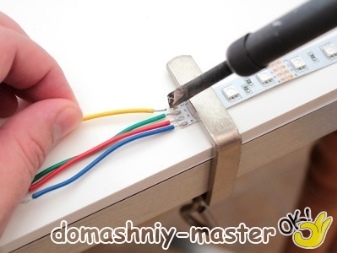
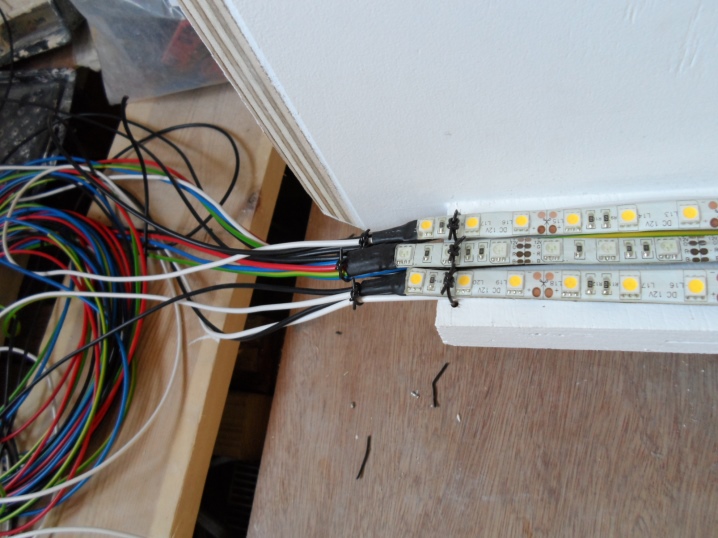
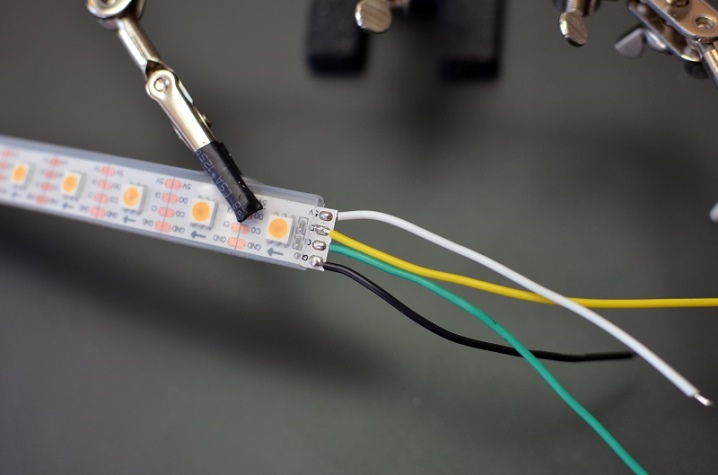
- The edge of the tape is soldered to the power supply. Or it is attached with special connectors.
- Check the functionality of the lighting system.
In general, it is not difficult to do the installation of LED strips with your own hands, it does not require special skills. Backlighting with LEDs will bring a certain "flavor" to any interior. It is important to think carefully about where and how to place it, choose the right lighting color for the backlight and enjoy the result.
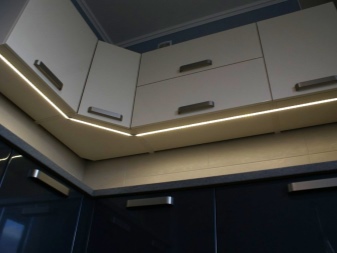
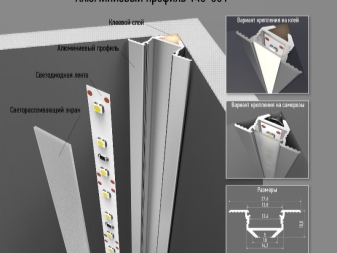
Profile
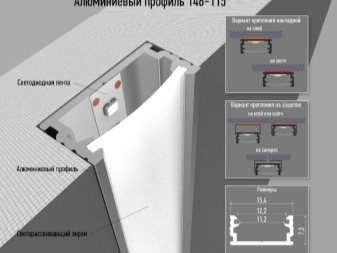
Narrow lighting strips can be mounted on the very edge of the bottom of the wall cabinets to prevent light from hitting the wall. A universal way of light distribution is to use profiles and protective light-scattering films. If desired, you can create the desired shape of the "spot" of illumination by the level of the profile sides. Without a profile, a tape strip with diodes quickly breaks down from overheating. It is also very convenient to attach a diffuser to the profile, contributing to uniform illumination of the entire tabletop and protecting it from splashes.
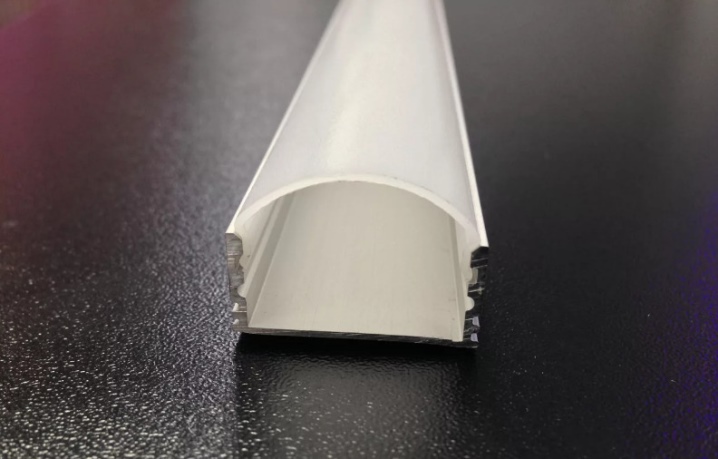
The LED strip is inserted into the aluminum profile. It can vary in form:
- overhead;
- overhead corner configuration;
- round;
- built-in.
If you wish, you can try to hide the lighting and the protruding profile in furniture cabinets. Although the built-in method is more expensive, beauty requires sacrifice.
The placement of the U-shaped profile is usually done as close as possible to the front side. The usual standard is 1/4 of the distance from the edge. The dimensions of the profile are selected taking into account the width of the LED strip. Such a profile is closed from above with a matte screen.
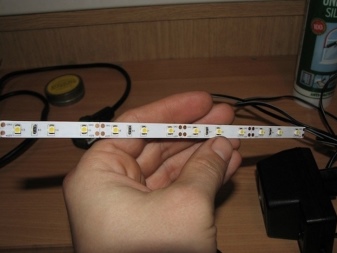
ribbon
For sufficient illumination from the diode strip, an optimally selected power density is required. It is characterized by the number of diodes located on one running meter.
Each tape of a different type has a certain number of LEDs. This is determined visually and when familiarizing with the characteristics of the product.
The numbers in the tape marking indicate the size of the LED:
- SMD-3528 - 3.5x2.8 mm;
- SMD-5050 - 5.0x5.0 mm.
It is recommended to choose models with a color rendering index of 90% or higher. Since in the future the tape will be placed in the protective profile under the frosted glass, you can also choose a leaky version. This will significantly save finances, given that it is very difficult to select good quality sealed options. After a year or two, they inevitably fade and become covered with a yellowish bloom, which significantly changes the type of the original glow.
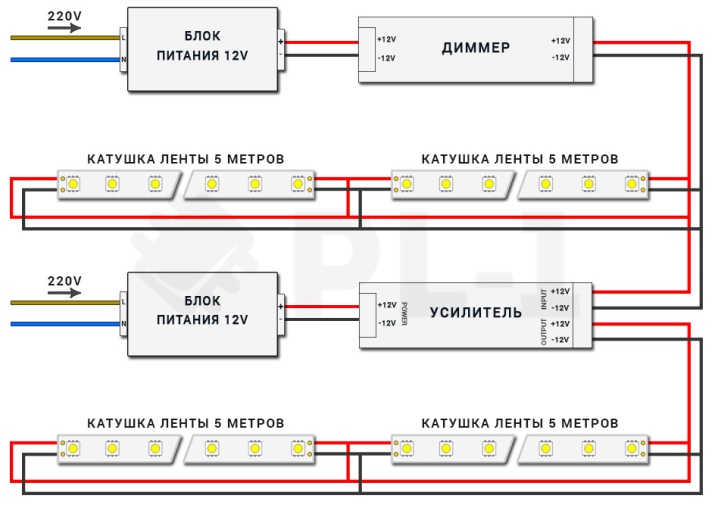
To avoid severe wear and tear, it is not recommended to connect LED strips in series. Moreover, this will entail uneven glow. To connect several flexible strips, you will need an amplifier that controls the uniform supply of energy to different parts of the electrical circuit.
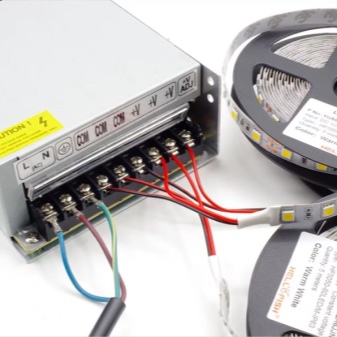
Wiring
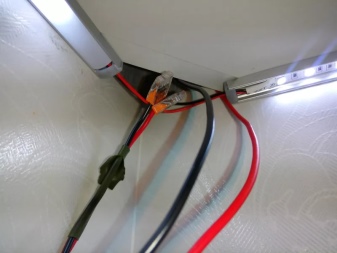
Better to use colored wires: red and black. In this case, it will be difficult to confuse plus and minus, and polarity plays one of the leading roles here. The length of the wires should be sufficient with some margin to the power supplies. The main problem and the real quest will be to think over how to lay and hide the wires.
There is usually a small gap between the wall and the kitchen unit. It is convenient to fill this space with a dangerous 220V wire from the outlet.
With low voltage wiring 12-24V, you can do the following: place it along the side walls in wall cabinets. In some cases, the wires can be hidden in the technological grooves for the shelf holders. And the simplest option is to close the wiring with a special cable channel. The narrow overlay looks neat, and sometimes not at all striking.

Power connection
If the diode strip illumination stops turning on or does not glow well, the reason for this is the following reasons:
- installation of low-quality components;
- mistakes were made during installation and connection.
Connecting LED backlighting requires compliance with certain rules:
- mandatory observance of polarity;
- twisting or excessive bending harms the tape;
- if necessary, it is allowed to cut and solder it at an angle;
- to reduce the current loss, it is recommended to use a cable with a thick section;
- for a powerful LED strip, installation in a special profile (box) is required;
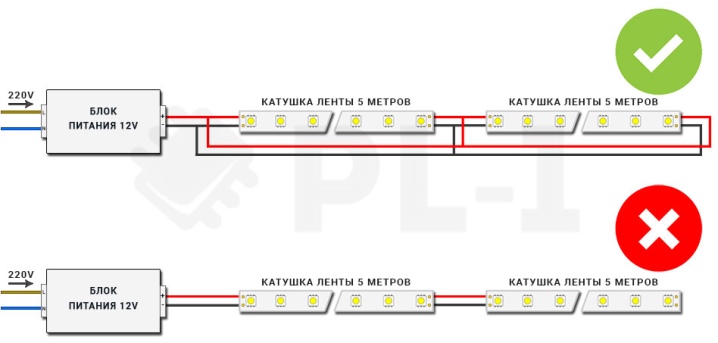
- if a 5-meter long strip is mounted, an exclusively parallel type of connection is used;
- in order to avoid overheating, it is advisable to position the power supply unit with good ventilation.
There are usually marks for separation on the LED strip. LED strip is sold in rolls of 5 meters. And many people wonder what will happen if you connect all 10, or even 15 meters altogether? It would seem that it is difficult to connect the end of the first tape and the beginning of the second. But it is forbidden to do this, since 5 meters is taken as the estimated length that the current-carrying paths can withstand. The increased limit of permissible load in a short time will disable the equipment.In addition, the glow of the diodes will be uneven - brighter at the beginning of the strip, and noticeably dimmer towards the end.
It is allowed to connect the tape from one or both sides.
Double-sided connection helps to reduce the load on the current paths and prevents the appearance of uneven glow over the entire plane of the tape. This is especially important when a high power tape is connected. According to experienced professionals, this is the most rational connection. The only drawback is the need for additional pulling of wires along the entire lighting.
Also, the pros recommend attaching the diode tape to the cavity of the aluminum profile, which serves as a heat sink. As the tape heats up, the rise in temperature has a negative effect on the performance of the LEDs. In the process of overheating, they fade and deteriorate over time. It turns out a tape that is designed to shine for 5-10 years while in profile. Without it, it will burn out in a year or even faster.
Therefore, the aluminum box is an indispensable component in the device of the strip lighting system. The only option when you can do without it is the installation of SMD 3528 tape. A low-power tape does not need a heat sink as much as a strip filled with silicone. Heat transfer from them occurs exclusively through the substrate, and this is critically small. If the tape is also glued to a plastic or wooden base, then the situation with the cooling of the diodes becomes critical. It would be wise to first of all take care of the safety during the operation of the entire system.


The comment was sent successfully.