LED strips "running fire"
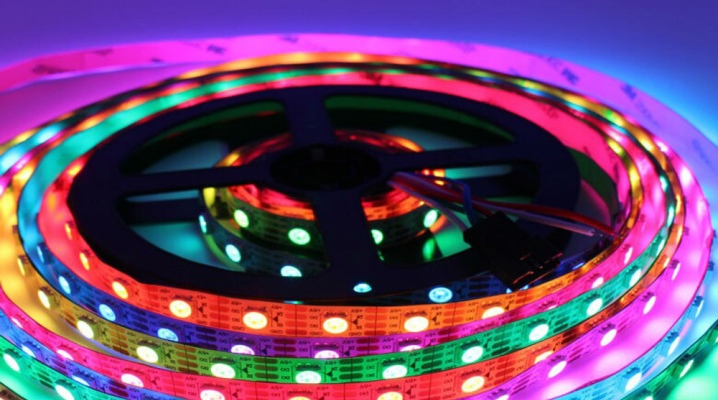
Recently, it has become very fashionable to find various design solutions using LED strips. They have many varieties, and one of them is the "running light" LED strip. It has gained popularity because it can be used to easily achieve unrivaled dynamic and lighting effects.
Peculiarities
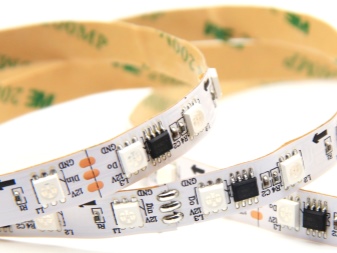
"Running fire", or, as it is also called, SPI addressable tape is a versatile device designed to create lighting effects in the interior. The peculiarity of such backlighting is that there is a unique opportunity to control each LED on the board separately. Due to this, the tape is sometimes also called "traveling wave".
It is noteworthy that the strip has different lengths depending on the dimensions of the surfaces to be treated.
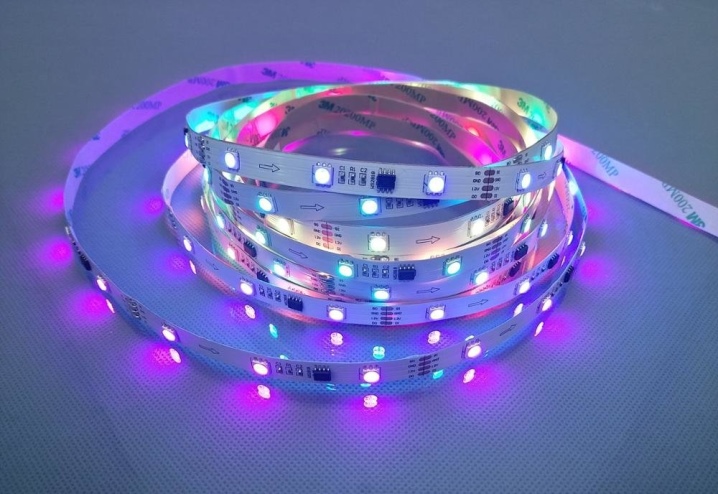
Besides, the color of the LEDs can also be customized to suit individual requirements. The brightness can be adjusted. You don't have to worry about how to fix the diode strip, since it is self-adhesive.
Principle of operation
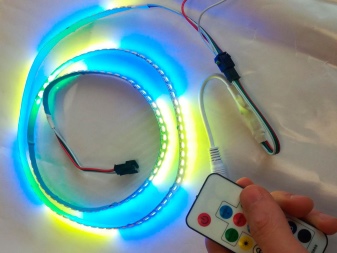
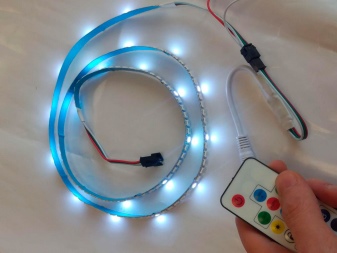
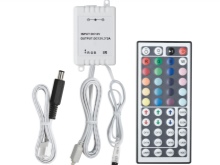
To understand in detail the principles of operation of the "running fire" tape, you need to understand how a conventional LED strip works. The diodes on a standard tape shine the same along its entire length. SPI tape is equipped with a special controller, with the participation of which the brightness and light intensity are controlled. The controller can be equipped with a remote control.
Diodes operating on the same circuit are called pixels. If the device has a voltage of 12 volts, then there are 3 diodes per pixel. But there are also tapes in which each diode has a separate control.

What is required?
You can try to make such an LED strip with your own hands, having some knowledge of physics. To make the tape, you need to prepare the following materials:
- strips of PCB (better if it is foil);
- LEDs with an operating voltage of up to 3 volts;
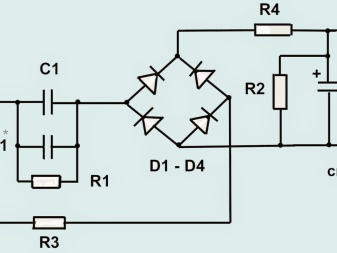
- resistors - special devices, the task of which is to limit the current flowing through the diodes;
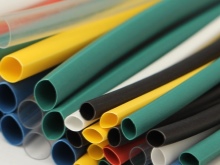
- heat shrink tube;
- wires (experts assure that you can use almost any section);
- Scotch;
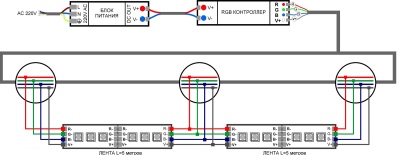
- RGB controller.
In addition to all of the above, it is necessary to prepare strips made from plastic bottles.
They are necessary in order for the diodes to change their color during the operation of the device.
From the tools you should prepare:
- drill;
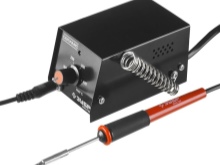
- soldering iron;
- scissors;
- screwdriver;
- construction hair dryer.
The latter can be replaced with an ordinary lighter, it will be required to heat the heat shrink tube.


Build options
At the initial stage of work, it is necessary to design the arrangement of diodes and resistors. The elements are required to be assembled in a serial circuit. And the required resistance can be easily calculated by following the well-known Ohm's law. Next, you need to decide what the LED strip will be. The simplest option is considered to be single-lane.
Single lane
The manufacture of even the simplest version of the LED strip is carried out in several stages:
- it is necessary to cut strips from the text sheet - these will be blanks;
- then you need to drill or make holes in them with an awl (since an RGB tape is made, the LEDs need to be alternated in color);
- it is necessary to insert the prepared parts into the holes according to the diagram;
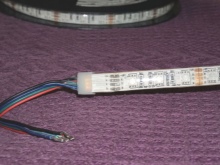
- then wires are soldered to provide electrical power;
- for an attractive appearance, the tape must be placed in a heat shrink tube.
The heat shrinkage needs to be warmed up with a construction hairdryer or a lighter; under the influence of temperature, it will narrow and adhere tightly to the product.
Two-way
If the plans are to make a two-lane product, then the principle of its manufacture will not be practically any different from the previous one. The peculiarity will be the parallel connection of the strips to the power supply.


The comment was sent successfully.