Repair and replacement of a bearing in a washing machine
The washing machine is one of the most wear-prone types of household appliances. Even well-known brands cannot guarantee the eternal operation of their product due to a number of inevitable technological problems arising from the simple operation of the unit, including in normal mode. What can we say about the use of this household appliance under stressful conditions: high washing temperature, washing heavily soiled items, washing large items or overloading the drum. As a result, in order to extend the life of the washing machine, even with a careful attitude, a number of units will sooner or later have to be replaced. This article will focus on replacing the drum bearings.
Causes of breakdowns
Failure of bearings in the drum of a washing machine is a breakdown that is not something extraordinary. Unfortunately, it is almost impossible to avoid it. The bearings are under load in any operating mode of the washing machine, and they somehow still fail sometime. As already mentioned, any washing machine breaks down over time, even the most famous and reliable brands.
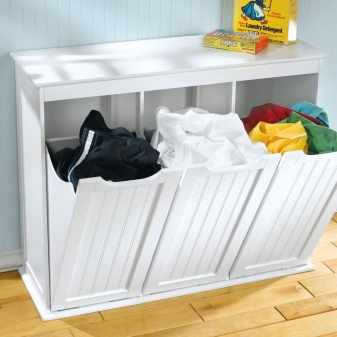
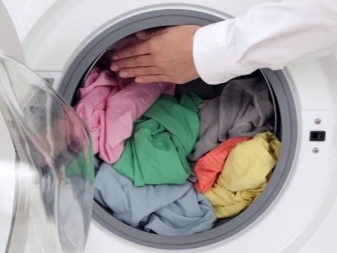
The user can only extend the life of his washing machine. It is clear that the machine will last longer if it is used less. Lonely and inactive users manage to reduce her work to two or three washes a week - this is achieved thanks to the accurate sorting of the laundry. However, in practice, especially in the conditions of large families with children, it is never possible to adhere to such a sparing schedule.
In the latter case, repairing the washing machine is just a matter of time. Some of the most vulnerable nodes will someday require replacement. One of them is bearings.
Malfunction symptoms
Sometimes it is not immediately possible to identify a malfunction of the bearing unit of the washing machine. Often, the user notices a problem when it becomes egregious.
Determining a possible bearing failure is actually not difficult. You just need to listen to the work of the washing machine. It often happens that a unit located, for example, in a bathroom, being loaded and running, works there in absolute solitude. The hostess at this time can be busy with other household chores or immerse herself in watching her favorite TV series. Actually, for this, the washing machine was invented. However, this home assistant remains a machine, and therefore, control over her condition is necessary.
The car is humming
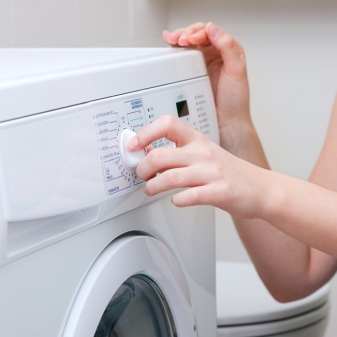
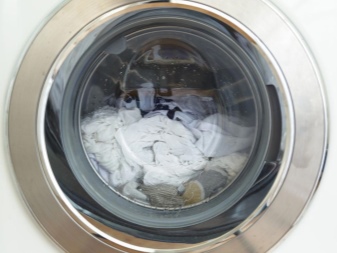
The first warning sign of bearing wear is an unusual sound generated by the washing machine. It can be especially pronounced when switching to the spin mode, when the engine speed becomes the highest. The typewriter can make noise suddenly, completely unexpectedly - it is important to immediately pay attention to this.
By itself, such a noise will not pass, the car will creak more and more clearly, when switching to other modes, the contacting metal parts will begin to rattle. Making noise, declaring that the bearing has broken, it will become more and more violent. It is important not to ignore this noise as the bearing has already begun to deteriorate.
If you wait until the bearing has completely collapsed, the drum can jam, and the machine will receive very serious damage to several critical components at once. True, the rubber sealing gland will collapse even earlier, and water will begin to flow into the bearing, and then water will begin to flow onto the floor. Leakage is very dangerous, a short circuit may occur in the electric motor.
Strong vibration
The vibration of the machine is gradually added to the noise when switching to another mode, for example, from rinsing to spinning. Excessive vibration at high rpm can cause the machine to move noticeably on a level floor.
If at this time you try to hold the device with your hand, you can feel noticeable shocks and impacts.

Spin does not work
The bearings are pressed in at the factory, and just like that, by themselves, parts of the destroyed assembly will not come out of the seat. The engine receives additional resistance from the worn unit, as a result of which, in the spin mode, where high speeds are provided, the machine may stop working. The unit must not be operated in this state.
Drum wobbles when loading
It is not always possible to recognize a malfunction immediately. To do this, you can check the drum play by shaking it horizontally. You can also notice backlash during loading - a drum with worn out bearings will swing very noticeably on the shock absorbers and springs.

Preparation of materials and tools
If it was possible to diagnose the wear of the bearing assembly, it is necessary to immediately begin preparing for its replacement. As a rule, it will not be possible to do this at home without preparation, since not all the necessary tools will be at hand. It is not worth starting the procedure for replacing bearings without proper preparation, this will not speed up the process at all.
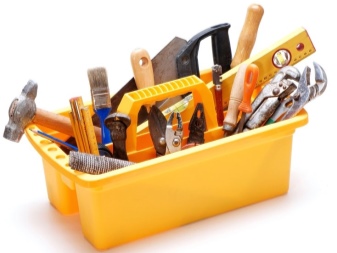
To work, you need to select all the necessary tools:
- pliers;
- wrenches (open-end and socket);
- hammer;
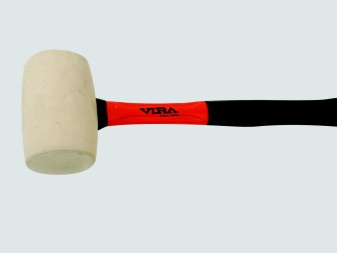
- rubber mallet;
- small diameter metal pin or chisel (about 0.5 cm);
- crosshead screwdriver;
- slotted screwdriver;
- screwdriver with replaceable tips.
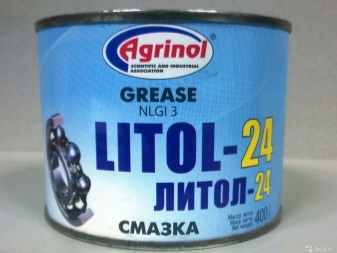
In addition to tools, a silicone sealant and a special bearing and oil seal grease should be prepared. In extreme cases, if it was not possible to get a special lubricant, you can use a thick lubricant "Litol". However, its efficiency is several times less, and gradually it will begin to let water through, which will inevitably lead to rapid wear of the newly supplied bearings. You may need WD-40 or similar to remove rust and dirt.
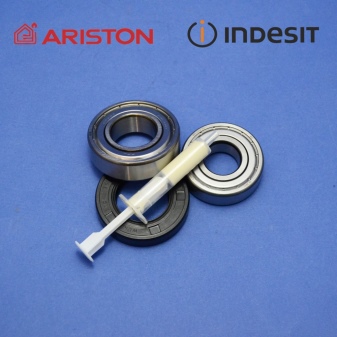
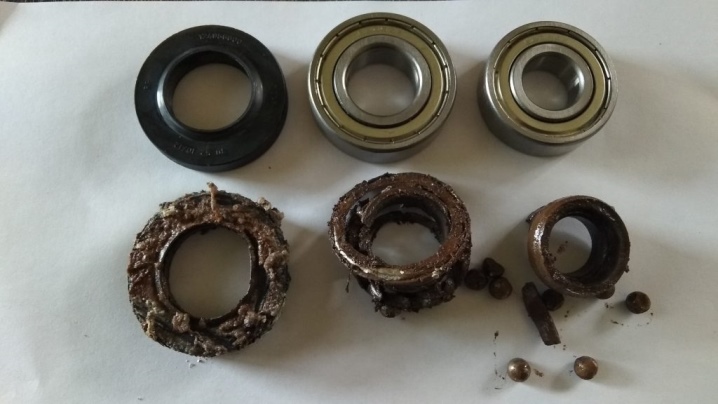
Well, of course, you must purchase appropriate replacement parts in advance... It is better to buy immediately a set consisting of large and small bearings and a rubber oil seal. To do this, it is not necessary to go to the store with old parts removed from the car, you can simply rewrite the marking indicating the model of your particular washing machine.
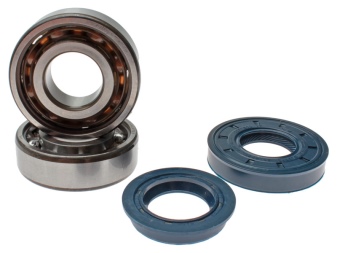
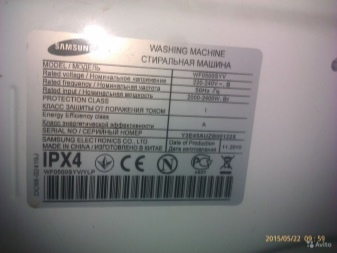
As a rule, the corresponding label can be found on the back of the device and find out the exact data.
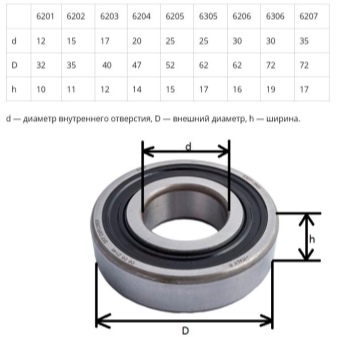
In specialized stores, they can pick up a bearing of the appropriate size, even from another model of the washing machine. It is not uncommon for different manufacturers to install these parts of the same type. The most important bearing characteristics are dimensions: inner diameter, outer diameter and width. These values can be determined using the number indicated on the bearing.
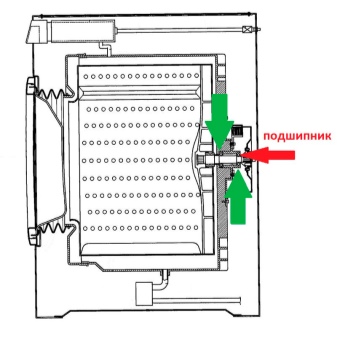
Where is?
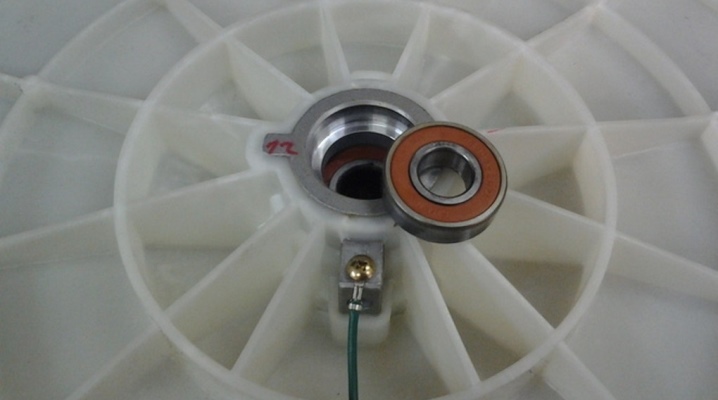
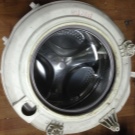
The top loading washing machine has bearings on the drum shaft. The stub shaft rotates on an axis between two bearings, large and small, which are seated side by side. At the same time, due to the fact that the center of gravity of the drum is constantly shifted forward from these two supports, the load on them, especially when the drum is fully loaded or when washing heavy items, increases many times. Access to the bearing assembly for such models of washing machines is rather difficult. To remove them, you have to disassemble almost the entire machine.
On a horizontal loading machine, two identical bearings are mounted on an axle at the edges of the drum.... This design assumes a significantly lower axle load. It is much easier to get to the bearings in this version - you just need to remove the side panels.

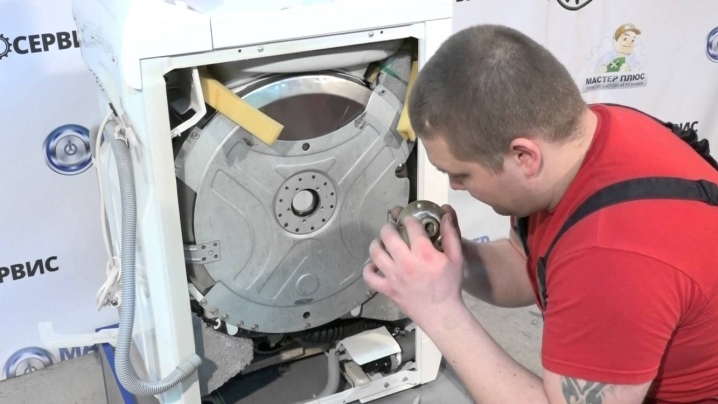
How do I remove a part?
To get the bearing out of the drum of the top-loading washing machine, you still need to get to it. This is not an easy task and requires some technical skills. Before embarking on this most difficult operation, you should adequately assess your capabilities, and if in doubt, it is still better to consult a specialist.
A simple listing of the preliminary stages clearly demonstrates the complexity of the upcoming procedure:
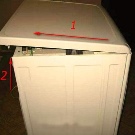
- remove the top panel;
- remove the control panel;
- remove the back panel;
- remove the loading door and front panel;
- remove the engine;
- remove the heating element with a thermostat;
- remove counterweights from the tank;
- release the tank from shock absorbers and springs;
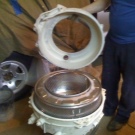
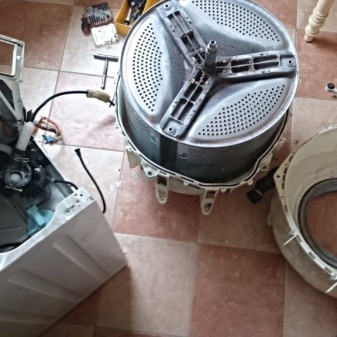
- remove the tank and remove the rubber cuff from it;
- divide the tank, if it is collapsible, or cut along the seam, if not collapsible;
- turn over the rear half of the tank, unscrew the bolt securing the drum shaft;
- remove the drum by gently tapping on the shaft, into which it is better to screw the mounting bolt in order not to damage the surface of the shaft;
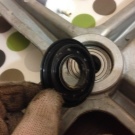
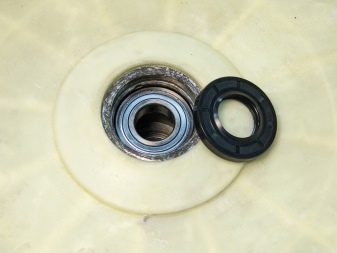
- remove the oil seal by prying it off with a screwdriver.
Each step will require a specific tool.
Before disconnecting the wires from the engine and heating element it is better not to rely on memory and to photograph or sketch their location.
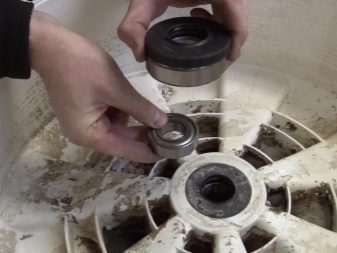
It is possible to start removing the bearings only with the drum removed. If there is a puller in stock, it is much easier to do this with it, but such a specific tool is usually not kept at home. If not, the bearings will have to be knocked out of the tank with a hammer and chisel.
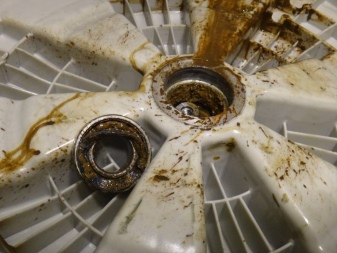
After dismantling, all surfaces must be carefully examined for wear.... If scratches are visible, it is better to replace the parts, since it will no longer be possible to fit the bearings tightly on them, and it will be impossible to avoid backlash. In addition, the worn surface will not allow even a new oil seal to perform its functions - to protect against leaks. Such repairs will not be effective and the bearings will soon have to be replaced again.
Replacement and repair
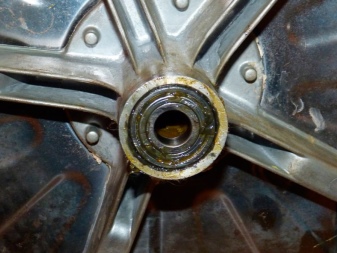
Self-extrusion of bearings is a technically simple operation. However, in reality, replacing a damaged bearing can be difficult due to rust deposits and various types of contaminants that partially hide the cage.
Experts recommend before starting to dismantle old bearings, thoroughly clean the surface of any contamination, using, among other things, special means for removing rust, for example, WD-40.
In order to independently dismantle the bearing block, the front part of the tank is installed on a non-rigid surface with a block upward, you can also place it on your knees. Some masters recommend the latter option as the safest.
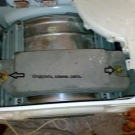
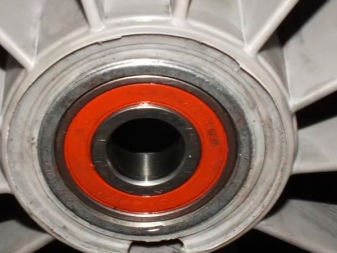
With light but accurate blows, gradually moving in a circle it is necessary to knock out the bearing with a chisel or blunt steel pin... First, the outer large bearing is removed, and then the inner one is the small one. It is important to strike the bearing hub without touching the edge of the seat to avoid rolling it up. When the old bearings have been removed, the seat must be treated with a rustproofing agent and wiped thoroughly to remove any contamination.
Installation of new parts is carried out in the reverse order.... First, it is necessary to put the inner small bearing, and then the outer one - the large one. Further assembly of the washing machine occurs in the same way - according to the reverse scheme.
At the same time, it is important to use sketches or photographs prepared during dismantling in order to avoid mistakes.
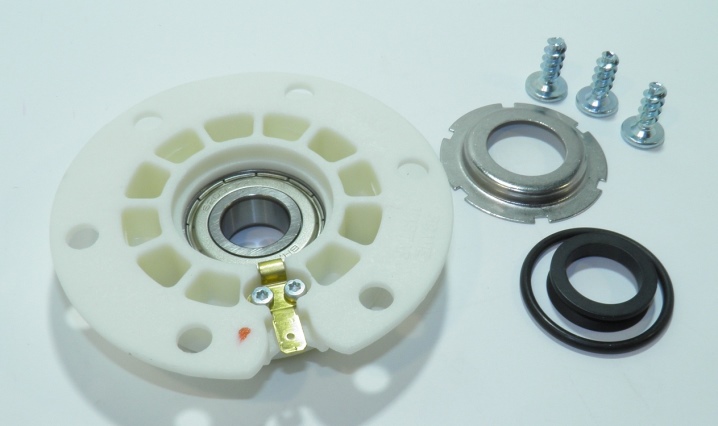
It is much easier to change the bearings of a top-loading washing machine. In such units, it is not necessary to remove the motor and other important parts. There is no need to prepare a large set of tools. New parts are purchased in duplicate, they are plastic blocks - calipers with a mounted bearing and an oil seal. It is important to remember that the right and left calipers are not interchangeable, and it is the kit that needs to be purchased. The bearing blocks are removed from the drum shafts using a screwdriver. The new calipers are installed in place and secured with screws. For this, again, a simple screwdriver is enough.
How to lubricate a bearing without disassembling?
Sometimes, when extraneous mild noises appear, it is enough to lubricate the bearings of the washing machine to eliminate them. Of course, this issue has its own subtleties.
The first lubricant that usually comes to mind for the user is thick grease "Litol". Experts unequivocally recommend refraining from using it. Although the effect will undoubtedly be noticeable, however, in the case of exposure to water, Litol loses its properties and can allow water to pass into the bearing, which will only accelerate its destruction.
For the lubrication of bearings and oil seal of washing machines, special agents with pronounced waterproof properties are recommended.
- Amplifon - a waterproof grease developed in Italy, is an excellent alternative to Litol.
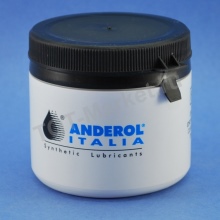
- The Indesit company releases the tool Anderollwhich has a water-repellent effect.
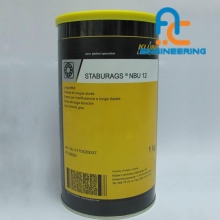
- Lubrication is no less effective Staburags NBU 12. One of its advantages can be considered high resistance to aggressive environments - in the case of a washing machine, these are solutions of detergents.
- Silicone Grease Silicon-Fett it is highly resistant to temperature extremes and has the highest water-repellent properties.

If you decide to lubricate the bearing assembly of the washing machine with your own hands, you must remember that different lubricants must be prepared for the bearings and the oil seal. You should also be ready for an almost complete disassembly of the washing machine; alas, it is impossible to get to the bearings in any other way.
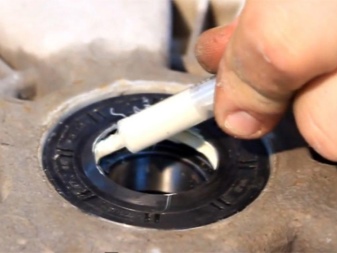
The only difference between a grease and a complete replacement may be that there is no need to knock out the bearings. It is necessary to lubricate by stuffing grease into all free areas - some of it will surely penetrate into the bearing. It is especially convenient to do this with a syringe.
But if the unit is practically disassembled anyway, experts recommend not to skimp and put a new set of bearings and replace the oil seal.
Useful Tips
To prolong the life of the washing machine bearings, follow the instructions.
Especially dangerous:
- overload the drum with bulky items;
- load items that will be difficult for the car to distribute evenly in the drum (sneakers, car seat covers, travel equipment, sports equipment);
- subject the unit to frequent operation at very high speeds when washing bulky items.

After replacing bearings with a new set and before operating the machine, the replaced parts must be thoroughly tested. To do this, it is a good idea to check the elementary swing of the shaft even before loading the laundry. If you still feel the backlash after replacing the bearings, you will have to disassemble the machine again. Incorrect installation or shaft wear may be the cause. You can no longer operate the car in this state.
If the problem can be corrected by installing the bearings correctly, the shaft will stop swinging. Otherwise, you will have to replace the drum with the shaft.
For information on how to replace a bearing in an LG washing machine, see the following video.


The comment was sent successfully.