How do I replace the bearing on Samsung washing machines?
Has your washing machine started to wash very loudly? Does she make uncharacteristic sounds and jump a lot? Apparently, it's time to replace the bearings. Every owner of an automatic machine faces this problem, the equipment from Samsung is no exception.

Breakage signs
When bearings break on a Samsung washing machine, a number of symptoms appear. According to them, you can determine the nature of the malfunction even without disassembling the "washing machine":
extraneous, uncharacteristic sounds, which are especially amplified when the spin is activated;
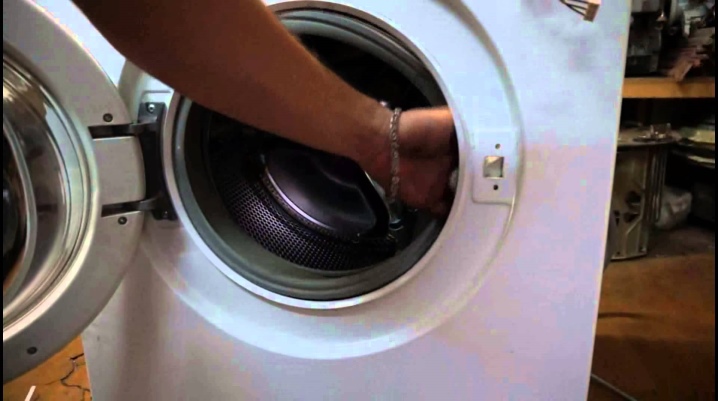
if you open the hatch and turn the drum manually, then crisp and rumbling sounds will appear;
the drum has a backlash, which is manifested when manually swinging this part in the vertical direction.
These manifestations cannot be ignored, since the consequences will be dire. There are several scenarios for the development of this situation:
destruction of bearing seats, which will require replacement of the entire tank;
destruction of the shaft and crosspiece, which will be difficult, expensive and time-consuming to replace, since these parts are difficult to find on sale.
Causes
There are two main reasons that contribute to bearing wear.
Normal wear and tear is typical for all washing machines.... It is impossible to avoid this process. On average, bearings last about 5-6 years. If a part is out of order after so many years of work, then the breakdown will be retrained into normal wear and tear.
The situation is different with premature failure.... There may be several reasons for this situation.
Oil seal wear arises from a violation of the tightness of the structure, as a result of which the parts come into contact with water, which washes out the grease. Their protective functions are reduced, which leads to the formation of corrosion phenomena on the bearings.
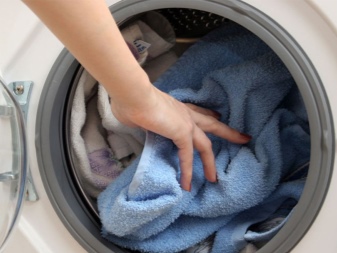
Violation of weight norms loaded laundry creates an increased load on the drum and bearings.
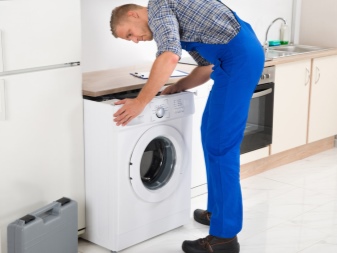
Incorrect installation of the machine in violation of the rules and regulations reduces the performance of all parts and shortens their service life.
How to choose bearings?
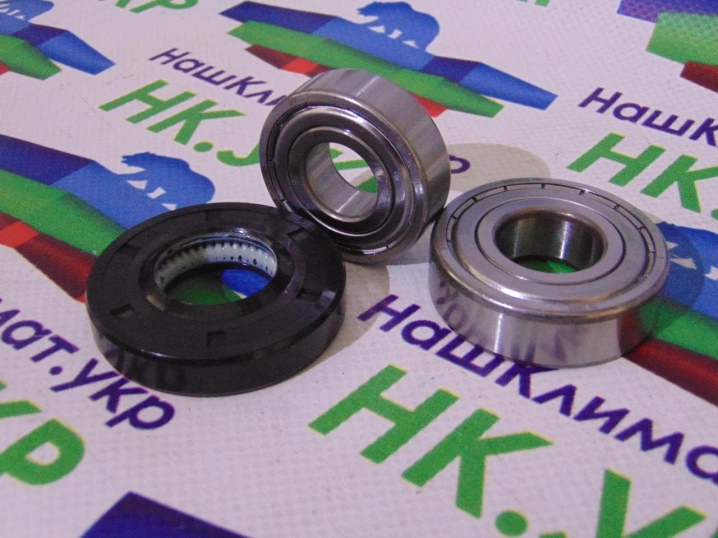
To replace a defective part, you first need to buy a new one. Bearings cannot be repaired, therefore they are changed. Also, oil seals are replaced and the lubricant is restored. All this is bought in a set, which is selected in accordance with the model of the washing machine.
For example, the WF0590NRW machine and the Diamond washing machine use completely different bearings.
You can find out the exact name of the model by the stickers that are located near the hatch and on the back of the washing machine. A repair kit is selected according to this marking. For these purposes, it is convenient to use special tables. If there is no information on the required model, then you can find information on the manufacturer's official website. When in doubt take old bearings as a good example. According to this model, the seller can easily pick up a repair kit that will fit exactly.
What tools are needed?
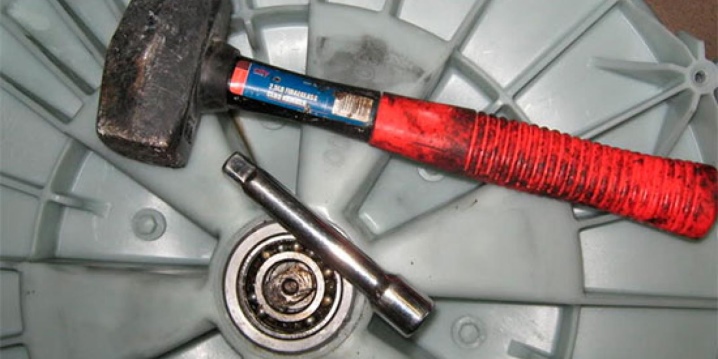
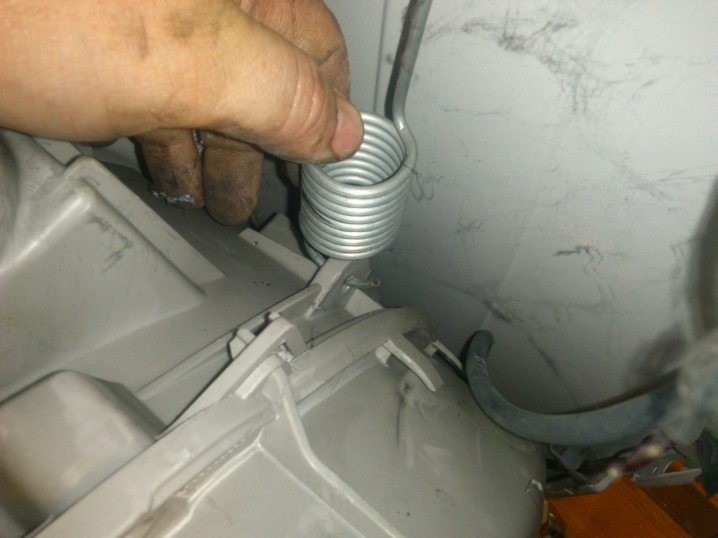
Do not rush to disassemble the machine. First, you should take care of the tool, without which the replacement of bearings will be impossible. This foresight will save time and facilitate future work. The list of required tools will look like this:
the hammer will come in handy when dismantling the drum;
keys and heads in the kit will help you quickly deal with various types of fasteners;
pliers will allow you to quickly disconnect the drain pipe, which is attached with a metal clamp;
a chisel that can be replaced with a metal pin;
slotted and Phillips screwdrivers are useful, since fasteners in washing machines are different;
a liquid level indicator is needed to check for internal leaks near the bearings;
one adjustable wrench replaces a set of wrenches, which is very convenient;
silicone-based sealant is necessary to restore the tightness of the seams;
WD-40 is an anti-corrosion grease with excellent penetrating and cleaning properties.

Replacement steps
So we came directly to the work of replacing faulty bearings. The work will be difficult, time-consuming, but doable. We stock up on patience and strictly follow the practical guide. Disassembling a washing machine involves a number of processes.
First you need remove the top cover... To do this, unscrew the screws.

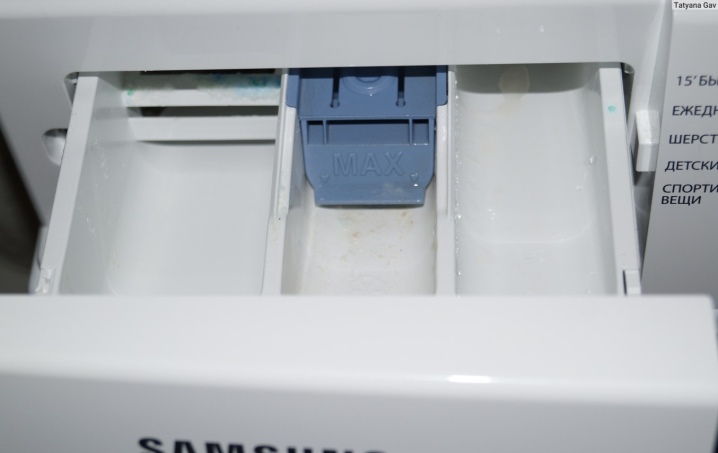
Now we need to deal with the powder receptacle. To pull it out completely, you must press a special lever.
No extra effort is needed here, as plastic parts can break.
There are self-tapping screws behind the powder receptacle, which must be unscrewed. On the reverse side there is still fastening - we also unscrew it.
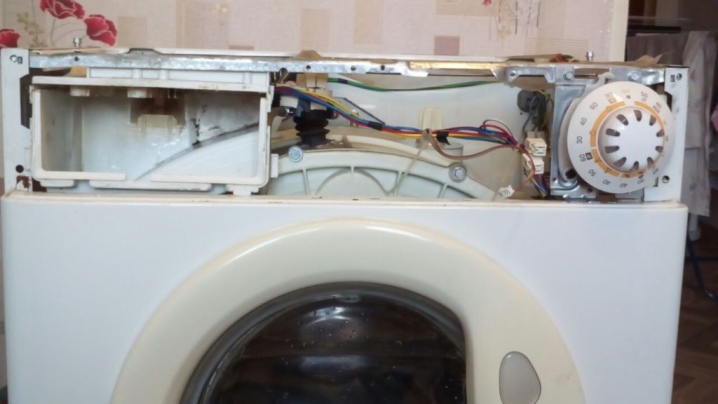
Pull the upper panel towards ourselves by the lower edge to release it from the upper latches. We turn the panel over without sudden movements. Wires are connected to it, which must be carefully disconnected. In some models, the wires are connected through special clamps. Now you can move the panel to the side.
The bottom panel also needs to be dismantled.... Latches are used to secure it. In this work, a slotted screwdriver comes in handy, which is convenient to push under the panel and pry it off. Such actions need to be done around the entire perimeter of the panel, which is removed for now to the side.
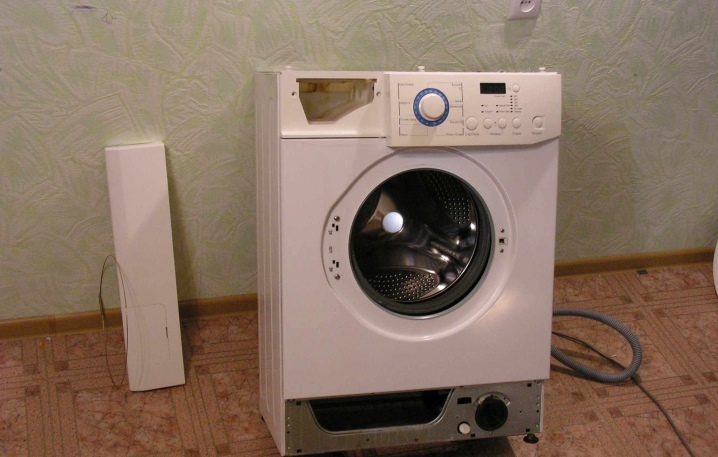
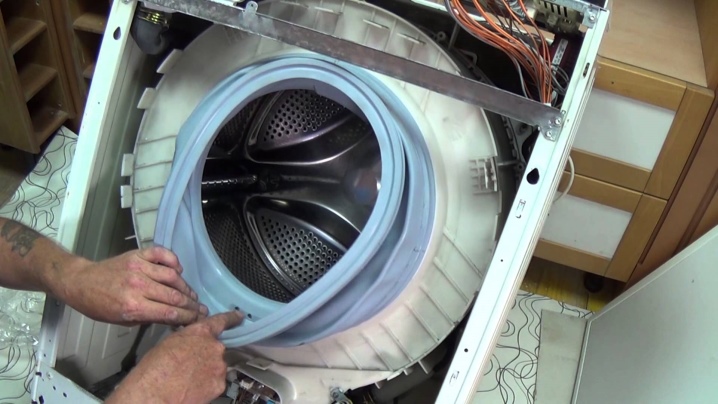
Dismantling the front panel - the largest on which the door is held, requires unscrewing the screws... You should not rush to remove this part, as a rubber cuff may be attached to it. If you bend the edge of the seal, you can see the tightening metal clamp. We are looking for a latch and open it with a screwdriver. The clamp can be dropped into the tank.
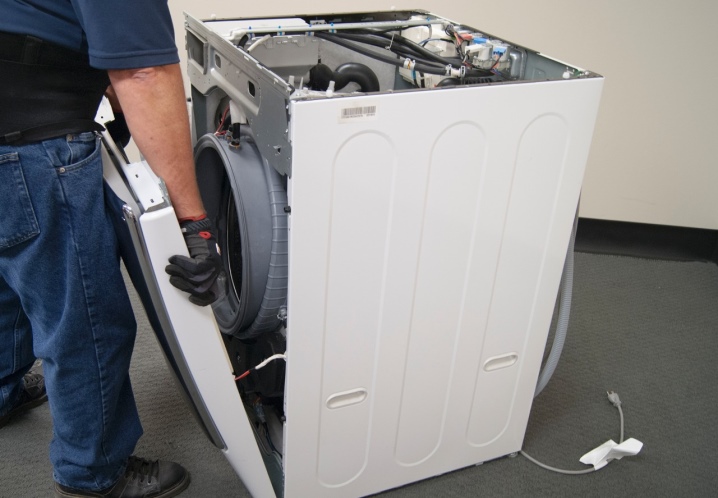
We tighten the seal, remove the panel from the hooks and turn it over, but do not pull on ourselves, since you can break the wires from the blocking lock. They need to be disconnected, which will completely free the panel and prepare for dismantling.
The powder receptacle must also be removed so that nothing interferes with further work. This part is dismantled together with the “washing machine” body and the water supply valve. And to remove the valve, you will need to disconnect the wires and unscrew the screws from the back of the machine.
Now we unscrew the fastening screws in front and carefully remove the part, not allowing the thread to cling to the edge of the hole.

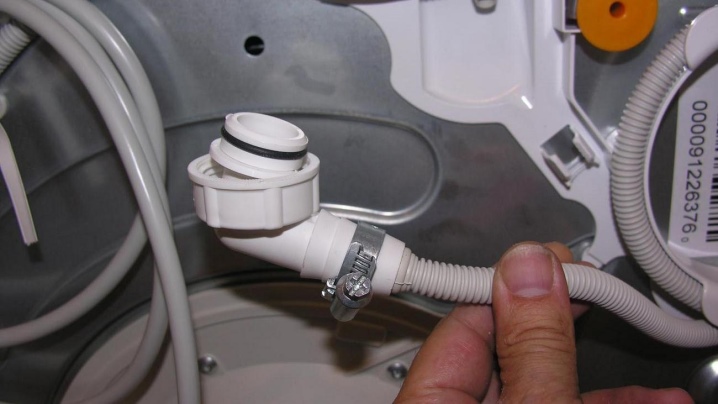
It remains to disconnect the pipes (sopun and filler) from the powder receiver. They are fixed with tight steel clamps. The ends of the clamps are squeezed to allow the tube to be pulled out. Pay attention to the wires that can be tied to a part of the case with a plastic tie.
We disconnect from the tank all parts that may interfere with dismantling. These elements will be:
- wires from the heating element;
- temperature sensor;
- a branch pipe from a pressure switch;
- drain pipe;
- shock absorbers;
- wires for powering the motor.
It is advisable to dismantle these parts in the sequence described above. In some models of "washing machines" there may be a tie between the parts, therefore, if tension occurs, you will need to carefully check everything and carefully unscrew it. The tank is already free and ready to be removed. But because of the loads, its weight is impressive.You can unscrew the weights, which will greatly facilitate the process of removing the tank from the "washing machine". Raise the tank, remove the springs from the holes and pull it out of the body.
Disassembling the tank and dismantling the bearing
When the tank is removed from the washing machine, you can disassemble it.
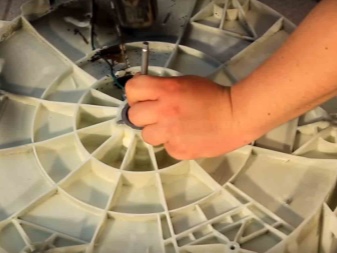
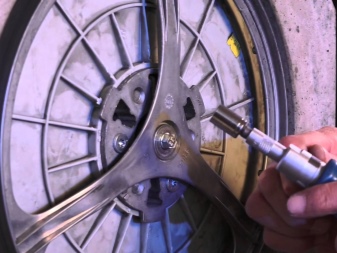
Dismantling the pulley is a difficult task, since the bolt is additionally attached to the glue. We insert the pliers with two handles between the pulley and the stiffeners, which will prevent the shaft from scrolling. We hold the tank with our feet, pliers with one hand, and with the other we move the bolt that secures the pulley.
Unscrew the screws, which pull together the two parts of the tank, but we are in no hurry to separate them. We tighten the bolt and hit it with a hammer through a piece of wood. It is necessary to achieve a shift of at least 1 cm.
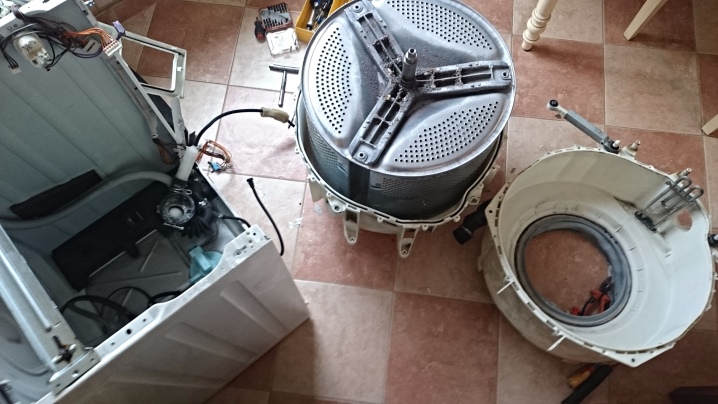
Disconnect the tank and knock out the shaft. As the pulley moves, unscrew the bolt.
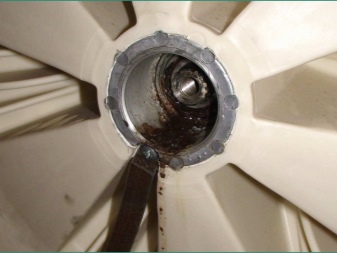
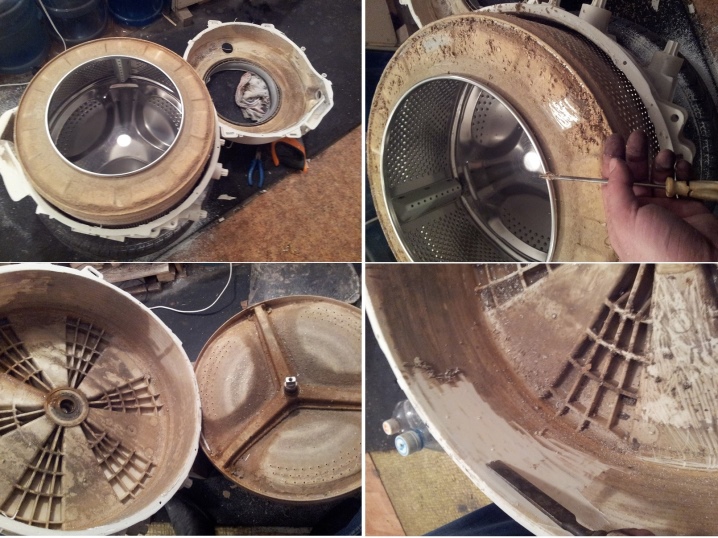
When the drum turned out to be pulled out, it is necessary to examine the condition of the shaft, crosspiece and seats. In most cases, the inside is covered with dirt and soft limescale. We remove all dirt, remove the oil seal using a slotted screwdriver.
We put semicircular counterweights under the half of the tank with bearings. Using a hammer and a punch or chisel, we knock out the outer bearing. To avoid skewing of the bearing, it is necessary to make uniform blows.
The same way choose the inner bearing.
We clean and wash the freed inner surface... We remove the gasket from the joint of the tank halves, also clean the groove and wash out the rubber band.
Installation and assembly
Most of the work is already over, little is left to do.
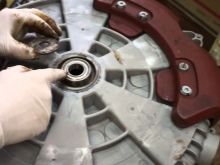
The outer bearing is installed first, and then the inner bearing. The drift should move as evenly as possible in a circle. You can also select opposite sides.
The inside needs to be lubricated, it is worth using only a special composition for automatic washing machines.
The drum and shaft are replaced in the same place... Usually this stage is easy and does not cause difficulties. We put the pulley and tighten the bolt, as a result of which the drum will fall into place.
We connect the halves of the tank, not forgetting about the elastic band. Additionally, you can apply silicone, sanitary sealant, which can withstand over 100 degrees. The sealant must be allowed to dry.
It remains to assemble the "washing machine" in reverse order and check its performance in different modes. Particular attention should be paid to leaks, which, although rare, still occur.
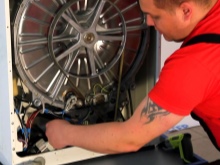
In this way, you can independently change the bearing on Samsung washing machines with your own hands. It is not easy, but quite realistic for anyone who knows how to handle tools.
How to replace the bearing on Samsung washing machines, see below.


The comment was sent successfully.