DIY ATLANT washing machine repair

ATLANT washing machines have proven themselves well throughout the entire post-Soviet space. The equipment of this manufacturer is famous for its reliability and durability, but even the most reliable products someday have breakdowns. In this article, we will analyze how to repair an ATLANT washing machine with your own hands.
Design features of ATLANT washing machines
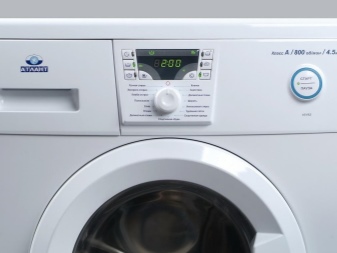
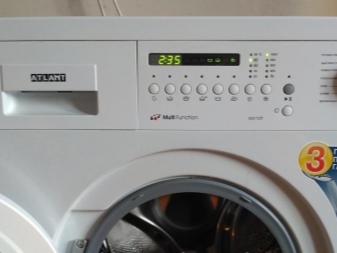
Modern ATLANT washing units are equipped with 2 types of displays, namely segment or LCD options. The simplest segment display is equipped with the following models of washing devices:
- CMA 35M102;
- CMA 45H82;
- SMA 45U102;
- CMA 50C82;
- СМА 50С102.
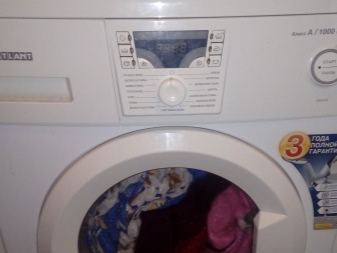
Such a functional element has several notification modes. Alternately, it can show the level of water heating, the speed of rotation of the drum during spinning, the time until the end of the wash and the operation being performed at the moment. Additional washing parameters are regulated by buttons with indication, they are also displayed on the screen... Washing devices of the described manufacturer with a segment screen have a difference in the speed of the drum when wringing out the laundry, which is 800-1000 rpm.
The depth of the body can be 328, 400, 493 mm and the maximum weight load is 3.5, 4.5, 5 kg.

The LCD monitor is equipped with 2 models:
- SMA 45U124;
- CMA 50S124.
This screen displays all the necessary information, namely:
- water temperature;
- the number of revolutions during spinning;
- work of additional parameters;
- time until the end of the wash;
- operating mode at the moment.
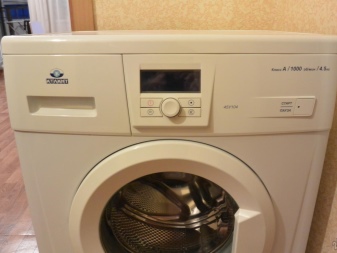
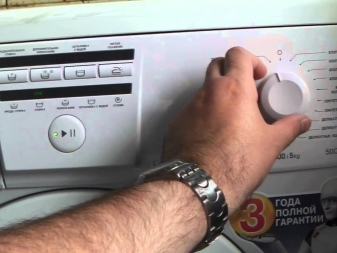
In the settings, you can select one of the languages presented (Russian, English, German or Ukrainian). The required washing parameters are set using the rotary knob. Next to it there are buttons used to turn the machine on and off, save the set parameters or change existing settings. One of the useful additions to machines with an LCD monitor is the presence of a water inlet hose leak-proof. If water leaks out, the wash stops. For residents of apartment buildings, this is a necessary addition.
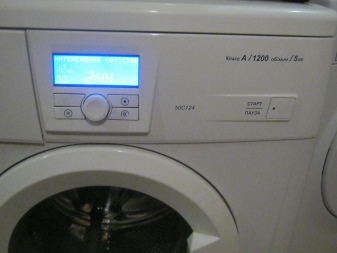
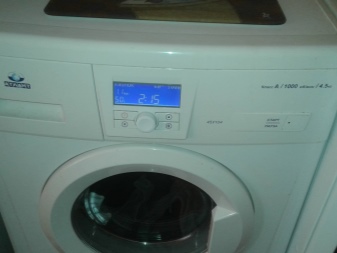
Models with an LCD monitor have a faster drum speed during spinning, the tachometer is set to 1200 rpm. The depth of the machine reaches 400 and 493 mm. Therewith, the maximum load of linen is 4.5 and 5 kg. In the device of the described washing machines, developments are used that make it possible to achieve the maximum possible results from washing and spinning. The electrical equipment of the ATLANT company is capable of operating without interruptions during voltage surges in the range from 170 to 255 V.
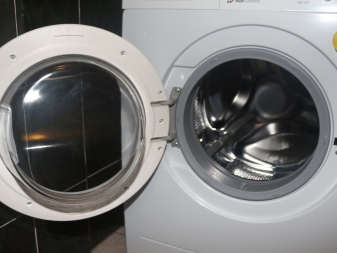
For the convenience of loading laundry, the engineers have provided a loop design with the ability to open the door 180 degrees, in this case it does not interfere with loading bulky items into the machine.
Causes of breakdowns
No matter how reliable and durable the technology is, it still does not last forever, it has its own service life, which depends not only on the margin of safety laid down by the manufacturer, but also on the operating conditions of this product. Consider the most common breakdowns and their causes.
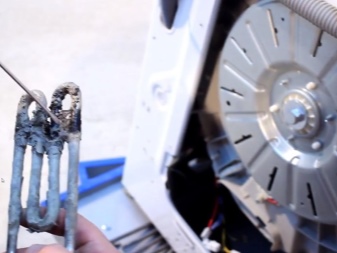
Burnout of heating elements
This is most often due to the formation of a thick layer of scale. To prevent such a problem you can install a filtration system that will reduce the hardness of the water, thereby minimizing the formation of scale.
Failure of the temperature controller
The second reason for such a malfunction will be the failure of the temperature controller. The task of this sensor is to monitor the water temperature and turn on and off the heating element in time, and if it is faulty. There is no command to shutdown, in this case the heating element overheats. No one is insured against such a breakdown, it will not be possible to completely avoid it, you can only minimize the likelihood of its occurrence. It is enough for this when washing set the average temperature or slightly below average. Thus, even if the sensor fails, the heating element will not burn out.
Mains voltage
Still, such a breakdown can occur due to the voltage in the network below the critical mark set by the manufacturer. With a decrease in voltage, the current strength increases, which leads to a burnout of the core in the power element. The solution to this problem would be installation of a voltage stabilizer.
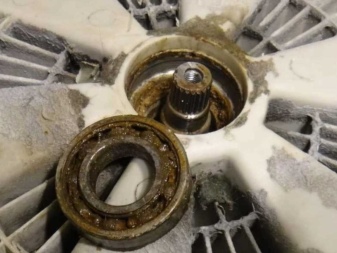
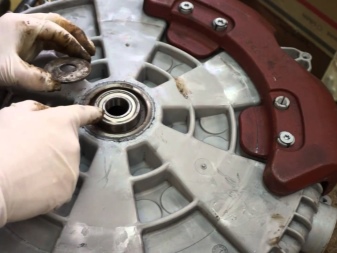
Bearing breakage
The next common failure is bearing failure. There may be several reasons for this malfunction: overloading of things during washing, uneven installation of the machine on a horizontal plane (this leads to strong vibration during spinning), water ingress through a leaky oil seal into the bearings themselves, or wear of the mechanism. The solution to the problem will be only the replacement of the bearings on the crosspiece, and the prevention is to follow the instructions.

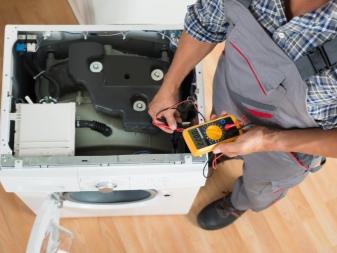
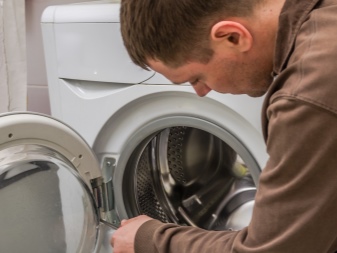
Diagnostics
If you decide to repair the washing machine with your own hands, then before repairing, you need to understand exactly what does not work and where you need to climb... Before replacing the part you are interested in, you need to make a diagnosis. In this case, visual inspection is the best diagnosis. An obvious problem is visible to the naked eye. Burnt contacts, cracks on the case, places of oxidation of contacts - all this suggests that the desired malfunction is located exactly in this place.
ATLANT washing machines are equipped with the possibility of self-diagnosis.
On LCD models, the fault code is displayed immediately, while on segment screen devices, the fault code is written as a code number. To decipher such a code, you will need to use the table of malfunctions, which is located in the operating instructions.
Required tools and spare parts
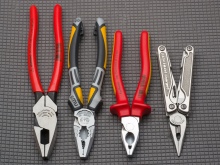
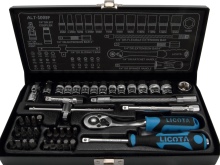
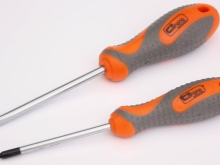
To repair the washing machine, you need a minimum set of tools, which can be found in almost every home, namely:
- flat and Phillips screwdriver;
- set of open-end wrenches;
- set of socket heads;
- pliers;
- hammer.
In addition to the tools themselves, you need the necessary replacement parts. When choosing the necessary repair kit, do not try to save on quality, otherwise the need for repeated repairs will not keep you waiting long. All replaceable items can be purchased from specialized stores.
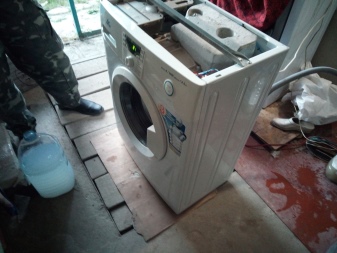
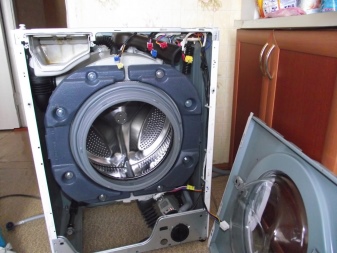
Disassembly
For repair work, access to the units is required. To do this, you need to disassemble the washing machine. If you do not have enough experience in this matter, then in order not to get confused, it is advisable to photograph or record your actions. In the future, this will save a lot of assembly time and avoid incorrect connection. Before proceeding with repair work, it is necessary to disconnect the household appliance from the power supply. When the machine is disconnected from the water and the power supply, you can start disassembling. The scheme of this process looks like this.
- The first step is to remove the top cover. It is fixed with 2 self-tapping screws on the back. After unscrewing them, you need to pull it up and towards yourself a little, after removing it, remove it to the side.
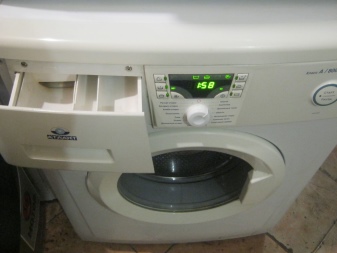
- Next, remove the washing powder tray. Under it are the screws on which the hopper is fixed, they need to be unscrewed.
- Now you can dismantle the front panel.
- Unscrew the cross braces.
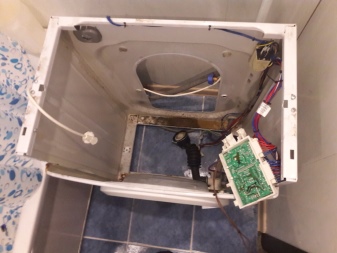
- Inside the case, on the right, there is a control unit that needs to be removed, not forgetting to disconnect the hose from it.
- Now you need unscrew the concrete weight from the top of the tank... It is secured with a long bolt that runs through the entire weight.
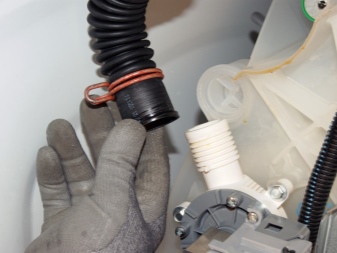
- The hopper can now be completely dismantled and removed from the housing... To do this, it is necessary to disconnect from it all the pipes, which are attached using self-clamping clamps.
- After removing the outer clamp on the hatch cuff, you need to fill the sealing gum inside the case.
- Further work without removing the back panel is impossible, therefore remove the panel.
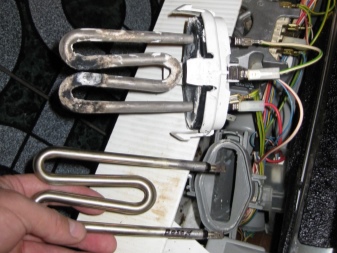
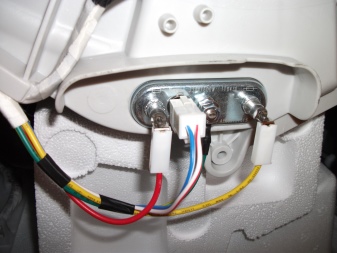
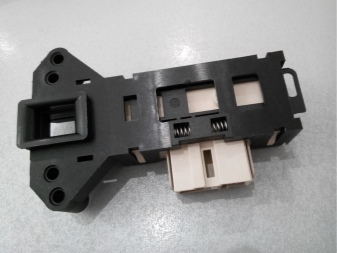
- The next step in the investigation will be dismantling of the hinged electrical part - heating element and temperature sensor. You can avoid connection errors during assembly by marking the wires or photographing them.
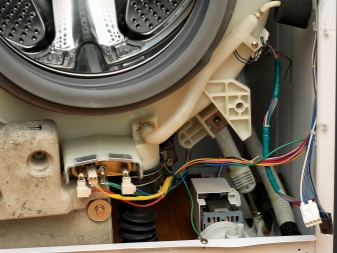
- Next, you can start removing the engine itself, having previously removed the drive belt. The process of removing the engine is not difficult. It is secured with bolts, and the wiring is assembled into a single terminal that is simply disconnected.
- Now it is necessary loosen the hose clamps suitable for the pump.
- The shock absorbers can be unscrewed, or you don't have to unscrew it, the stem will come out of the tank by itself when you remove it.
When everything is removed from the body, you need to make sure that the tank is held in the body base only by the springs. Now, nothing prevents the removal of this part from the case. To disassemble the tank itself, you will need to unscrew all the bolts around the perimeter, there are 20 in total.

Typical malfunctions and how to fix them
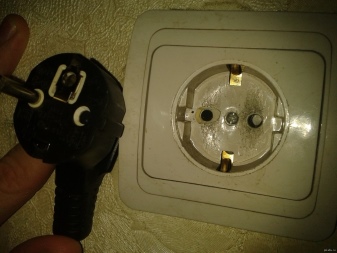
There are times when the washing machine does not turn on. If nothing happens when you press the power button, check if the power cord is plugged into the outlet. If the plug is turned on, and the machine still does not turn on, you need to find out if there is power in the outlet. When the plug is plugged into a working outlet, then the options for the cause of such a breakdown will be as follows:
- malfunction of the plug itself - you need to disassemble it and check the condition of the contacts;
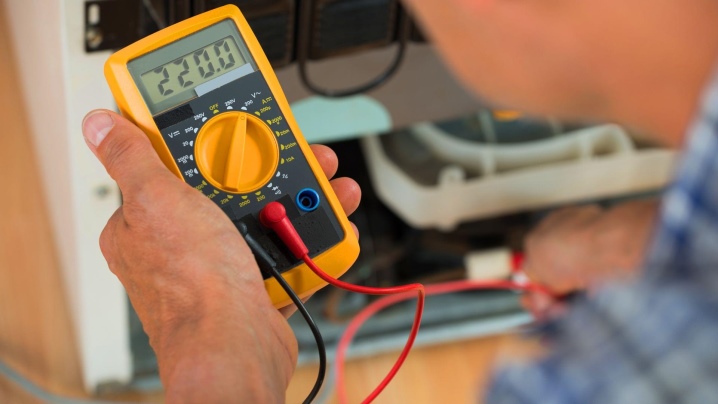
- wire break - to find out and eliminate such a problem, you will need to ring the wire;
- malfunction in the wiring of the machine - to do this, remove the top cover and check the condition of the terminals.
It may be that the display lights up, but the machine does not start. Then the malfunctions may be as follows:
- malfunction of the choice of modes;
- loose door closing, the lock does not close - it is also necessary to check the sealing gum around;
- no water is supplied to the machine - check if the supply tap is not turned off.
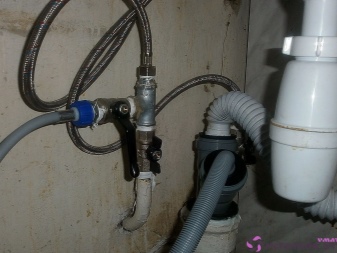

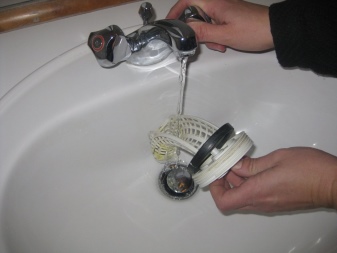
Another problem is that no water is supplied to the drum of the washing machine. First, check if the supply tap is open. Next, you need to make sure that the water supply hose is not pinched or clogged. If necessary, remove and rinse it. After removing the hose, look at the condition of the filter - it may be clogged, in this case you need to clean it:
- turn off the water supply tap;
- disconnect the hose;
- remove the filter from the seat;
- wash the filter and reassemble everything in reverse order.

In case of failure of the valve itself, it must be replaced with a new one. You can do this yourself. To do this, you only need to unscrew 2 self-tapping screws and remove the hose. Sometimes in ATLANT typewriters the linen is badly wrung out. When you take things out of the drum, you realize that they are too wet. This could mean that the engine has failed or the contacts have oxidized on it... A breakdown of the control circuit can also cause such a malfunction.
It happens that the water is not drained from the tank. The cause of such a malfunction may be a drain pump or "pump". It may not work, it may not receive power due to a broken control board, or the drain hose is clogged over the years. The user may be frightened if the machine vibrates strongly during spinning, jumps, makes creaking sounds. All this points to the need to replace the drum bearings.
When setting any temperature, only cold water can flow. Such a problem lies in the heating element - it does not work and does not heat the water. The solution to this problem can only be the replacement of the heating element with a new one. In some cases, such a malfunction may be caused by a malfunction of the temperature sensor or the controller responsible for heating the water.
It also happens to leak in a typewriter. First you need to determine the place where the water flows from. This can be a hose for supplying liquid with powder to the tank. In this case, the leak has arisen due to the fact that over the years, large deposits of powder have accumulated inside the hose - you just need to replace it. A leak can occur from the bottom of the machine in the area of the hatch with the filter. This may indicate that the gum is loose or is broken.
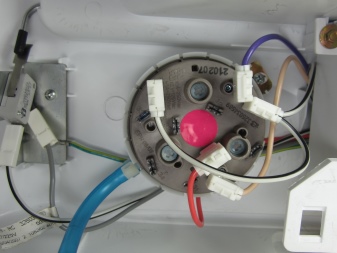
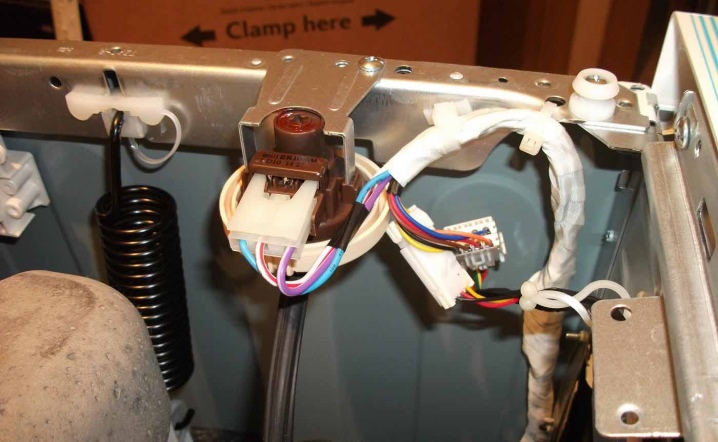
The incorrect operation of the water level sensor (pressure switch) can be seen during the collection or drainage of water.
Its task is to inform the control module of the liquid level in order to stop, start a set or drain. If the sensor does not report the amount of water before draining, then the machine cannot start spinning. In this case, the sensor must be replaced.
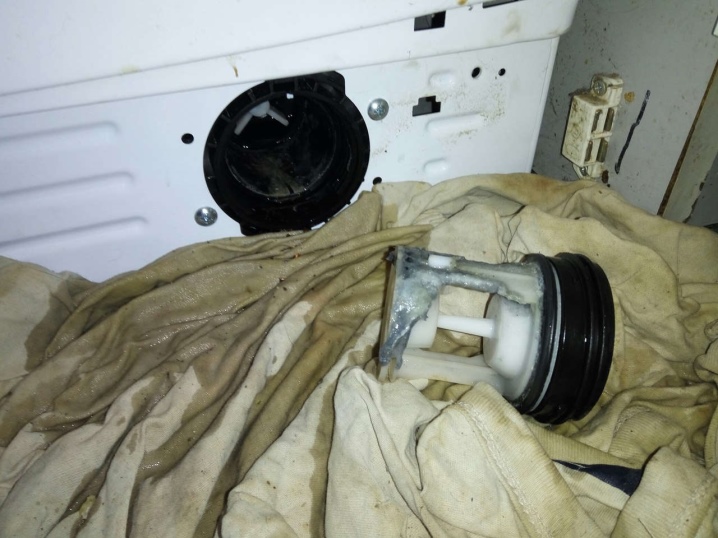
Often owners of washing machines are faced with the fact that in the technique, the filter for the water drain is clogged. Over time, a large amount of dirt accumulates in the filter element of the drain water, and the water simply stops leaving. This can lead to a complete stop of the machine. The procedure for solving the problem is very simple, everyone can handle it. Necessary:
- unscrew the special filter holder at the bottom of the machine;
- clean and rinse the filter and reinstall it.
In this case, when draining, the pump will not experience difficulties in operation and will work much longer without breakdowns.
Repair Tips
When choosing new parts for repairing a washing machine, make sure of their quality and compliance with the model of your equipment. Parts of unknown origin may lead to repeated repair. Before installing a new part, inspect its seat - it must be free of dirt and lime deposits... If there are any, then they must be removed so that the new part fits as tightly as possible. This will avoid distortions and incorrect work. Disassemble the machine carefully, without making sudden movements, so as not to accidentally damage important parts and connections of the structure.
Repair of ATLANT washing machines is presented in the video below.


The comment was sent successfully.