Installation of a mesh-netting
Sooner or later, the problem of fencing your site arises. Installing a mesh fence is the perfect solution to this issue. Despite the large abundance of building materials, the chain-link mesh remains the leader in the manufacture of fences.
How to fix it?
There are many ways to anchor the mesh:
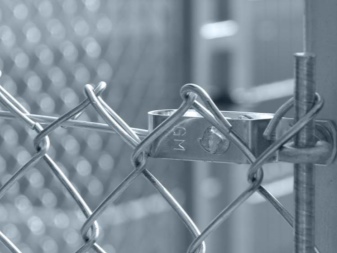
- clamps;
- screws;
- clamps;
- wire;
- welding;
- rope;
- brackets;
- any other fasteners that you find on sale.
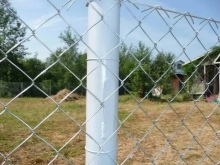
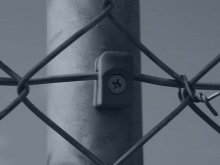
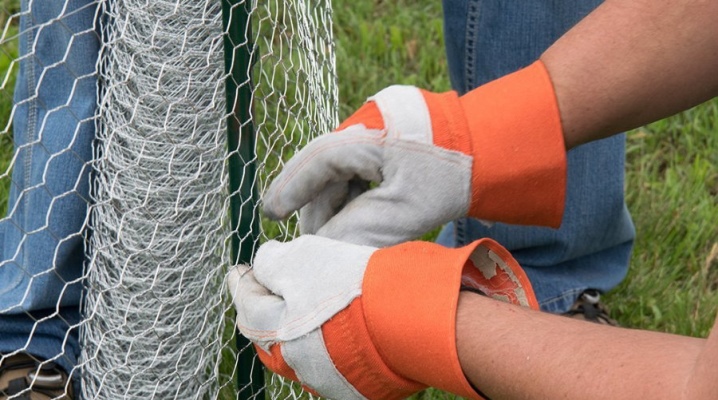
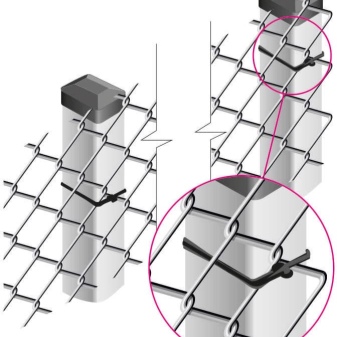
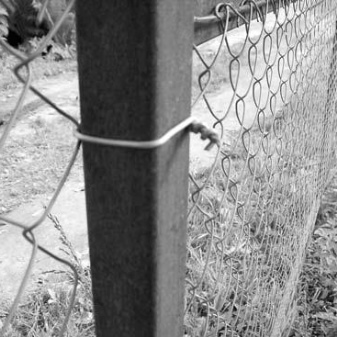
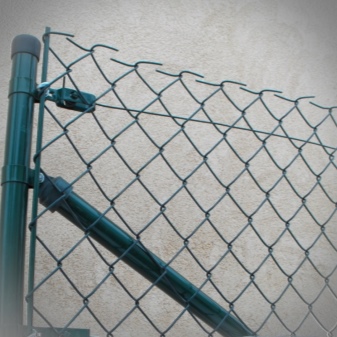
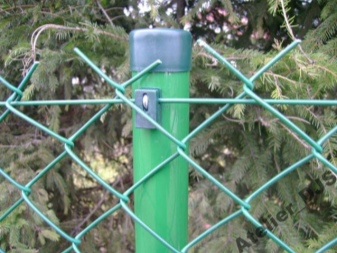
The first installation method is the simplest and most common. There is no cheaper way to install a mesh fence. The initial edge of the mesh is fixed with a wire to any support. It can be a wooden post, a metal profile or a square pipe, an iron or concrete post. This method is acceptable to everyone, for its implementation only pieces of wire (fittings) and pliers or side cutters are needed. In the absence of the required wire, you can apply unnecessary lines from the roll itself by unscrewing and straightening them.
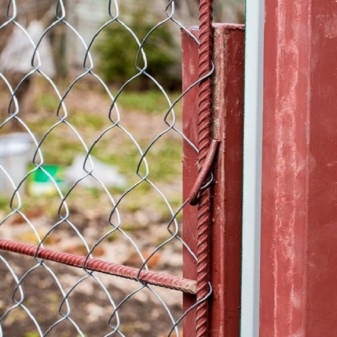
The second way is to cut wire or metal pieces along a line along the width of the canvas (mesh height) and mount or weld it instead of the structure. A consumable wire rod with a diameter of 6 to 8 mm or, ideally, a 20 mm strip will have an aesthetic appearance and evenly distribute the stiffness when the trellis is stretched, which will significantly improve the appearance of the fence. Tape or wire rod can also be attached to bars or veins to secure the mesh. In the absence of welding, you can fix the bar with bolts, screws, rivets.
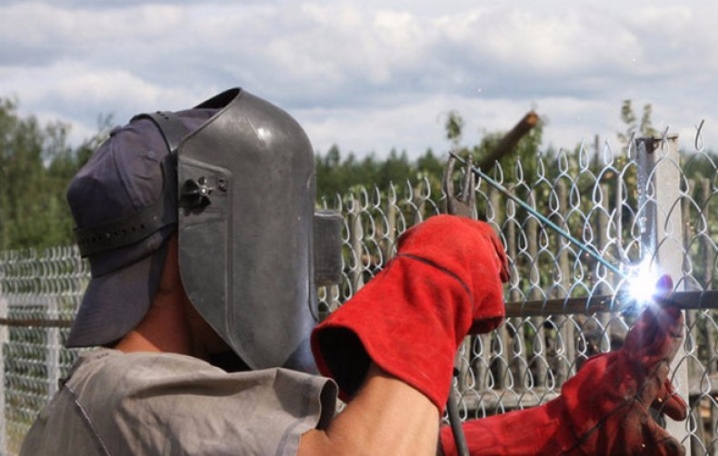
If you have a welding machine and it is recommended to use semi-automatic welding for this type of work, attach the mesh to metal objects such as posts, corners, pipes by welding. Namely, you can directly weld the mesh to the support.
Limitations may arise in the case of polymer-coated mesh, where the polymer will interfere with welding.
Experts warn about the difficulty of welding galvanized wire mesh. It is necessary to be very experienced with this type of attachment. Zinc will inhibit the possibility of "welding" until it burns out. And during this time, while the zinc is burning, the wire can already be completely melted. And if the mesh is made of wire less than 2 mm, this process can have negative consequences. In addition, after work, the welding area must be treated and protected from corrosion by paint and varnish material.
How to unwind the net?
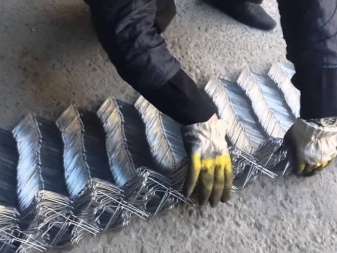
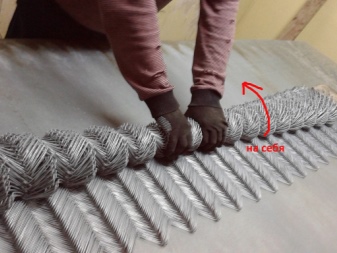
To properly unwind the netting from a compact roll to a volumetric one, you will need wire cutters, pliers, protective gloves and a flat concrete platform of about 10 m. First, place the compact roll of netting on the concrete area. Then cut the clamps along the edges of the roll with pliers. We do not touch the middle clamp so that the roll does not unwind spontaneously.

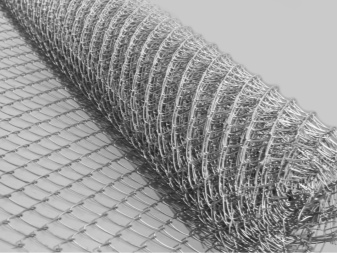
Next, you will have to find the beginning of the skein and cut off the middle clamp, holding the roll with your hand. Carefully, slowly unwinding the compact roll on a concrete platform. After that, it is worth taking the outermost spiral of the mesh and stretching the compact roll on the concrete site.
The spirals can become tangled as they stretch. In this case, you just need to screw in or unscrew the spiral, and the problem will be solved. On a stretched mesh fabric, it is necessary to bend the edges along the entire length, top and bottom. Then carefully roll the netting into a volumetric roll.Now it will be easy for you to install the mesh from the bulk roll.
How to connect with each other?
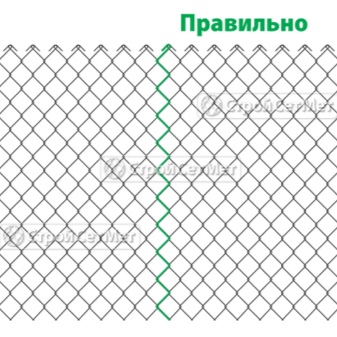
To connect two rolls of mesh or separate fragments of it, you do not need special skills and much effort. With this joining method, you can join the remnants of the mesh into one canvas. Which will lead to savings when installing a fence. The main condition is that the size and shape of the cells must be the same. If this is not feasible, you will need a steel bar, wire rod, or thick wire equal to the height of the net roll.
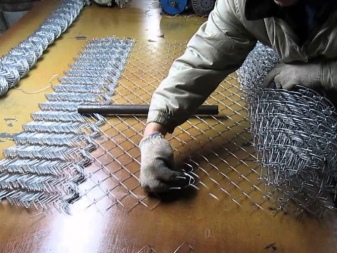
To connect two rolls of mesh, place them side by side on a flat surface. One spiral must be unscrewed from one roll from the extreme element. According to the technology of mesh production, the canvas always has one edge larger than the other. Therefore, it is important that both rolls lie on the same side of each other.
Everything is ready to tie the two rolls. A free spiral should be screwed between the edges of two rolls. Sew each outer cell in turn with rotary movements. Bend the ends of the spiral with a tool. Now the two canvases have become a single, monolithic whole without a noticeable seam.
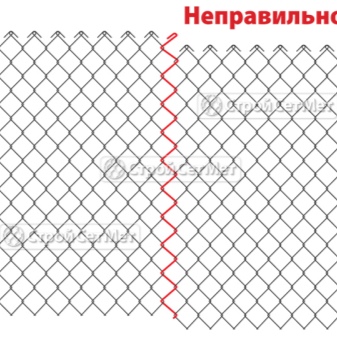
If, when connecting two rolls, the joint turned out to be uneven and noticeable, then there is only one reason for this. When making a mesh, all spirals in it are arranged in pairs. Since your joint is noticeable - you just didn't get it right with a pair of spirals.
This is easy to fix. Just unscrew another spiral from the edge of the blade and repeat the operation.
You will need a connector to connect different pieces of mesh to different meshes. It can be a steel bar, wire rod, thick wire. It is necessary to stretch the rod alternately into all the outer cells of the two mesh sheets, and bend the edges of the bar on both sides.
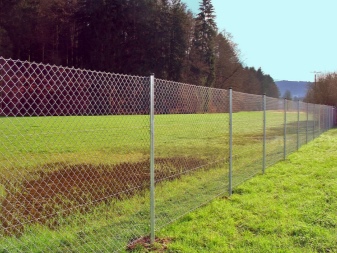
Tension fastening
When installing in this way, no difficulties should arise. We select any post located in the corner of the site, and attach the beginning of the mesh canvas to it. It is necessary to fasten the net to the post in at least four places. A commonly used method is strapping with cable ties or wire through the cages. But many summer residents choose a more reliable way.

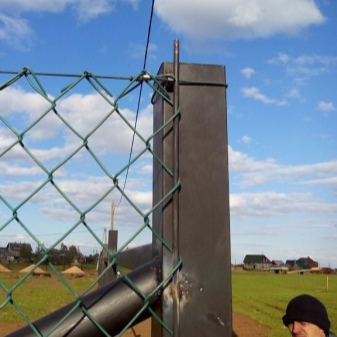
Pass a steel rod with a diameter of at least 4 mm through the mesh of the chain-link and attach it to the support by welding every 400-500 mm. Prepare 3-4 guides, each up to 6 mm in size. Weld them to each pillar, pull the grating on them, and bend the ends of the rods.
Drill 2 through holes in the supports, insert a piece of the rod into them and bend it in half so that it passes through the cells of the canvas. Align the ends of such a clamp, then twist or weld.
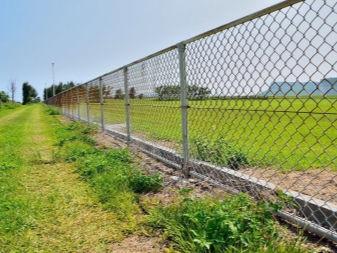
In this method, the net stretches from support to support without losing any of them. It is necessary to stretch the mesh fabric on each pole. If you do not do this, then the chain-link sagging may occur.
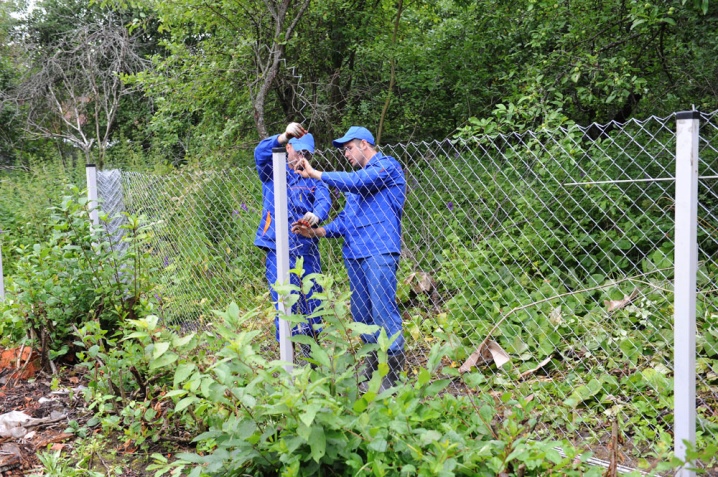
To prevent this from happening, you must proceed as follows: insert the rod vertically into the net, pull the canvas as tight as possible and hold it in this position. During this time, the other person straightens the chain links so that the net is tensioned optimally. An assistant is a must to pull the net perfectly.
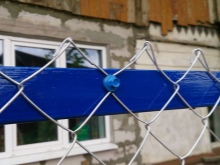
The tensioning method attracts with its simplicity, but such a fence has one drawback - the sagging of the upper edge. This can be caused by a person or a large dog. To eliminate this disadvantage, it is necessary to pass a steel or plastic-protected wire through the upper row of cells.
To do this, you need to wrap the posts with wire loops. They start with the outer element, and then move on to the arrangement of the entire perimeter: the wire loops are reformed for every 2-3 brackets, trying to stretch the material as much as possible. Then twist the wire on the "loop" supports with a thick metal rod. The last step is to attach the canvas to the wire.
Some other "wired" methods.
- Attaches to ear straps welded to the top of the stand, however, this can make installation much slower.
- Application of factory wire tensioners. After mounting on the first bracket on the second wire, it passes through the device. It is fixed in a clamp, the cable is wound on a drum.
- Installation with cable and rigging - pullers, hooks with clamps and ties. In this case, the cable passes through the cells.
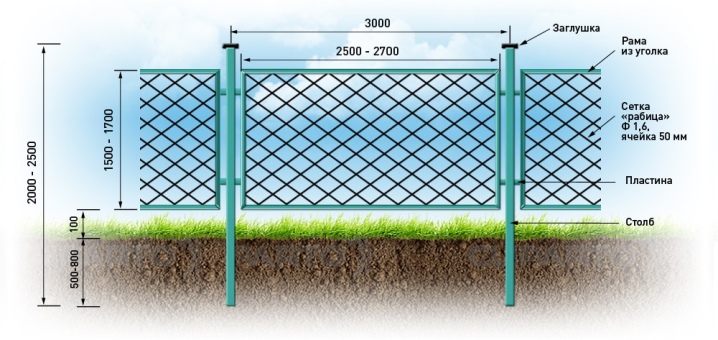
Sectional mounting method
This is another answer to the question of how to fix the mesh. There are several ways to achieve your goal. In the first method, the last function for the steel bar is also not provided. First, the mesh is cut strictly to the dimensions of the structure. The rod runs along the perimeter of each of its elements. Its thickness is not so important, the main thing is that it passes freely to the cells. The mesh, "refined" with a rod, is placed in the frame from the corner. Then the rod is welded to it.
Hooks are used here. The chain link is prepared for installation in the same way: passing sections of the steel bar along its perimeter. Inside, the hooks are welded to the frame. With their help, a chain link with a bar is attached to the sections. The hooks are bent or welded. Another option for solving this problem is to secure the frames to the uprights using bolted welded plates. What is more suitable - the owners decide.
How to hang the net-netting, see the video.


The comment was sent successfully.