How to attach a netting to metal posts?
Fastening a mesh-netting to a profile pipe or metal posts is the most popular option for constructing a fence made of this material. The mesh does not interfere with the penetration of light, goes well with a variety of hedgerows, and is easy and quick to stretch. It is worth talking in more detail about how and how to fix it without welding, pull it on the supports - this will allow you to choose the optimal solution for self-installation.
What tools are needed?
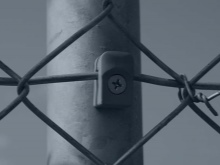
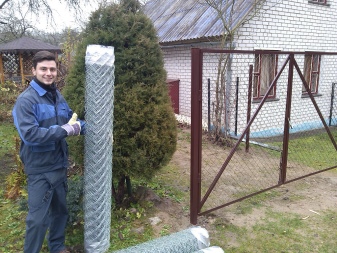
In order to fasten the mesh-netting to the metal posts, you will have to prepare not only materials. The fence itself is sold in rolls, but it additionally has to be added supports in the form of pipes of round, square or rectangular cross-section. Some of them are already equipped hooks for fixing the mesh, but you can use almost any of the options available.
In addition, depending on the chosen installation method, you will need wire, metal building corners, a hammer, a sledgehammer, pliers or a screwdriver, if you plan to mount the canvas with self-tapping screws.
And also it is worth stocking up:
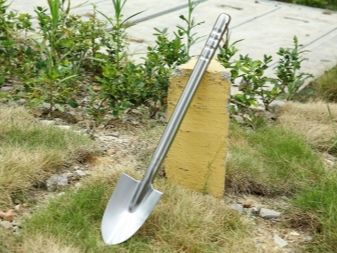
- a shovel or drill to create holes for the posts;
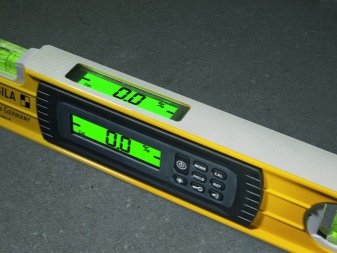
- level;
- rope or cord;
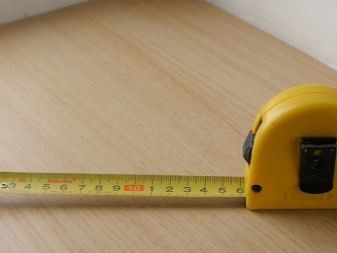
- tape measure;
- tools for mixing the solution;
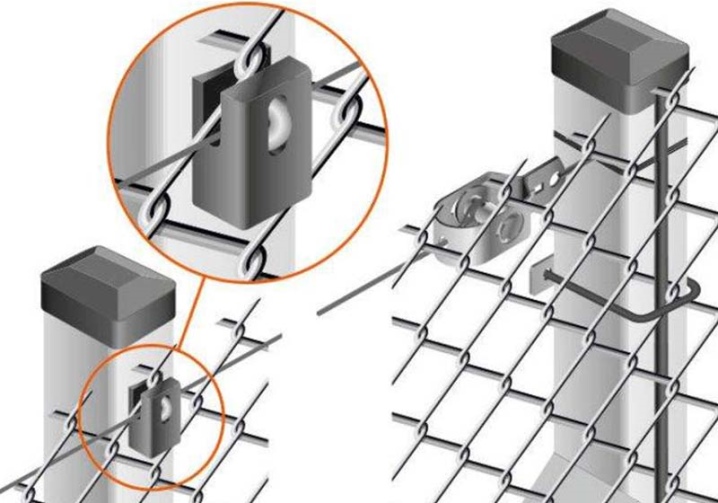
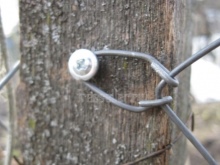
- fixing hooks, bolts.
Do not forget about hand protection - gloves will definitely be needed when working with a mesh. In addition, wire cutters are useful for trimming wires or protruding edges. If the welded method is used, welding machine, metal corners and other consumables.
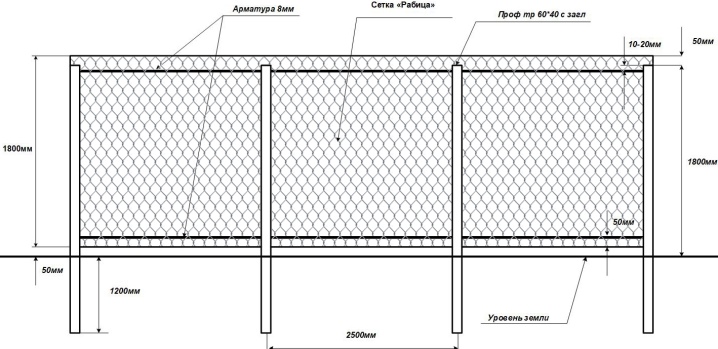
When choosing supports for a chain-link mesh, it must be borne in mind that the cross-section of a square profile should be at least 25 × 40 mm, for ordinary round ones, a diameter of 60 mm or more is suitable. The thickness of the metal must be at least 2 mm.
How to make a sectional fence?
A fence assembled from ready-made sections is the most durable and reliable solution available when using a chain-link mesh. A frame in the form of frames from a metal corner can be made by hand in a home workshop. Fasteners are not needed here - all elements are connected by welding. This is the optimal solution for areas with elevation differences and other features of the relief.
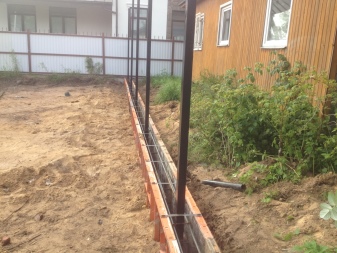
If the site is flat, you can make a capital strip foundation around the perimeter - such a fence will stand as long as possible.

When installing a sectional fence from a chain-link mesh, you must follow the step-by-step instructions.
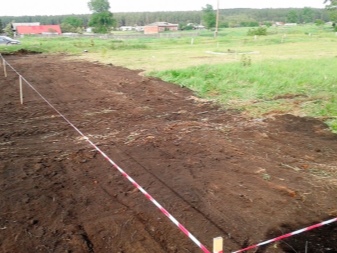
- Mark the territory. If you plan to fill the strip foundation, you can immediately dig a trench.
- Set corner marks. If the fence goes only on one side, 2 extreme posts are set. They must have the same height above the ground. Control tapes or cords are pulled between them, along which the location of the remaining sections is measured. If everything is done correctly, you can simply count the 2.5-3 m step with a tape measure, and then determine the location of the new support with a plumb line.
- Carry out earthworks. With the help of a drill, a hole is created with a diameter of 20 cm and a depth of about 60 cm. A pipe is placed in the well, with the help of a sledgehammer it is driven into the soil by another 400 mm. The pillars fixed in this way can be additionally concreted for strength, but more often they are backfilled with broken bricks mixed with soil. You need to hammer the support from above through the board using a sledgehammer.
- Install cuttings. They are necessary in the corners, since the load on this part of the fence is maximum.
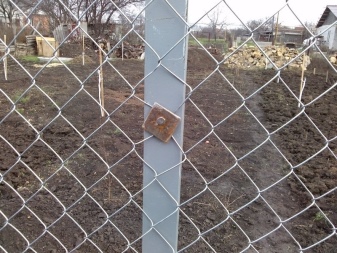
- Secure the metal plates. They are needed so that the assembled sections can be conveniently fastened to the post. The optimal size for them is 150 × 50 mm.
- Make a frame of the sections. It is made from a metal corner with a welded assembly, but there are also bolted assembly options. The length of the sections should be 10 cm less than the span, and 20 cm in height. The corners are cut into blanks with a grinder, then welded in the form of rectangular frames. Before fixing the mesh, the frame is polished, primed, painted.
- Cut out the meshes. It must match the dimensions of the inner frame of the frame. The measured segments are supplemented along the perimeter with reinforcing bars threaded into the cells.
- Assembling frames. The rods in the upper part are welded, then the mesh is tensioned at the bottom. They are also fixed by welding. The lateral elements are fixed last.
- Installation of intake sections on supports. Fastening is carried out by welding to the insert plates. The use of bolts is also common. When installing, it is important to pre-stretch the cords at the level of the upper and lower edges of the net, so that when fixing there is something to be guided by. If a welded joint is used, subsequent repair or replacement of individual parts of the fence will be very difficult.
The basic rule for securing a sectional fence concerns the location of its elements.
Sections should not be closer than 200 mm from the foundation or ground surface. The upper edge must not extend beyond the profile pipe. Only in this case, the bearing capacity of the fence will stand the test of time.
Tension fastening method
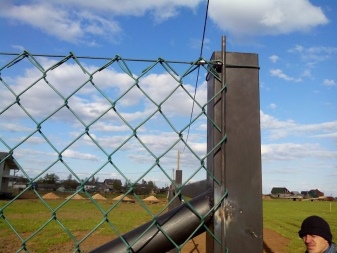
This option is the most popular in the version with guides. It allows for the creation of a more aesthetic and attractive fence. Horizontal guides are welded to the main supports in 2 or 3 places, the metal profile will be the best choice for them, but wood can also be used. This design is well suited for all types of soil, except for heaving.
Fastening the netting to the profile pipe with horizontal guides must be performed in a specific sequence. Installation of pillars and markings is similar to that performed when installing a sectional fence. The rest of the steps are performed step by step.
- Fixing horizontal guides... It is performed on each pillar, above and below. If wooden slabs are used, they are fixed with through fastening with bolts. Metal are welded. The primitive solution is pulling.
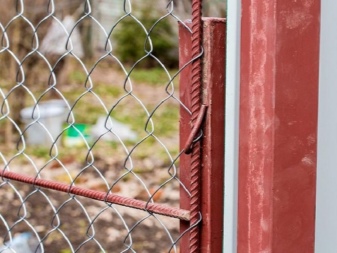
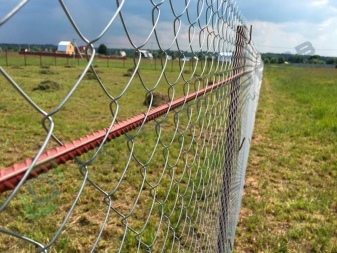
- Installation of the first section of the fence... A reinforcement bar passed through its edge reliably helps to fix the mesh on the corner post. It is he who is welded at 4 points to the base. It is better not to use a wire or clamp twist. The optimum thickness of the steel bar is 4 mm or more.
- Installation of the remaining sections. Each is fixed from pillar to pillar, in addition to mounting on vertical supports, additional fixation is performed horizontally. It can be carried out by the welded method using wire twisting or self-tapping screws.

It is worth considering that when deciding to attach horizontal guides to a rigid welded joint, you can get deformation and rupture after the first winter.... The burial of the pillars below the level of soil freezing helps to avoid problems. And also wire tension can be applied.
In this case, a steel cable is passed in the upper part of each section, due to which the edges do not sag under the weight of their own weight.
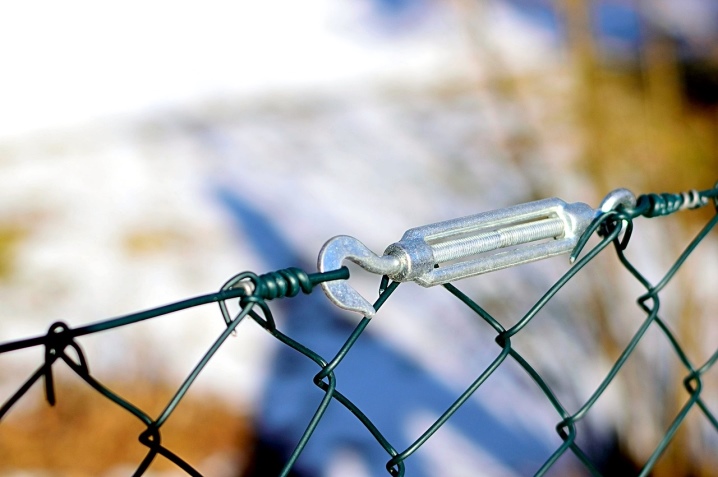
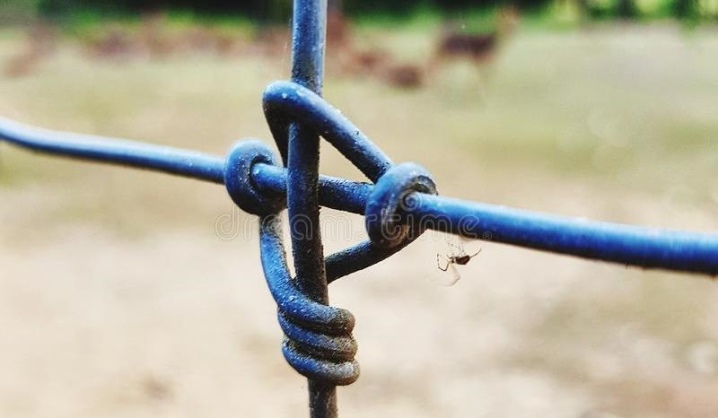
It is quite easy to pull the net in this way. It is enough to throw a wire loop over 1 post, then pass it along the top of the net, after 2-3 supports, wrap it again several times. Work continues until the end of the span. At this stage, sagging is still possible. It is eliminated by threading the bar and making a twist. Such a lever with minimal physical effort will give maximum efficiency, you can repeat the action for each span.
How to install without welding?
In the absence of a welding machine, you can make site fencing an easier method. The usual tensioning method will do without fixing the horizontal guides.... Using this technology, you can create a temporary fence or zone a site. A simple tension structure will not stand a hedge.
Before installing the fence on metal poles without welding, you need to carry out thorough preparation. The whole process of work includes a number of points.
- Clearing the territory. It is necessary to remove any potential obstacles, to clear the perimeter of debris, stones.
- Markup... It is made using reinforcement or wooden stakes, between which a rope or cord is pulled. The optimal pitch between future supports during installation without horizontal elements is considered to be a distance of 2-2.5 m. This will allow the mesh not to sag during operation.
- Preparing the pits. They are dug out in the places where the posts are installed with a depth of 50-60 cm. The bottom is lined with a mixture of soil and gravel.
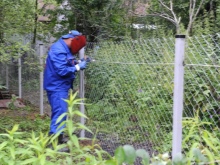
- Preparation of pillars. They are covered with anticorrosive compounds, then painted.
- Preparation of the solution. It should be thick based on screenings, sand and cement.
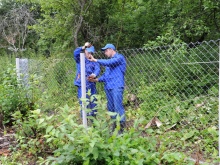
- Installation of supports. They are leveled, then a solution is laid in each pit. Spacers are installed - they are needed so that the post does not change its position during the hardening of the concrete. On average, this takes up to 48 hours.
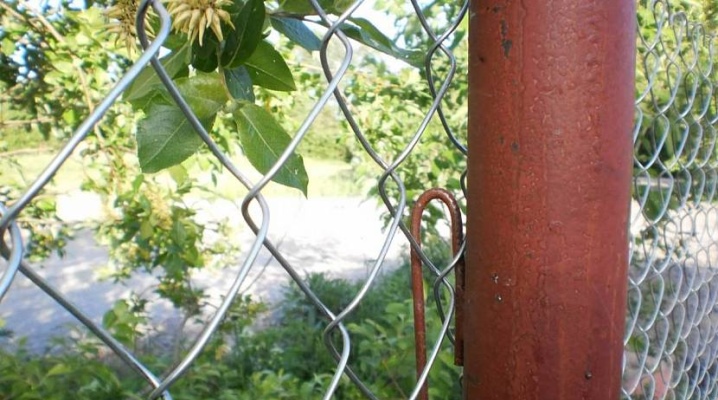
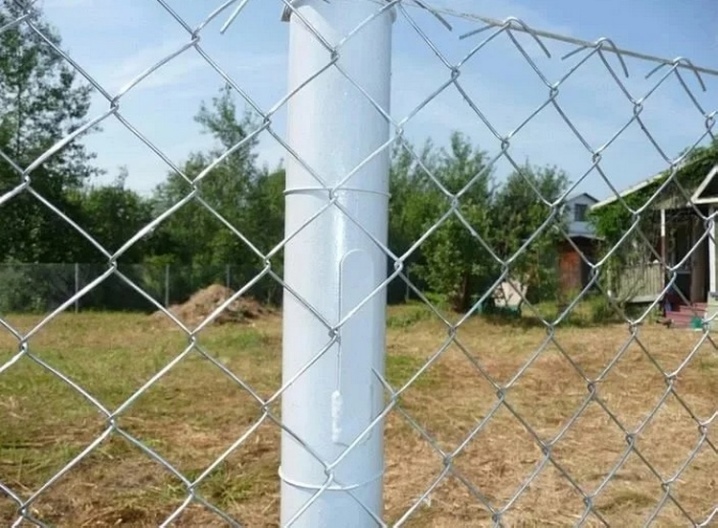
- Installation of fasteners. If there are no hooks on the posts, bolts are used.
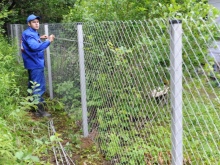
- Hanging the net. The work process starts from the corner, then continues along the fence. Each part is secured to prepared clips. It is important to ensure that the tension is sufficient, the net does not sag under its own weight. You can additionally use clamps for a tighter fit.
- Completion of work. It consists in fastening the sharp edges with a crochet, the edges of the mesh can also be made injury-free with the help of overlays.
Considering all these recommendations, you can easily install a fence from a chain-link mesh without using welding and guides. Thus, providing reliable protection against the penetration of unauthorized people into the site. If the simplest design without guides is chosen, on clay and loamy soils, it is imperative to drain the bottom of the hole and the pit itself with gravel to avoid excessive pressure on the pole in frosts or when groundwater rises.
For information on how to attach the netting to metal posts, see below.


The comment was sent successfully.