How to disassemble the Indesit washing machine?
One of the most popular devices, which today greatly facilitates a person's life, is a washing machine. This device allows you to quickly and easily tidy up your clothes and make them clean and tidy. Washing by hand used to be very troublesome and difficult. Now the housewives can do their laundry while doing some other business. But from time to time the washing machine needs cleaning and sometimes repairing. In this article we will show you how to disassemble an Indesit washing machine.

Design features of Indesit washing machines
It should be said that in the opinion of specialists who repair washing machines of this brand, they are very similar in design to the Ariston washing machine models. At the same time, it is clear that there are certain differences between the models of washing machines of these manufacturers. To make sure of this, you will need to have a drawing of the specific model with which you will work on hand. It is good if the electronics circuit of the device is available.
It is required in order to carry out the correct disconnection of the electrics in the car. This will be one of the stages of disassembling such a technique.

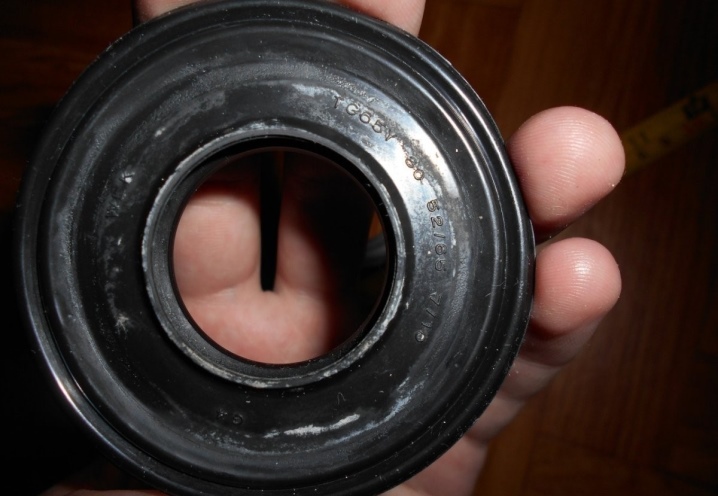
The design features of Indesit washing machines can be traced to the parts that break down and wear out the fastest.... For example, bearings and oil seal are subject to frequent vibration due to the rapid rotation of the drum. Usually, the bearing located on the drum shaft simply breaks, which entails leakage from under the stuffing box.
Another important element is the heating element. There are problems with it due to the presence of radial beats. Then the drum will begin to rub against the heating element, which can cause a short circuit. A fairly common problem is the control module, which can fail due to an oil seal leak, which appears due to a short circuit in the tachogenerator on the motor. This is due to the placement of the motor directly under the drum. If a leak occurs, moisture will definitely get on it.
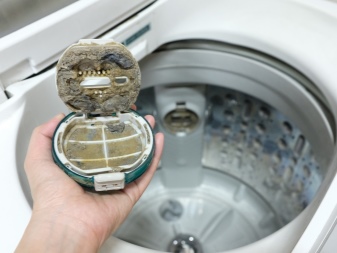
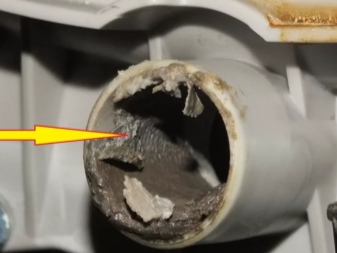
Nozzles are another element that is prone to breakage. In Indesit washing machines, the drain connection is usually equipped with a shut-off valve. It sometimes accumulates debris, which can cause leaks or breakdowns.
The weak point of the design of these washing machines are shock absorbers.... This can be seen after several years of operation of the equipment, when the vibration of the drum becomes stronger. Problems often arise with the front seal rubber located in the opening between the body and the rotating tank.
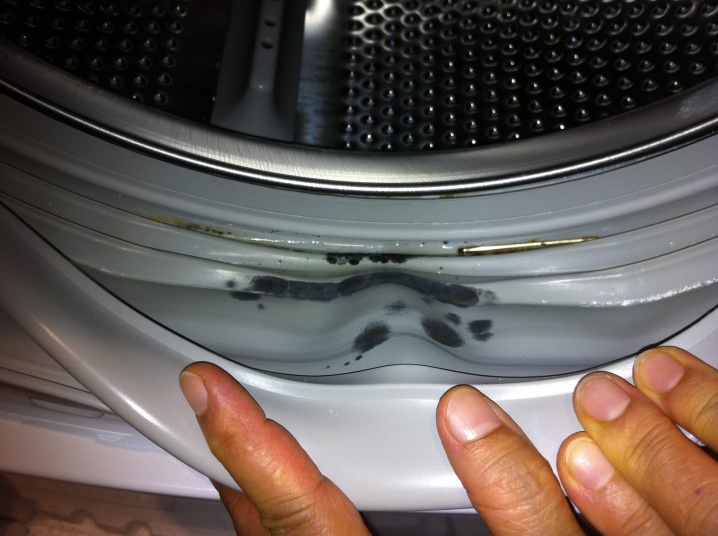
Frequent vibrations of the tank cause it to deform and rupture.
Required tools
Now you need to prepare tools that will be used when disassembling such a device with your own hands:
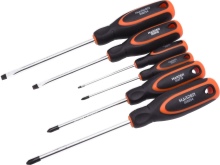
- a set of screwdrivers, where exactly there should be a flat screwdriver, several Phillips having different lengths, as well as a screwdriver with a set of bits;
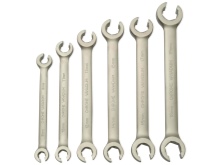
- several open-end wrenches;
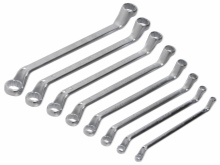
- socket wrenches;
- pliers, which are used for self-clamping clamps;
- side cutters;
- pliers;
- hacksaw;
- tester;
- long bent pliers;
- hammer;
- wooden blocks;
- markers or felt-tip pens;
- silicone based sealant;
- a few rags;
- grease for hinge elements;
- grease type WD-40.
Of course, a number of tools may not be useful when disassembling, but it is better to have them on hand.
Disassembly stages
So, now it is necessary to describe the step-by-step procedure for disassembling the Indesit brand washing machine. Considering that we are not talking about disassembling a specific model, this algorithm of actions will be as versatile as possible.
To begin with, before disassembling the washing machine, you should disconnect all communications from it and drain the water.
Even if you have used the equipment for a long time, there is still water inside the case. This requires:
- prepare an empty container where water will drain;
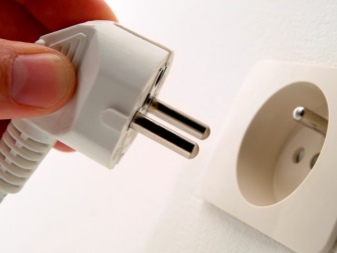
- disconnect the device from the electrical network;
- we attach an intake hose to the back panel, which then needs to be disconnected from the case (you should put the container down, because water may pour out of it when disconnected);
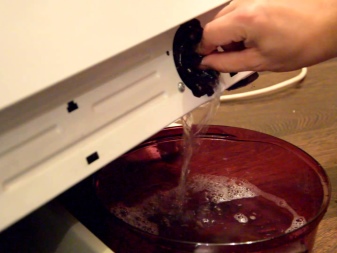
- now we are interested in the lower part, where you need to open the small door, which is located under the loading hatch;
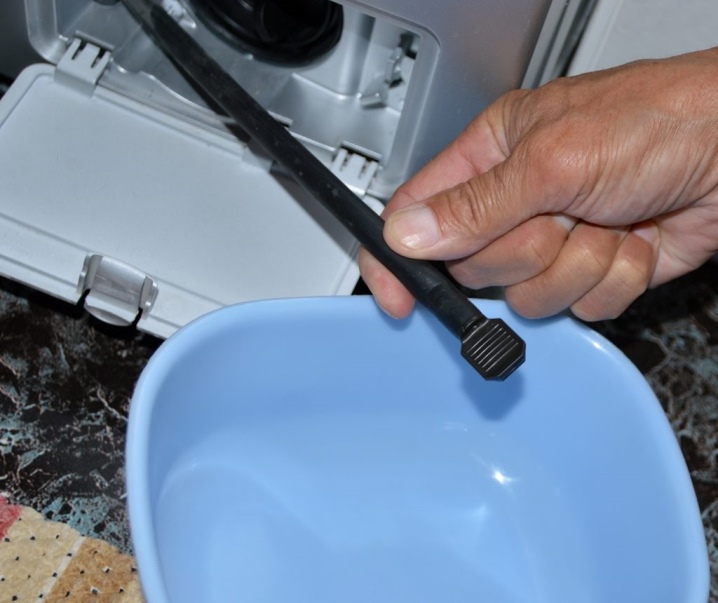
- there you need to unscrew the plug counterclockwise;
- we drain the water through the drain hose or directly from the hole.
In addition, remove the powder compartment from the machine. To do this, it is enough to press the central latch, after which you can safely remove the part. Now you can start disassembling the case.
Frame
First you need remove the top cover of the device. You should find 2 self-tapping screws that are located in the upper corners of the washing machine at the back. They need to be unscrewed with a Phillips screwdriver. Then you need to move the specified element towards you, raise it and remove it.
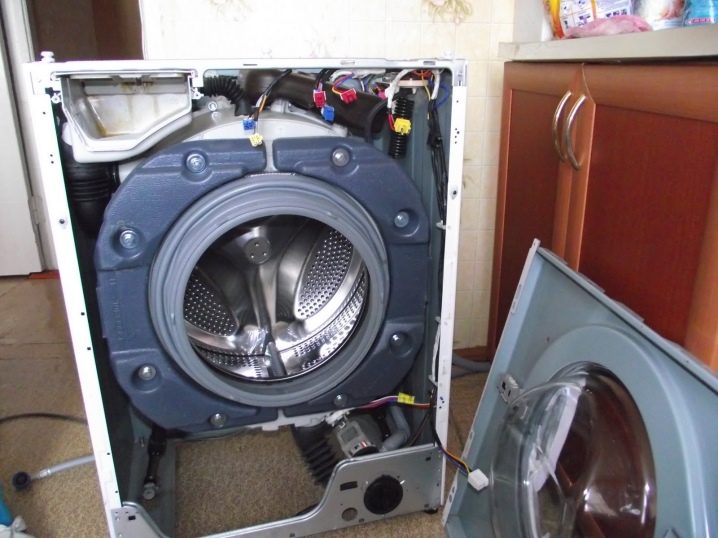
The next step would be dismantling the service hatch coveron the back of the machine. More precisely, the hatch is located in the rear wall. To carry out this action, you should unscrew 6 self-tapping screws located in a circle, then dismantle the cover and gain access to the internal parts.
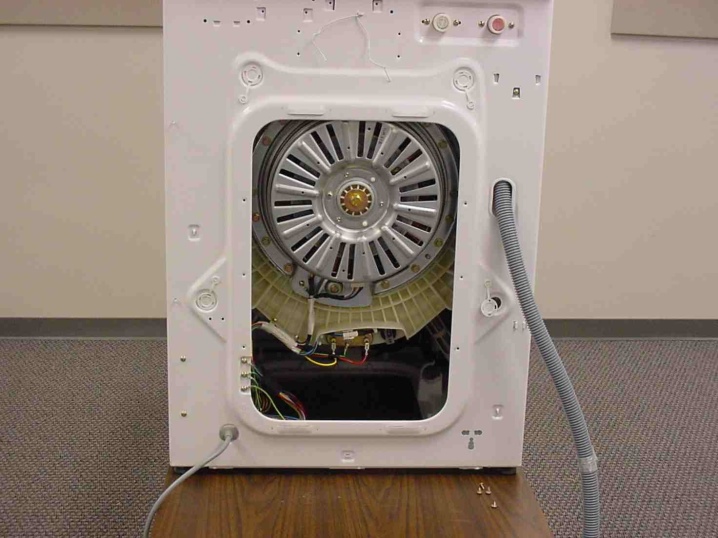
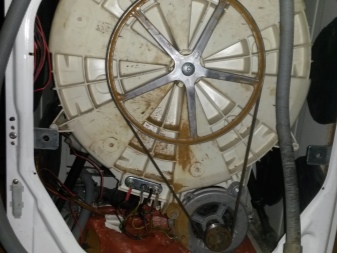
Now it is necessary to produce removing the belt, which is put on the pulley. It is necessary, holding it with your hand, with the help of your second hand, rotate the pulley until the belt simply slips off it.
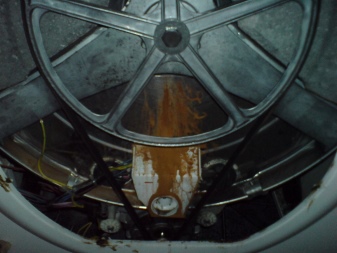
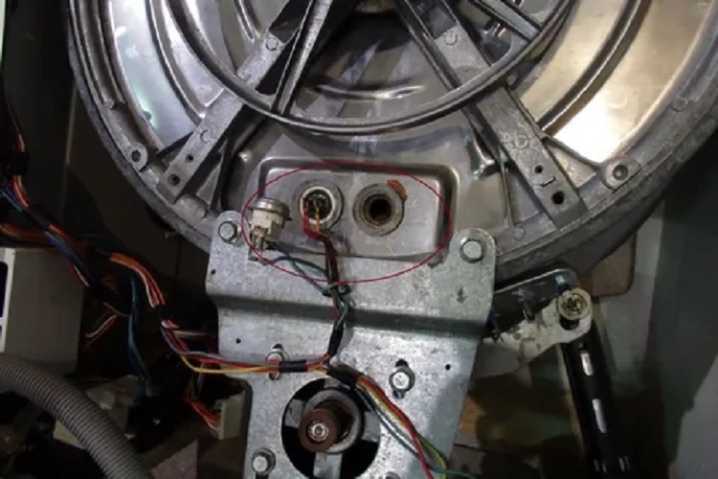
It should be carefully done inspection of the rear wall of the tanklocated directly behind the pulley. If you see traces of oil or rusty smudges, then this indicates damage to the oil seals or bearings. It will be necessary make a complete disassembly and subsequent replacement of the specified parts.

Electrical disconnection
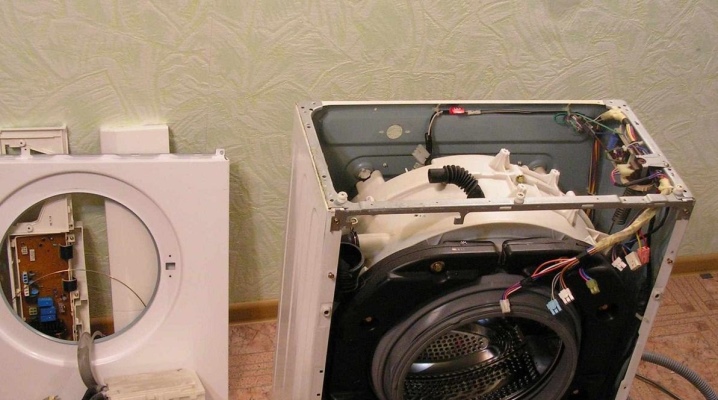
Now follows remove the front panel and the control unit where the fuse is located, and also remove the cables from the contacts of the water heating element. But first things first. First you need to unscrew a couple of screws that hold the front panel. They can be unscrewed using a curly screwdriver. After that, unscrew another screw, which is located in the upper bar directly above the opening of the tray. Now follows carefully start disconnecting the wires that fit the board.
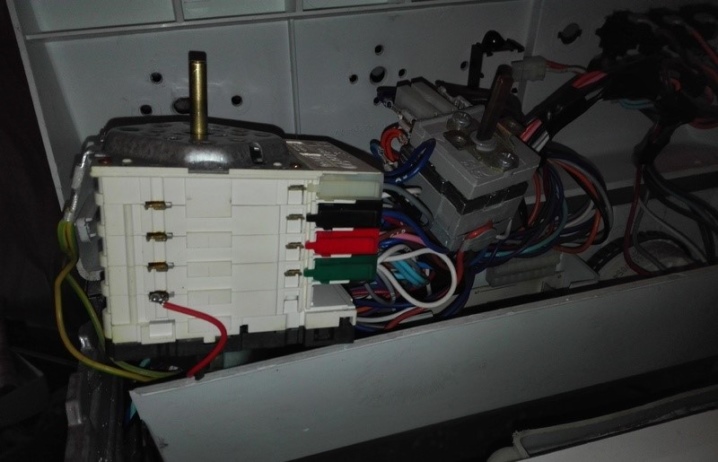
They are connected with connectors, which makes them easy to disconnect. They also go to the control block, which is usually located at the back of the device, at the bottom left.
The location of this part is ill-conceived due to the fact that if there is a leak, then water is sprayed in all directions, and it simply falls on it. To remove the control unit it is necessary to put your hand into the hatch located on the back wall. The engine is removed with a spanner spanner and a 10 head. Remove the connector with the wires by pressing on the stopper. It is required to remove the wires from the heating elements and the temperature sensor, and then carefully remove the chips that supply power to the spiral and the wires of the temperature sensor.
You also need to remove the control panel. It is required to unscrew the bolts that hold it. They are located at the niche of the powder receptacle. Then you should unscrew the screw from the left front corner of the case.
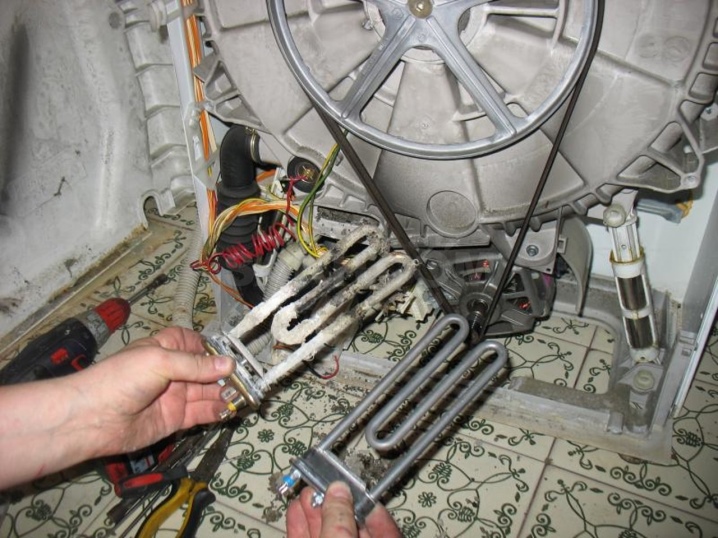
Heating devices
Now you need to remove the heating element. You need to be careful, because it is located above the motor and inserted into the tank.
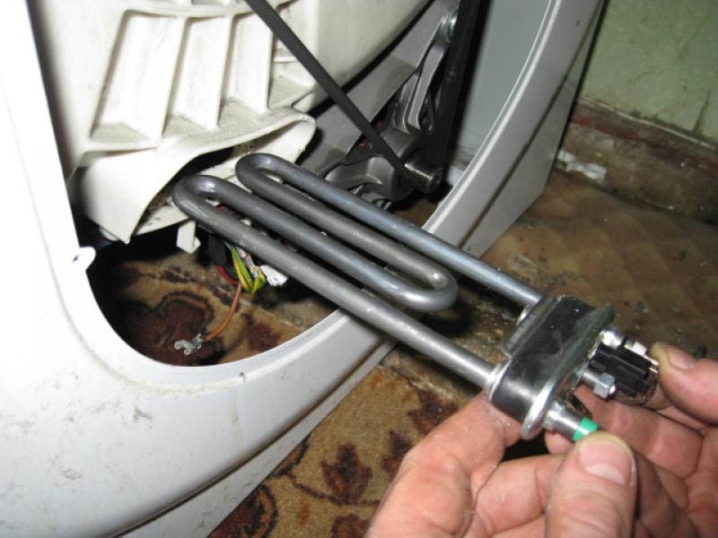
In addition, it is pressed by a nut by 8, and the hole is sealed thanks to a special cuff.
According to some experts, the heating element can not be removed, but then you need to be extremely careful when disassembling, so as not to accidentally damage the contacts.
Shock absorbers and tank
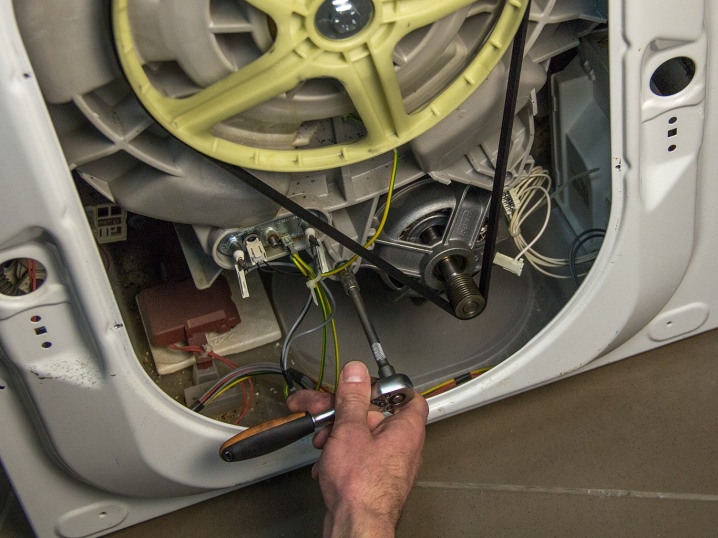
Before removing the tank and shock absorbers, it is required to dismantle the engine first. To remove it, you need to take a socket wrench and a 10 mm head, and then unscrew the bolts that hold the engine in place. When it is dismantled, it just needs to be put aside.
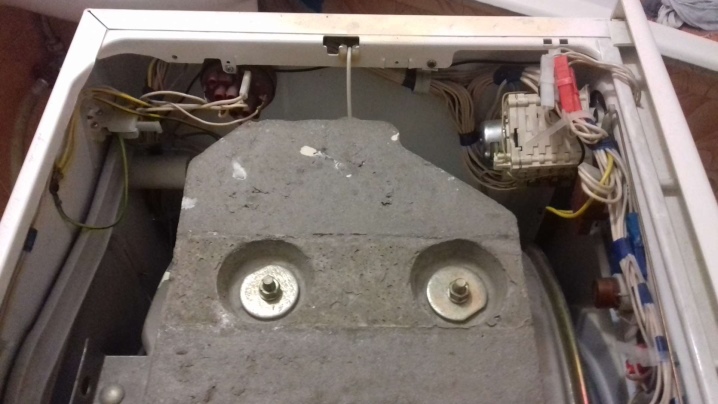
Now you need remove the first shock absorber, which is called the top counterweight or balancing stone. By the way, if its mounts are loose, this will cause the device to vibrate and bounce during the washing process. This element is fixed above the upper wall of the tank with 3 screws that must be unscrewed. The counterweight is now pulled back and tucked neatly to the side.
A couple more shock absorbers are located below and above the front panel of the car. To dismantle them, you need remove the plastic fingers of the shock absorbers using pliers, after which it remains to simply remove the shock absorbers from the supports.
To dismantle the tank, a few more steps are required. First, disconnect the hatch collar, which is secured with a special clamp. To remove it, you need to pick it up with a flat screwdriver and drive in a circle until a mount is found, which should be unscrewed. Now we remove the clamp and fill the cuff into the body.
We remove the tank.
To do this, carefully put the machine on its side so that it is possible to get close to the drain pipe and racks, which does not allow it to be dismantled.
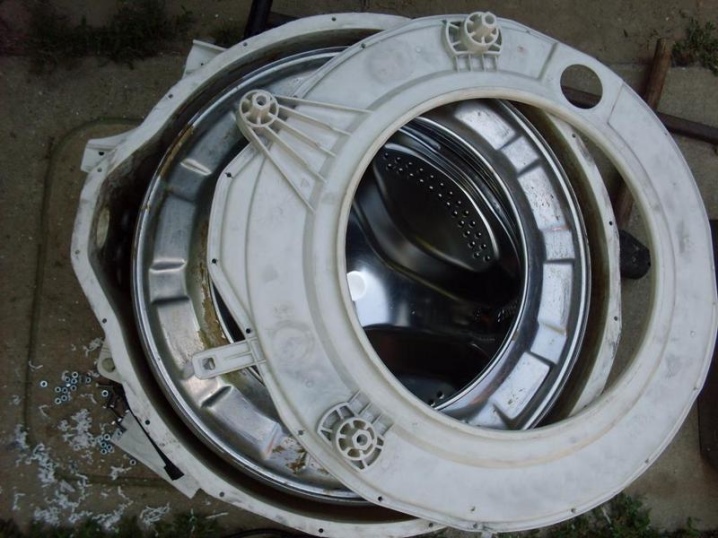
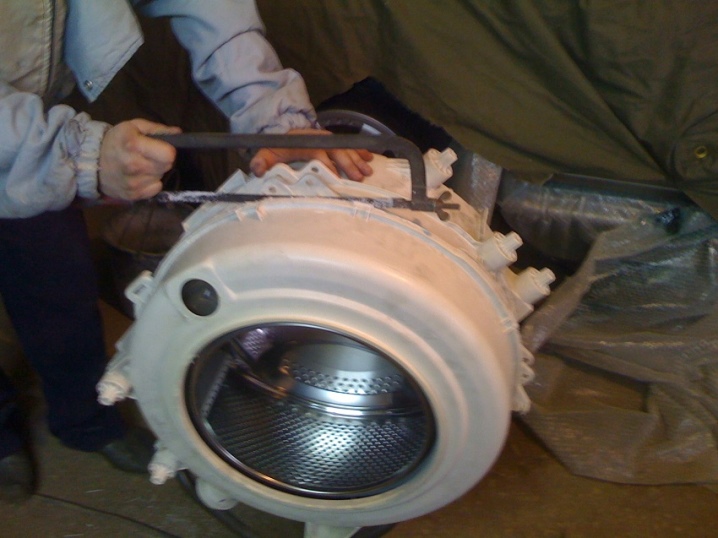
We take out the pallet, dismantle a pair of clamps and pull out the branch pipe... Now you need to unscrew the screws with a socket wrench and remove the stands. We put the device on its legs and we can take out the tank. By the way, in Indesit machines the tank is non-separable. To take it apart, you will need to cut it with a hacksaw.
Remaining work
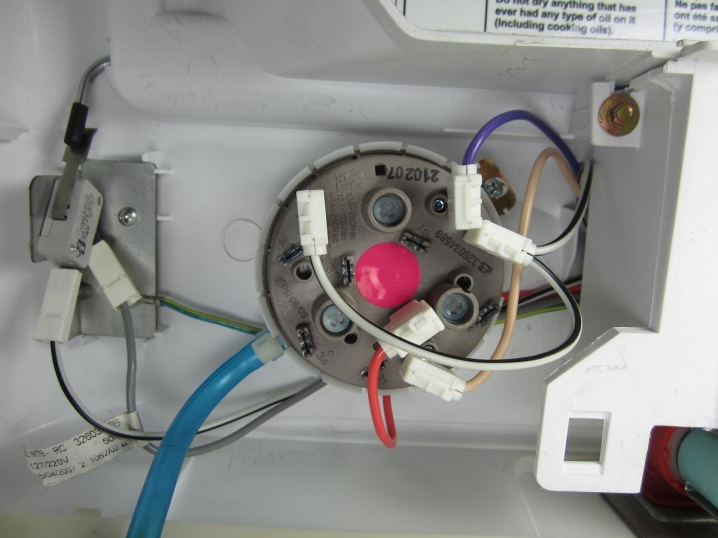
Basically, the washing machine has already been disassembled. There is very little left to do, namely remove the niche for the powder receptacle, the inlet valve and the water level sensor. If we talk about removing the valve, then we need to go to the back of the machine and unscrew the bolt in the place where it attaches to the device, after which it should be pulled out along with the tray. You will also need to disconnect the powder receiver branch pipe, which will lead to the niche below. The clamp will hold it.
If speak about water level sensor, then in this case, first it is necessary to disconnect the wires, and then simply pull the sensor out of the plastic mount. Here you need to be extremely careful to do not damage any of the specified items.
Helpful hints
It will not be superfluous to give a number of recommendations that will make the process of disassembling an automatic washing machine from Indesit even easier.
The washing machine is assembled in the reverse order, therefore, it will not be superfluous to clearly record the sequence of actions when disassembling. Another important point is that during disassembly, you cannot apply strong force to the parts. Should avoid possible deformation of the body, as well as the use of a hammer when removing the motor or removing the top cover.

Before starting work, be sure to drain all the water that is inside the washing machine. Otherwise, during disassembly, it may flood some electrical parts or get into the connectors.
For this one should unscrew the drain filter.
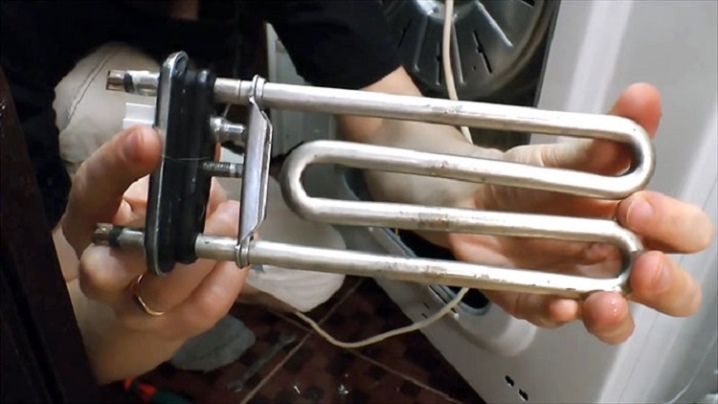
Also it will not be superfluous remove the heating element. You can, of course, do without it, but then you should be extremely careful not to damage it during further disassembly of the machine. Therefore, it is still recommended to remove this element so as not to risk its integrity and safety. Possible replacement of heating elements is not the cheapest pleasure.
Having removed a certain part that is out of order, you can only give it to the master for repair.This will save money, because the service center does not have to pay for disassembly and assembly of equipment. But it should be remembered that disassembly of the washing machine must be carried out very carefully, in full accordance with the drawings and diagrams, as well as with an understanding of exactly what actions are being taken.
How to disassemble the indesit WISL103 washing machine, see below.


The comment was sent successfully.