How to disassemble a Bosch washing machine?
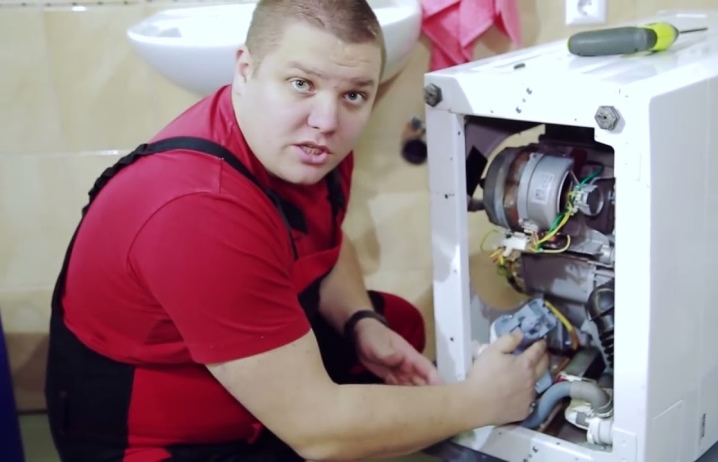
The famous Bosch brand has become famous for the impeccable quality of the manufactured household appliances. Many consumers today prefer washing machines from this manufacturer. They are presented in a wide range. In certain situations, these devices need to be disassembled. You can do it yourself - we will analyze this workflow in today's article.
Preparation for work
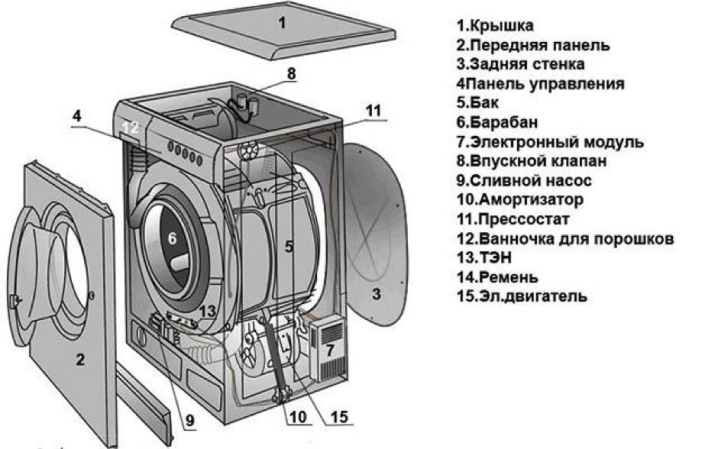
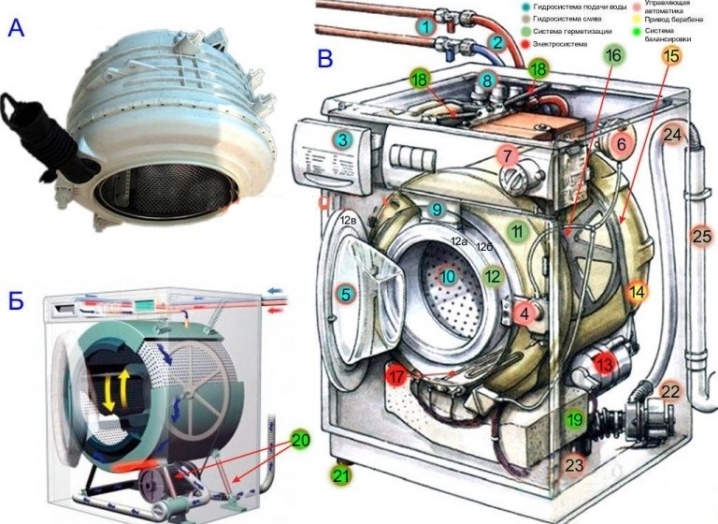
Carrying out absolutely any work is not complete without a preparatory stage. In the case of disassembling a Bosh branded washing machine, the home craftsman will first need to find out all the information regarding its device and design. By clearly understanding where this or that part is located, dismantling work is much easier and faster.
So, the Bosch Maxx6, Classixx, Maxx 5, Maxx4, WOP 2050 models and many other popular modifications of a well-known manufacturer are disassembled according to a single scheme.
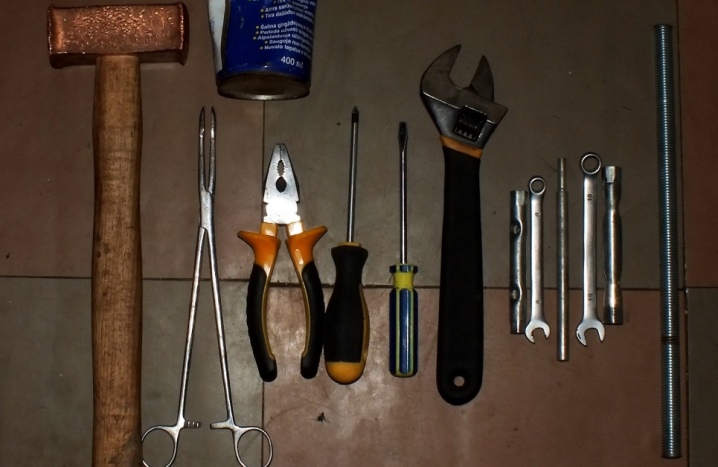
Before disassembling the washing machine, you need to prepare a number of necessary tools. It is advisable that they are at your fingertips during the work process, so that at the right time you do not have to look for the required device, wasting time. To disassemble the device, the home master will need:
- keys - wrenches and adjustable wrenches, of different sizes (ideally, it is recommended to stock a whole set of wrenches);
- hammer - it is advisable to prepare several hammers of different sizes (which one will be needed for dismantling work will depend on the specific type of malfunction and unit modification);
- screwdrivers - since the design of current machines provides for components fixed with different screws, it will be necessary to use several types of screwdrivers, namely: hex, cross, with a straight slot;
- pliers;
- hammer.
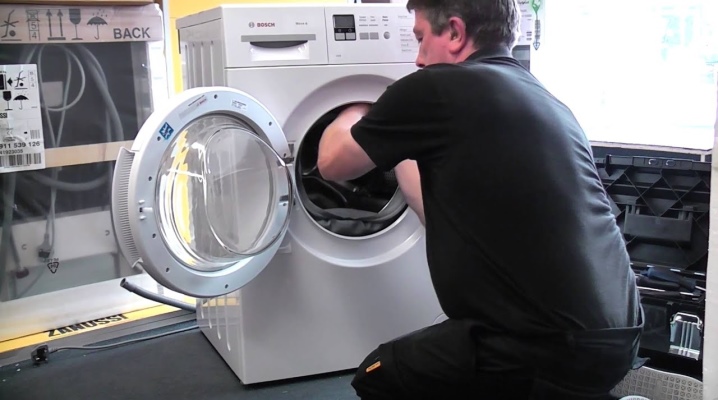
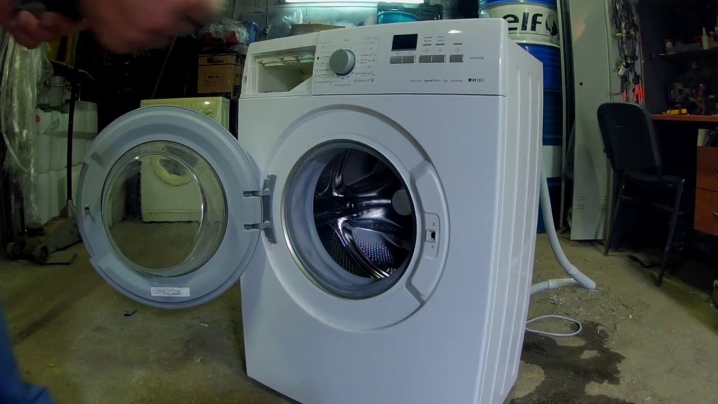
The unit will need to be pulled out to a free space where there will be no obstacles... Often people are engaged in disassembling cars in a garage or workshop, but not all users have this opportunity. If you can only disassemble household appliances at home, you will need to pre-clear the free space to comfortably carry out all the planned work.
Dismantling
After completing all the preparatory procedures, you can safely proceed to the step-by-step disassembly of Bosch household appliances.
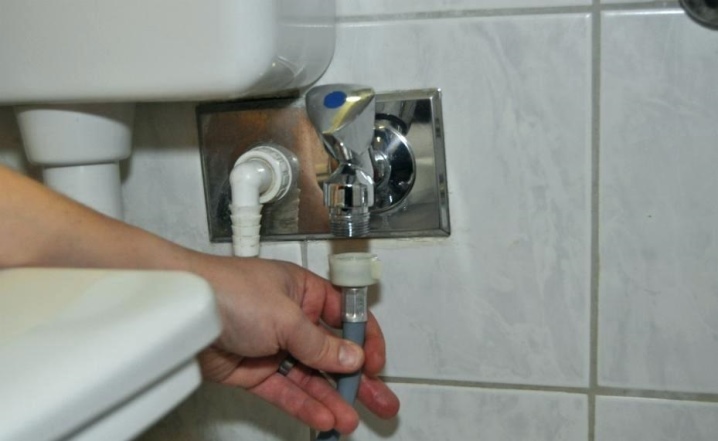
- The first stage of work is the easiest... You will need to disconnect the washing machine from the power supply, and from the water supply system, and from the sewage system. Don't forget about these processes. Only then can one proceed to other, more radical steps.
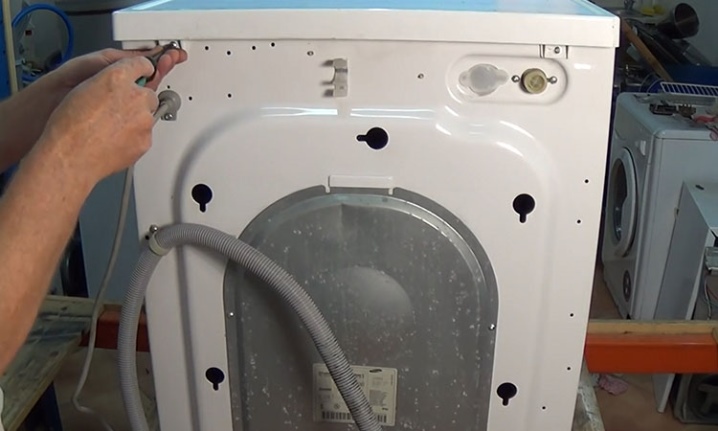
- Next, you need to remove the unit cover. To do this, you can use a Phillips or Hex screwdriver. You will need to unscrew the 2 screws at the back. Slide the top panel towards you, and then lift it slightly. Be careful. Otherwise, you could injure yourself on the uneven edges of the cover. Set aside the removed items so that they do not interfere with you.
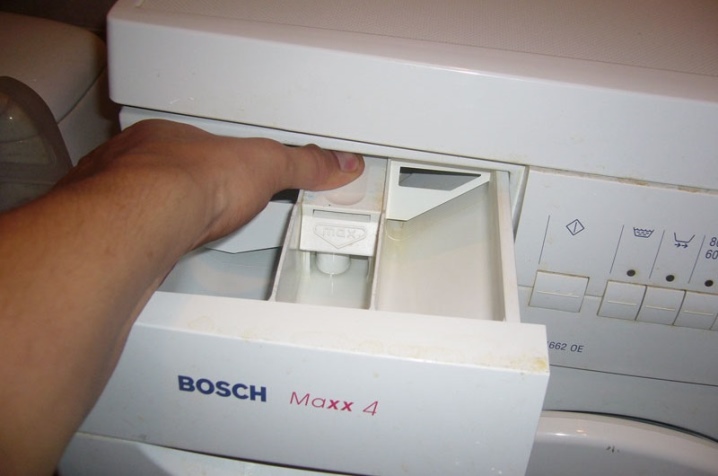
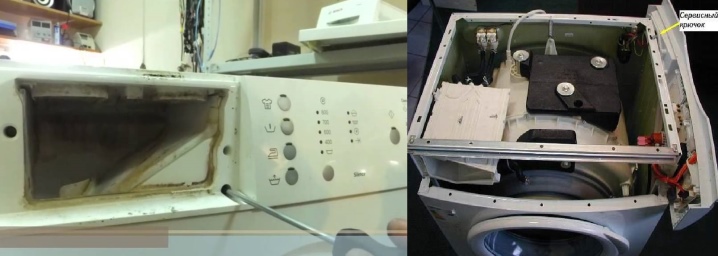
- Remove the container into which detergents (powders, conditioners) are introduced. To do this, you need to press on the center latch. Pull forward to remove the dispenser.
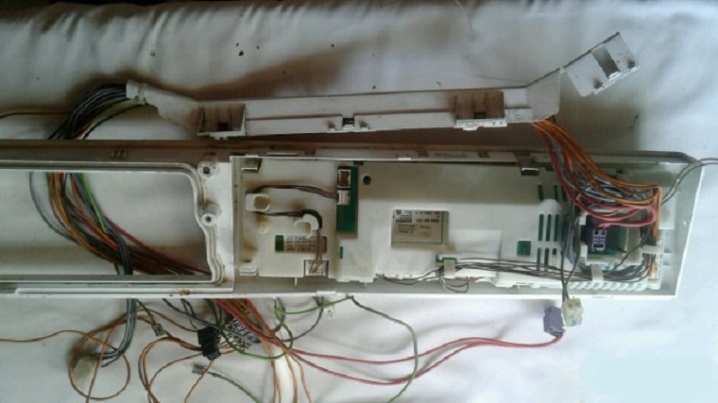
- Bolts will appear behind the dispenser. Release the latches with a screwdriver. Remove the control panel of the machine. Disconnect all wiring that follows with the utmost care.
But before that, it is recommended to capture everything you see in the photo, so that you can then correctly attach all the components.The wires do not need to be disconnected - the panel may well hang out on a special service hook.
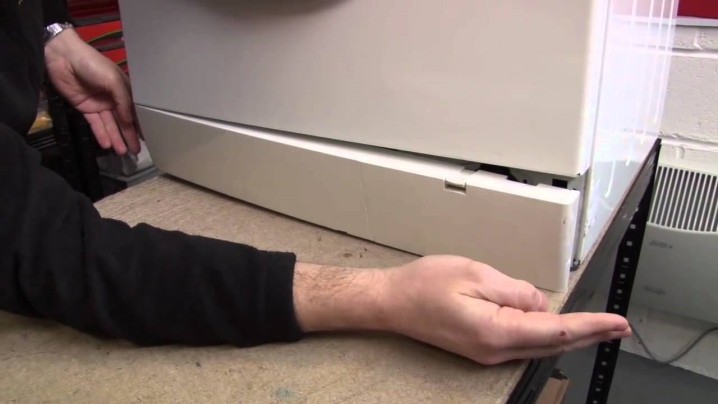
- Now you need to remove the bottom wall of the facade. This is the part of the machine that attaches thanks to the latches. Removing the bottom cover is very easy - just release the latches.
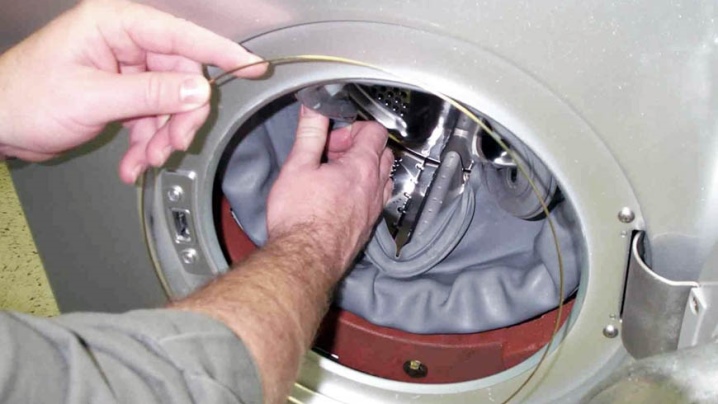
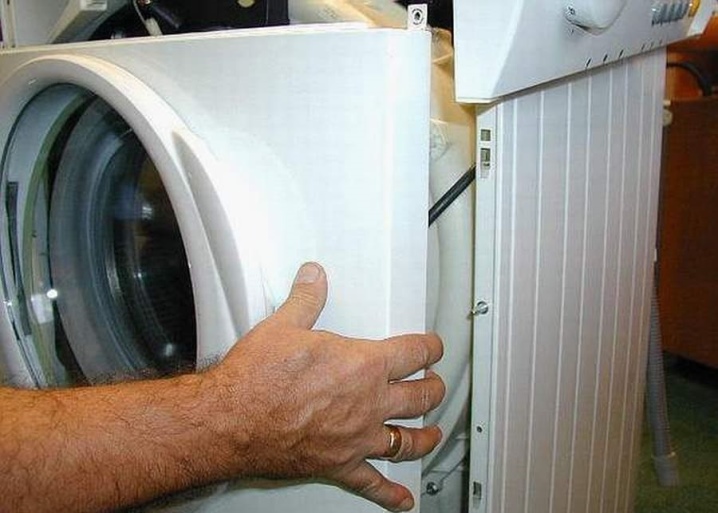
- The next step is to remove the front panel of the unit. To do this, open the hatch door. Remove all screws and remove it before disassembling this part. Doors are usually hinged.
Proceed as carefully and carefully to avoid damaging the glass element. Having tucked the cuff into the inner cavity, prying the clamp with a screwdriver, you can pull off the machine's hatch.
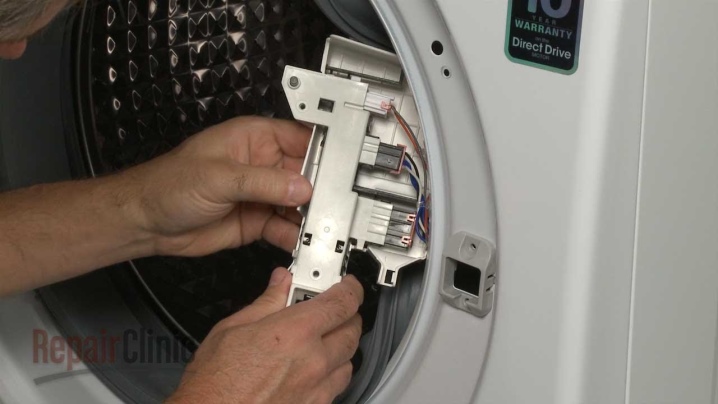
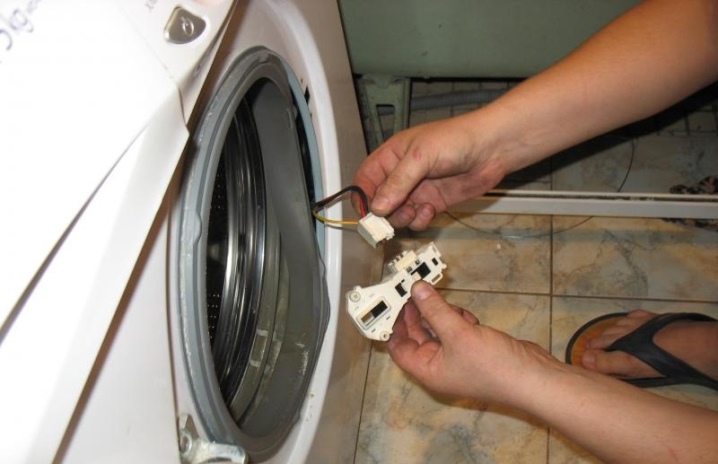
- Unscrew the connecting bolts with which the lock is fixed. Get the UBL. Having disconnected the wires from the UBL, remove the locking device from the structure.
- Unscrew the self-tapping screws with which the front wall is fixed. Then carefully remove it and set it aside.
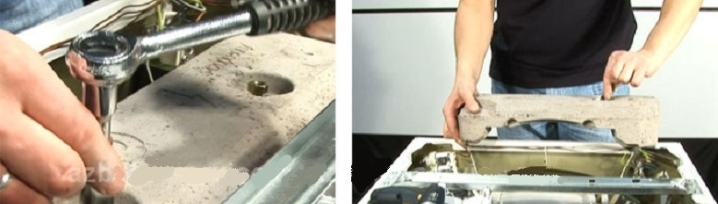
- Unscrew all bolted back wall connections. After that, all the internal elements of the device will open in front of you. Now you can unscrew the bar, which is responsible for connecting the halves of the body part. Using a wrench of a suitable size, remove the counterweight at the top. Do the same with the counterweights located next to the loading door.
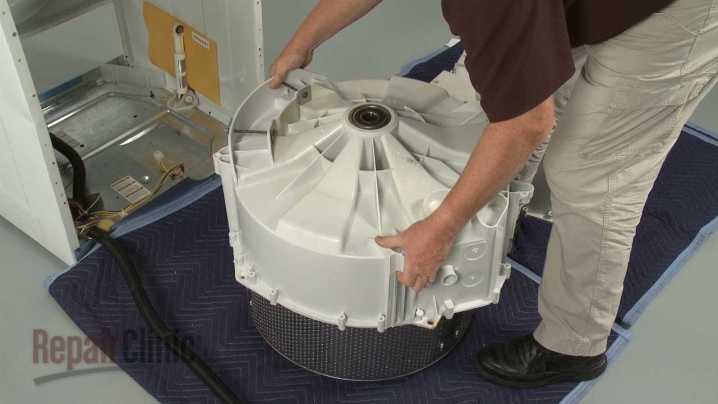
- Now you need to get the tank of the device. This is a bulky spare part, so it is necessary to carefully clean the interior of the equipment and dismantle the components that are connected to the tank.

- Remove the cuvette by unscrewing the corresponding tube... Disconnect the inlet valve from your branch pipe too. Then comes the turn of the filtering part and the pressure switch. Pick up the receiver from the latter. Any components you have disconnected should be put aside. There is nothing in the upper half to prevent the assembly from being pulled out.
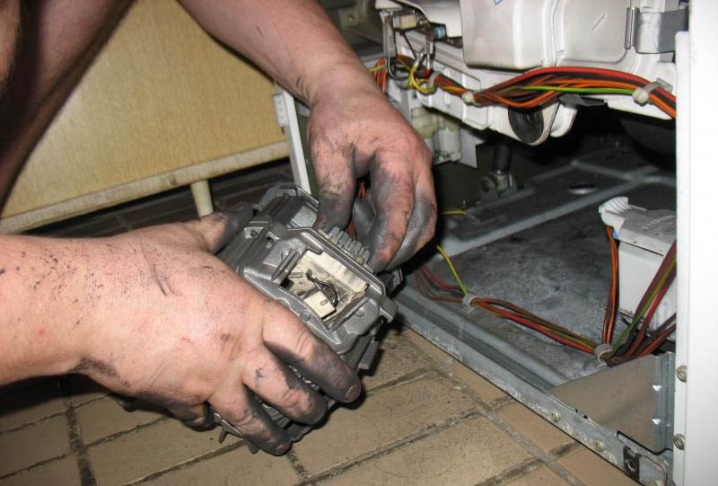
- Next comes the disassembly of the rear of the equipment. Here you need to remove all fasteners and spare parts, such as the drive belt, wires that lead to the engine, bolts that hold the engine on the suspensions. Gently swinging the motor of the machine, remove it from the structure.
Be careful - this part is usually heavy.
- Remove the pump... This can be done by moving the machine to the left. Dismantle the bottom of the machine, if it is present in its structure.
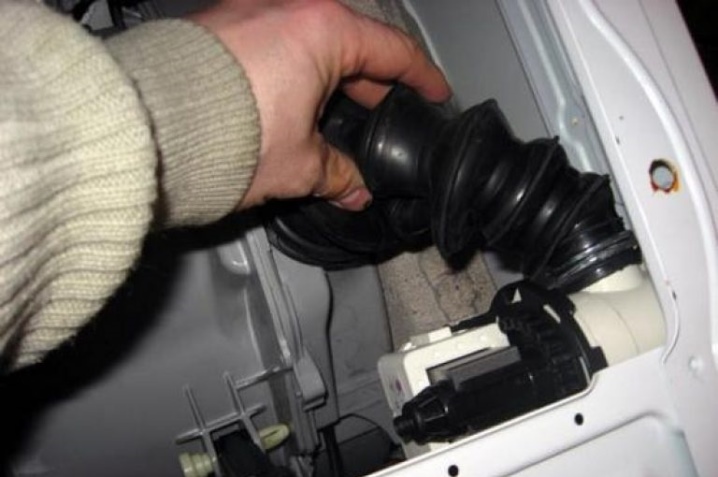
- Take the pliers and use them to unclench the drain pipe clamp. Remove the wires that are connected to the pump. Unscrew the bolts that secure the pump, and then remove it.

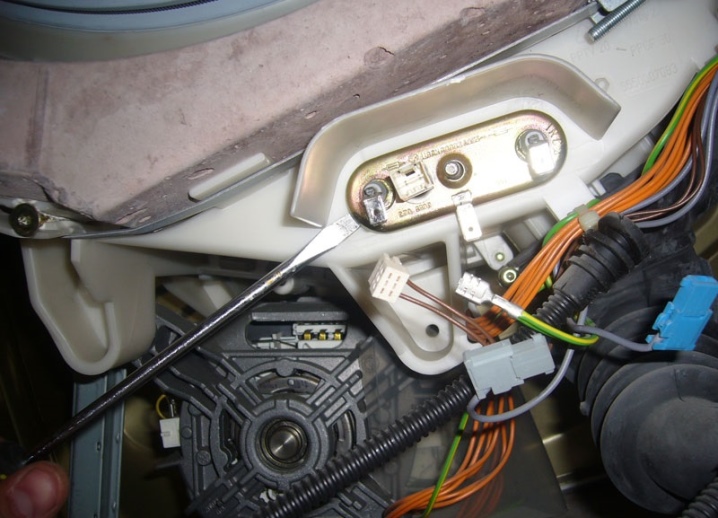
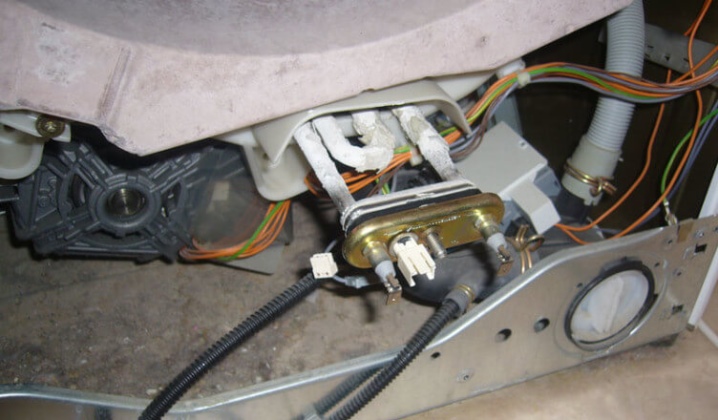
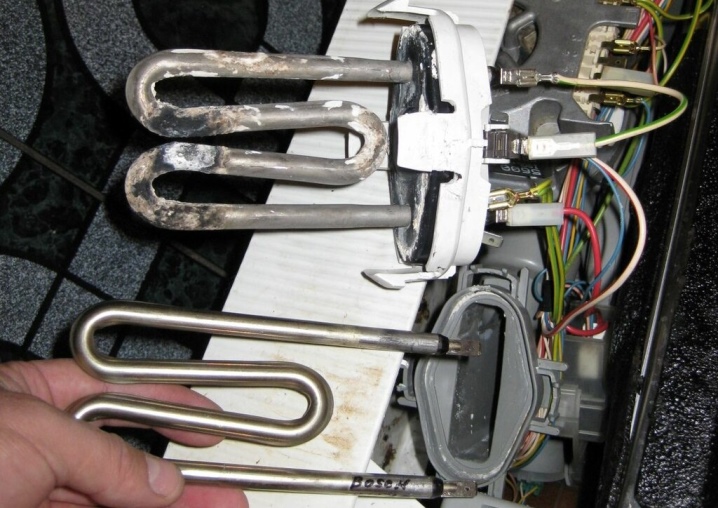
- Detach the wiring from the heating element (heating element). In Bosch typewriters, it is located in the front half, at the bottom of the tank. Do not reach the heating element so as not to break the rubber seal - it will not be possible to restore it.
Wiring can be attached to the walls, which is held by the bundles - they need to be eaten with nippers. Remove the shock absorbers. Remove the device tank and take it out through the front.
- Bosch washing machines have a collapsible drum - this is very good. Disconnect the pulley and block the rotation of this part with the support. Unscrew the bolt in the center. Then move on to the bolts that connect the tank halves to each other. Remove the top.
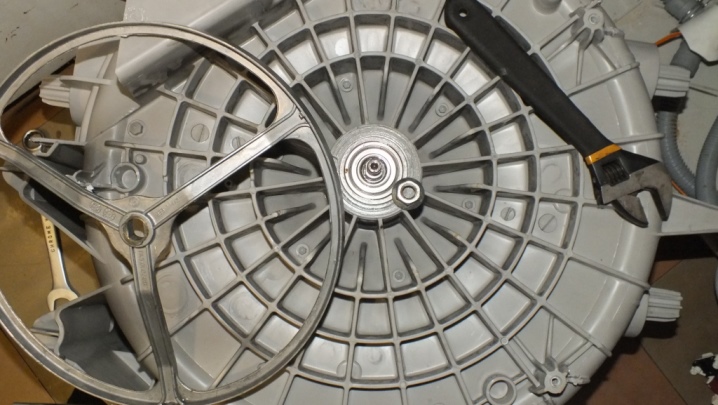
- By turning the lower half, you can see the stem - do not hit it too hard with a hammer to remove the drum from the structure. Taking it out, you will see the bearings. They need to get out like this: first you need to remove the oil seals by prying them with a screwdriver. Then, using a chisel and a hammer, the bearings are knocked out.
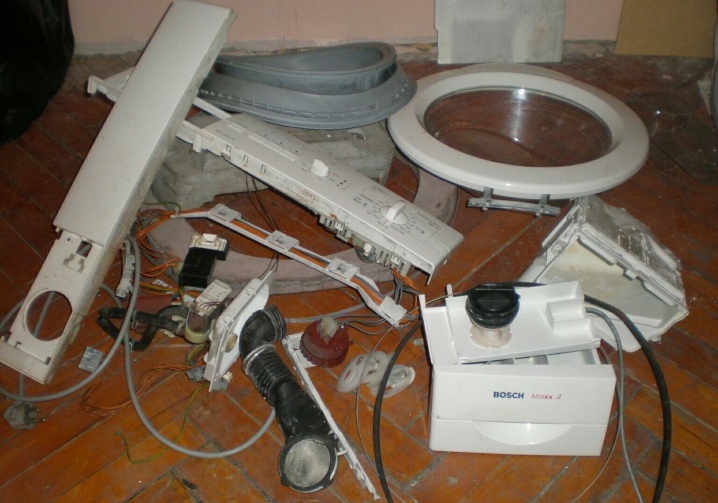
- Having disassembled the unit, carefully inspect all its constituent elements.
If some parts are badly worn out, it is better to replace them without waiting for breakdowns later.
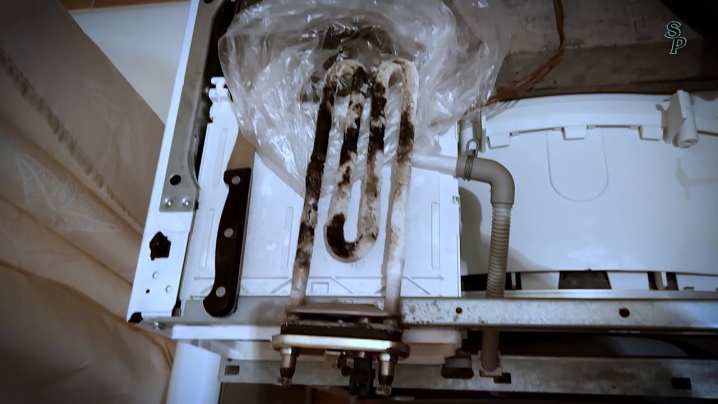
Look, how much scale has accumulated on the heating element and the walls of the tank. If you haven't done preventive cleaning, there will be ample deposits in these areas. We must get rid of them - before reassembling all the elements, it is worth cleaning them.
General recommendations
Today Bosch washing machines are considered one of the most popular and demanded. The well-known brand has long conquered the market, so in many homes you can find household appliances of its production. If you have planned to disassemble a Bosch clipper yourself at home, you should arm yourself with some helpful tips and tricks.
- Especially carefully it is necessary to remove control panel of Bosch machines. Short bundles of wires stretch to this part. If you tug on the part with too much zeal, they will simply tear.
- The corresponding wiring is suitable for the locking device of the hatch of the washing machine, which also need to be treated with the utmost care. Try to disassemble them so that they do not accidentally break off. Remove the UBL carefully.
- New models of Bosch clippers the heating element is located at the front, and not at the back of the cistern, as in most other automatic devices.
- At all stages, you can take photos of your actions... Some users prefer to sketch a diagram of their household appliances and mark all important nodes in the figure. Thus, you will make it easier for yourself the process of reassembling the equipment, since you can look at the photo or sketch to find out exactly which part should be located where.
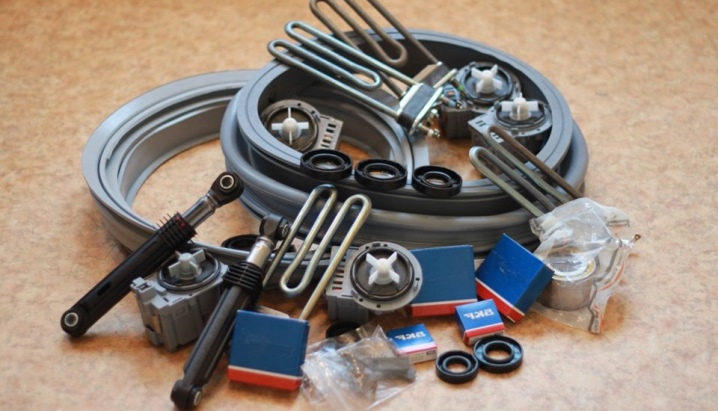
- If you disassemble a machine in order to change certain spare parts of equipment, you should find a suitable replacement for them. To do this, you can take an old part and go with it to a specialized store or find out the identification number of the components of the unit in order to buy the correct counterparts. The entire repair kit should be kept close at hand along with the tools during disassembly.
- All removed parts should be put to one side. Otherwise, they will interfere with you, you can get confused in the nodes with which you work. Often in such conditions, home craftsmen lose the necessary elements. Set them aside in one place so that you can later take and put them back.
- Be careful with small parts and fasteners. Often, such things are lost during disassembly or get stuck falling into the disassembled structure of the machine.
- It will be very good if you find the manual for your Bosch household appliances before starting work.... Often, it is here that the main features of the device of the machine are indicated, as well as the necessary diagrams, indicating the location of various important elements.
- Do not try to disassemble branded equipment with your own hands if the described instruction scares you... If you are afraid to make a serious mistake when assembling or disassembling the machine, it is better to entrust all the work to service workers or experienced repairmen. If the device is still under warranty, you cannot repair it yourself - you have to go to a Bosch service center, otherwise you will lose warranty service.
You can get acquainted with some of the features of disassembling a Bosch washing machine in the following video.


The comment was sent successfully.