Setting up a laser machine

The CNC laser machine is ubiquitous in the production of parts and components for various mechanisms and devices. High accuracy, speed, efficiency of its work came in handy in terms of copying products. To make it work properly, you need to periodically check its settings.
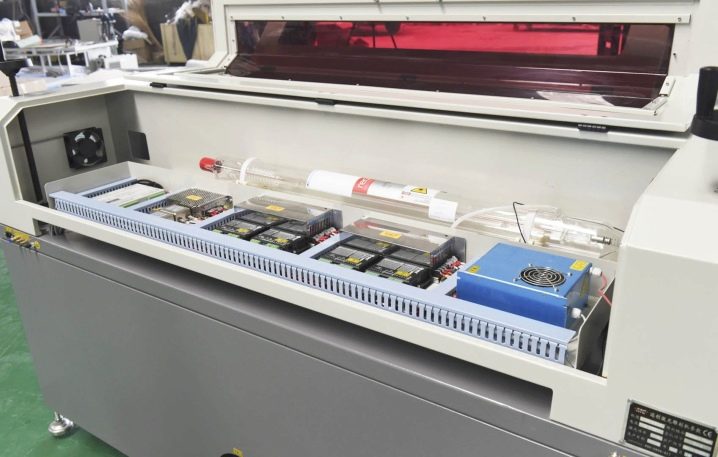
Setting up the bed and discharge tube
The laser machine has a gas laser - a gas-discharge tube with an ultra-small angle of divergence of a beam of bright light. The setting of the machine is checked starting from the bed.
A laser machine - industrial or desktop home - is installed almost always parallel to the earth's horizon (and the floor). You can verify that the device is positioned correctly using a laser or liquid bubble level gauge.
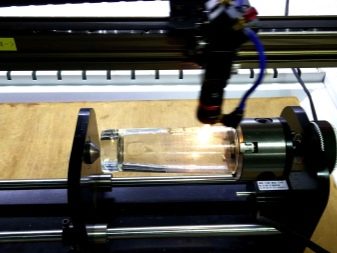
The gas discharge tube of the laser is fixed in the device bed with clamps. The bolts are screwed in carefully - the glass must remain intact.
Live wires are connected in accordance with the wiring diagram. Before installing the laser in the machine, make sure that it is intact, including all its internal compartments. This can be achieved either visually or by carefully tapping the flask with a metal object, for example, a thin nail. The container in which the cracks have formed has a dull echo. Do not interfere with the inner structure of the flask.
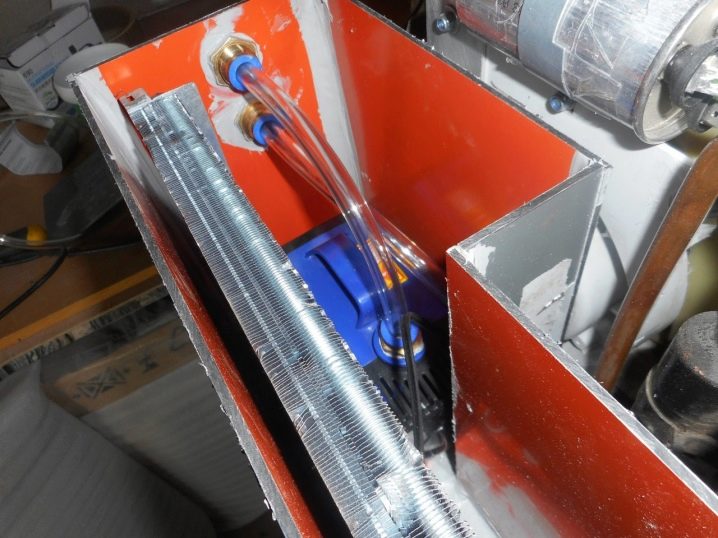
Cooling system setup
Water cooling prevents the tube from overheating - the fact is that it emits a decent thermal power, not all electrical energy is converted into light (monochrome radiation). The built-in cooling system is included in the complete set of the machine, the external one resembles an additional fan. Before starting the laser machine, make sure that the water is not contaminated, the hoses have a free clearance for circulation everywhere, and the inlet and outlet pipes are securely connected to the pipes. Contaminated water abruptly loses a significant part of its heat-removing properties.
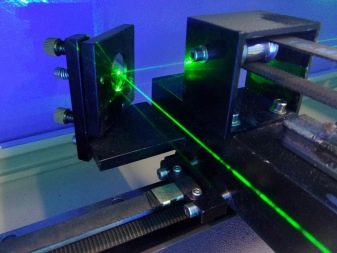
Alignment
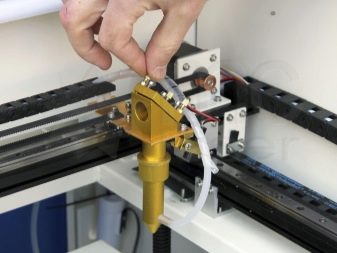
After checking the components, the accuracy of the laser beam hitting the part is set. The optical system for directing the particle stream includes three mirrors and one collecting lens. Mirrors are fixed at a specific angle to consistently reflect the laser beam. A slight discrepancy will cause the beam to scatter or change direction, making high-quality machining of parts impossible. The lens must remain intact - even microcracks in its thickness will lead to scattering of the beam, as well as contamination on its surface.
Working with mirrors and lenses is done with lint-free gloves.

The laser emitter is installed strictly along the abscissa axis. To clarify the position of the laser beam, first of all, set the optimum power delivered by the emitter. Then the manual feed is set by pressing the Z / U button, after which the command "Laser setting - Manual mode"... Enter the laser pulse interval. This measure is aimed at reducing power consumption and saving the resource of the laser gun.
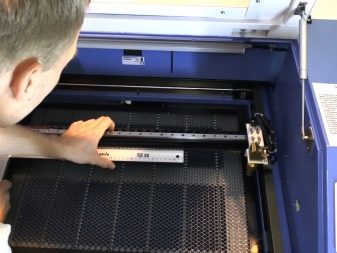
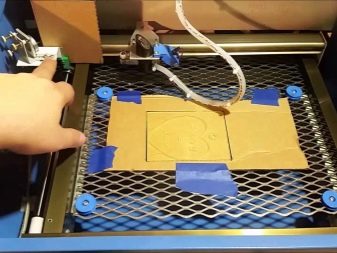
A laser beam is directed to the center of the first mirror. Next, a mark is installed on the second mirror - it is needed so that the first mirror is adjusted. The carriage, located on the ordinate axis, must ensure that the laser beam hits the center of the second mirror.The third, in turn, is also set along the abscissa axis. The task is to ensure that the beam hits all three mirrors exactly in the center, preventing it from deviating from the target. The target on the desktop can be the crosshair marked on it. A test piece is used to prevent damage to the table.
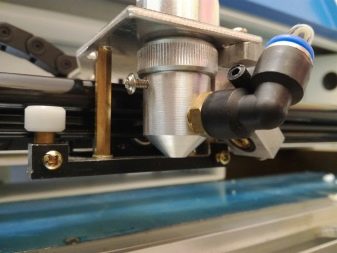
To align the target on the build plate and the nozzle, lift the surface on the plate up until it touches the nozzle. Then lower the nozzle without moving the target relative to its location.

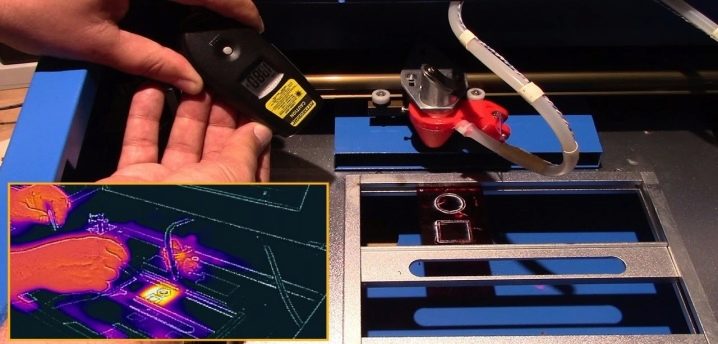
Finally, proceed with the final debugging of the laser machine. The beam at the output of the laser emitter hits exactly the center of the lens, without touching the walls of the nozzle - this would cause the loss of the main power due to the scattering effect. Checking the adjustment accuracy is done in an easy way - a piece of electrical tape is glued to the output of the laser head. If it melted at a point exactly in the center, then the adjustment was successful.
Useful Tips
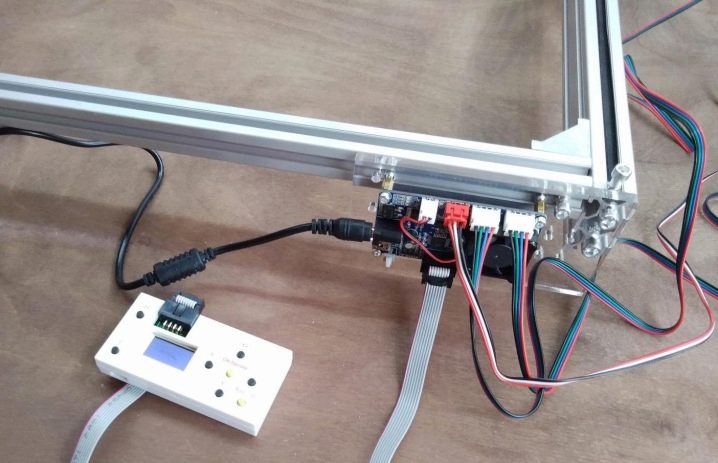
The machine, before you set it up, must be prepared for work - the correctness of the beam path and the clarity of the course of the object table must be checked (if, according to the specification, it moves in certain directions when processing parts).
Do not deviate from the recommended focal length of the lens when making adjustments and machining parts on an already adjusted machine.
For lasers, as you know, a lens with a short focus is used - an attempt to replace it with a long focus lens will immediately nullify all the adjustment already performed.
The adjustment of the machine is carried out only after the clarity of the alignment along the coordinate axes. The working area should be located exactly on the level (strictly horizontally) and in the same plane with the coordinate axes. The alignment of the emitter and the nozzle is strictly observed during adjustment.
Do not try to adjust the machine using the above technique, on which the developers did not provide such opportunities for its adjustment.... Only the comparison method and the elimination method will help here, allowing you to find approaches even to those laser machines for which comprehensive information about their maintenance is not provided.
How to set up a laser machine, see below.


The comment was sent successfully.