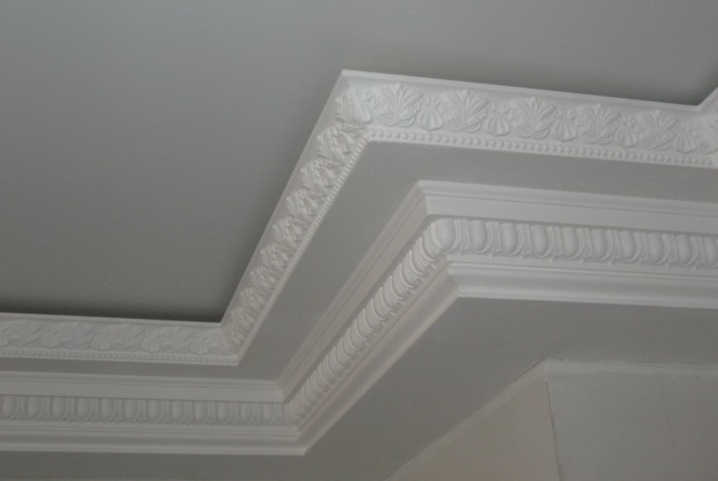
How to make an inner corner of a ceiling plinth?

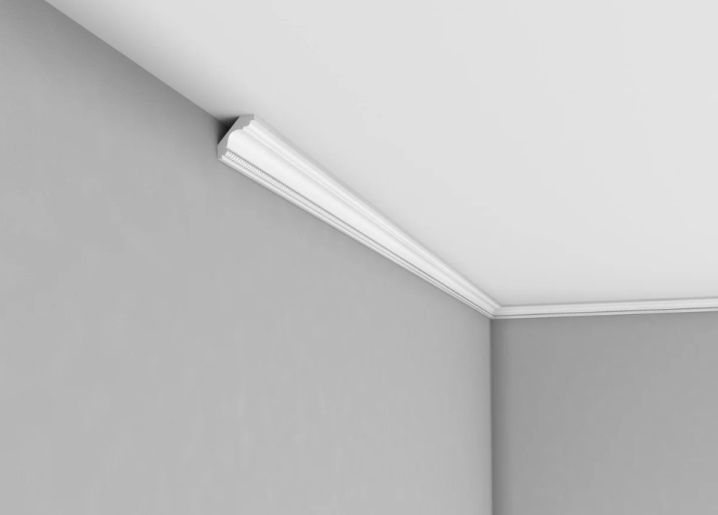
Today, the assortment of ceiling plinths pleases customers with a chic variety. Such components are made from different materials and apply different designs to them. Plinths are easy to install, but often this requires you to first make their inner corners. In this article, we will figure out how to do it correctly.
Features of cutting different skirting boards
As mentioned earlier, modern fillets are made from a variety of materials. The features of cutting parts depend on this characteristic. Let's take a look at some of them.
- The most durable material used in today's skirting boards is wood. When cutting such components, the most serious resistance arises, due to which chips and burrs may appear on the cut. Skirting boards made of wood, especially those with a small width, are advisable to file only with a hacksaw for wood with small teeth, or use an electric jigsaw with the same "delicate" file.
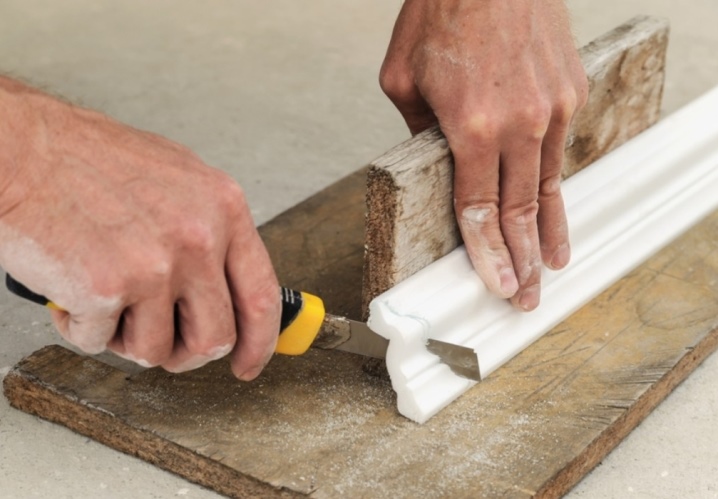
- Expanded polystyrene (styrofoam). The most fragile and lightweight material used in fillet production. During cutting, it can easily crumble. It is recommended to cut out such elements using a sharp clerical or construction knife. Carrying out such a process, you do not need to press with the blade with excessive zeal, because the notch zone because of this risks being squeezed through, which will negatively affect the appearance of the components. The work must be carried out with the utmost care and thoroughness so that there is no crumbling or deformation.
- Extruded (extruded) polystyrene foam. It is a more reliable and durable material that can be cut easily and does not leave crumbs. Cutting elements from such a material is much easier, since burrs or shells are extremely rarely formed on it. However, such parts are flexible, so it is problematic to keep on a curved surface.
- Polyurethane. Both rigid and flexible skirting boards are made from it, so they can be installed both on relatively uneven and frankly curved sections.
It makes sense to cut flexible options only with a sharp knife, but with respect to hard ones, you need to do the same as with extruded polystyrene foam.
How to cut the inner corner?
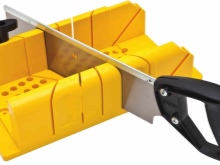
It is necessary to cut the plinth correctly to prepare the inner corner. For this, a specialized tool is used - a miter box, but you can carry out work without it. Let's get acquainted with all possible ways to trim parts.
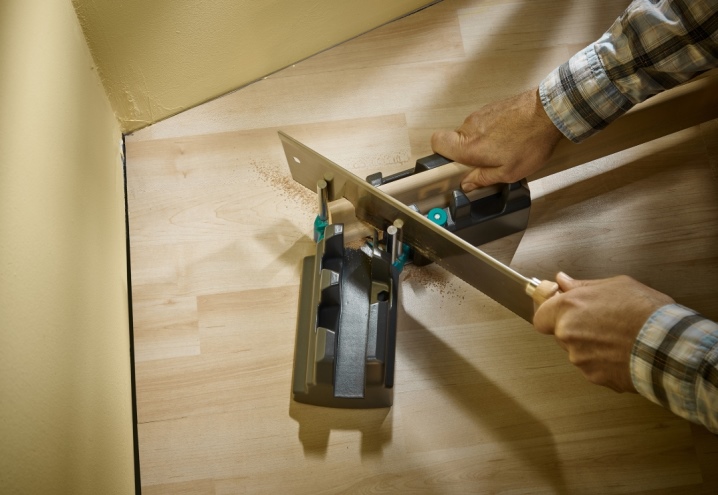
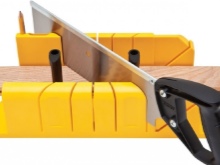
With miter box
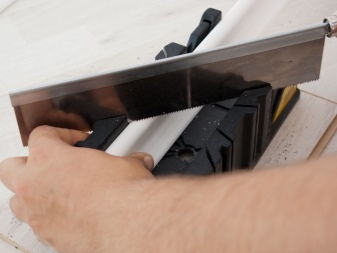
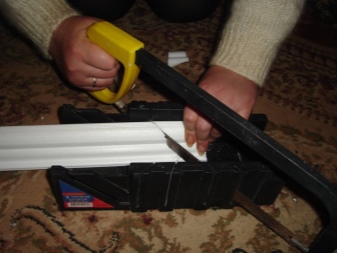
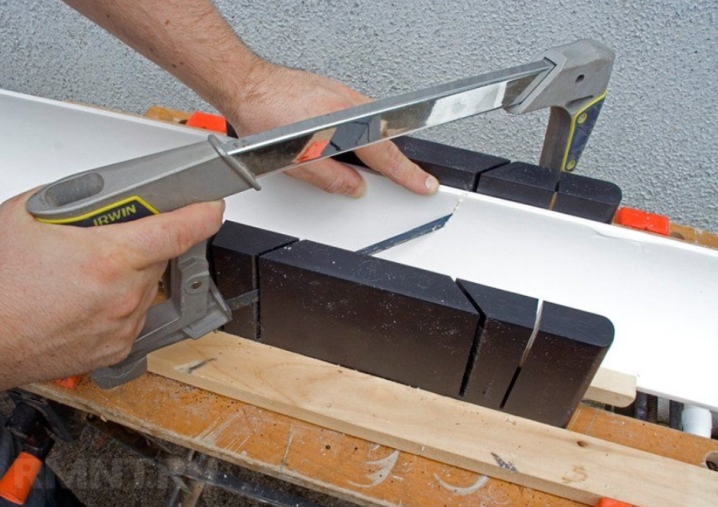
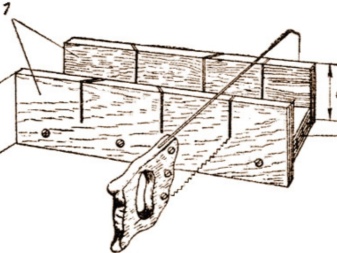
Most craftsmen prepare skirting boards for ceiling installation using a miter box. With this device, you can easily cut the necessary parts at home, without spending a lot of extra time. Let us analyze in stages how you can correctly saw off the fillet using a miter box.
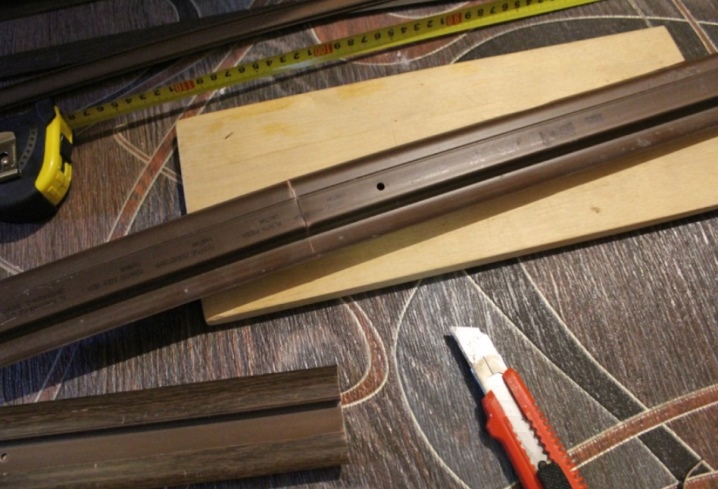
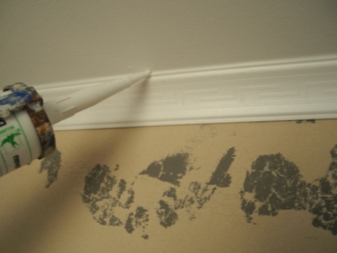
- First of all, the blank of the ceiling plinth will need to be applied to the surface of the base and mark the length.
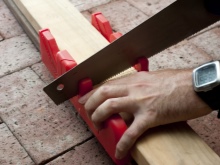
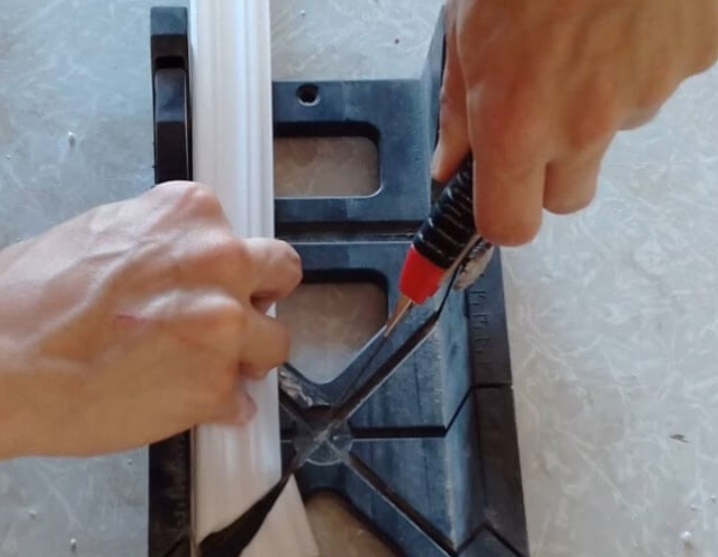
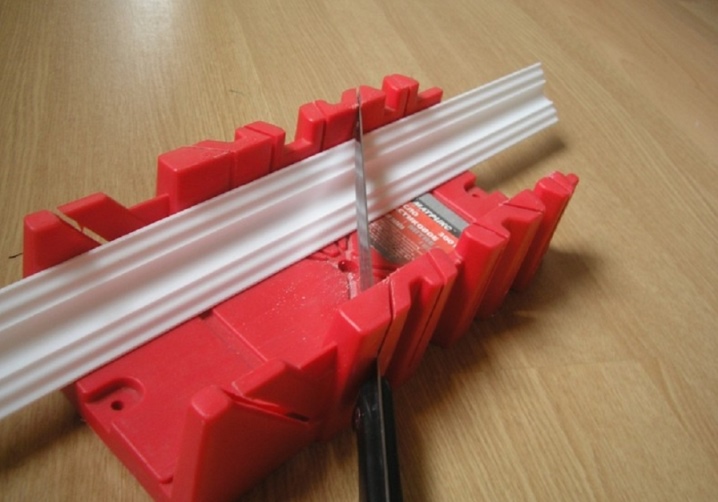
- Then a piece of molding should be placed in the miter box in the same position as it should be installed on the ceiling.
- The fillet is pressed as tightly as possible against the back surface of the tool.
- With one hand, you need to hold the workpiece so that it does not move along the cut.
- Lock the hacksaw at a 45 degree angle to the workpiece.
- The skirting board must be trimmed, keeping the degree of pressure of the hacksaw under control, so as not to harm the part.
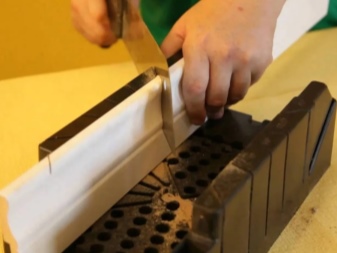
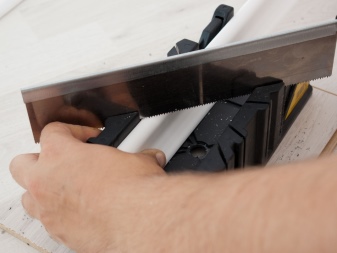
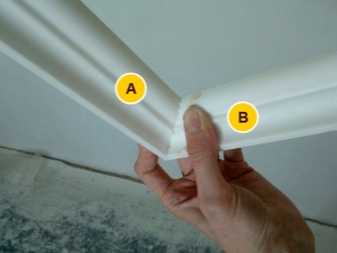
- Next, you should proceed to cutting the "mating" part of the plinth. It must also be attached to the far wall of the miter box.
- The prepared part is pressed and held by hand so that it does not move.
- The hacksaw is set at an angle of 45 degrees in relation to the workpiece so that the direction of the cut is opposed to the first part of the fillet.
- And finally, the corner of the plinth must be cut off.
Without miter box
Moldings intended for installation on a ceiling base can be sawn off without a miter box. It so happens that this method turns out to be more effective, so many masters turn to it. Let us analyze in stages how to trim the moldings in this way.
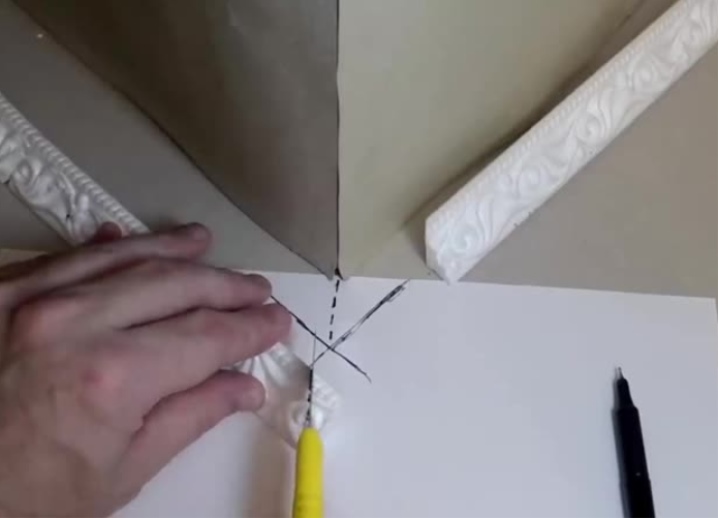
- It is necessary to place the part so that its edge rests against the joint of 2 walls. Be sure to mark this position with a pencil.
- Similar actions will need to be performed with the molding and on the opposite side.
- At the junction of the wall and the ceiling base, it is necessary to connect the intersecting points and draw a line diagonally. Then it is required to mark it on the plinth itself. This will be the mark for future cutting.
- Cut the part with a sharp blade along the marked strip. When docking, the components must be perfectly aligned. Using a similar technique, it is possible to cut the material to form the outer corners of the skirting boards.
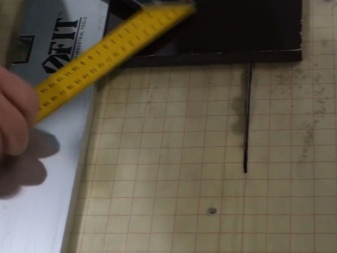
How to use the template?
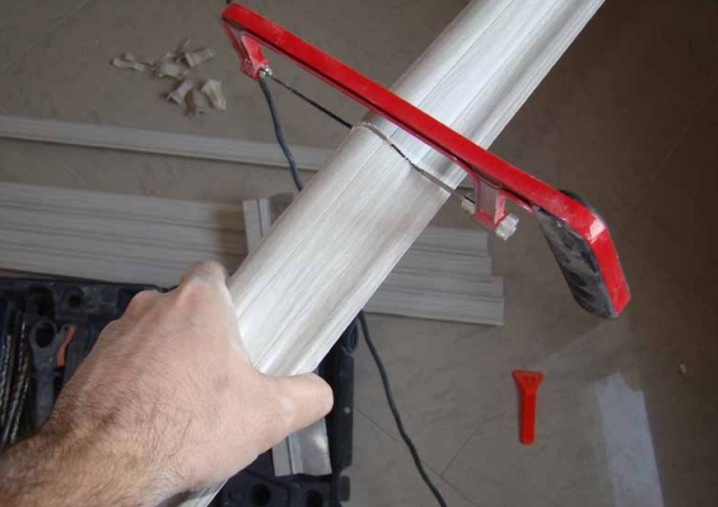
When cutting moldings, you can use the miter box template. It is necessary to apply 2 parallel lines on it. Then they calculate the central point and, starting from it, lay any desired corner with a protractor. Before sawing this designated corner, it is recommended to double-check the size of both the inner and outer corners between the walls in the room. For this, the same simple protractor will come in handy.
The principle of trimming ceiling skirting boards using a template is about the same as when using a standard miter box.
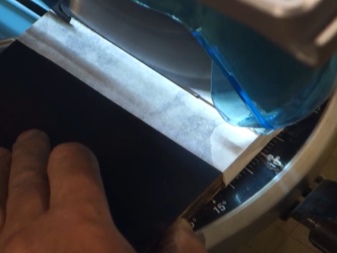
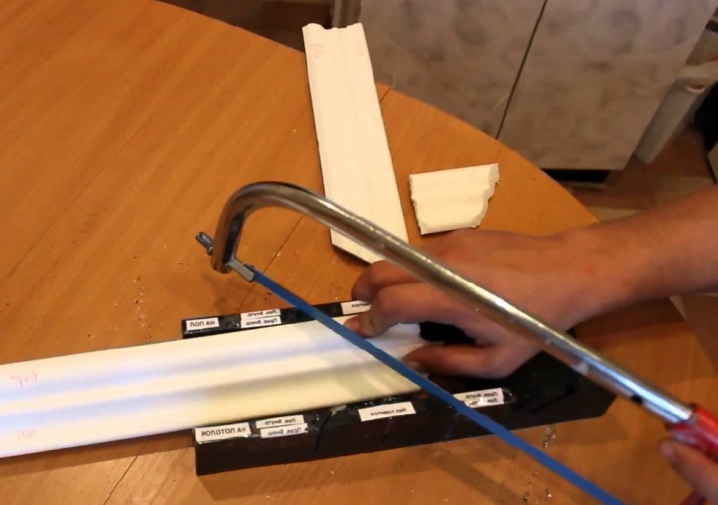
In this case, the prepared part must be pressed against a parallel drawn line and, having fixed the hacksaw at the required angle, cut off the workpiece.
How to make a miter box with your own hands?
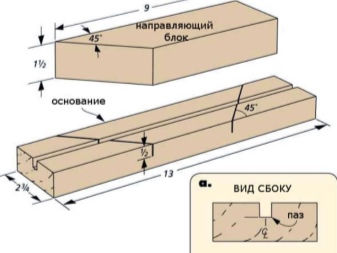
You can make a miter box for trimming skirting boards with your own hands. It is advisable to undertake such work for masters who have skills in working with drawings. The miter box can be made not only from a paper template, but also from wood. There are only 2 ways to make it from this material. Let's consider each of them.
- Prepare 3 wood planks. Instead, plywood strips will do. Using nails and a hammer, construct a "U" shape out of wood pieces. On the side bases of the resulting item, outline the corners that will be needed for further work with the moldings. It is on them that the incisions will be made. The end result is a chair-like structure.
- This is a kind of combination of a miter box made of wood and a paper template. 2 planks or boards will come in handy. A figure-corner is assembled from them. On whatman paper, lines are drawn corresponding to the angle of a segment of 45 or 90 degrees. Before trimming the plinth, it will be possible to draw any type of angle - this is the main advantage of a home-made device in comparison with purchased copies.


How to dock?
The master must know how to properly fit the prepared ceiling plinths. If the fastening of the first corner is successfully completed, you might think that you have practically learned how to work with such elements, but not yet completely. It is also necessary to figure out how to correctly connect the corner sections and cut the moldings themselves to length. When some part is already glued and a very small distance remains to the corner, you can seriously make a mistake with the length parameter. In order not to face such a problem, it is imperative to leave a margin.
First you can cut a longer piece (10-15 cm longer). Then it will be possible to repeatedly determine if something does not go according to plan and does not work out right away. Then you will need to build a corner using one of the methods described earlier. Try on the part carefully (while still dry). You need to adjust the existing components to achieve perfect results. Only after these procedures can the already cut molding be attached and mark the area to which it will need to be shortened.
Pruning must be done at a 90 degree angle. In this case, there is no need to use the miter box. You can simply correctly substitute a sharp knife strictly perpendicular to the surface of the part.

Recommendations
Before making the correct inner corner of the ceiling plinth with your own hands, it is advisable to "arm" yourself with some useful tips and tricks.
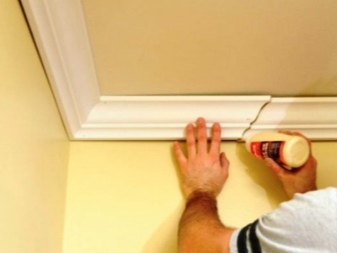
- If, while doing the fitting, you notice that certain errors and shortcomings remain, then the correction can be made using a small knife or sandpaper. Only after making sure of the perfect fit can the skirting board be permanently glued to the base.
- When trimming ceiling moldings, you must act carefully and deliberately. Don't be in a hurry. Excessive haste will necessarily lead to serious mistakes and damage to materials.
- Choose the best quality and most suitable tools for working with skirting boards. The tougher the raw materials from which the moldings are made, the sharper the device for cutting them must be. For styrofoam specimens, you can use an ordinary knife. Wooden parts will not lend themselves to such devices - it is advisable to saw them with an electric jigsaw.
- The plastic from which the skirting boards are made must be cut from the front side. You need to follow this rule in order to ultimately achieve a smoother and more aesthetic cut.
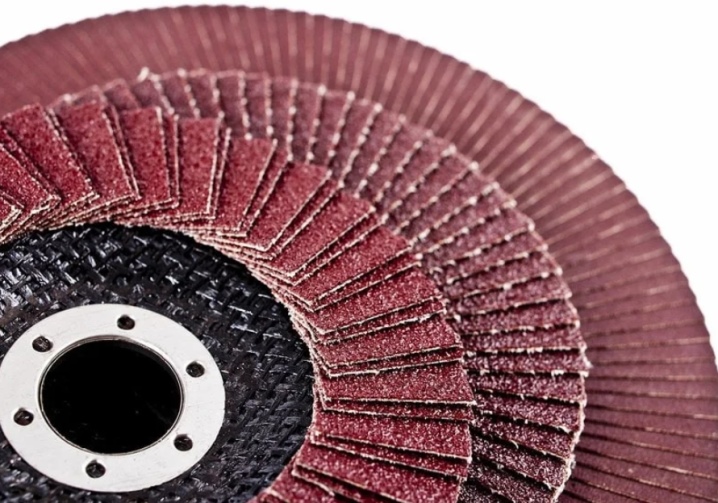
- Before gluing and adjusting finished and cut skirting boards, it is recommended to process their edges using a fine grain abrasive.
- When trimming the wooden skirting boards and forming the correct angle, it is necessary to monitor the presence of the remaining errors. It will be possible to get rid of them by cleaning with a file.
- If you decide to make a miter box with your own hands, for example, from wood, it is recommended in advance to draw up a detailed drawing of the future tool, indicating all dimensional parameters and design features. In this case, improvisation will be superfluous.
- If you need to trim both the inner and outer corners on the same fillet, then it is recommended to start with more complex actions. First, it is recommended to make an inner corner.
- If the room where you are doing the repair does not have the most even and correct walls, a short type of plinth is suitable for better joining in the corners. With such elements, it will turn out to achieve a more accurate angle that does not have gaps.
It will not deform much due to the existing irregularities, as is the case with long and wide skirting boards.
- If it was not possible to perfectly fit the prepared elements, you should not be upset and nervous. Remaining gaps can be quickly and easily hidden by filling with sealant or filler. If you act carefully, subsequently such manipulations will not give themselves away.
- It can be extremely difficult for an inexperienced craftsman to cut skirting boards on his own, therefore it is recommended to treat the work responsibly and act carefully.
How to make the inner corner of the ceiling plinth for a beginner, see the video.


The comment was sent successfully.