How to cut a ceiling plinth?
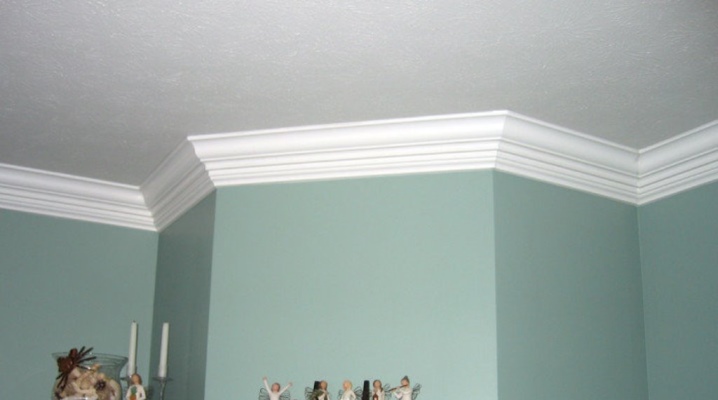
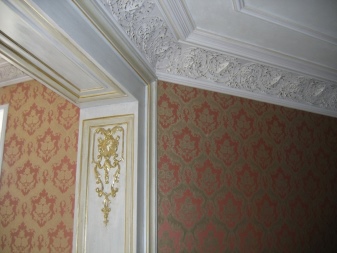
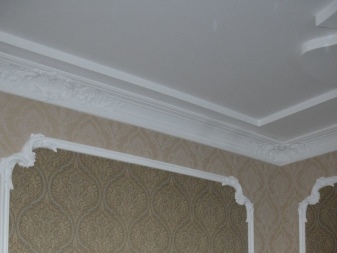
Ceiling cornice is called decorative detail of the interior, which serves as a kind of decoration located between the ceiling and the wall surface. Using such a decorative product, it is possible to hide minor defects in the wall or ceiling surface, as well as to make a transition between their finishing coatings, dissimilar in structure. The installation of the ceiling cornice is not particularly difficult, it is quite possible to cope with such a volume of work on your own, without resorting to the expensive services of hired craftsmen. One of the important points of installation is the correct cutting and fitting of the ceiling plinth at the corner joints. Let's take a closer look at how to cut the ceiling plinth.

Features of cutting different materials
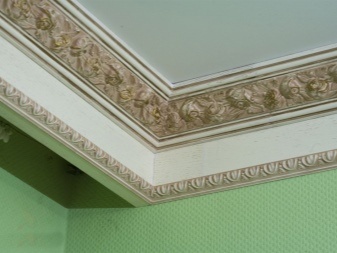
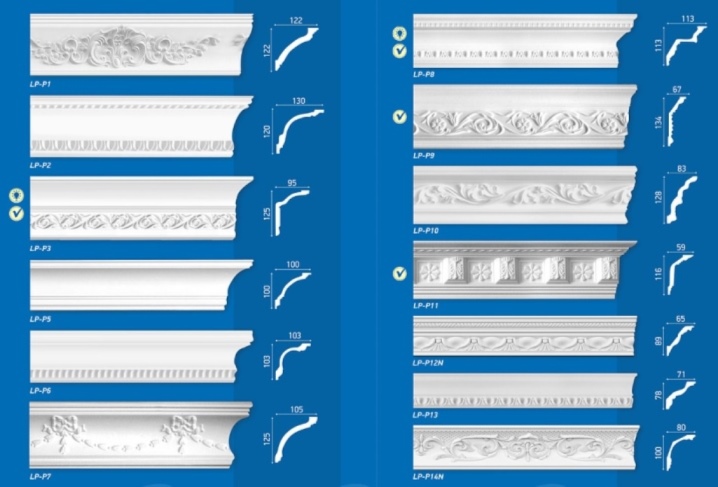
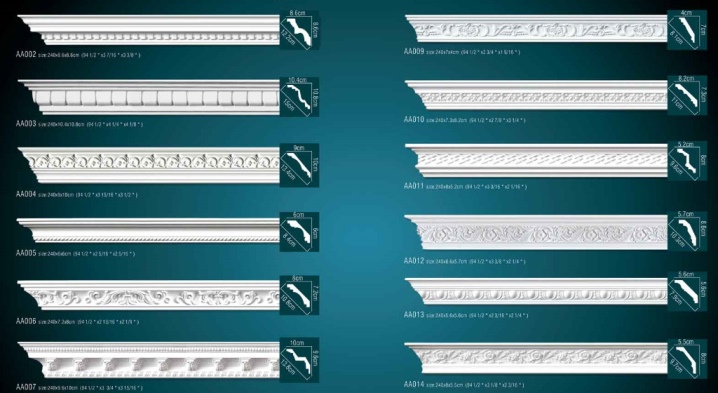
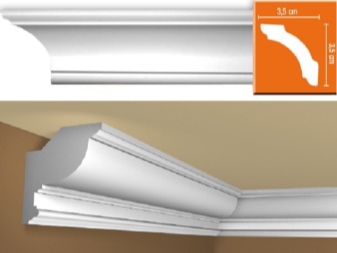
Ceiling decorative fillets are planks of various densities, widths and hardness, depending on the materials used to make them.
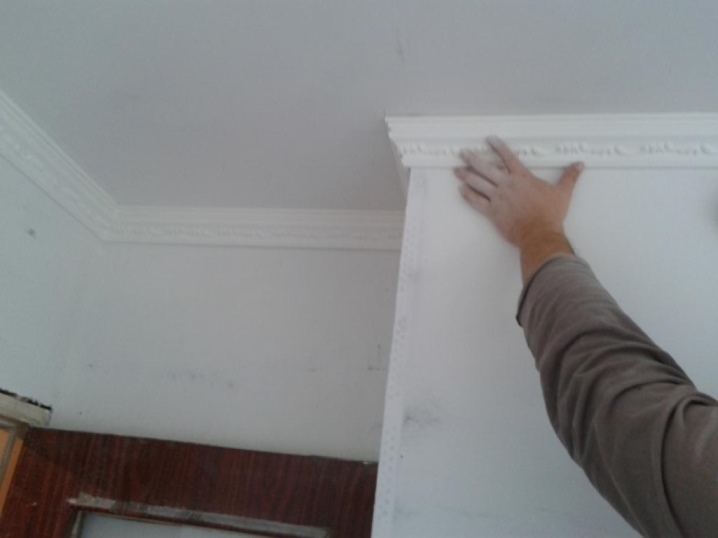
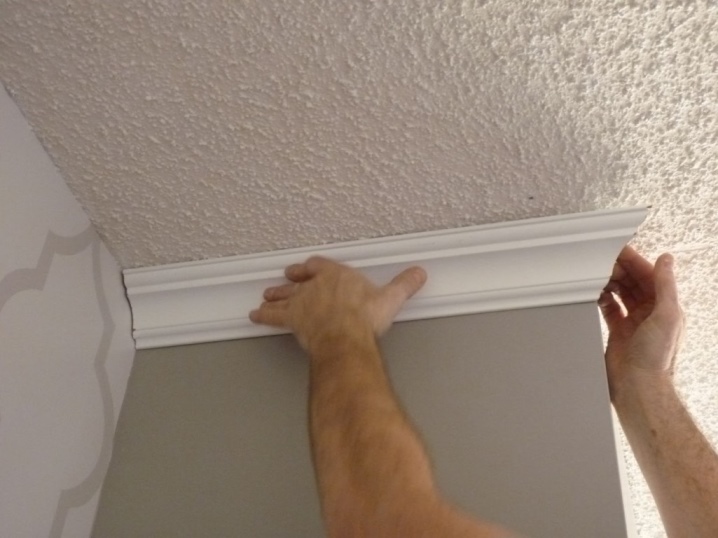
For installation work, it is important to correctly cut the plinth for decorating the ceiling so that its corners form beautiful joints in straight sections or in the corners of the room to be decorated.
A ceiling molding made of various materials has certain features during installation and cutting.
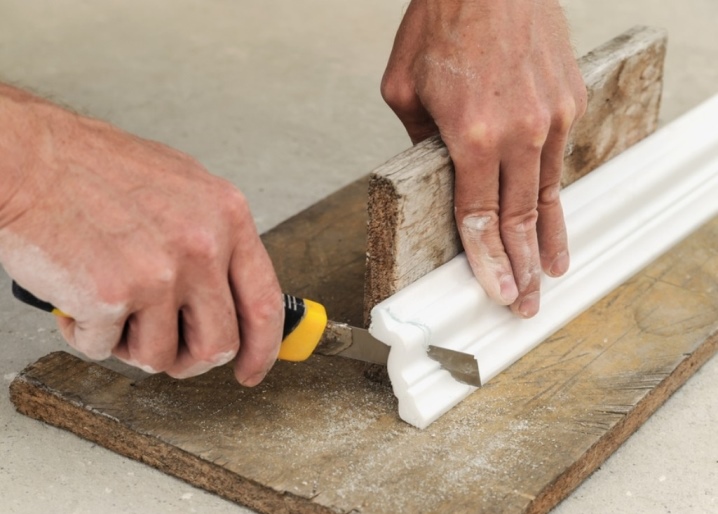
- Foam baguette - this is the most unstable type of material to any, even slight mechanical damage. But foam products are lightweight and inexpensive. This ceiling molding can be painted with acrylics in any shade you need. Styrofoam is easy to cut, but it also crumbles. It can be processed using a hot wire clamped in clamps, a carpenter's cutter, a hacksaw, or a simple but sharply sharpened knife.
- Expanded polystyrene molding. Such a product is similar to its foam counterpart, but the strength of the polystyrene material is an order of magnitude higher. Products made from this composition are lightweight and cheap. Styrofoam processing can be done with a sharp knife or a metal hacksaw.
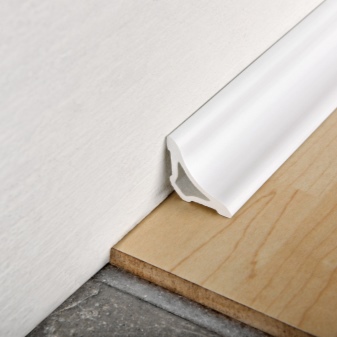
- PVC skirting board. This material is easily crushed, after which it is no longer possible to restore its original appearance. For this reason, installation work with such a skirting board must be neat, as well as carried out without undue application of effort when pressing. You can cut the PVC cornice with a carpenter's cutter, a sharp knife or a metal hacksaw.
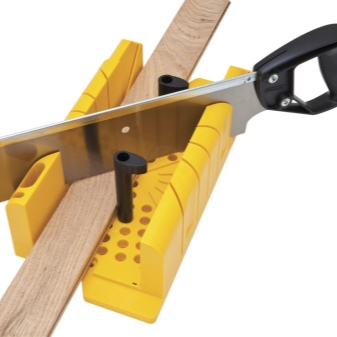
- Polyurethane skirting board - the most durable material, which, unlike gypsum stucco molding, weighs much less, but is not limited by various conditions of use. This type of decoration is easy to install and does not need particularly complicated adjustments. To trim corners, you will need a small fine-toothed saw or a regular hacksaw, as well as a miter box.
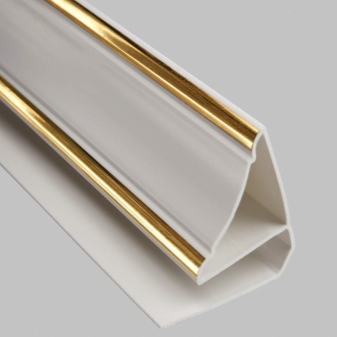
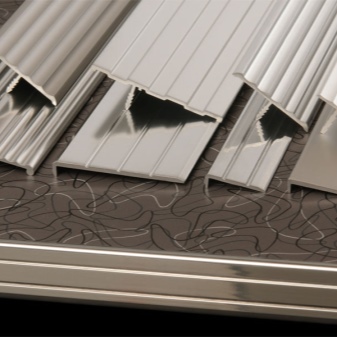
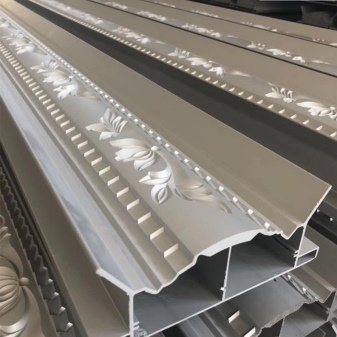
- Aluminum molding - The most stylish type of material used for modern design, it is lightweight, durable and highly aesthetically pleasing. To fit it, you will need an electric saw or a hacksaw for metal, as well as a miter box. To process aluminum molding, the master must show jewelry accuracy, since the inaccuracies and inaccuracies of cutting will be very difficult, and most often impossible to correct.
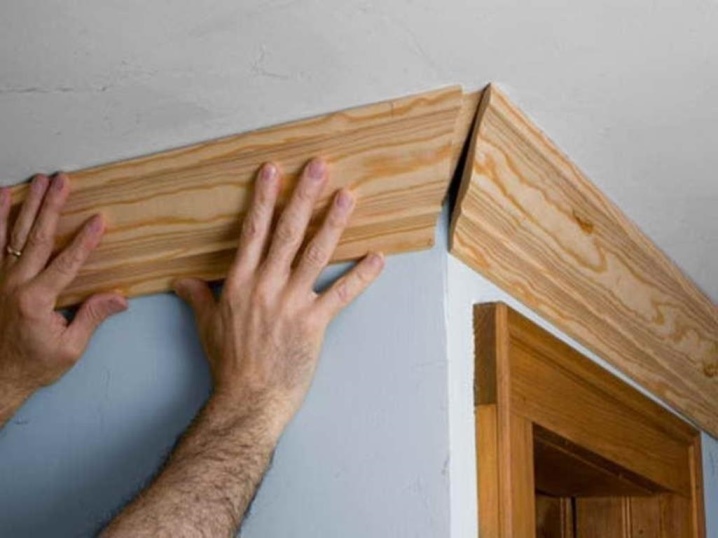
- Wooden cornice - is still a popular and durable material that can be used for ceiling decoration. Its advantages are considered strength, hardness and the ability to withstand loads of a certain complexity.Ceiling cornices made of wood are easy to process, which is performed with an end electric saw, a hacksaw for wood, and also with a cloth for metal. Wooden products retain their original appearance for a longer period than their foam counterparts. If desired, the cornice can be painted or varnished.


If we compare polystyrene and expanded polystyrene, then both of these materials are united by a special softness, which makes it possible to press the plinth to the working surface, without leaving any gaps during installation. Most ceiling moldings have recesses for mounting a ceiling lighting system. As for wood and aluminum, it is rather difficult to join corners or cuts of these materials. The same applies to plastic materials. To cut such a baguette, you will need to use a miter box, and the process itself must be performed carefully and very carefully.
How to cut corners with a miter box?
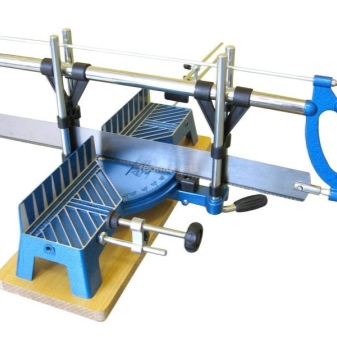
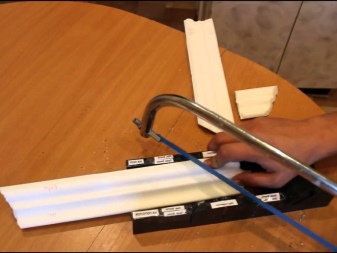
The miter box is a professional carpentry device that should be used for the purpose of cutting any workpiece evenly and with a given cutting angle. Outwardly, the miter box looks like a shallow tray made of plastic or wood, on the sides of which there are notches at an angle of 90 ° or 45 °. It is these slots that allow you to cut the cut angle for the corner joint of the ceiling cornice according to such a template. More advanced types of miter box are also produced, which make it possible to cut molding at an angle of 60 °.
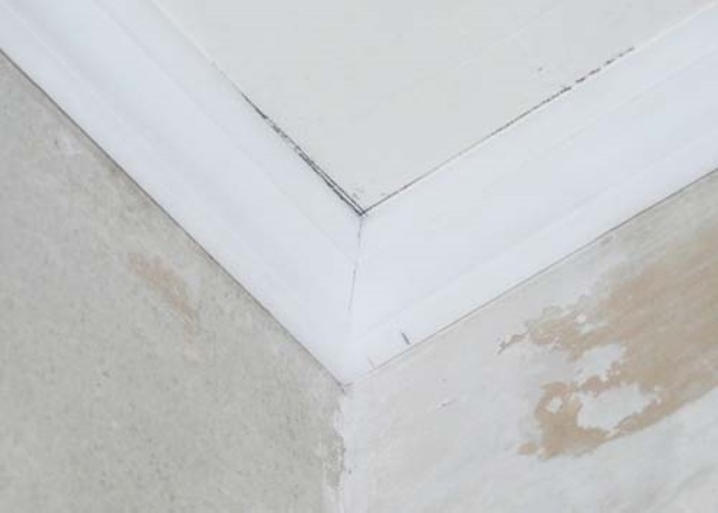
It is necessary to correctly determine the inner or outer corner at which you need to cut the plinth, based on the measurements of the corners of the wall to be decorated.
In order to accurately determine the angle, in some cases it will be necessary to trim the wallpaper, subsequently they will not interfere with the installation of the prepared cornice. The cutting of the ceiling cornice is carried out for various types of corners of the room to be decorated.
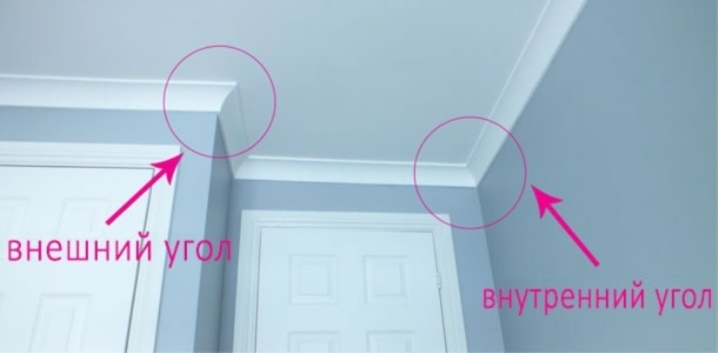
Internal
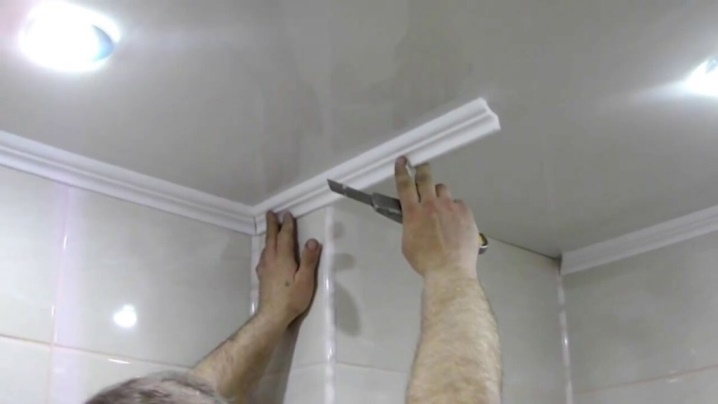
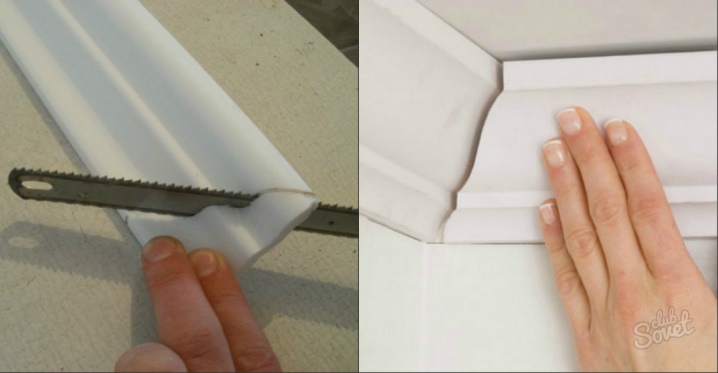
The molding to be processed, first of all, must be pressed tightly against the ceiling and the required length must be measured. Then the workpiece is transferred to the miter box and held in this way, so it will be mounted towards the ceiling surface. Firmly holding the workpiece with one hand, they take a saw in the other hand and saw off the part at the angle we need. In the process, when it is required to cut the desired cut of the corner, it is not recommended to press on the saw with great effort - the movements must be done smoothly and accurately. Then you need to cut off the symmetrical part of the second ceiling molding, which will form the joint.
The procedure is performed in a similar way. - first, the molding is applied to the ceiling, the place of trimming is marked and, using a miter box, this decor piece is trimmed at the required angle. Next, you need to dock both prepared sections and see how tightly they touch. The cutting line can be adjusted using a file or emery.
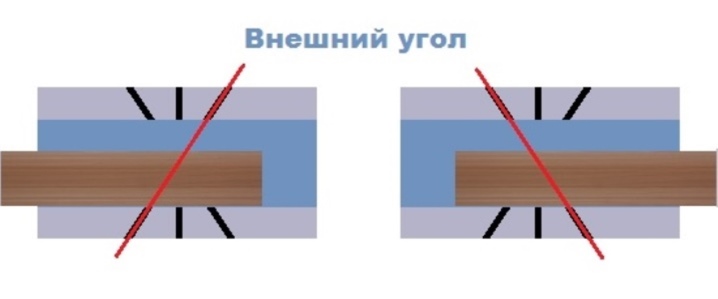
External
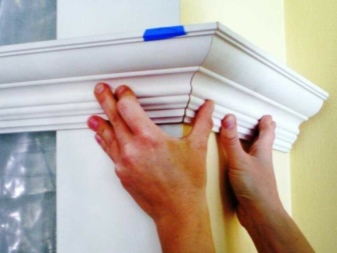
The outer corner is cut a little differently. Experts recommend first marking and cutting the inner corners, and then preparing the outer corners. The cornice is pressed against the ceiling and a place is marked for trimming the corner. Further, the eaves plank fits into the miter box and is trimmed. The second workpiece is prepared in the same order of execution of the algorithm. When both corners of the cornice are cut off, check their joint quality. If irregularities are found, the two parts are fitted more tightly.
The considered trimming options are conveniently performed using a miter box.
This method can be useful when the angle at the junction of the walls is exactly 90 °.
However, in practice, perfectly flat walls are rare; in this case, other methods will have to be used to prepare the ceiling cornice.
How to do without a miter box?
For a perfectly even fit of two corners at the junction of the ceiling cornice, you can cut the workpieces without placing them in the miter box, but by marking directly on the ceiling.To determine and mark the inner corner, the length of the ceiling cornice is measured starting from this particular corner. In order to mark the outer corner, it should be borne in mind that in the direction of the room, a wide cornice will go out exactly by the amount of its width.
Let's take a closer look at how to cut a plinth without using a miter box
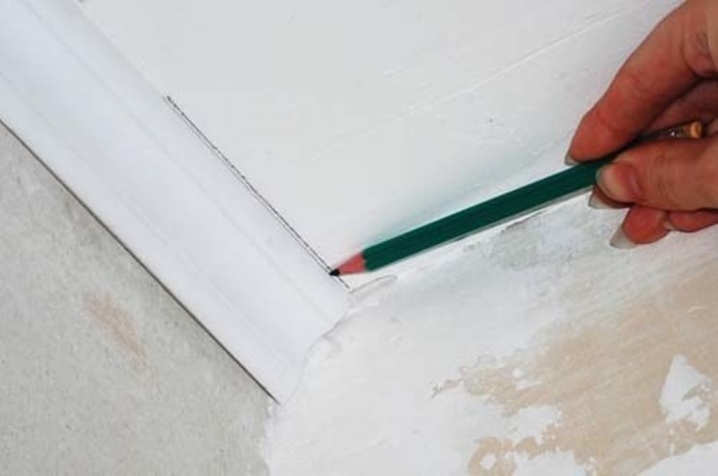
- Cornice blank press firmly against the ceiling surface, then draw a straight line along the outside of the plinth.
- On the right side of the corner it is necessary press the cornice to the ceiling surface and draw an additional straight lineby placing it along the outside of the workpiece.
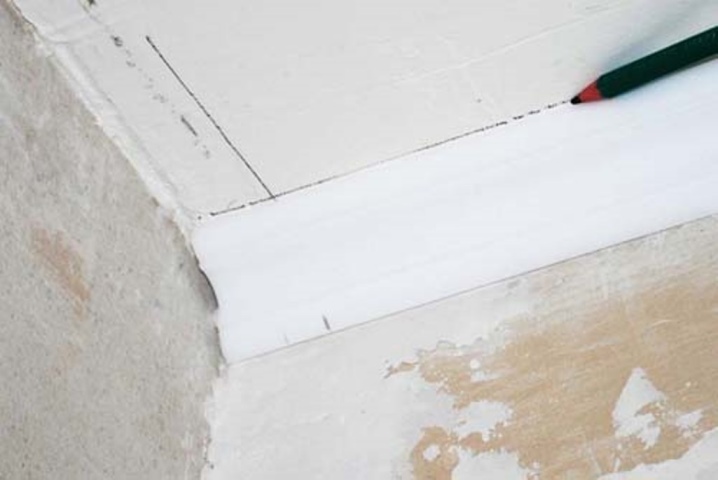
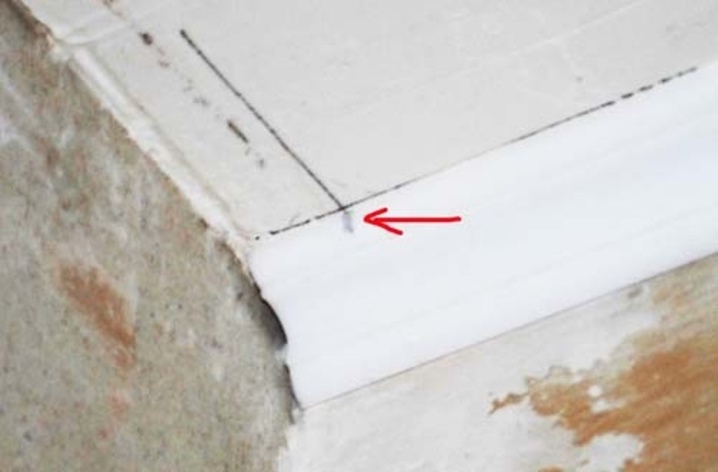
- Where the drawn lines can cross this point and draw a straight line from it leading to the bottom corner of the skirting board. This will result in a marking, along which the plinth will be filing at the required angle.
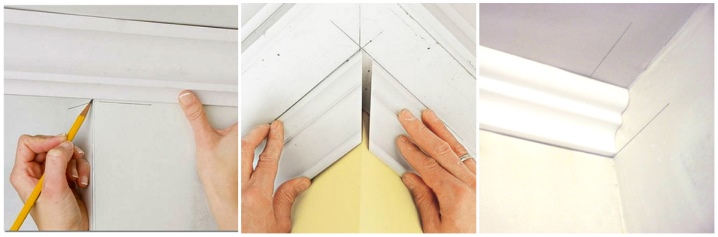
- Further, in the same order lining is also performed for the left corner on the second ceiling blank.
- The next step, when both corners are cut off, they are folded towards each other and the quality of the resulting joint is checked... If errors are found, they are removed using sandpaper, as well as a file.
- After both workpieces are perfectly fitted, eaves need to be cut to the required length and glued to the wall... Trimming is not done before the perfect race of corner cuts. During installation, you need to know that for decorating stretch ceilings, the ceiling plinth is not fixed to the ceiling, but only mounted on the wall.
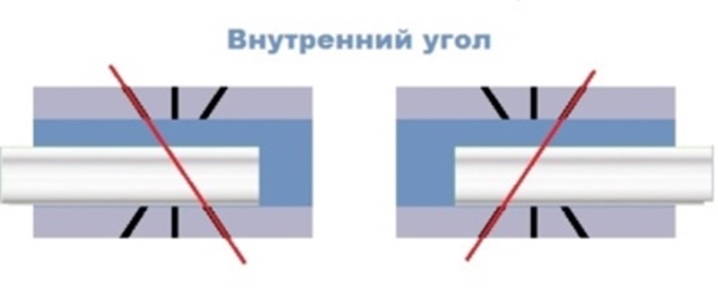
For trimming the skirting board in order to join it in the inner corner of the room the markup is done as follows:
- the plinth is pressed to the right of the inner corner, and then a line is drawn along the ceiling with a pencil;
- do the same on the left side of the inner corner;
- in the place where both lines intersect, put a point; as well as the point is also marked at the intersection of two plinths in the area of the inner corner of the room;
- you need to connect both points with a straight line with an angle of inclination inside the skirting board and cut off the skirting board according to the markings;
- fold both skirting boards together and, if the joint is inaccurate, one of the sides must be cut again; after a perfectly executed joint, the skirting board can be fixed to the wall.
When the installation is carried out with a wooden or polyurethane ceiling cornice, inaccuracies in the joining point are corrected with a file. To adjust the cuts of parts made of polystyrene or expanded polystyrene, defects can be eliminated with a sharp knife. This technique of trimming the ceiling cornice is convenient in those houses where the external or internal angle is not kept exactly at 90 °, but has a size, for example, 87 ° or 94 °. The use of a miter box in this case will be ineffective.
Using a template
When you do not have a miter box, cutting a ceiling molding is easy if you make a template for this. It can be used to cut both narrow and large cornices. The template can also be useful when there are uneven corners in the room. To make a template, you need to perform the following procedure:
- take a piece of thick cardboard and bend it at the angle that you measured at the inner or outer junction of the walls; cut the cardboard at the fold;
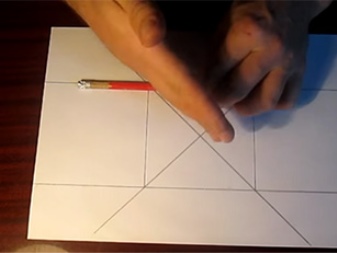
- take a wooden board, attach cardboard to it and draw a line according to the cardboard template; cut off the corner of the board along the marked line;

- for cutting the plinth, a wooden template is used, which is applied over the plinth, and then the desired angle is cut;
- the second corner of the joint is cut according to the same principle.
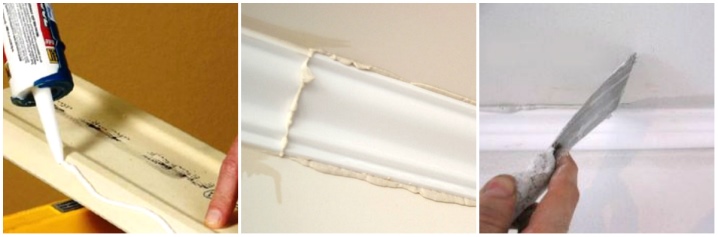
If, when adjusting the joints, a small gap is found, it can be corrected with a regular finishing putty or with a silicone sealant.
Errors of joints on a wooden or aluminum fillet are removed by grinding the cut points with a file.
The trimming process must be smooth and accurate... To get this skill, experts recommend practicing on small pieces of material.
Advice
To cut the ceiling plinth evenly, precisely and accurately, without unnecessary losses, experts recommend paying attention to the following important points:
- in the process of cutting, the knife or hacksaw blade needs to be guided only in the vertical direction;
- for cutting, the baguette must be placed on a flat and hard surface;
- if you use a miter box, then for the convenience of work, it can be fixed with self-tapping screws on a hard and stationary surface;
- it is best to cut off the plinth from the front side, then all the irregularities located at the edge of the cut will be facing the inner side of the product;
- if you do not have a miter box at hand, then a square table pushed against the wall can replace it.
If you are not sure if you can cut the corners of the cornice straight for corner joints, You can also purchase overlays for decorating corners along with moldings. They can be internal and external, and then you only need to adjust the molding along the length of the wall, and in the corners to glue the overhead decor.
In this case, uneven joints at the corners are not scary to you.
Of course, overhead corners will require additional financial costs, but it will save a lot of time, effort and nerves when fitting the plinth, especially if the room has imperfectly even corners and walls.
Watch the video on how to properly cut the ceiling plinth.


The comment was sent successfully.