How to dismantle a false ceiling?
Every year, suspended ceilings are becoming more and more popular and in demand. Indoors, they look perfectly flat, sleek and stylish additions to the interior. They have good wear resistance, it seems that they are eternal, because ceilings do not require cosmetic repairs. But it is not so.
Sooner or later, it becomes necessary to dismantle the ceiling covering in order to repair or replace. The nuances of dismantling various types of suspended ceilings will be discussed in our article.
Varieties
No matter how high-quality and beautifully the repair is made, you need to understand that over time, the suspended ceiling will need to be dismantled, the wallpaper will need to be peeled off, floor boards or laminate flooring will need to be ripped off. And the point is not that, for example, the neighbors flooded it from above and everything needs to be replaced, but that you want to update the interior, make the atmosphere more comfortable. As in any other business, the utmost accuracy, attentiveness and caution are needed here. It will be easier for those who installed the suspended ceiling on their own to deal with the dismantling, for the rest it will be more difficult.

Before starting repair work, consider the types of coatings. They differ significantly, depending on the materials used and the methods of fastening. Therefore, the rules for disassembling suspended ceilings will differ.
Stretch ceilings are divided into two types:
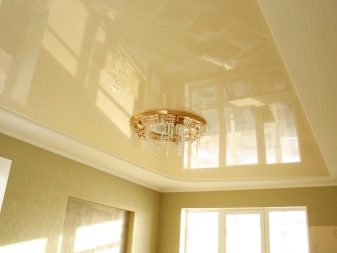
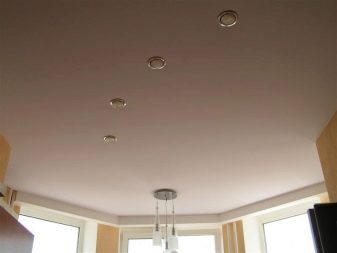
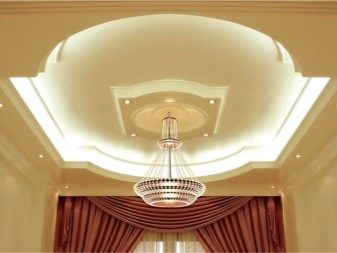
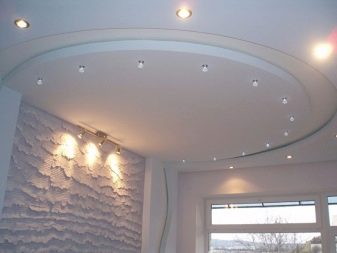
- PVC stretch ceilings are of low cost. Withstand water pressure up to 100 l / m2. The elasticity of this type of ceiling can decrease when heated and recover when cooled. The cover is easy to install, the seams can be made almost invisible.
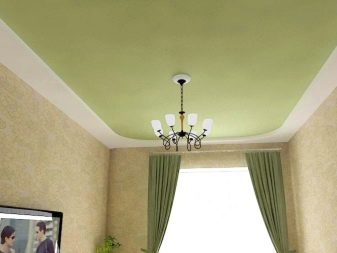
- Fabric seamless stretch ceilingsmade of synthetic material impregnated with a specific composition to increase density and resistance to mechanical damage. Their impregnation is completely safe for humans. In comparison with PVC ceilings, they have a significant advantage: they "breathe" and mold does not start in them. These ceilings are not afraid of negative temperatures, they are easy to install yourself.
They are more expensive than PVC ceilings.
Other options for suspended ceilings include:
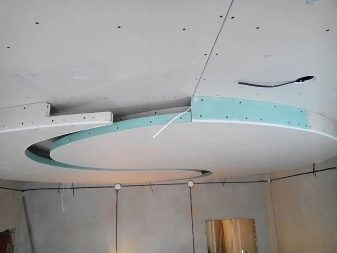
- Plasterboard ceilings. The composition of the material from which they are made includes cardboard and gypsum. Advantage of the coating: drywall can be given any shape, taking into account the characteristics of a particular room.
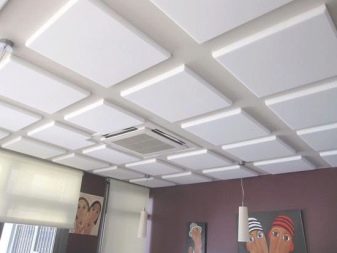
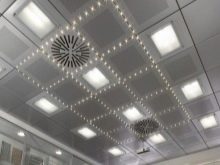
- Slab suspended ceilings. Such a ceiling is laconic and straightforward, therefore it is often used in non-residential premises. Advantages: low cost, functionality, ease of installation. But there is also a big disadvantage - fragility.
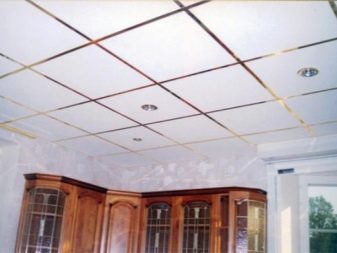
- Cassette ceilings have the form of cassette modules. Advantages: strong, durable, do not require special care. Cons: high cost.
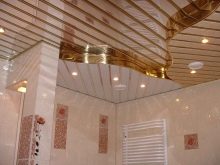
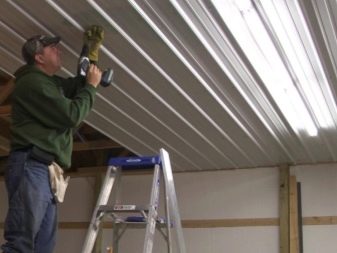
- Aluminum slatted ceilings consist of long slats. Advantages: durable in use, breathable. These panels are lightweight, therefore they do not require heavy structures for fastening.
- Ceilings made of PVC slats or lining. Mostly plastic is used for their manufacture, they are lightweight and durable.

Required tools
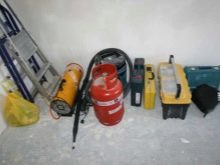
In order to make the workflow as high-quality and efficient as possible, it is necessary to prepare in advance a set of tools and aids that may be needed when dismantling the ceiling covering:
- wrench;
- ordinary plastering trowel;
- screwdriver;
- plumber's knife;
- screwdriver;
- long-jawed pliers;
- anti-stapler (if staples were used to fix the plinth);
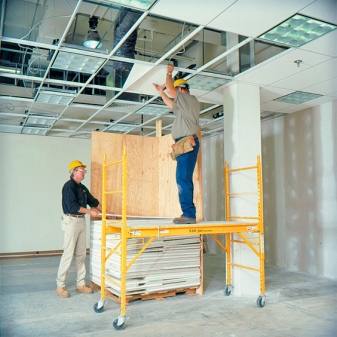
- ladder;
- in some cases - a heat gun and special clothespins for hanging the film.

Dismantling the ceiling
It is necessary to carry out all work on removing the coating with protective gloves so as not to injure yourself. In the room, it is necessary to remove all unnecessary things in advance: furniture, carpets, curtains.
It is better to cover the floor covering with polyethylene to protect it from damage and dust.
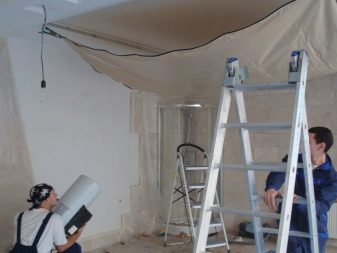
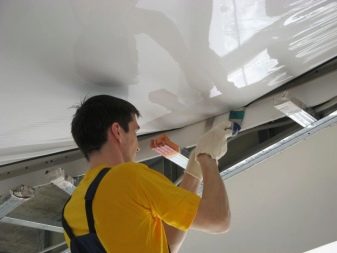
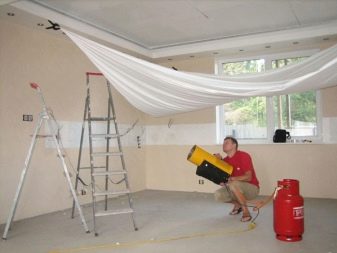
Tensionny
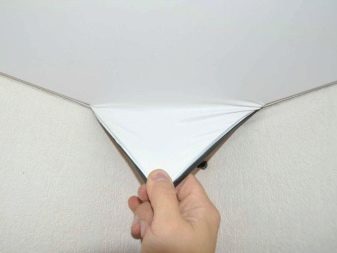
Dismantling of PVC stretch ceiling can be divided into two types: harpoonless and harpoon.
It all depends on the mount used:
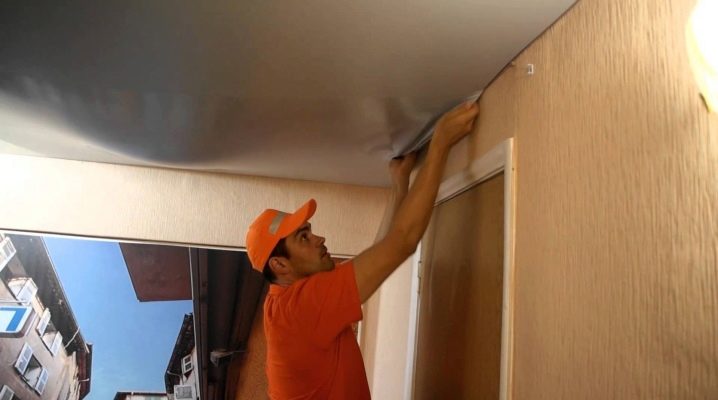
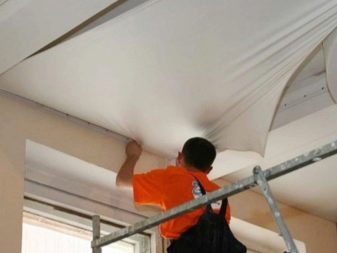
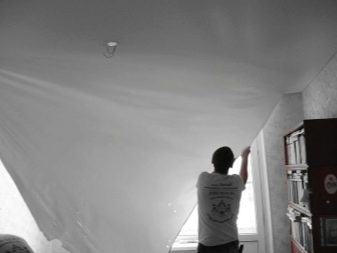
- Whichever method is used, dismantling must begin with warming up the canvas to 50 C in order to reduce the elasticity of the stretch ceiling. If you do not use a professional heat gun, then the entire canvas will be damaged.
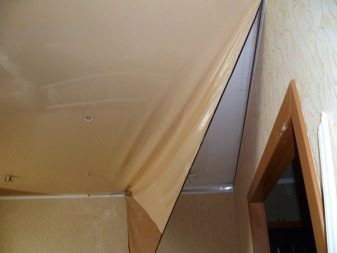
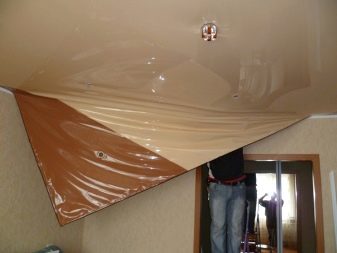
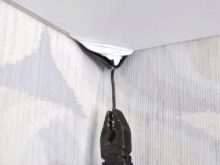
- With the harpoon installation method, work must always start from the corners. If there are decorative elements, they must be removed. Bend the aluminum profile very carefully and at the same time weaken the blade and the wedge. Gently, hooking the harpoon with pliers, pull out the canvas.
- Work is carried out in fabric gloves in order not to stain the canvas with your fingers. It is carefully removed, always moving from corner to center.
- If a harpoonless installation method was used, then the work is carried out as described above. With one caveat: with a spatula or a special screwdriver with a curved end, bend the aluminum profile.
- During the entire dismantling process, you need to constantly warm up the canvas with a heat gun.
It is not allowed to direct the heat flux very close to the film, since everything can be melted or deformed.
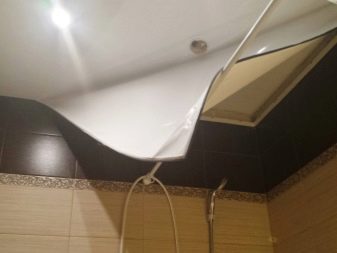
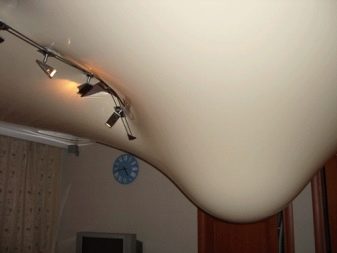
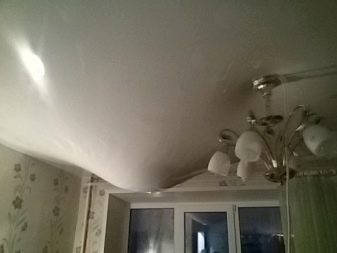
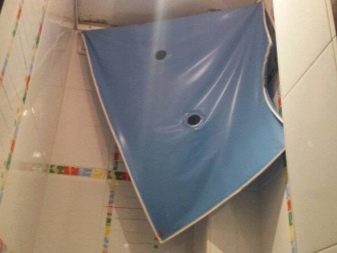
Sometimes force majeure happens. For example, neighbors flooded from above or the roof leaked after showers. All this leads to spontaneous tearing and sagging, the appearance of mold, yellow spots on the ceiling.
In these cases, before dismantling the stretch ceiling, it is required to drain the water:
- De-energize the entire private house or apartment from electricity.
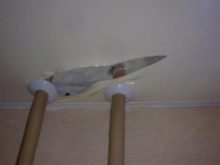
- Try to carefully remove the lamp or chandelier. We drain the water through this hole. We do this with the help of another person. One, standing on a stepladder, directs a stream of water from the film, and the second at this time substitutes a container under it.
- We leave the film to dry for several days, constantly ventilating the room. It will lead a little, folds will appear. But when the editing continues, they will straighten.
- To quickly dry the film, you also need to remove the ceiling lamps and chandeliers, this will prevent moisture stagnation.
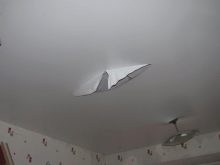
Some other troubles can happen with stretch ceilings:
- In case of spontaneous ruptures of the stretch ceiling (it rarely happens, the coatings have good strength), you should carefully sew up the hole, glue tissue tape, paint over the damaged area.
- Sagging occurs in case of poor-quality installation, it will be necessary to perform a professional hauling again. If there are small cracks, then you can seal them with special tape and paint over to match the coating.
- If yellow spots and mold appear, then the canvas is damaged and cannot be restored. It is necessary to dismantle the ceiling and install a new one. But before that, thoroughly treat everything with an antiseptic.

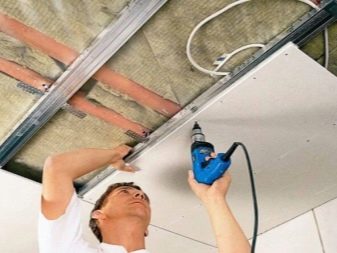
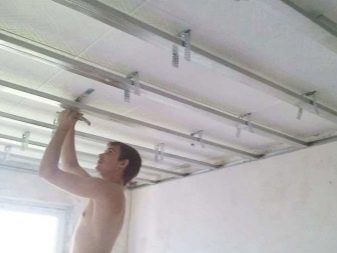
Drywall
- If there is a ceiling plinth, then work must begin with its dismantling. Use a screwdriver to open all fastening systems and snap off the skirting board.
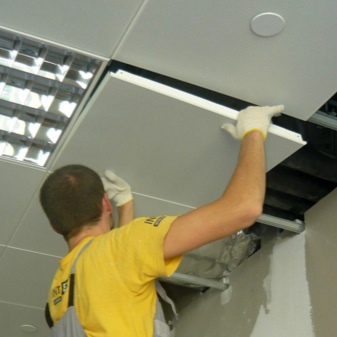
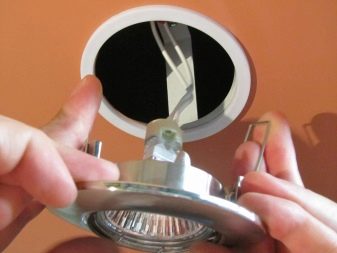
- Remove all chandeliers and spotlights, before disconnecting the room from electricity. Insulate all bare wires.
- Then you can begin to dismantle the plasterboard ceiling. First, remove the serpentine - a mesh that helps smooth out the joints between the sheets of drywall. Carefully use a screwdriver to unscrew the self-tapping screws that attach the drywall to the metal structure. We remove all sheets of drywall. We completely remove soundproofing mats, if any.
- Without haste, we unscrew the screws from the suspended metal structure and disassemble it.
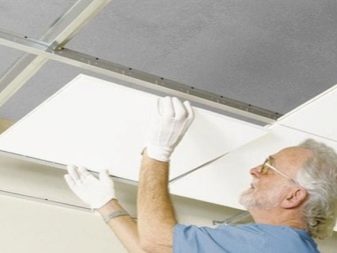
Plitny
- The dismantling process takes little time, but there is a lot of dust and dirt from it. It is necessary to remove all furniture, carpets in the room in advance, cover the floor with cellophane.
- Tucking each tile with a spatula, we can easily remove the coating.
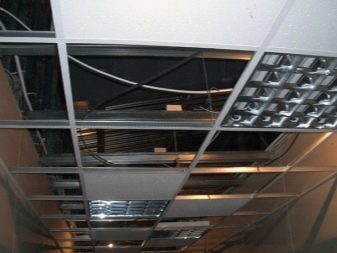
Cassette
- The dismantling process is very fast. We remove the cassettes with the help of special suction cups.
- We disassemble the suspended metal structure by unscrewing the screws with a screwdriver.
Reichny
Correctly carried out work is a guarantee that all elements of the lathing pavement can be operated further.
This is very important when you have to repair communications that are under the ceiling or replace several rails:
- We de-energize the entire room from electricity.
- We carefully remove the lamps.
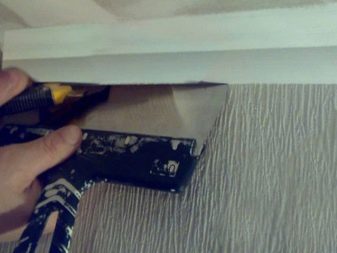
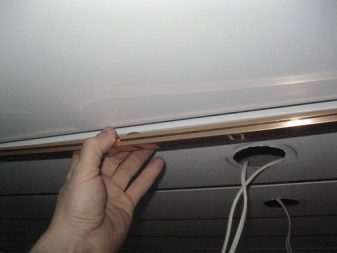
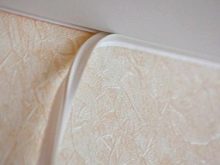
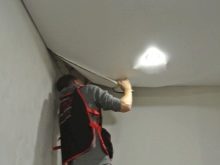
- Remove the skirting board. If we can save the details of the slatted ceiling, then this will not work with the plinth. With a sharp knife, carefully pry the edges and tear them off the surface.
- We begin to disassemble the slats from the extreme. All of them are fastened with special locks, we pry them with a screwdriver. We do everything carefully so that the panels remain intact at the end of the work.
- At the same time, we proceed to dismantle the stringer tires attached to the panels. They are easy to dismantle: we open the clamps and disconnect.
- In the corners of the ceiling there are profiles that can be removed with a screwdriver. We unscrew the dowels with a drill.
- The elements of the slatted ceiling bend easily, therefore, when dismantling, we carefully fold them.
- All of the above steps are done if you need a complete dismantling of the rack ceiling.
When replacing several rails, you only need to remove them.
PVC
- Remove the glued plinth by picking it up with a knife.
- We extract the insertion elements.
- We remove all plastic sheets, picking them at the joints with a wide screwdriver.
- We disassemble the tires by loosening the spring clamps, disconnect the stringer and the vertical suspension.
- We remove the suspension and wall corners by unscrewing all the bolts or dowels with a screwdriver, depending on the fastening method.

Now everyone can remove the suspended ceilings with their own hands, the main thing is to clearly follow the instructions for dismantling provided. In work, you need to be careful, do each step carefully, do not rush. Then dismantling will not take much time, and the result will surely please you.
For information on how to dismantle a stretch ceiling with your own hands, see the next video.


The comment was sent successfully.