How to make a corner on a skirting board without a miter box?
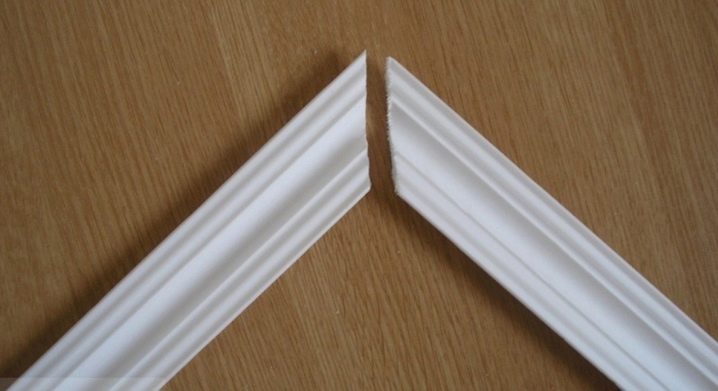
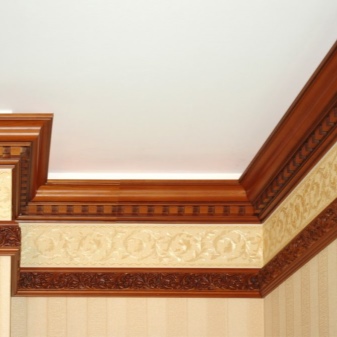
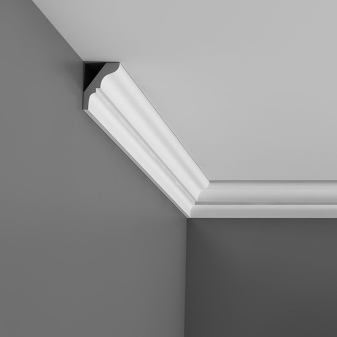
Every person in his life has come across repairs in one way or another, and we all saw a ceiling plinth or a baguette. In hardware stores, there is a huge number of different options for ceiling plinths from thin 1 cm wide to huge "carved" in the Victorian style. All of them are designed to clearly distinguish between the ceiling and walls, to complete the interior, to hide defects and joints. Any ceiling molding has the shape of a rail, and for joining in the corners it is necessary to cut it correctly - this will be discussed in the article today.
The ways
There are two most common methods for cutting flawless skirting corners correctly, easily and comfortably. The first implies the purchase of a special miter box with a large number of cuts along its perimeter, which help to cut the corner correctly and evenly. The second option is cutting corners without the help of a miter box, which we will talk about today. This process for beginners is quite complicated and painstaking, besides, the presence of a miter box does not guarantee 100% facilitation of this work, be prepared for the fact that the first time you may not succeed.
There are several ways to create corner joints without using a miter box.
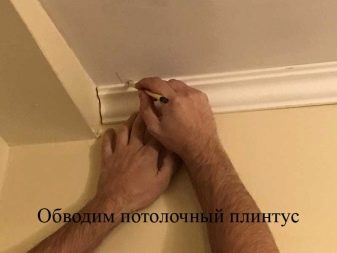
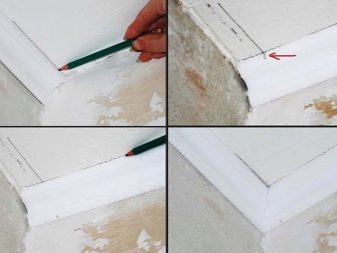
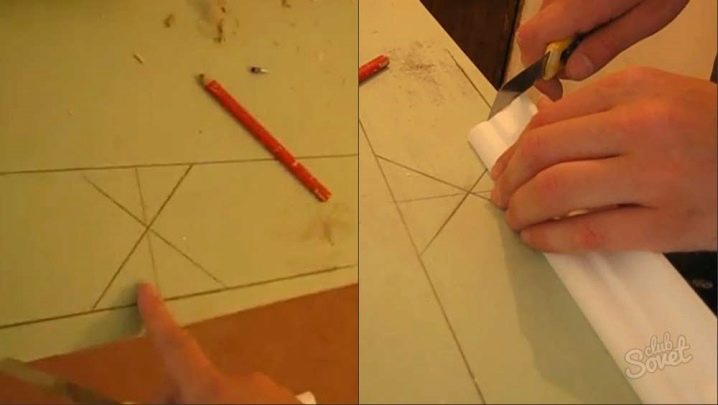
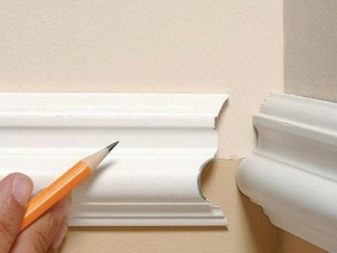
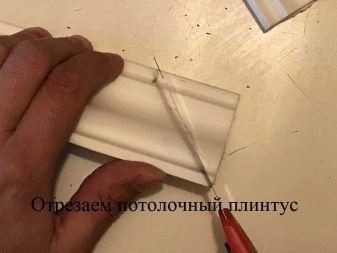
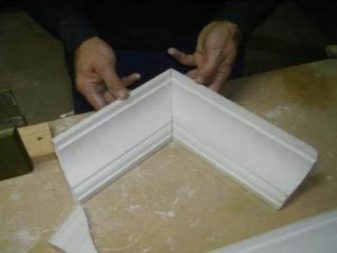
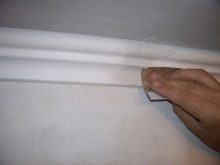
One of them is the marking directly on the ceiling. To get started, we need two pieces of baguette cut at a 90 degree angle. It is not necessary to take two-meter slats at once and try to cut them, you can cut off two pieces of 15-20 cm for easier holding with one hand in the position you need. Next, we apply them in the next order to the ceiling and draw a 5-centimeter line along the ceiling to the end of the baguette, pressing the plinth tightly. After that, we apply a second molding to the opposite corner, and do a similar action, and at the intersection of the baguette and the previously drawn line, we make a neat notch with a pencil on the baguette. With the second plinth, you need to repeat the same thing, making a similar notch at the intersection of the baguette and the drawn line.
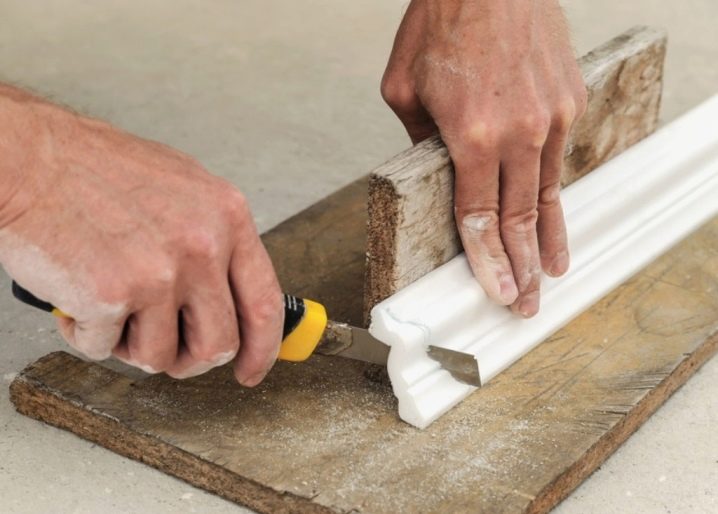
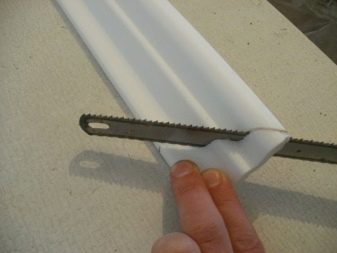
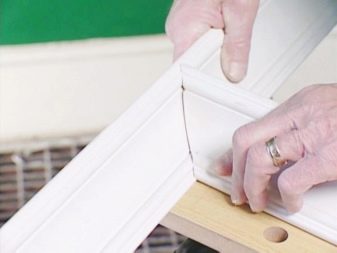
Now we can cut the baguette at the angle we need, for this, use a construction knife or a hacksaw, depending on the material from which the skirting boards are made (below we will tell you what materials the baguettes are made of and what is better to cut them). To cut the corner correctly, place the baseboard on the table or chair, and cut from the point you marked on the ceiling to the opposite corner of the baseboard. After that, you can easily join the corners and glue. It should be borne in mind that this method is suitable for fitting only the inner corners; it will not work to fit the outer corners.
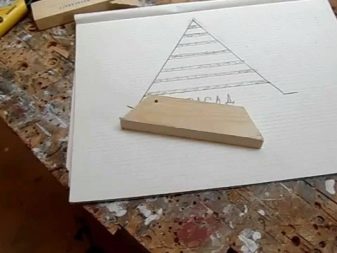
The second method is to line a sheet of paper or plywood under the miter box., for this you need to draw two parallel lines, then draw a perpendicular from one line to the other, so we get a marking for a right angle. For marking at 45 degrees, you need to use a clerical triangle or a protractor, drawing two lines through the perpendicular at 45 degrees relative to parallel lines. Further, as when working with a miter box, we put our plinth along the line and cut it at the required angle.
It should be borne in mind that this method does not guarantee you an ideal angle, and, in general, in our houses the corners are uneven - "filled up", and therefore you will have to adjust the angle manually later.
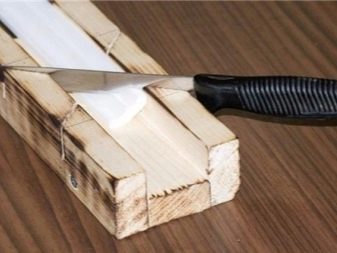
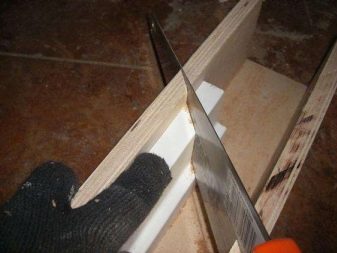
The third method is to make a primitive miter box with your own hands.why it will not become less effective. To do this, take three planks or planks and knock them down in the shape of the letter "P", make slots at right angles and two slots at 45 degrees. This way, you will cut the corners without the "help" of the chair.
The fourth method is quite rare and ingenious. - it consists of sophistication with thick paper or cardboard and a small bar. To do this, bend a sheet of cardboard at the angle you need, take a small block, which will serve as a template for cutting the corner. Press the prepared sheet of cardboard to it and, holding the knife or hacksaw strictly vertically, carefully cut the block at the angle you need. To trim the skirting board, simply place the block on top of the skirting board, press firmly and cut along the cut line of the block.
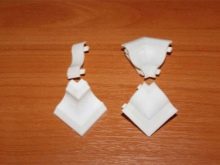
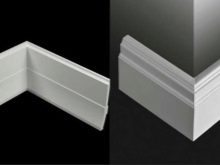
The fifth way is the purchase of special fittings with ready-made ceiling corners: internal and external. Unfortunately, there are a lot of skirting board design variations; special inserts may not be found under your skirting board. But in general, it is very convenient for those who do not want to engage in cutting out corner joints.
But also if there are non-standard angles in your house, then ready-made blanks or a miter box will not help you. After all, there are only 45, 60 and 90 degrees you can cut the connection. In this case, cut the edge of the baguette by eye at an angle of 45 degrees, and when trying on to your corner, carefully trim it, so you will be able to achieve an almost perfect connection, with only one thing - there can be a lot of such fittings and trims.
As you can see, in the absence of a miter box, you can still cut the correct corner joint for baguettes, you just need patience and perseverance, and unnecessary skills will not interfere with anyone in the future.
Necessary materials
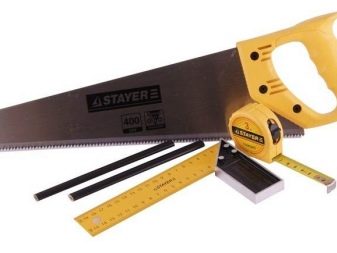
The set of tools for making a corner ceiling joint without using a miter box is not so great, and, in principle, does not differ from a set with a miter box. Almost every home has these tools:
- pencil;
- roulette;
- ruler;
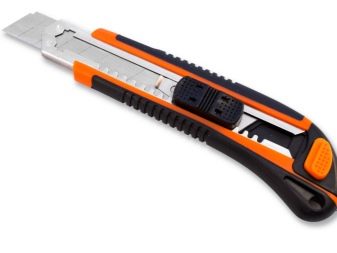
- construction knife with replaceable blades;
- hacksaw;
- ceiling plinth.
A pencil can be used as a regular office pencil with HB hardness, as well as a construction pencil, if you have one. In all hardware stores, you can buy this pencil, it costs quite cheaply, ranging from 50-100 rubles, depending on the manufacturer.
You will need a tape measure and a ruler for accurate measurements and drawing straight lines, everyone has them in the house. It should be borne in mind that without a ruler, you will not be able to draw straight lines for cutting corners using the first method.
A construction or office knife with replaceable blades is an indispensable assistant in the house. Its cost, like a construction pencil, is low, and it is always available, it will give you the opportunity to cut off the necessary segments easily and evenly, cut out a corner or cut thin plates when adjusting the connection. Some skirting boards are made from a material that is recommended to be cut with a knife only, and not with a hacksaw due to the softness of the material.
You will only need a hacksaw if the material from which the baguettes are made is recommended to be cut only with it. A regular hacksaw with fine teeth will do.

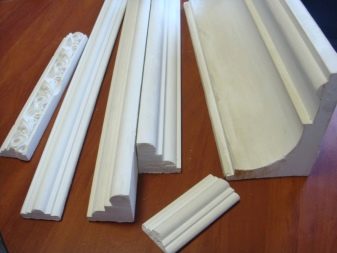
A ceiling plinth must be chosen for both aesthetic and practical reasons. It should harmoniously fit into your design, cover the joints of the ceiling and walls, hide defects and irregularities. When choosing a baguette, it is necessary to take into account the material from which it is made - this affects the choice of cutting tools and glue for installation, as well as the type of coating on which the skirting board will be glued.
Step-by-step instruction
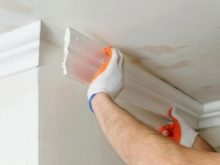
When installing a ceiling plinth, first of all, you need to prepare the surface before gluing the plinth, it must be cleaned of minor irregularities, then you need to prime the gluing points to create maximum adhesion between the glue and the wall or ceiling. The primer is the same as the one used for wallpapering or ceiling tiles.
Before gluing, it is recommended to take a small piece of baguette and practice cutting corner joints so as not to spoil the excess.
Now that you've got everything set up, it's time to start the process of cutting out the corners. To create an inner corner, the first of the methods described above is perfect for you. If you have smooth walls, you can cut off equal pieces from the baguettes, and cut out the corner joints from them, then simply gluing the long strips neatly point-blank to them. These manipulations will facilitate your work when trimming and exclude the possibility of bending the baguette or breaking it.
If the walls have flaws, and you are worried that the gluing place will then be noticeable, you can adjust the corner on the floor, and then glue it.
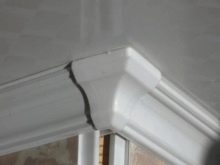
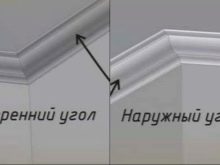
When cutting out the outer corner, it must be remembered that the inner corner rests against the wall, and the outer one, on the contrary, protrudes above it. Similar to the method described in the first method, you can try. The only difference will be that the skirting board should go beyond the wall to the width of your baguette plank. After trimming the planks to the desired angle and connecting them, you may need to manually correct the angle, since the angles in our homes are often not nearly 90 degrees. The rest of the methods we have described will allow you to more easily make the outer corner. Just like cutting the inner corner, it's best to practice first - this will make your job easier and reduce skirting waste.
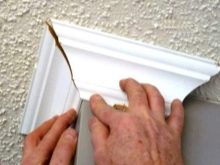
Before gluing the skirting boards, you need to make sure that the joints fit exactly. Modern assembly adhesives set very quickly, so you will have practically no time to correct the mistake, and tearing off the plinth is both an opportunity to break it, and the need to re-clean the surface of the plinth and wall from the glue. It is better to remove excess glue immediately with a small clean cloth or sponge so that there are no traces left.
With the right patience and the right fit, you can achieve a seamless joint and your molding will look solid, making it easier for you to paint and eliminate the need to use a finishing putty to smooth joint seams.
Recommendations
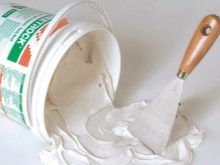
Sometimes the unevenness of the walls or ceiling prevents you from gluing the plinth along its entire length, tightly pressed against the wall or ceiling, or you made a little mistake when cutting out the inner corner, and you have a gap. To eliminate these defects, a white acrylic finishing putty is perfect. It can be painted well after drying, and with its help you can gently putty the joints. This putty is sold ready-made, you do not need to stir it with water yourself and worry about non-compliance with the proportions, the price of a small jar of such a putty ranges from 150 to 400 rubles, depending on the manufacturer. If you want to make everything aesthetically pleasing, then spare the money and buy a small jar. According to personal observations, 0.5 kg cans of ready-made putty will be enough for you for all the flaws in the joints of the ceiling plinth, and for eliminating other minor errors during the repair.
And also for easier trimming of corners, you can use a clerical triangle, it will give you the ability to accurately cut a 45-degree angle.
One of the important factors to consider is the material from which the skirting board is made. Now they are made from PVC - polyvinyl chloride, expanded polystyrene (foam), wood and polyurethane. Depending on the material, glue and baguette trimmer should be selected.
For information on how to cut a corner in a skirting board without a miter box, see the next video.


Thanks to the author. For me it is just relevant. I am repairing the kitchen myself, it remains to glue the baseboards. I understand everything.
Respect to the author.
The comment was sent successfully.