How to align the ceiling with your own hands?

The technologies of the last decades make it possible to create ceiling coverings with any features of the texture, and sometimes with complex 3d geometry. However, a smooth surface painted with white or delicate tones of paint is still associated with the very concept of "ceiling" and is unlikely to ever disappear from design practice. There are several ways to achieve this result, and all of them allow you to cope with the task without involving specialists. To level the ceiling with your own hands, you need to have a not the most expensive tool, a few free days, and most importantly, you need to know what type of finishing you are preparing for. And who can know this better if not the owner of the home?
Peculiarities
There are three effective, relatively inexpensive, and easy-to-implement technologies: putty, plaster and drywall. To be able to make a choice for a particular case, you need to get acquainted with the distinctive features of each of them.
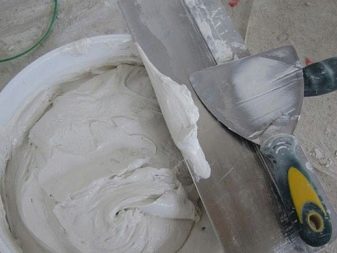
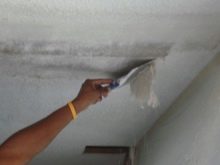
Putty is a plastic leveling compound. The putty mass consists of small particles and polymer, thanks to which it literally "sticks" to the surface. The putty is very easy to apply. They work with it with spatulas of various widths. Gypsum putty, used for interior decoration, is capable of giving an even layer with a thickness of 2 to 5 millimeters, this is its main "range".
In some cases, the layer can reach up to 2 cm, but you should not focus on this as a constant parameter. The so-called starter putty gives a somewhat rough surface. The finishing putty creates a surface as smooth as the human eye can discern. After drying, the layer of putty can be treated with an emery cloth (which, by the way, allows you to correct any flaws). The color of the material is white, sometimes grayish.
In damp rooms, cement-based putties are used, since gypsum is afraid of moisture. Putties are usually sold on sale in the form of dry mixtures, but there are also ready-made compositions.
Plaster is used when there is a need for a much more substantial leveling layer. The usual thickness is 2 cm; with additional reinforcement (reinforcement), this value can be increased to 5 cm. Plastering of ceilings with an ordinary mortar of cement and sand is not used due to the difficulty of application. Lime-sand mortar by today's standards is also not plastic enough and is rarely used. Now they work with either gypsum plaster or cement. The names should not mislead you: they are distinguished from traditional formulations by polymer additives that provide high plasticity and adhesion (the ability to adhere to a surface).
Plasters are sold as dry mix in paper or cardboard packaging. Before application, the mixture is sealed with water and stirred. For work, they use a rule, water and regular levels, spatulas, half-trowels and other tools.
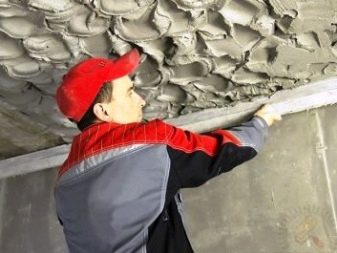
It is important to understand the difference between gypsum plaster and gypsum plaster. Without looking at the same binder, the particle size and composition of each mixture is matched to the intended purpose. If you apply the putty in a layer of 4-5 cm, it will simply collapse after a while. Therefore, it is necessary to act strictly within the framework specified by the manufacturer.
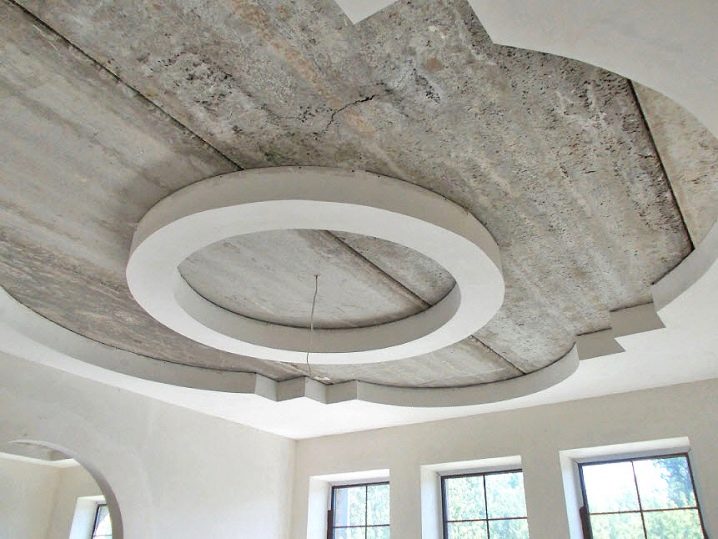
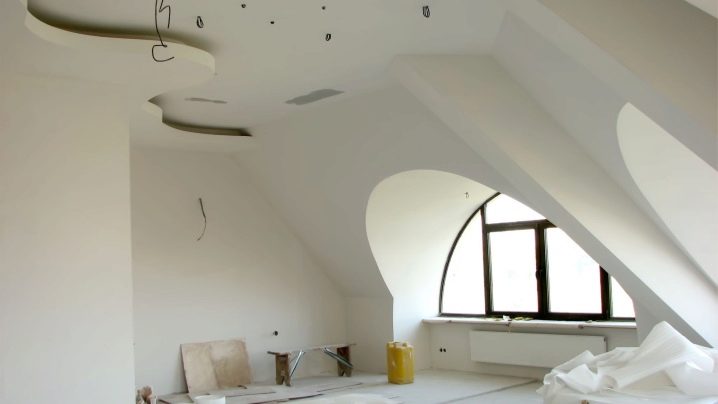
The device of a plasterboard ceiling involves the creation of a strong frame from special metal profiles, and then sheathing them with gypsum plasterboard - plasterboard sheets.In fact, this is a hard type false ceiling, a technology that is fundamentally different from the application of leveling compounds. "Leveling" here means the ability to create a perfectly flat horizontal surface at any given height. To fasten the profiles to the walls, you need a hammer drill (or a hammer drill).
In order for the visual leveling of the ceiling to be successful, buy only high-quality materials for work, then you can level the ceiling yourself.
Advantages and disadvantages
It rarely turns out to level the ceiling with one putty. As a rule, plaster is also needed. Therefore, you can evaluate their qualities together. The advantage of the plaster layer is that its thickness is no more than necessary for the leveling itself, that is, 2-3 centimeters. The plaster is relatively inexpensive, durable, and does not form cracks if the technology is followed.
The plasterboard cladding technology has a number of advantages:
- the ability to hide any flaws in the base ceiling;
- the presence of an inter-ceiling space in which wires, pipes, air ducts can be placed;
- additional functions of the ceiling: the ability to arrange heat or sound insulation;
- any configuration of the indoor lighting system;
- a minimum of preparatory work;
- quick installation;
- the ability to easily create a new, geometrically correct plane;
- absence of "wet" processes (all work is carried out in complete cleanliness);
- the finished GKL coating needs only a thin layer of putty;
- different versions of GKL: for wet rooms and with increased fire resistance;
- creation of decorative solutions from two or more levels.
The main drawback is one, but very significant: the construction of profiles and sheets of GK will reduce the height of the room by at least 5 centimeters.
Sometimes there is information about special mastics that can be used to glue sheets of GK directly on a concrete base, but here you need to weigh the possible risks. It would be more correct to assume that there are no options for installing gypsum board directly to the concrete ceiling. The only alternative is possible for owners of flat wooden ceiling surfaces, but even here it is better not to get down to business on your own.
The owner of the premises needs to decide how high the requirements are for the geometry of the plane. Further decisions depend on this.
In terms of magnitude, all deviations from the plane can be conditionally divided into two groups:
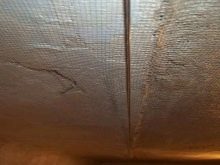
- irregularities in a small (up to half a meter) area: bumps or depressions, cracks, seams between floor slabs;
- irregularities on a large scale (up to the entire ceiling area), including deviations from the horizon.
Defects in the first group are literally striking; if they are not eliminated, the gaze will return to them again and again.
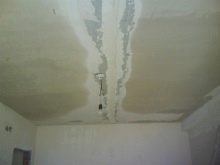
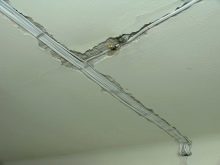
Defects of the second group are hardly noticeable, most often we do not know about them. For example, a putty surface may seem even, and only if you apply a two-meter or three-meter rule (rail), a gap of 2-3 centimeters ("pit") or, conversely, a bulge ("belly") is found. A separate case is deviation from the horizontal plane as a whole (different wall heights). One corner of the ceiling and wall (husk) can be 2-3 centimeters higher than the opposite. The eye does not distinguish such a deviation; it is detected with a special tool.
Small flaws can be easily dealt with with a putty, in the worst case - a small layer of gypsum plaster. But in order to eliminate irregularities of the second type, special mixtures are needed, a reinforcing (reinforcing) mesh device, and with a large deviation from the horizon, a suspended structure will have to be made. That is, much more work needs to be done.

How to prepare the surface?
The final decorative coating should be applied to a well-prepared surface.
Most often, the owners initially expect one of the options:
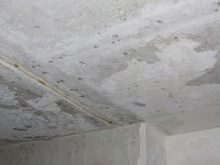
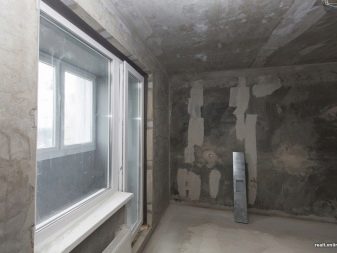
- concrete monolith: unevenness of the concrete itself, uncovered areas of rusty reinforcement, remnants of old putty, plaster, wallpaper, sometimes mold (bathroom) or grease (kitchen);
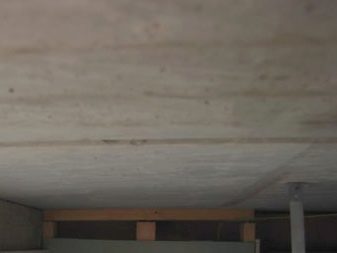
- concrete slab overlap: everything is the same, plus deep seams and differences in height between the slabs (up to 3-4 cm);
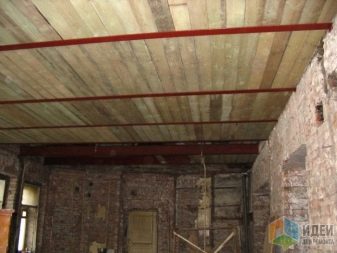
- wooden ceiling: boards or shingles.

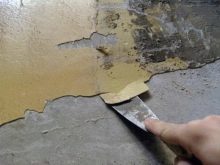
For plaster and putty, the principle is simple - everything is removed, up to clean concrete:
- Remains of old putty, emulsion, wallpaper are moistened twice with an interval of one hour, then removed with a spatula.
- Plaster and loose elements are knocked down with a pick or hammer.
- The seams between the slabs are embroidered to the maximum depth.
- Oil paint is removed with a grinder with a wire nozzle (cord-brush). If there is no tool, they make a high-quality notch with a chisel. Do not use chemical cleaners.
- Rusty stains are removed with a highly diluted acid solution.
- Mold and mildew require careful treatment with antiseptics.
- The "penetrated" reinforcement is painted over with oil paint to prevent rust stains on the surface of the finish.
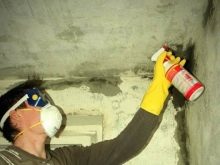
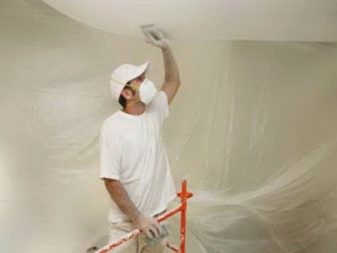
It is worth visiting a household chemicals store: there are special compounds on sale to remove old wallpaper, rust stains, grease stains. When working, it is necessary to use protective equipment: construction goggles, gloves. It would be nice for a grinder to find a casing with a nozzle for a vacuum cleaner.
For a drywall ceiling, a rough cleaning is sufficient: removing crumbling layers, sealing seams and large cracks.
Technologies and methods
Let's try now to imagine how laborious each method is.
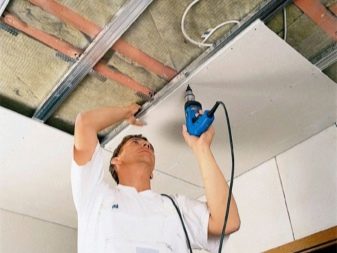
Plasterboard
The device of a ceiling made of plasterboard sheets (GKL) is not a particularly difficult task, but it requires careful study of the norms and recommendations at each stage of work.
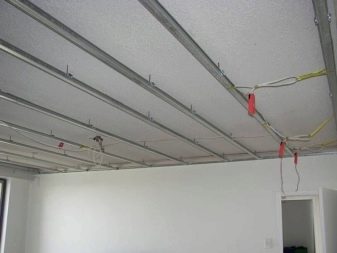
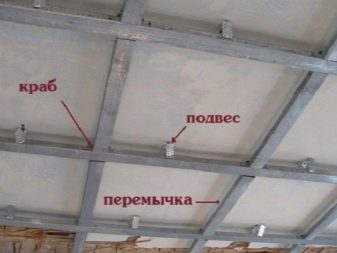
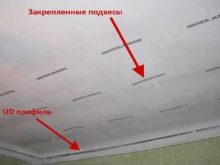
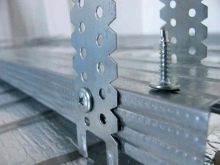
Guides are nailed along the perimeter of the room at a given height, - ud profiles. A grid is drawn on the ceiling, on the lines of which suspensions are attached. The cd ceiling profiles are inserted at right angles into the guides and then attached to the hangers. Sheets of drywall are screwed to the cd profiles.
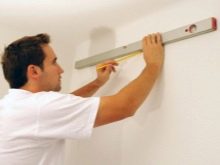
If you need the plane of the suspended ceiling to be as close as possible to the real ceiling (this option is desirable if the goal is to maintain as much room height as possible), the task of the first stage of marking is reduced to transferring the level of the lowest point of the ceiling to all walls.
It is inconvenient to work under the very ceiling with a water level, therefore, circular markings can be performed at the bottom, and then moved back up.
This is done in the following sequence:
- find the lowest point of the ceiling, transfer its level to any wall and make a mark;
- from the mark using the level and the rule, draw a vertical line down;
- on this line, approximately at the height of the eyes, another mark is made. Measure and record the resulting distance between the lower and upper marks;
- with the help of a water level, the height of the lower mark is transferred to all walls of the room. At least on each of the two sides of the corners between the walls there should be a mark;
- from each received mark, measure vertically upward the distance that was recorded;
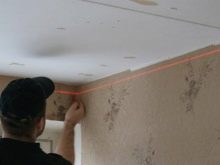
- along the found marks, a line along the perimeter is beaten off with a dyeing construction cord.
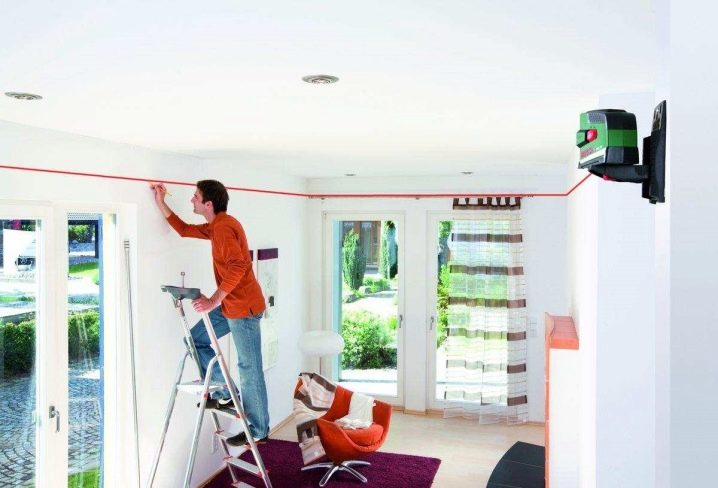
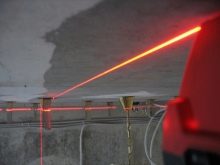
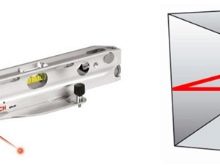
Of course, having a laser level, it would be possible not to do all this, but such a special tool is, in general, only for builders.
When the level of the lowest point of the ceiling is transferred to all walls, the guides of the ud profile are attached at this level along the entire perimeter. Their upper side is set at the level of the broken line. To fix the ud-profile, holes are drilled in them with a puncher with a step of 45-50 cm and dowel-nails are hammered in.
The length of the cd ceiling profiles must be equal to the width of the room (or length, if they go along), minus about 5 mm. Cut the profile with a grinder, metal scissors or a hacksaw.Ready-made cd-profiles are inserted into guides on two opposite walls, installed at right angles and fixed with self-tapping screws (or, in common parlance, “flea beetles”). Ceiling profiles are placed strictly at the same distance - either 60 or 40 centimeters. In this case, the joints of the drywall sheets will fall on the profile.
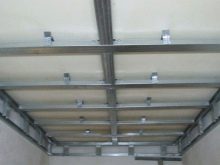
At this stage, a frame of parallel ceiling profiles was obtained. Now, over each profile, with a pitch of 50-60 centimeters, mounting plates-suspensions (U-shaped brackets) are screwed or nailed to the ceiling base. They will impart rigidity to the entire structure and the ability to hold the total weight of the GK sheets.
Before attaching cd profiles to suspensions, they must be aligned strictly in the same plane. This task is solved quite simply: in the middle of the room, a strong silk thread is pulled across the profiles and attached to the ud guides. The profile is above the thread; it is raised just enough so that a millimeter gap is formed, and then it is fixed with self-tapping screws to the suspension, first on one side, then on the other. It is necessary to ensure that the other profile does not touch the thread at this time and does not knock down the markings.
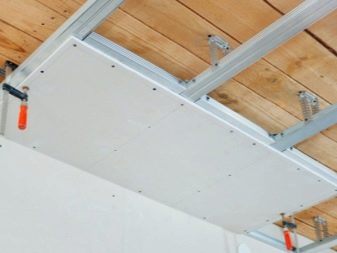
By the time of installation, the drywall sheets should lie in the room for several days. Now it remains to fasten them with self-tapping screws to the finished frame.
In this way, you can also repair a sagging ceiling in a private house or apartment.
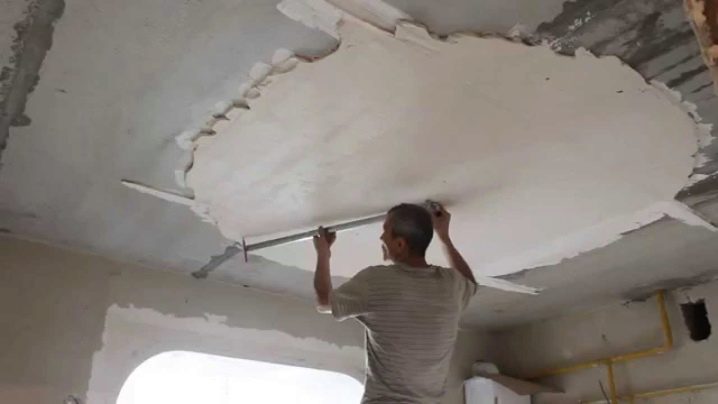
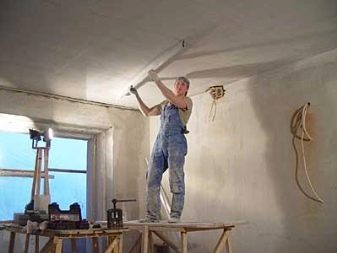
Plaster
After cleaning the base and sealing the joints, proceed to leveling with a plaster mixture.
It includes a number of operations:
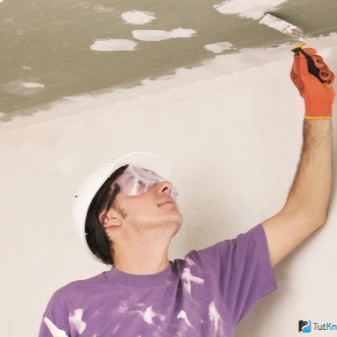
- Padding. Plastering of concrete ceilings is never carried out without preliminary surface treatment. One of the special primers of the Betonkontakt type is applied to a clean, dried base. This mixture not only functions as a deep penetration primer, but also coats the surface with a layer of particles that ensure reliable adhesion to the plaster layer. (This rough surface feels like emery.)
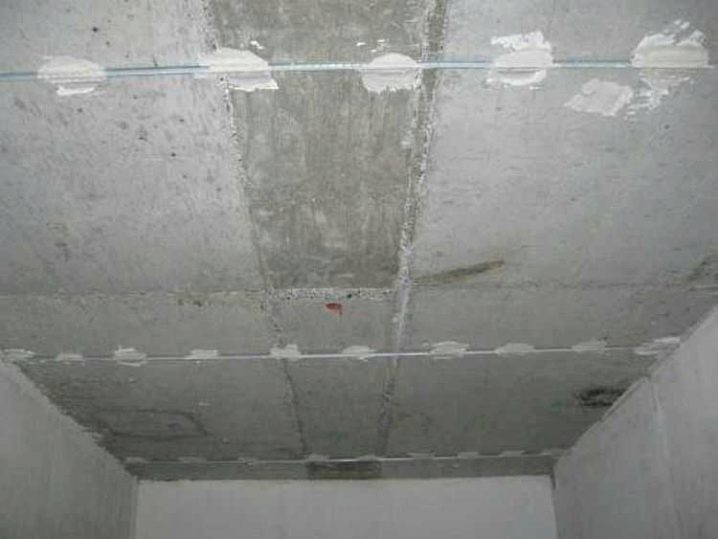
- The device of beacons. The lighthouse is a special metal profile with perforation along the edges and a flat edge in the middle. Its length is 3 meters, and its “height” has a step: there are beacons of 8, 10 and more millimeters. The higher the height of the lighthouse, the thicker the plaster layer will be. For the ceiling, it is better to purchase beacons with a height of 6 mm.
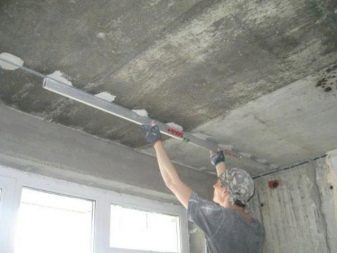
Lighthouses are laid on the level and "frozen" with a solution. When the painter follows the rule of two beacons, the excess solution is cut off and a flat surface remains. With patience when installing beacons, you can then plaster the surface of any area with an accuracy of one to two millimeters.
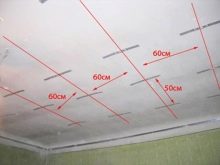
Lighthouses are installed parallel to each other. With the help of a construction cord, they beat off a line parallel to the wall. The distance to the wall is about 30 cm.Further, they are guided by the length of the existing rule: for a two-meter instrument, the distance between the beacons can be taken from 160-180 cm.
It is necessary to calculate that the distance from the opposite wall does not exceed this.
Lighthouses are set up using the water level. The entire plane is hung. At the lowest point, a hole is drilled for a dowel and a self-tapping screw is screwed in, leaving 6 mm on the surface. Then, on the marked line, they find another point, screw in a self-tapping screw, and, controlling the level, twist it just enough so that the caps of both are at the same level. Then, moving along the line, the third is screwed in level, and so on. 2-3 screws are screwed in two meters. At the end of the work, self-tapping screws are installed on all lines, so that all their caps are on the same level. After that, a little plaster solution is applied to the line, a beacon is applied and it is recessed with a rule until it rests against the caps of the screws. It should remain in this position until the solution grabs it securely. The accuracy of the installation is double-checked many times, since the success of the whole business depends on it. Installed beacons are left to dry until the next day.
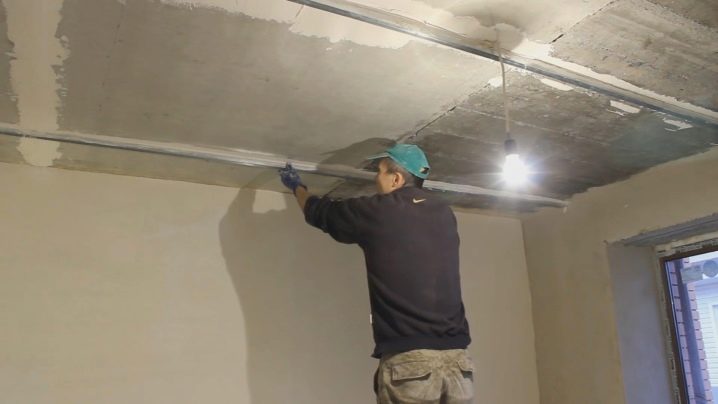
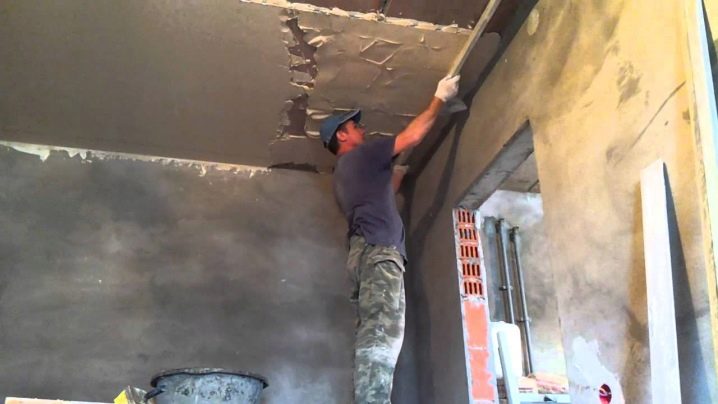
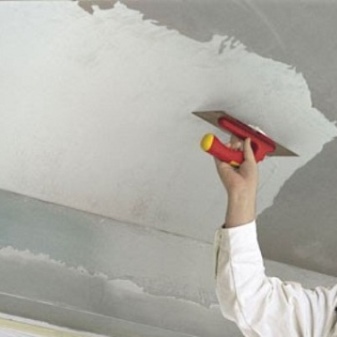
- Slurry overflow. Professionals believe that it is better to sketch the plaster mixture, but for a beginner it is quite suitable to spread it with a spatula. The solution is applied between two beacons, and then the rule is carried out along the beacons, removing the excess. Having finished, they do not go to the next lane, but through one. When the solution is dry, fill in the remaining strips.
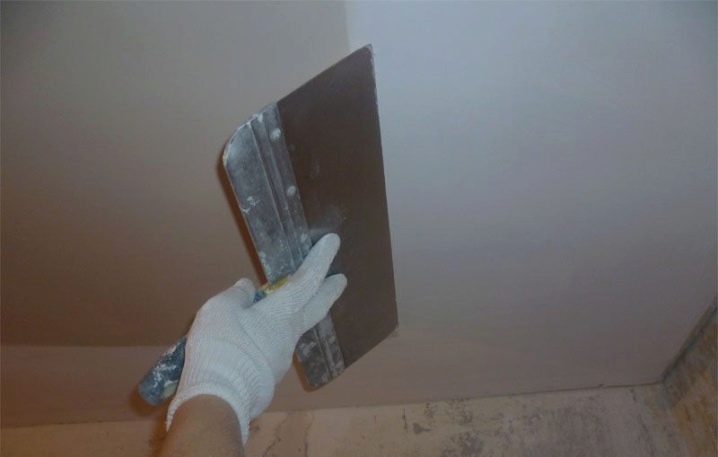
Plastering on beacons allows you to bring out a fairly flat surface at a time. For the next layer, a more liquid solution is prepared, and this time the rules are leveled in circular movements or rubbed with a scraper. After drying, such a surface is ready for finishing puttying or for pasting with dense wallpaper.
- Reinforcement. If a plaster layer thickness of more than 2 cm is required, reinforcement with special nets (made of fiberglass, plastic, galvanized steel, etc.) must be used. When applying the first layer, the mesh is "rubbed" to the base, in other cases it is screwed on with screws. If the thickness should be 4 or more centimeters, another mesh is laid between the layers.
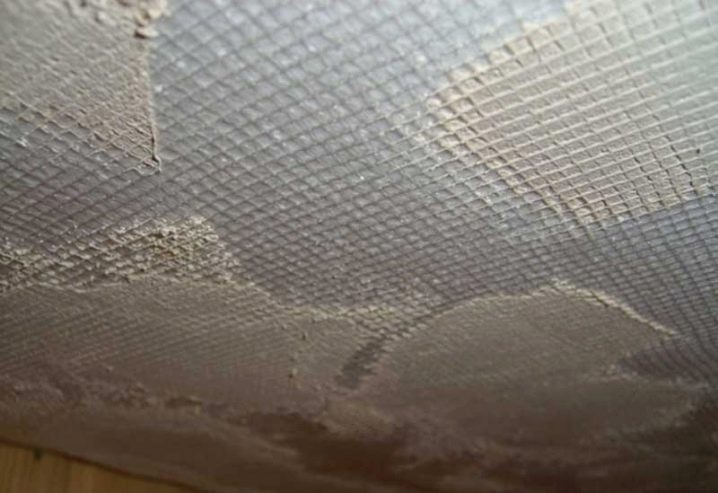
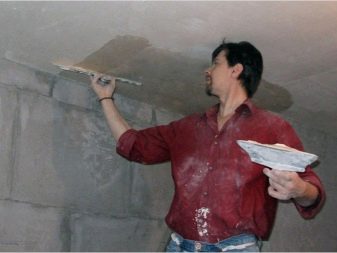
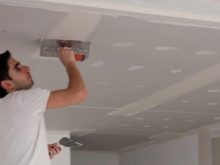
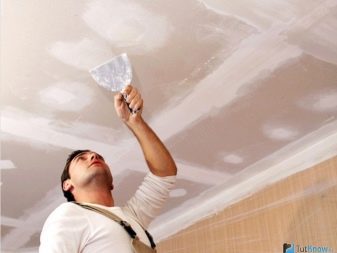
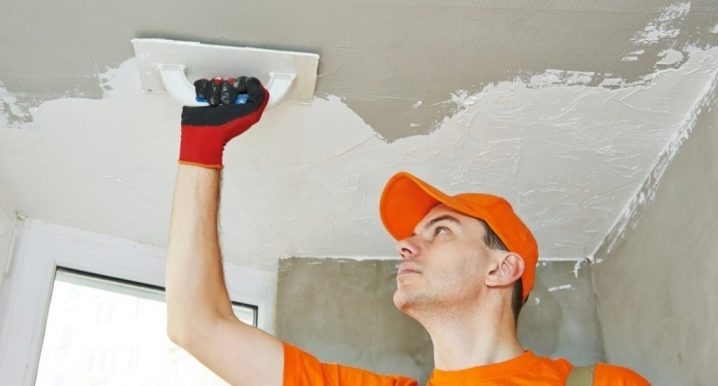
Putty
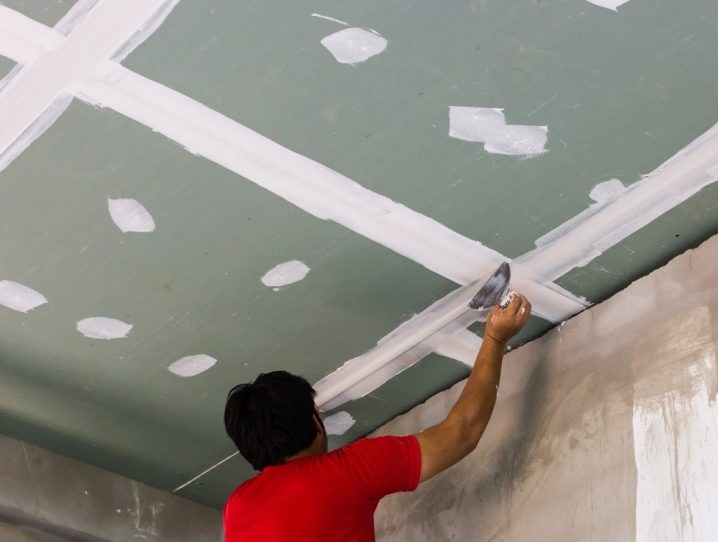
To avoid the appearance of cracks in the future, the seams between the plates are filled with one of the special elastic compounds at the preparation stage.
Apply thicker layers with a starting putty. The finishing layer should not exceed 2 mm.
If the putty is done in two layers, a fine mesh ("spider web") is rubbed between the layers. It is possible to seal the seams with putty perfectly evenly. The main thing is the absence of dirt in the seams.
Advice
- If there is no rule or good slats, you can use a drywall profile.
- Aluminum beacons do not need to be removed after plastering, as they are not subject to corrosion.
- It is better to buy liquid expensive paints in stores, since you can buy a fake in the markets.
- If you put the beacons not across, but along the slabs, you can reduce the consumption of the plaster mixture. But this should be done only if the geometry of the ceiling plane is clear, otherwise the savings can turn into losses.
- Cement-based plaster mixes are often cheaper than plaster mixes. However, it is enough to recalculate taking into account the material consumption, as it becomes obvious: their price is practically the same. At the same time, gypsum is considered a more environmentally friendly and suitable material for housing.
If the last layer is performed with a finishing plaster putty, this will greatly facilitate gluing light-colored wallpaper or painting with white paint.
- To calculate the number of drywall sheets and profiles, it is convenient to draw a drawing, marking all the details.
- For marking, it is better to buy a black thread, as it is better seen.
- If the guide ud-profiles in the "Khrushchev" are laid on special gaskets, this adds soundproofing properties to the ceiling covering.
- You can not use acrylic primers for gypsum board, this leads to a violation of the structure of the sheet.
- Primers with "filler" need to be stirred from time to time so that heavy particles do not remain at the bottom.
It is necessary to cover the curved ceiling quickly in order to obtain a continuous ceiling sheet as a result of the repair.
For information on how to level the ceiling with plaster, see the next video.


The comment was sent successfully.