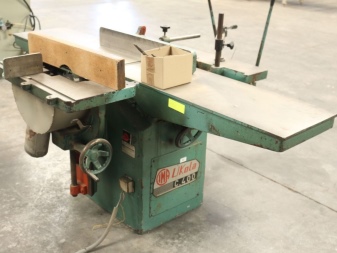
How to make a jointer with your own hands?
All lovers of woodworking would like to have their own planer in their workshop. Today the market for such equipment is represented by a wide range of different models. However, not everyone can afford such a purchase.
If you wish, you can make the jointer with your own hands. It is worth considering in more detail the assembly technology of the wood processing unit.
Tool features
A jointer is a tool designed to work with wood blanks of different lengths, widths and thicknesses. Through its use, a small layer of wood is removed. The maximum thickness of the removed layer is 2 mm. Cutting off the surface occurs due to the rotation of sharp blades located on a special shaft.
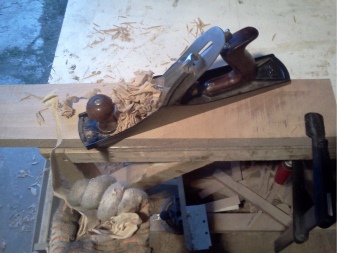
The principle of operation of a planer is similar to that of a standard planer.
The peculiarity of such a unit is that it can be fixed in place, while the workpiece will move along the table.
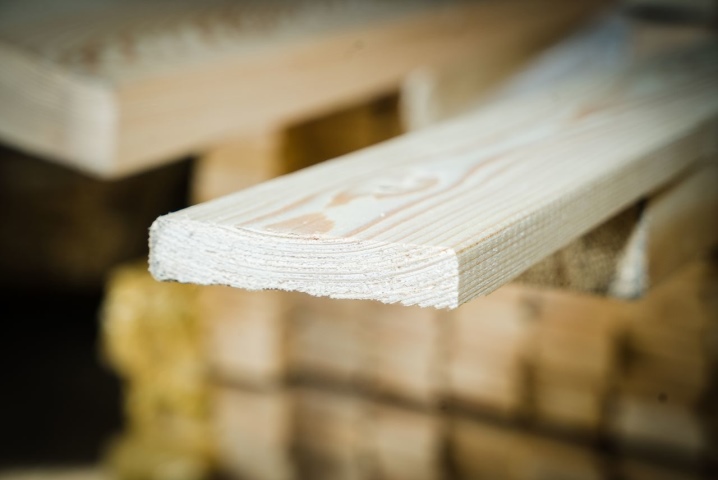
The length of the hand tools is increased, which makes it possible to give the processed wood an attractive appearance. Thus, The jointer allows you to get lumber with a wide and even surface.
Required materials and components
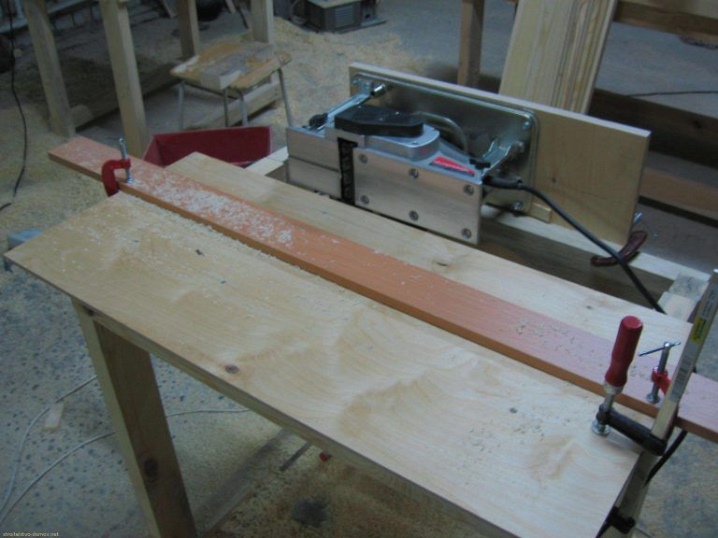
If you wish, you can make a jointer from a regular electric plane. In this case, you do not even need to disassemble a new instrument. It is enough to take an already used unit and start modernizing it.
The disadvantage of modern planers is the plastic body. Over time, its structure looses, and cracks or chips appear on the body. Working with such a tool is difficult, but it is great for creating a planer machine.

The selection of materials and tools for assembling a homemade machine is determined by its design. In most cases, it includes those presented below.
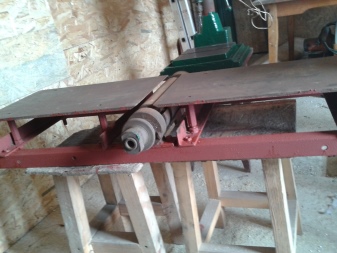
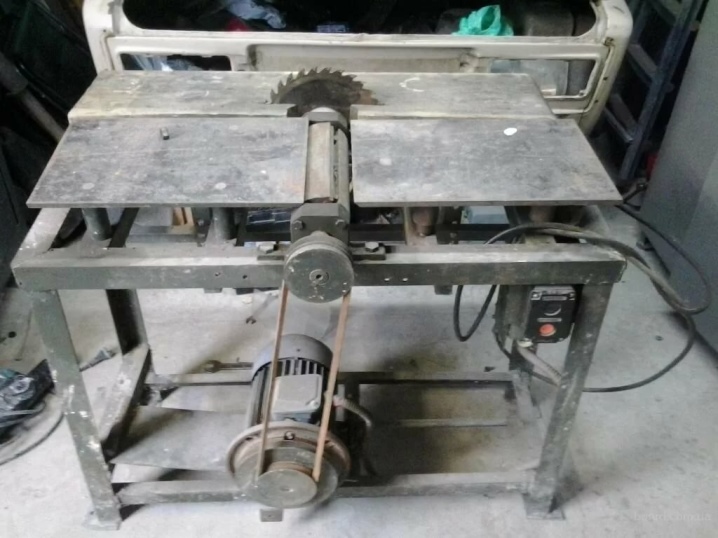
- Stanina. The basis of the unit, designed to hold the weight of the future machine. Also, key equipment for processing blanks will subsequently be installed on the bed. For the manufacture of this element, you will need strong steel channels. There are two options for the bed: collapsible and capital. The first option involves fastening the constituent elements with bolts and nuts. In the second case, the channels can be fixed by welding.
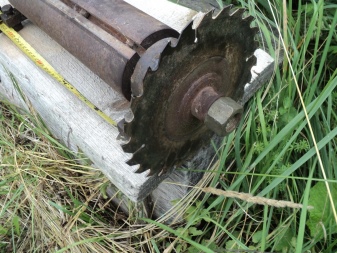
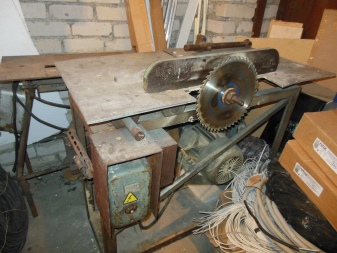
- Work tool... This part of the machine includes jointer knives and a surface saw. The knives must be fixed on the shaft, the best option for the elements is strong steel. When choosing a saw, it is recommended to give preference to circular saws.
- Rotor. Provides fastening of machine tools. Finding a suitable rotor is not easy, so in most cases it is ordered from professional turners. However, when choosing this option, you will need to search or develop suitable drawings.
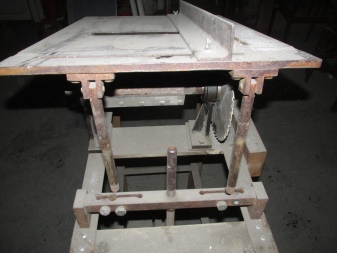
- Desktop. In order for the machine to function normally, you will need to equip it with three surfaces. The first will act as a workbench on which the saw will be installed. The other two are intended directly for the planer machine. For the manufacture of a table, durable plywood from several layers, as well as metal sheets, are suitable.
The manufacturing procedure is quite simple. However, you should first study the drawings and diagrams of future equipment, as well as familiarize yourself with the step-by-step sequence of assembling the machine.
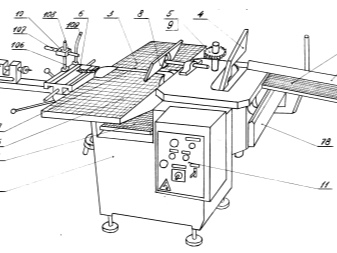
Drawings and diagrams
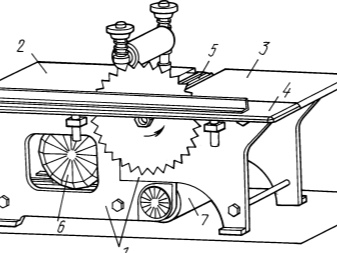
Before assembling a tabletop jointer, it is necessary to develop drawings. In the process of creating them, you should take into account the elements that will be included in the circuit. Standard planers without additional functions include:
- bed;
- shaft equipped with blades;
- rotating roller;
- engine;
- three tabletops;
- emphasis.
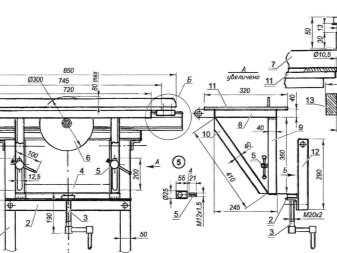
In the process of developing drawings, the master needs to indicate the main distances between the key elements of the stationary structure. This will require considering the location of the motor, roller and shaft with blades. The circuit will determine how much the number of rotor rotations at the output will decrease if an increase in power occurs, and vice versa.
Manufacturing steps
The process of creating a planer machine is carried out in several stages. Each is worth considering in more detail.
Stanina
First of all, the master should start assembling it. You can do it yourself while taking into account some points.
- The bed is usually made of a metal profile. The most common is a channel with a wall thickness of 6-8 mm.
- When creating a drawing of the bed, it is necessary to take into account so that the load from the equipment and the workpiece is evenly distributed throughout the structure.
- During the assembly process, ensure a strong fastening of the elements.
- Fixation of channels or other elements of rolled metal is carried out by means of welding or threaded connections. If the manufacture of a mobile machine is required, it is better to give preference to the second option.
The machine must stand level during operation, therefore it is recommended to use a level during assembly.
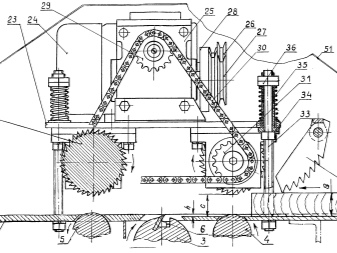
Shaft with knives
The jointer requires a drum equipped with knives for processing wooden surfaces. It is with their help that it will be possible to remove a small layer of the workpiece to ensure smoothness. Features of the installation of the shaft begin with its design.
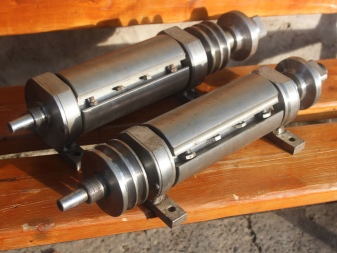
The shaft is a separate mechanism that is designed with blades and bearings. The shaft itself provides rotation of the blades. The assembly of the unit structure will require some consideration.
- You won't be able to make blades yourself. Therefore, it is better to purchase suitable knives made of durable steel in advance. You can take the blades from a router or grinder.
- The drum must be installed on the bed, fastening it to the bearings. They have special grooves.
- When attaching the mechanism with blades, be careful to ensure that it is firmly in place.... It is on this unit that the entire load falls during the operation of the machine, and poor-quality installation will lead to a breakdown of the device.
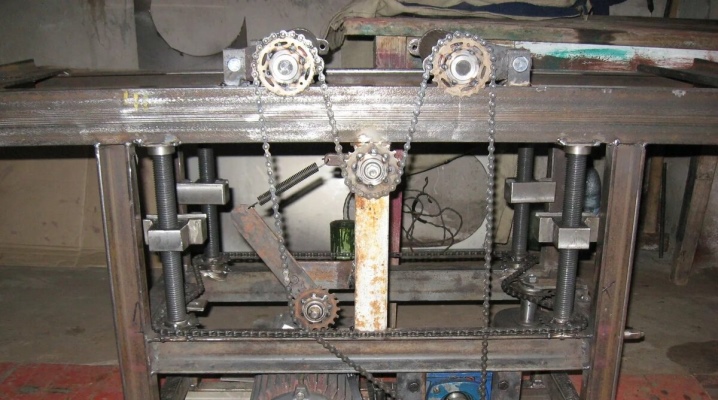
- At the end of the output shaft, a roller must be installed to fasten the rotation belt... When making a video with your own hands, it is recommended to take a responsible approach to the choice of a profile. It is better to give preference to elements suitable for the belt profile.
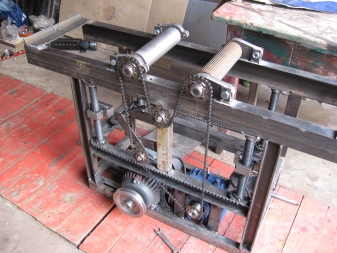
It is noteworthy that most of the drawings show diagrams where the shaft blades are installed in the center of the bed.
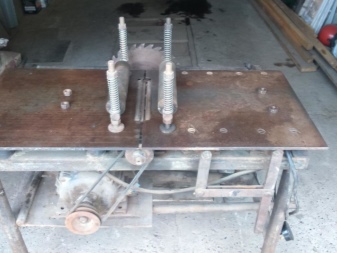
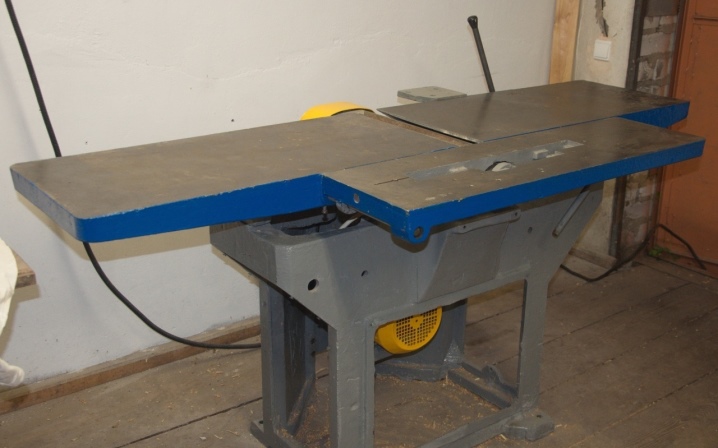
Table
The next in line is the table, which should be placed on opposite sides of the drum. The table making process is rather complicated. This is explained by the need to achieve rigid fixation of elements by using a special mechanism.
In addition, the surfaces of the countertops must be smooth.
If friction arises between them and the workpiece, processing will become noticeably difficult, and the equipment will have to face high loads.
Additionally, during installation, you should monitor the level of the location of the countertops. They should be flush with the drum. In this case, it is important that there is a possibility for adjusting the height of the element. To achieve the desired result, it is recommended to install a special mechanism.
The width and length of the table must correspond to the workpieces to be processed.
Engine
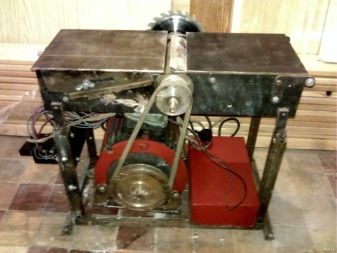
The rotation of the shaft with the blades is due to the operation of an electric motor. The installation process of such a unit requires consideration of important points.
- First you need to choose the right electric motor. This can be done by first calculating the required power, which is enough to process workpieces. For domestic use, electric motors with a power of more than 1 kW would be a suitable option.
- The engine pulley should be located in the same plane with the drum pulley... During installation, it is recommended to use a level and measuring tools in order to achieve the desired installation accuracy.
- Before attaching the motor, you must select pulleys, taking into account their diameters.
- The pulley belt should be well tensioned. Additionally, it is necessary to adjust the distance between the pulleys and bring it in accordance with the established standards.
- On the jointer stands provide a seat for the engine in order to ensure possible adjustment of its position.
Special attention must be paid to the safety of the planer. For this, it is recommended to provide grounding of the motor through the frame.
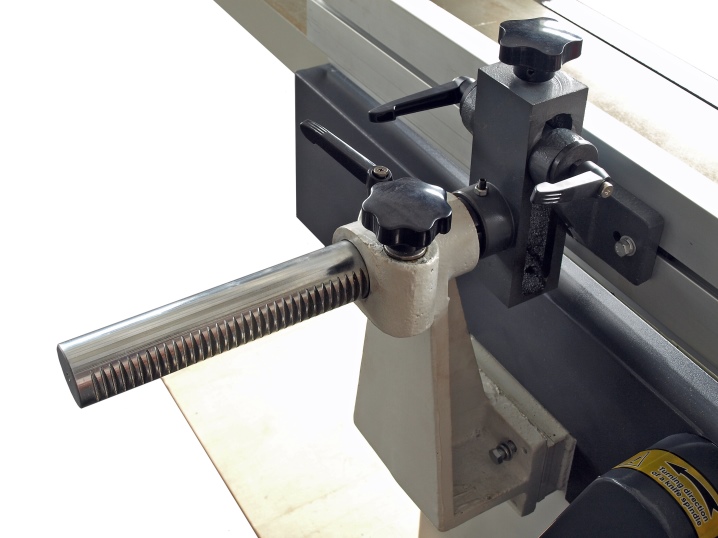
Emphasis
Another element, the installation of which requires taking into account some of the nuances. The stop is designed to hold the workpiece in the required position during its movement along the table. It must be secured to the far end of the table. You can use a solid piece of wood as a stop.
Homemade jointer should be made as safe as possible... To achieve this, it is recommended to additionally manufacture a special protective cover that will prevent damage to the motor, rollers and belts during the rotation of the blades.
How to make a jointer with your own hands, see below.


The comment was sent successfully.