All about plastering trowel
Repair and finishing will be successful if several indicators converge at once - high-quality materials, a professional approach and good, easy-to-use tools... For example, in order for the plaster to lay a perfectly even layer or to create special patterns, a comfortable trowel is required.
What is it and what is it for?
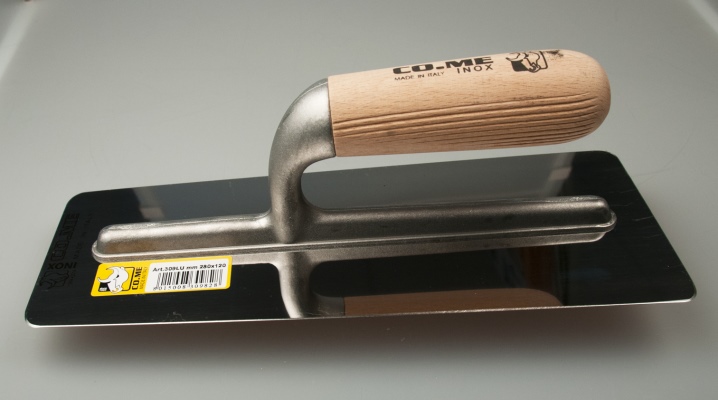
An ordinary trowel, without which it is impossible to imagine brick laying, and the one that uses plasterers in the work, is correctly called a trowel. It is a plate, ground and polished to a mirror finish on both sides, in different configurations, with a curved fixed handle. The tool is made of metal, and the handle is made of plastic or wood, sometimes from metal too.
If we talk with clarifications, a trowel is a serious, by no means small group of tools... They are all united by a common feature, namely the presence of a metal plate and a handle. The blades differ in shape and size, which requires their narrow predetermination.
Not only a trowel is capable of throwing plaster on the wall or ceiling. She is able to form the seams, and evenly apply an adhesive layer for facing with a tile product.
The necks of the trowel handles are also different, because one bending option is more convenient in plastering, the other in masonry. The trowel handles made of wood may have a metal tip, which is needed to tap the brick in the stack. You can even find models with interchangeable handles, and then the trowel becomes multifunctional and can be used for many years.
Plastering trowel, for example, does not look like a suture filling tool. Venetian trowel, invented for working with decorative plaster, made for interaction with mixtures with marble flour in the composition or other small fillers. Such a tool will definitely have rounded corners, the handle above the shoulder blade is right in the center. And this is just one of the options for a tool that performs a huge amount of construction and repair work.
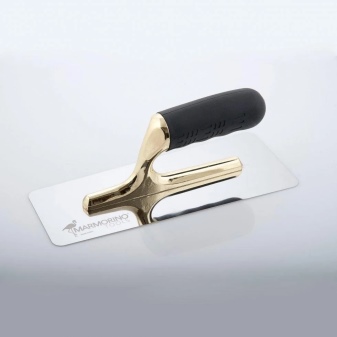
Usually the blades are made of steel, but titanium and brass are also used. The shank is almost always metal; it can be connected to the base by welded, screw, cast and riveted methods. The working plate and stalk are often coated with an ennobling layer if they are made of black, inconspicuous iron. This is done either by painting, or by galvanizing, or by anodizing.
The handle is made of wood, plastic, special rubber, polymers or metal.
The main thing is that it stays firmly on the handle and is comfortable for the plasterer's hand. The length of the handle is no less than the width of the palm of the person who works with it.
Description of varieties
The main parts of the trowel are a lamellar blade, securely fixed on the base of the handle and a handle attached to it.
By form
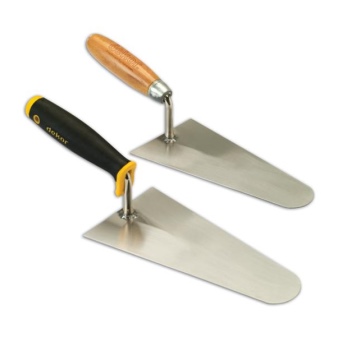
The most popular shapes are triangular, rectangular, made in the form of a trapezoid, in the form of a rhombus, round, drop-shaped, oval. Each shape has its own peculiarities: somewhere the corners will be rounded, somewhere they will be deliberately pointed.
Consider the types of trowels in form and functionality.
-
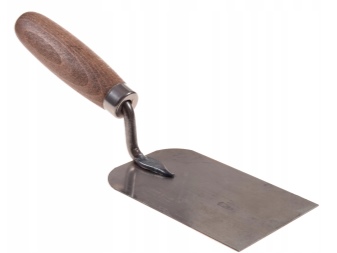
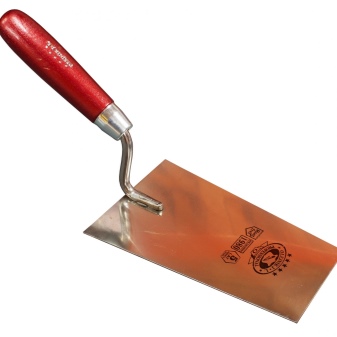
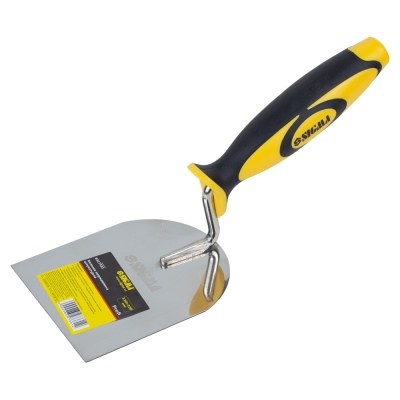
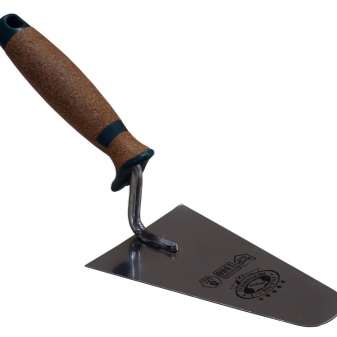
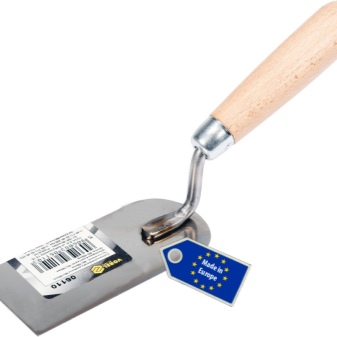
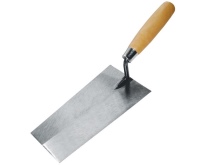
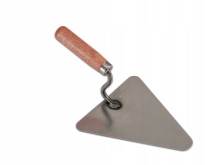
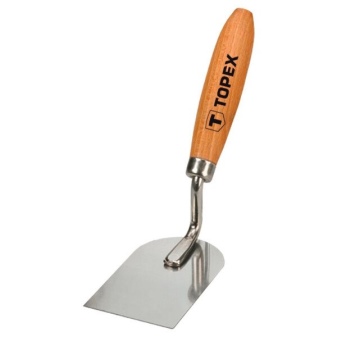
Mason's trowel. Covers all operations for laying a cement composition when it comes to masonry. The plate is triangular in shape, up to 18 cm long and 10 cm wide. This helps to lay the mixture even in hard-to-reach areas.The handle ends with a metal fungus, which taps the brick during laying.

-
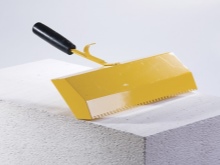
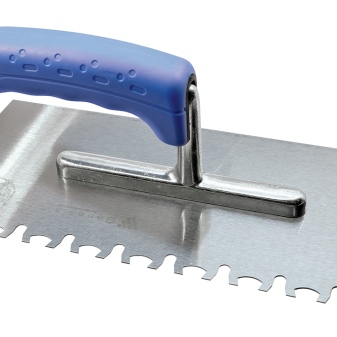
Glue trowel... If you need to lay aerated concrete blocks, such a trowel will do just fine. On the edge it has teeth that shape the surface of the adhesive. If the volume of the masonry is to be small, a conventional notched trowel is used, which has a rectangular plate.

-
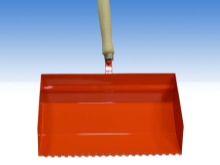
Joint filling tool... Usually used in tandem with jointing. The work surface has a wide flatness and helps to keep the mortar stock. On one edge there is a slightly raised side, it is convenient to use it in filling horizontal joints, on the other side there is a high wall with a centimeter gap, which helps to fill vertical joints with plaster.

-
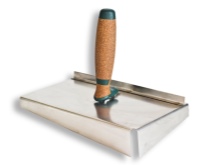
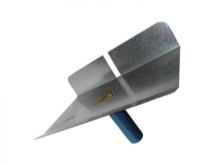
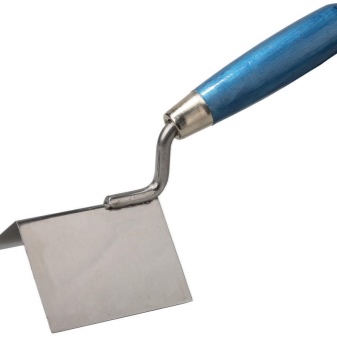
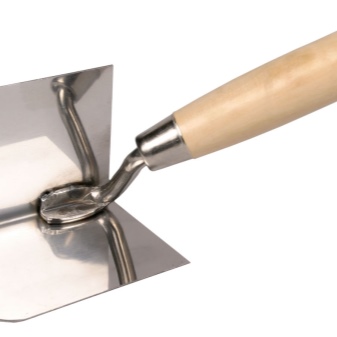
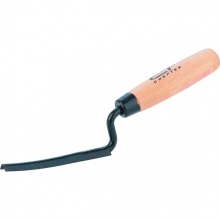
Corner trowel. It is a metal plate bent at right angles.
-
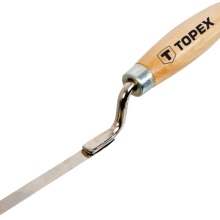
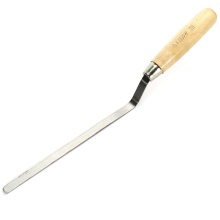
Jointing tool. Designed to fit the surface of masonry joints. It has a narrow and elongated plate of a flat, concave or convex shape. The tip of such a product may be pointed. The length of the plate is up to 10 cm.
-
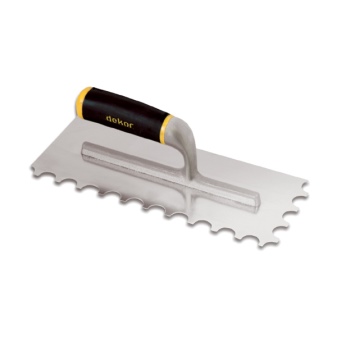
Notched trowel. On the surface of the mortar, this product will create a comb-like relief, therefore, the two edges of the plate are a row of teeth with a height of up to 10 mm. The tool is used to apply the adhesive when working on the "wet facade" system, before applying the reinforcing mesh, gluing the tiles.
-
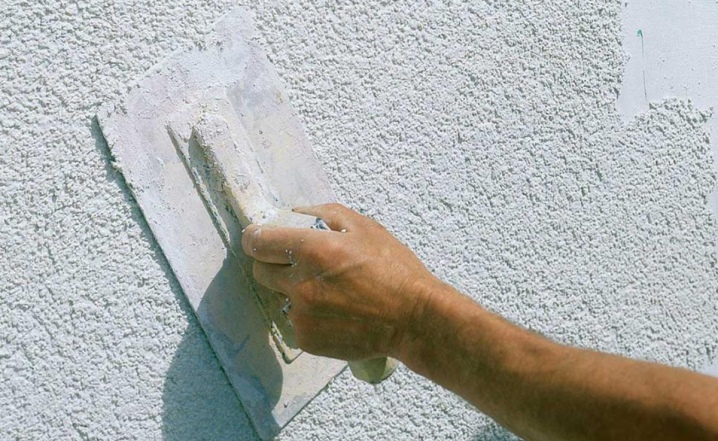
Grouting trowel. Smoothes mortar, used for grouting. It is she who has to iron the stones in the decorative plaster "bark beetle", she is also used for ironing.
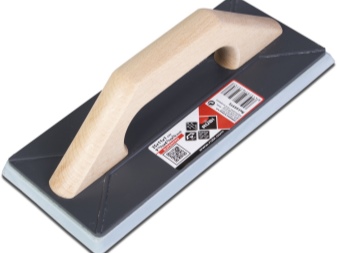
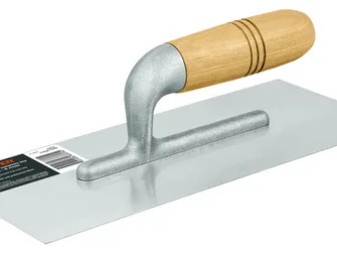
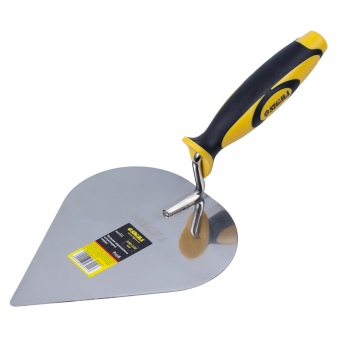
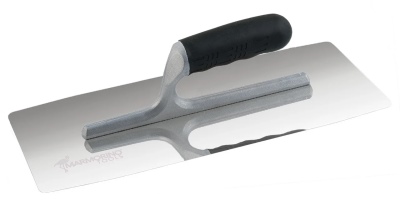
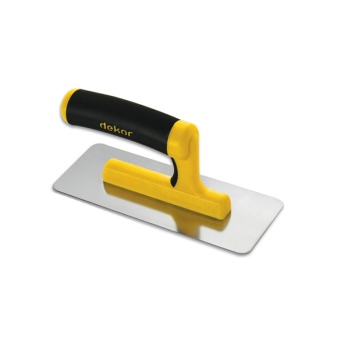
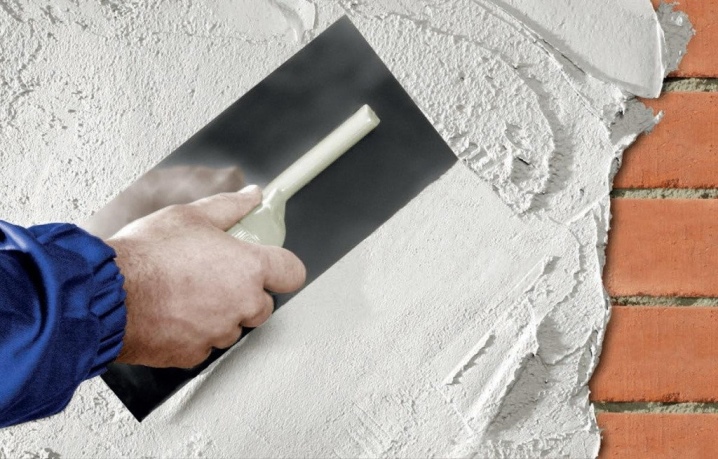
- Plastering trowel. It is used for rough work during the application and subsequent leveling of plaster. The most comfortable are the drop-shaped plates, reaching 19 cm in length and 16 cm in width.
And these are not all options for a trowel, but the tools of a concrete worker, a finisher, a tiler are less and less related to plaster varieties of a trowel.
By type of material
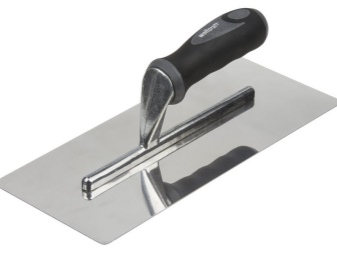
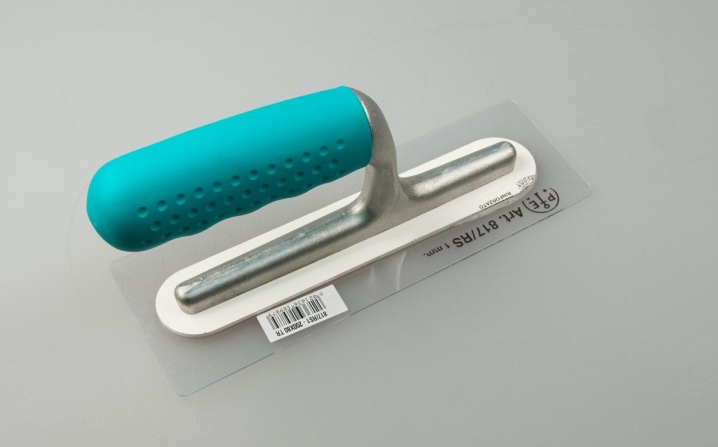
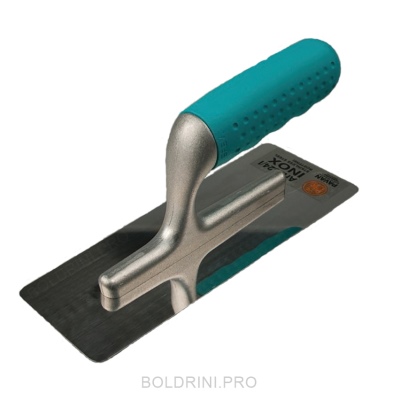
Decorative plaster is a very popular type of finishing work, respectively, and there are many options for tools that help to decorate the surface with plaster. If you want to buy a product that will last for decades, this is a stainless steel trowel. Metal trowels are handy for the craftsman and fit the traditional functions of the product.
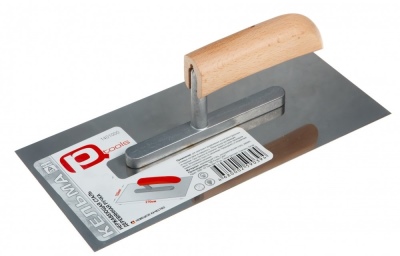
The trowel can have a steel reinforced handle, but sometimes it is a wooden or even plastic part of the tool (so that it, due to its low weight, was easy in long-term plastering of surfaces).
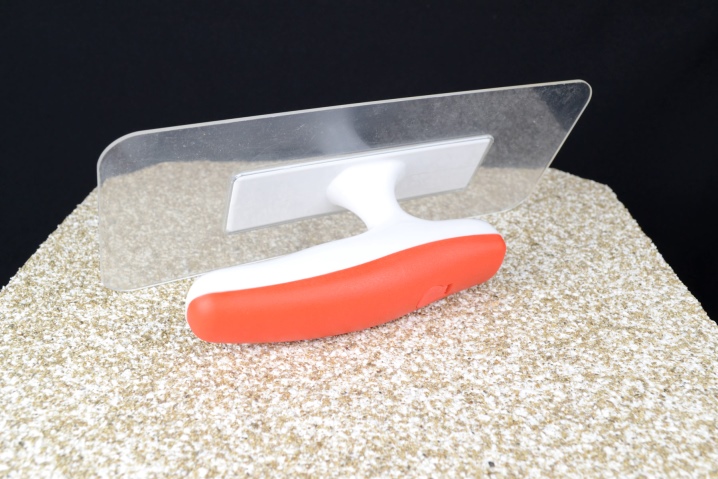
But a special transparent plastic trowel (sometimes made of plexiglass) helps in pasting wallpaper. Thanks to her, you can visually control the process. For plaster, transparent options are not used.
Selection rules
There are not so many tips for choosing a trowel. In general, experts agree that the tool should fit well in the hand and be used as intended. Trying to do different jobs with the same trowel is rarely a good option.
And a few more criteria for how to choose a trowel.
-
Optimal model is light... The hand will not get tired, because plastering is a slow process and quite energy-consuming. If you apply the composition with a heavy trowel, breaks will be made more often, and the process will be delayed. And the quality of application with a light tool is much better.
-
The working surface of the tool should be very flat and mirror-polished. Otherwise, excess plaster mixture will stick to the steel base.
-
The plastering trowel is almost always rectangular in shape, as it guarantees an even application. Trowels with rounded edges show themselves better, which helps to avoid injury to the primer layer.
-
Narrow trowel patterns are preferred. They help you get to hard-to-reach areas and work deftly there. Although several types of trowel will be required, few people succeed in laying textured plaster with one tool.
-
If the handle has a very long length, it will not be possible to harmonize the dimensions of the tool and the plasterer's hand. Hence the clumsy application, mistakes, fatigue. The handle of the tool should be compact, because this way it will make smooth lines.
-
The cost of the trowel must be adequate, a steel trowel cannot be expensive and compete in price with mix or other bulky materials.
-
If a small area is to be finished, a larger trowel will also do, because the hand will not get tired of such a scale. If there is already a trowel on the farm, and the size of the work is small, you can do it without spending money on a new special tool.
Of course, buying a good trowel is not enough, you still need to learn how to use it.
How to use?
This process is not so fast: it is easy to put plaster on the wall and distribute it correctly over the surface only at first glance.
Working with a trowel includes several stages.
-
Splashing... This is what experts call the first layer of plaster, which is applied to the base - a bare brick wall. This will require a liquid cement mortar, it should be scooped out of the container with a bucket trowel and thrown directly onto the surface. Splashes of the composition will be visible on the base, which is why the initial stage is called. This process is somewhat similar to playing ping-pong: the movements of a plasterer's hand are quite comparable to those of a tennis player's hand. Apply the composition to the ceiling by making a throw up behind the head. Just do not throw it with effort, otherwise the spray will be excessive. But even weak movements will not work: nevertheless, the train must fly to the ceiling and remain on it. There should be no voids. The thickness of the spray is 3-5 mm on average. This composition does not need alignment. The layer should be rough so that it adheres better to the next one.
-
Priming... At this stage, it is necessary to work with leveling the base and forming the base thickness of the plaster. The solution will need to be thicker than that used at the spraying stage. The primer will have to be applied in several layers, the layer thickness should be within 7 mm. You will need a trowel with a triangular base for this. You can do a sketch, or you can smear.
-
Throwing... The mixture is taken with the edge or end of the working part of the tool, which is held with a slight tilt away from you. The solution should not slip to the hand. The trowel is brought to the surface, a wave is made - if you stop the tool abruptly, the mixture will fly to the base. The composition is applied with movements either from left to right or from right to left (but not up and down).
-
Smearing... The trowel is brought to the wall, held horizontally, separating part of the plaster composition with a tool. Tilt the instrument and spread the separated solution, pushing the instrument up. Then the mixture is carefully spread over the surface. After each stroke, the trowel is turned to remove the mixture evenly from all sides, while maintaining the center. Usually, this is how the ceiling is leveled, and then plastered on a metal mesh. You can level the mixture after each layer so that the base is as even as possible.
-
Nakryvka... The top layer is formed by a liquid plaster made from a fine-grained sand mixture. The surface will be compacted and smoothed. The thickness of such a layer can reach 2 mm, and in the case of a decorative cover - all 5 mm. First, the soil must be moistened with a brush, then the finishing layer is applied. You can do the plastering of soil that is not yet completely dry, but has already set. If there is moisture, the material will bond better. Plaster is applied and leveled in the same way as in the previous stages.
-
A corner trowel is required to align corners.... The solution is applied to the instrument, transferred to the surface, then carried out with a trowel from bottom to top. If the corner is inner, the trowel blade enters it with a protruding part, and if the outer corner, the trowel turns over.
The total thickness of the plaster layers can reach 2 cm. After the top layer has dried, you can start grouting the surface. Any trowels used in the plastering process, whether they are standard 200x80 tools, be they corner or seam trowels, must be cleaned, wiped dry and stored in a place where they are not afraid of rust.


The comment was sent successfully.