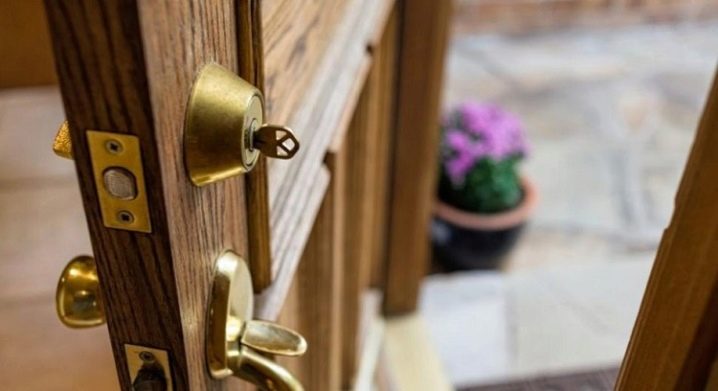
Subtleties of installing door locks
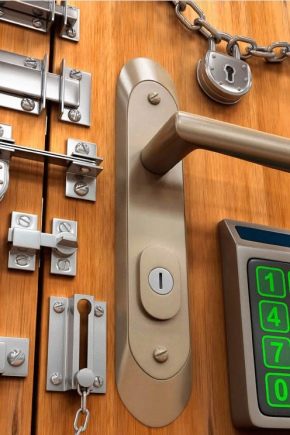
Today there are a large number of locking systems and devices. They are designed to protect the owners from the interference of uninvited guests in their homes or utility rooms. There can be many reasons for installing or replacing a door lock. This process does not tolerate carelessness and carelessness, but it can be carried out independently, the main thing is to know how to do it.
Device selection
First of all, you need to understand the types of locks in order to choose the option that is suitable both in terms of functionality, degree of protection, and financial capabilities.
By the type of installation, the locks are classified into three groups.
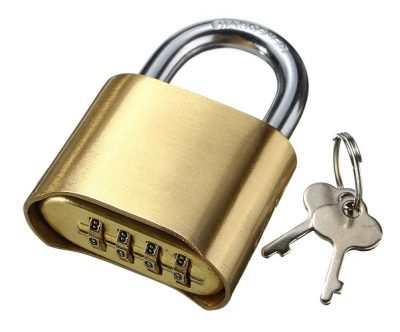
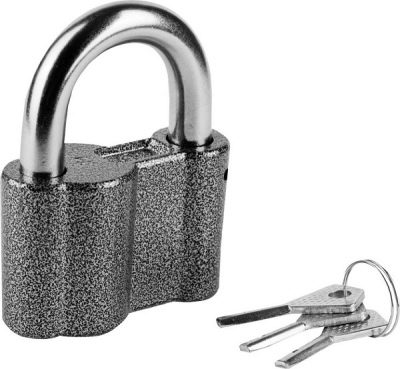
- Hinged. The hinged locking mechanism is the simplest type. As a rule, it is used to protect utility rooms, garages, country houses and facilities with communications. Installation of the device is simple and accessible for any person. However, the degree of protection of such locks is the lowest, and the secrecy factor is zero.
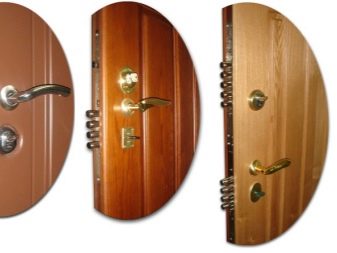
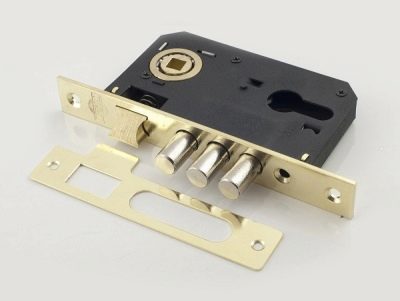
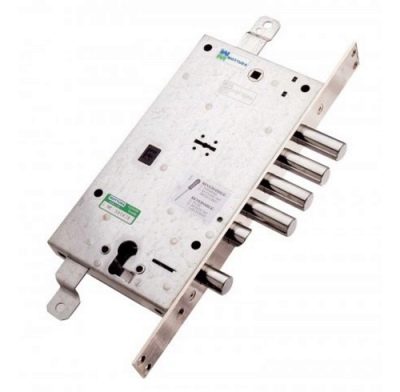
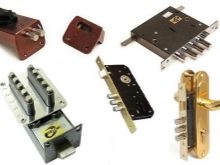
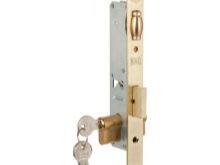
- Mortise. The essence of the mortise locking mechanism is contained in the name itself: it is embedded inside the door, for which a special recess is cut out in the canvas. Installation of the device in this case will require certain skills and special tools, especially if the door is metal. These locks allow you to choose a model according to the degree of protection and secrecy. Modifications are very popular to guarantee effective burglary.
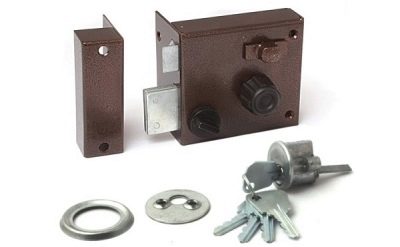
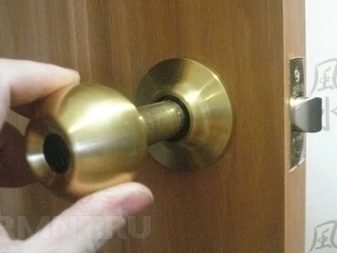
- Overhead. Locks of a similar design are superimposed on the door from the inside, while part of the mechanism goes deep into the canvas itself. Installation and replacement will not be difficult for an experienced craftsman, but if necessary, self-assembly is also possible.
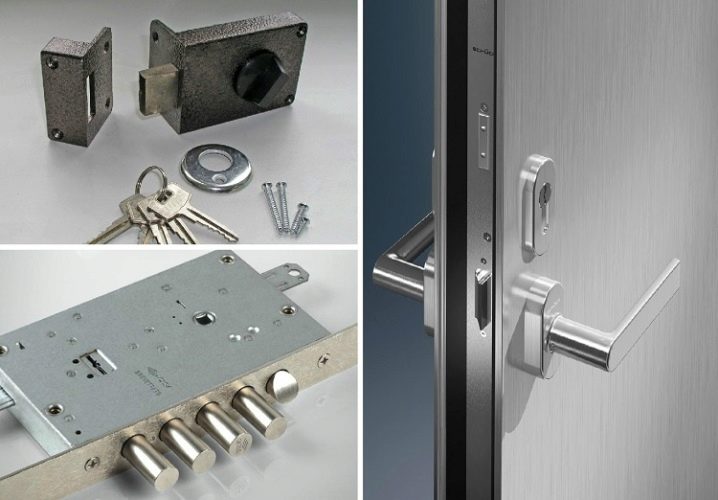
By the type of device, locks are divided into two main types.
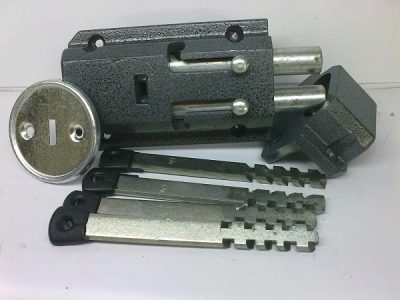
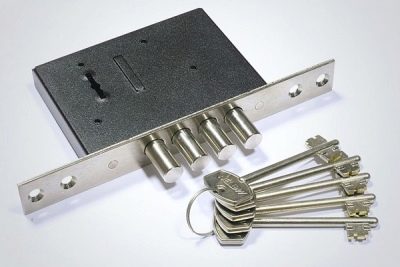
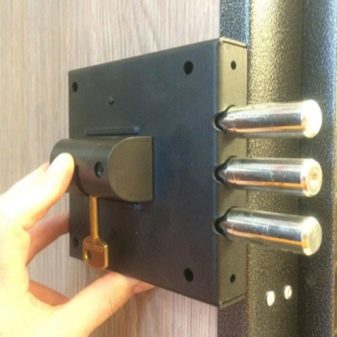
- Rack and pinion. The main characteristic of the castle is its massiveness. The mechanism is powered by a key that does not turn, but is simply inserted into the system. As a rule, keys are of considerable length and weight. There are special slots on their surface, which must match the code inside the lock. Since it takes considerable effort to open, rack and pinion mechanisms are installed in garages, warehouses and other utility rooms.
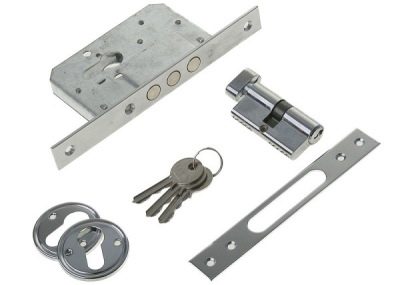
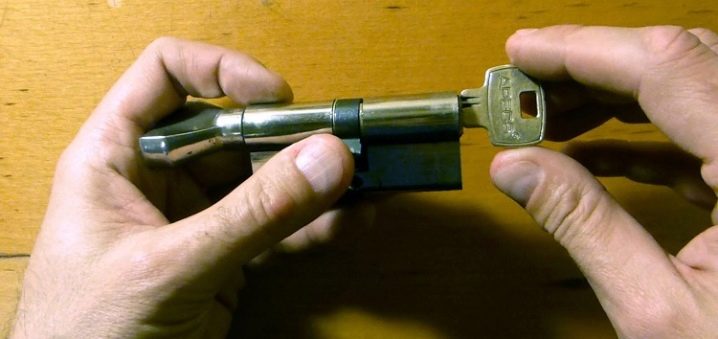
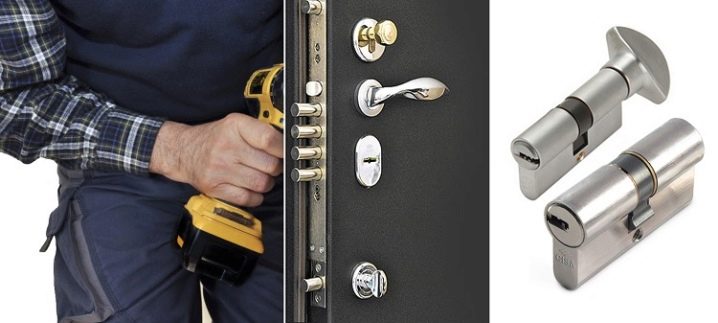
- Cylinder systems. Locking mechanisms of this type are considered classic. The main parts are pins, body, cam and cylinder. The principle of operation of the mechanism is rotary. The level of complexity of the lock is determined by the number of cylindrical parts, inside which there are elements that provide protection against burglary. Each such part has its own set of pin codes, so a key is developed for it.
Due to this circumstance, there may be more than a million code combinations. They are suitable for installation on interior and office doors.
- Disk. The design is similar in principle to cylindrical locks. Only code combinations are created by means of discs, the number of which determines the complexity and reliability of the locking mechanism.
- Lever mechanisms. The design of the lock in terms of the basic elements is similar to the cylinder type, but there are additional details that complicate the principle of its operation.The main parts are steel, spring-loaded code plates called levers. They are more massive than ensure the reliability of the lock. The reliability of constipation depends on the number of levers.
- Combined systems. These structures are most effective in protecting against burglary.
By the principle of action.
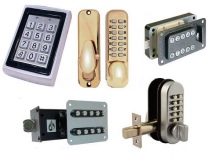
- Mechanical. The locking mechanisms of this design are closed only when a key is present, that is, manually. They are simple, reliable enough, durable and are the most popular models on the market.
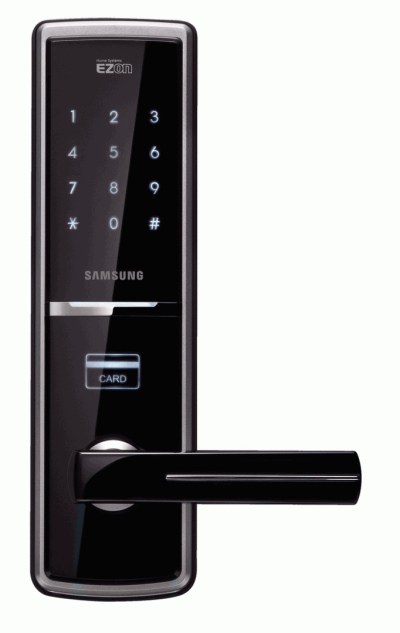
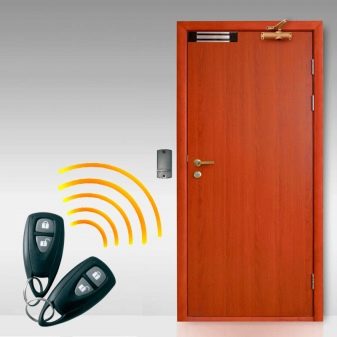
- Electromechanical. Locks of this design have the ability to close the door not only with a key, but also with an electronic module. As a rule, such mechanisms have ordinary crossbars, which can be controlled manually or by an electronic device: a card, a key fob, a remote control.
Such a locking system is considered very reliable, therefore it is often used in banks and museum depositories.
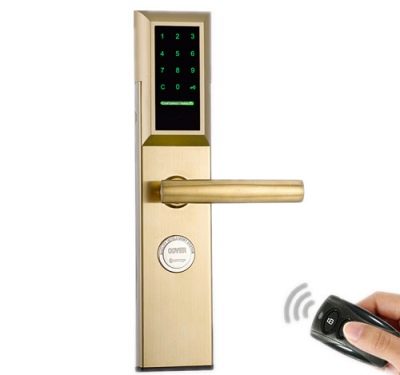
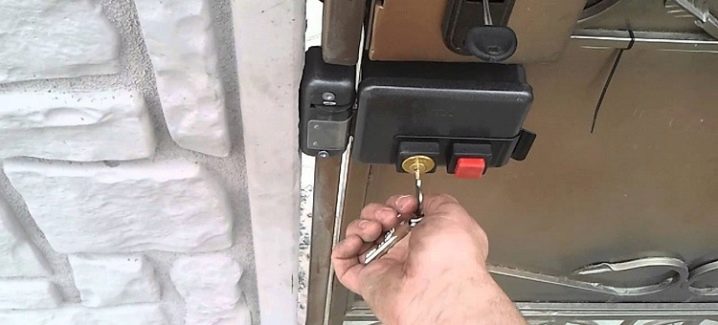
- Electronic. Their main advantage is the impact on the door from a long distance. As a rule, they are installed in private cottages on garage and entrance gates, gates. The main problem is that they are easy to open, like any electronic device. In terms of reliability and protection against burglary, they are inferior to electromechanical and electromagnetic models.
- Electromagnetic. To install a lock with magnets, you need a circuit with constant electricity in the network. Under this condition, it is able to provide good protection. Most often they are used in industrial sites and in large office buildings.

Criterias of choice
When choosing a lock, you must consistently answer the following questions.
- The function that the door performs. Depending on the tasks that the doors perform, a locking mechanism is also selected. If high reliability is required, then the locks are selected from high quality materials, durable, with a high degree of secrecy and resistance to burglary. The simplest locks for interior or light plastic doors can be made from cheaper parts: plastic, brass or silumin.
- Reliability of protection. There are 4 classes of burglary resistance. The first of them is the simplest, used on locks for interior doors, offices, utility rooms. Even a non-professional can open it in 5 minutes. The second class is characterized by a break-in time of up to 15 minutes. They can also be installed on the front doors, but on condition that there is nothing of value behind them. The third class of protection provides improved quality of the locking mechanisms. It is he who is most in demand, since the price and quality are commensurate for ordinary users. The fourth class is installed on the doors in specialized premises, which are subject to increased security requirements.
- The degree of secrecy. Many sellers mislead buyers by characterizing locks only in terms of the number of combinations. But it should be noted that secrecy is a complex concept, which includes, in addition to the specified factor, protection against any type of hacking: mechanical or with the help of a master key, wear resistance, impact resistance, the probability of key repetitions.
Depending on this, there are 3 levels of secrecy.
- Short. Characteristics: from 10 to 10 thousand possible pin codes and their simplicity, lack of protection against burglary, parts made of low-strength materials, low assembly accuracy.
- Average. Characteristics: from 5 thousand to 5 million combinations with a sufficient level of difficulty. Models from reputable manufacturers are tamper-proof. The materials for the crossbars are wear-resistant, for the case they often use low-grade materials, the assembly level is average.
- High. Characteristics: the number of pins starts from 100 thousand to a billion, the level of complexity is the highest, protection against any kind of impact, materials are wear-, acid- and water-resistant, high assembly accuracy.

Required tools
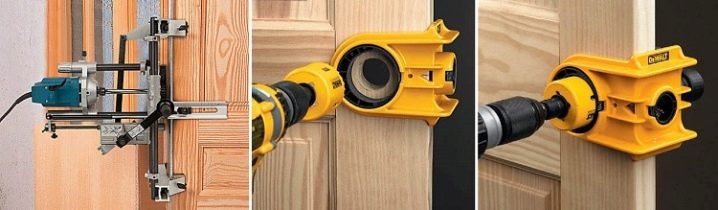
To embed the lock yourself, you will need to stock up on certain tools and knowledge. The set of tools depends on the type of lock and the material from which the door is made.
For a wooden canvas you will need:
- electric drill;
- a set of chisels;
- a set of screwdrivers or screwdriver;
- carpentry knife;
- hammer;
- file;
- Ruler and pencil;
- fasteners, if they are not included in the lock configuration.
To install the lock on a metal door, you may additionally need drills and metal files. The kit for mounting locking devices on plastic sheets should include carbon paper or plasticine for marking.

Dismantling the previous lock
Despite the innovations in the production of locking mechanisms, sometimes they fail. Therefore, you need to be prepared for the fact that someday the lock will need to be replaced or repaired. Before installing a new mechanism, of course, you need to dismantle the old one.
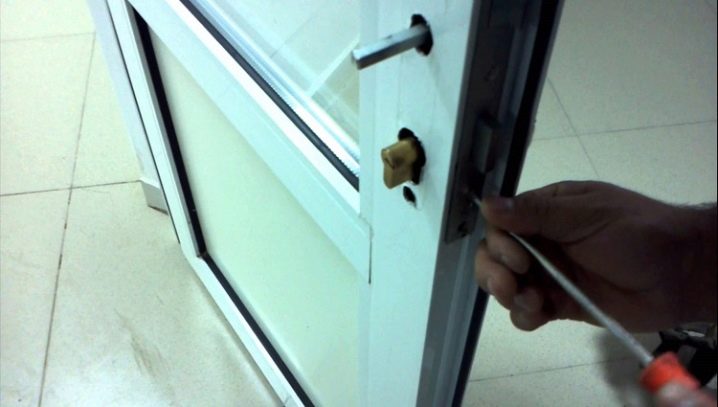
Depending on which bolts the lock is screwed on, you should stock up on a flat or Phillips screwdriver. With its help, all fasteners are unscrewed from the end. There is a lock bar. If the larva of the mechanism is not fixed, then it is enough to remove the lock by pulling the bar towards you.
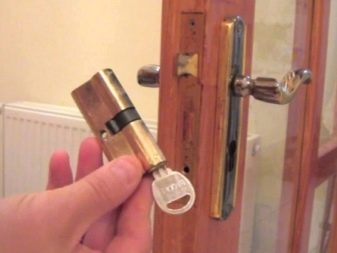
If the larva is present in the lock, that is, the device has a certain level of protection, then it must be pulled out first. For this, a special long screw is unscrewed, passing through the entire body, starting from the bar. After that, the larva will come out by lightly pressing on it. For locking devices with a high degree of protection, this process becomes more complicated, since first it is necessary to turn off the protective mechanism with a special key and only then dismantle the larva.
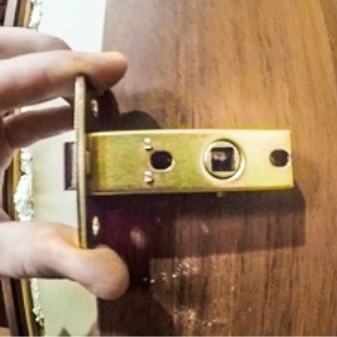
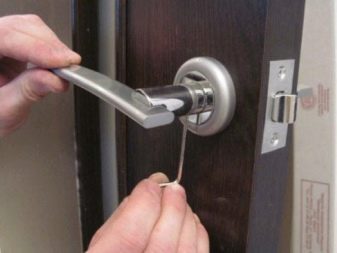
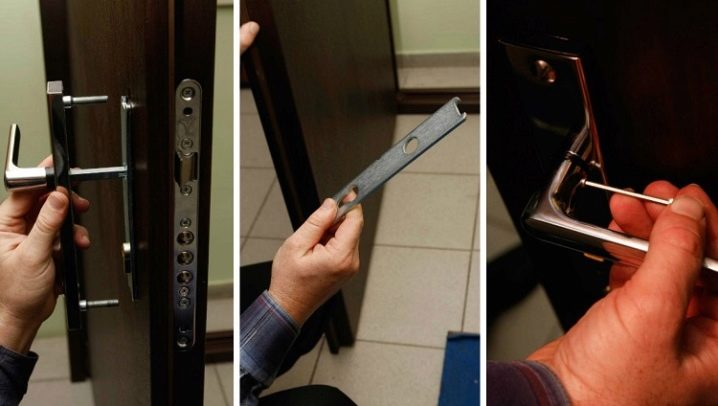
In the case of a mortise lock with a handle, before starting to remove the mechanism, you should get rid of it. Typically, the opening levers are secured with a setscrew to a through square pin. It also needs to be unscrewed to remove the pin. And after that, proceed to further dismantling of the castle.
Difficulty in the parsing of a disabled locking device is represented by various decorative elements such as overlays. In this case, dismantling should start with them. They have their own fasteners, which are most often screwed either into the door leaf or into the body of the lock. Further, the algorithm of actions is standard.
- When removing an overhead lock, much less effort will be applied than when dismantling its mortise counterpart. Such models are attached with self-tapping screws to the door itself. Therefore, the process consists in unscrewing the screws, removing the casing - the plate that closes the well, and removing the lock.
- Locks on plastic and metal doors are often electric or electromagnetic. Therefore, before starting to dismantle them, you need to make sure that there is no electricity and read the instructions for their device. It is very rare, but still there are cases when locks are built in at the factory, and it is not possible to remove them without damaging the door leaf. In this case, you need to try to get by with "little blood", for example, by drilling it from the end.
It should be noted that the entire lock does not always break at once. As a rule, the core fails, which can be replaced separately without throwing away the entire mechanism. It will be much cheaper this way.
Markup
After the old lock is removed, you can proceed to the next stage - marking.
Into the old door
If there are holes left from the old lock, then it is better to fit the new mechanism for them. Then they will serve as markup.
Experts warn that there are no two similar locks. If you need an adequate replacement strictly for the old holes, then you need to either change the core, then the case will remain old and there will be no problems, or look for exactly the same model, brand and manufacturer.For selection, it is better to come to the store with the old lock or its description, so that consultants can quickly find the desired option.
If there are holes for the constipation, but it is not itself, and it is not known what it was, then measurements should be taken from them in millimeters. For round ones, the radius is measured, for the rest - length, width, depth.
If it is not possible to choose a similar locking mechanism, then it is possible to install another model. It is better if it is slightly larger than the previous one, then the existing holes will simply need to be expanded.
Into a new wooden door
To facilitate the process of installing a new lock with your own hands, you should carefully and carefully approach the markup.
- On the surface of the door leaf, with a simple pencil or chalk, mark the location of the hole of the lock and the handle, if they are interconnected. As standard, the lock is installed at a distance of one meter from the floor level. However, the height may be different, more comfortable for residents.
- With the help of a square, a perpendicular is drawn to this mark on the end of the door. This is the center, focusing on which along the end you need to draw an axial line, the length of which is equal to the width of the body. The easiest way is to attach the lock to the end of the door and outline it along the contour so that the dimensions of the recess exactly match the dimensions of the device. You will get a drawing of a rectangle.

- Next, measure the depth of entry of the tongue into the canvas (this is the distance from the lock bar to the end of the longest bolt) on both sides of the door and mark. In other words, it is necessary to mark the beginning and end of the locking mechanism.
- If the lock requires a rotary handle, its location is marked on both sides of the door. For this, the device body is applied sideways to the door, then the necessary marks are made.
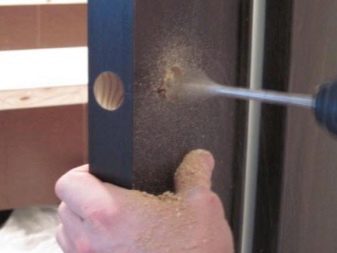
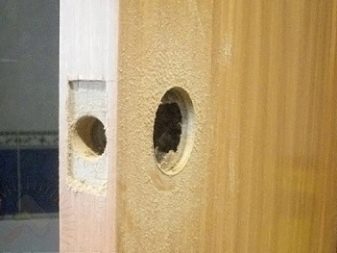
- Then you can start drilling the hole. For these purposes, an electric drill with a feather drill is used. To match the depth with the measured value, mark it on the drill with a wire. It is better to choose the drill diameter close to the hole thickness. Drill out carefully along the entire rectangular mark. You can correct the accuracy with a chisel. Instead of a drill, some craftsmen use a chisel and a hammer. Craftsmen pay attention that the hole should be slightly larger than the size of the lock, then it will be easier to install it.
This stage ends, since then the installation of the locking device begins.
The hole for the tongue on the opposite side of the door frame is marked after the lock itself has been assembled and embedded. For this, the locking element is smeared with chalk or carbon paper is glued to it. When closed, the tongue will leave a mark, which will be considered a mark for drilling the required hole. If everything is done correctly, then after installation the mechanism will not jam.
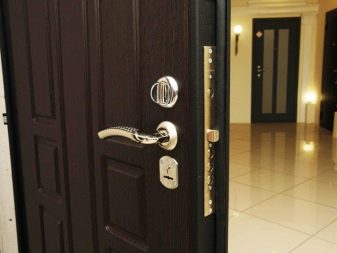
Into a new metal door
As a rule, iron doors are sold complete with a lock and other necessary parts, so all the holes on it are already drilled and match the fasteners. It remains only to install the lock according to the instructions in the indicated places.
If the door was bought without a lock, then the general algorithm of actions is observed, only the tools change, since metal will have to be drilled and sawed.
Into a new plastic door
Today, plastic doors are ubiquitous. Accordingly, the locks on them will also have to be changed, repaired and new ones installed. The algorithm of actions for marking the location of the lock in a PVC door is similar to a wooden one. Expensive types of locking devices have instructions in which not only the installation procedure is given, but also stencils for marking are attached.
Today, almost all manufacturers include a paper template in the accompanying set of documents.It is applied to the door, with the help of an awl, marks are made on the door leaf: 4 fixing and one central one for the locking larva.
Masters recommend drilling holes in the indicated places, except for the center, with a thin drill as a outline. Then the self-tapping screws will enter the canvas without distortions. The holes must be blind, not through.
Basting the groove for the bar is carried out in the same way as the mortise model: attach the lock and circle the bar. The location of the counterpart of the locking mechanism is marked after complete assembly and installation of the lock. To do this, close it, apply a reciprocal structure and make marks with an awl through the holes for fasteners.
Installation
As practice shows, installing a lock on a door is not an easy task, but it is feasible for independent execution. Inserting door locks on different types of canvases is basically the same process. The differences are determined by the additional functions of the mechanism and the material from which the doors are made.
On a wooden door with a swing handle
After you cut out a niche for the lock body during the marking, the sequence of actions will be as follows.
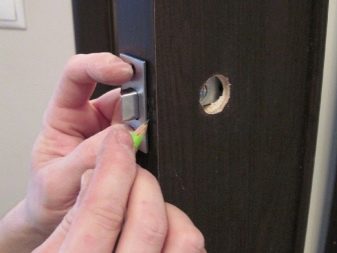
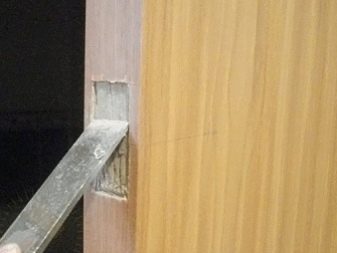
- End plate placement. The lock must be inserted into the hollowed out recess and circle the strip along the contour. Since it should be flush with the canvas, you need to make a small depression for it. Along the drawn line, a notch is made to a depth of 1-2 millimeters with a knife. Further, with a chisel, it expands to the size of the bar.
- Drilling holes for handle and key. The keyhole opening and the handle are obtained with a feather drill. Craftsmen advise to drill holes not through and through, but from both sides, then they will be more accurate, without chips at the edges.
- Inserting the structure into the door. The lock deepens into place, the handle is inserted into the hole made earlier. If decorative overlays were present in the kit, then it is at this stage that they are attached to the canvas with self-tapping screws.
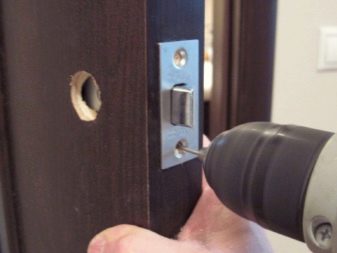
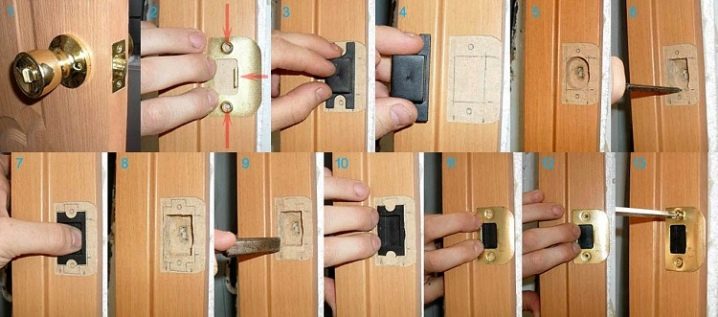
- Installation of a parallel strip. It is also called "response". It is located opposite the lock, the bolt enters into it when closing. To embed the strike plate, you need to follow an algorithm similar to obtaining space for the lock itself. The place where the tongue will enter the canvas is marked with chalk or carbon paper. The bar is attached with self-tapping screws or bolts.

On a wooden door
In order to put a patch lock, it should be remembered that the standard height for it is 1.5 meters from the floor level. However, it is also optional and can change depending on the requirements of the owners.
After all the marks have been made, the center hole is drilled. Experts advise doing this from both sides, and not right through. In this case, the edges will be smooth. The hole diameter must match the lock cylinder.
Unlike the cut-in model, the overhead strip has a side one, not a central one. However, it must also lie flush with the door leaf, which means that a groove must also be cut under it. For this procedure, a sharp knife is used to deepen the outline and a chisel is used to gouge the groove.
Next, the lock is installed in its place and attached to the door with self-tapping screws or fixing bolts. The counterpart of the mechanism is screwed with self-tapping screws according to the mark made.
After all the main parts are installed, additional elements are attached: decorative overlays, anti-vandal devices, handles.
Please note that if the lock needs to be cut into partially glass doors, then they must be removed from their hinges before installation and, if possible, remove the glass. This will protect them from chips or accidental breakage.
With the proper skill level, the lock can be cut into a swing or sliding sash without removing it from the hinges
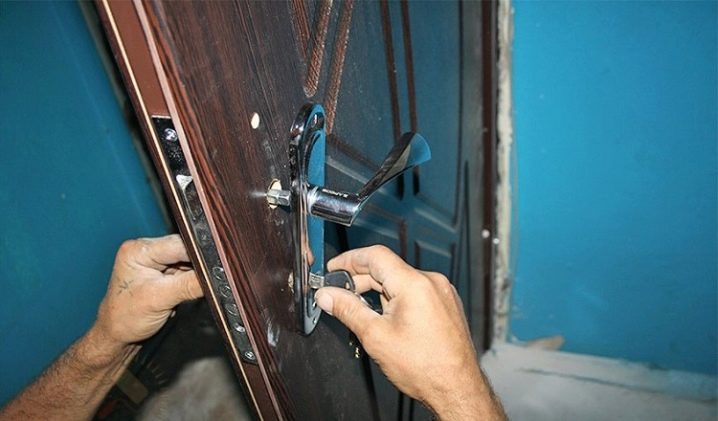
On an iron door
The principle of installing the locking mechanism is similar to the algorithm of actions for working with a wooden canvas, the only difference is in the form of the tools used. To obtain various holes, you will need a grinder, a hacksaw and metal drills.
On a plastic door
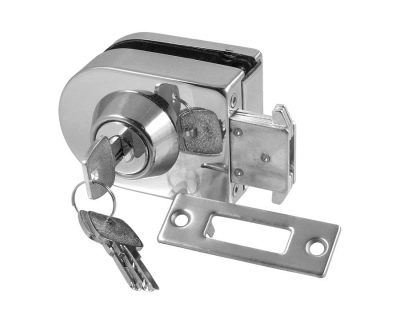
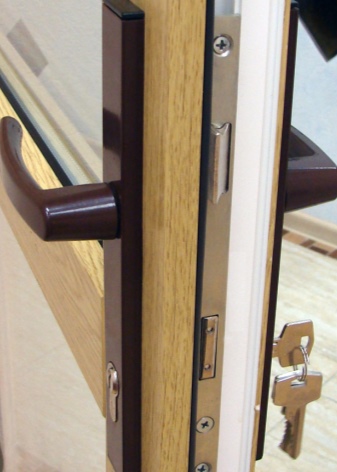
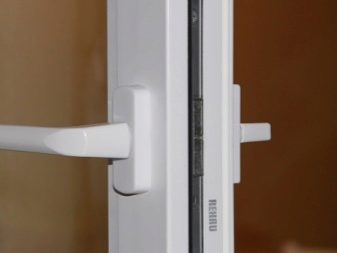
Locks for wooden and metal doors are not suitable for their plastic counterparts. In this case, you should choose special constipation. A mechanism is selected according to the width of the profile on which it will be installed. Almost all presented models are mortise and have built-in handles for opening. This is necessary to maintain the integrity and aesthetics of the entire structure. In rare cases, to enhance protection, the door leaf is equipped with an overhead locking device.

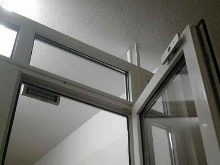
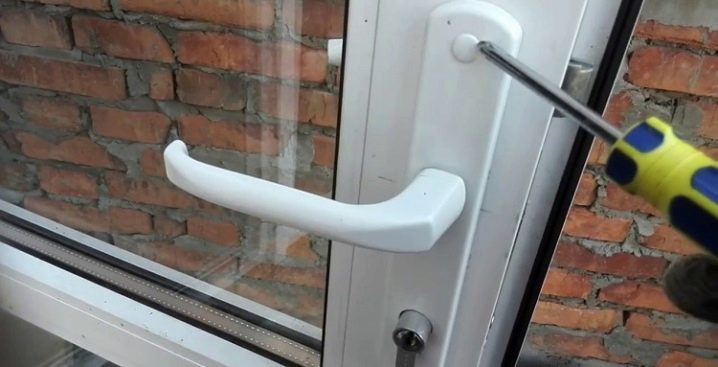
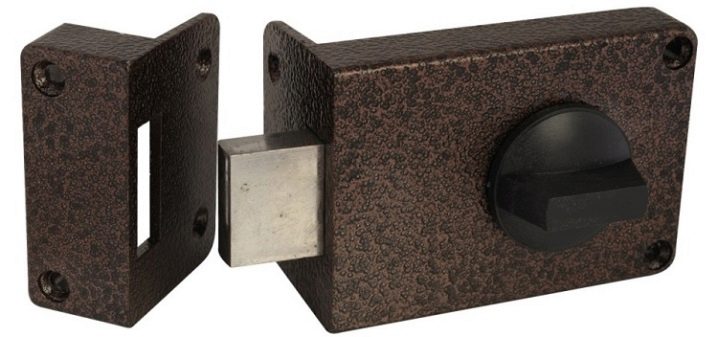
On the balcony door or in the double-glazed window of the apartment, which is located on the upper floors, as a rule, an ordinary latch lock with a handle is mounted. In this case, it comes in a set with double-glazed windows, therefore it is installed already at the factory. Please note that it does not have protective functions.
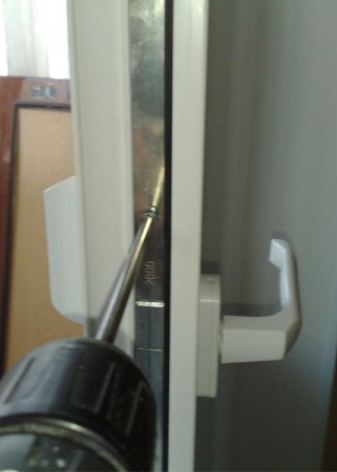
For repairs, it is enough to unscrew the fastening bolts, remove the handles from both sides, insert a new similar handle into the hole formed, and fix it.
If it is necessary to provide protection against penetration through a plastic door, then a more complex locking mechanism should be installed. Let's consider the algorithm of actions on the example of the electromagnetic model.
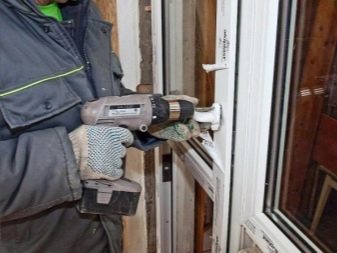
- After applying the markings, start drilling the holes. During work, it should be remembered that you cannot press hard on the canvas, it may crack.
- As a rule, the structure consists of two main parts, one of which is attached to the door leaf, and the other in the opening. All fasteners are included in the package.
- At the next stage, an electrical circuit is assembled. This will require certain knowledge and skills, so if they are not there, it is better to seek the help of a professional electrician.
- The final stage is connecting the power supply.
Checking work
Checking the functionality of the locking mechanism is as follows:
- all parts move freely, do not jam or get stuck;
- the door closes tightly;
- the tongue goes into the mating part evenly and to a sufficient depth, which ensures its reliability;
- all electrical circuits are triggered without delay;
- all parts are screwed on tightly, do not dangle.
In the next video, you will find the installation of a lock on an interior door.


The comment was sent successfully.