How to connect LED strip to power supply?
LED strip has long become an indispensable attribute of our life. In a number of spheres of public life of people, it has become the main source of light. We are talking about the backlighting of monitor displays, and about industrial lighting equipment, and about base-type lamps, and even about portable flashlights. But it is the LED strip that is the most common type of technology. And often you need to connect it to the power supply for various reasons. Let's try to figure out how to properly connect it with our own hands to a power source, and also consider various situations that may arise in this process.
What do you need to consider?
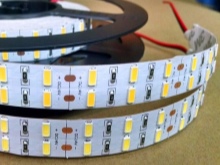
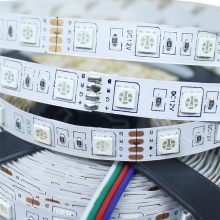
To make such a connection qualitatively, you should first familiarize yourself with the characteristics of a particular tape. For example, different models can be equipped with a different number of diodes per 1 meter of the product.
The mentioned characteristic is necessarily displayed in the technical characteristics on the product box. It will directly affect the required power and the quality of the received light. LEDs can be arranged in 1 or 2 rows. In addition, they can be protected in different ways:
-
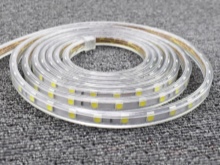
silicone coating;
-
varnish coating;
-
have no protection.

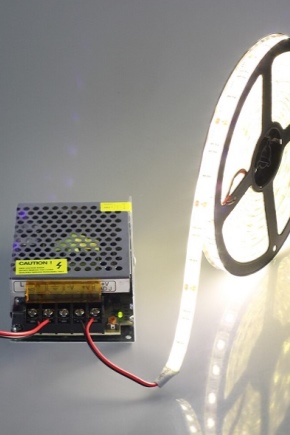
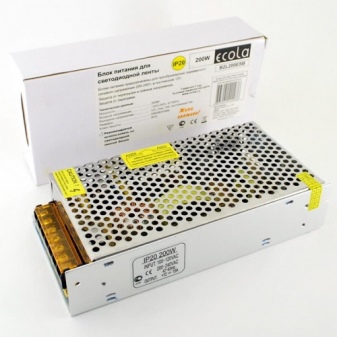
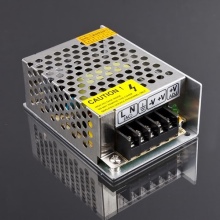
An important point is that the diode tape receives the required voltage from a 12 V or 24 V power supply. Therefore, when buying a device, you need to ask what voltage it will require, and purchase a power supply or transformer that is suitable in terms of parameters, which will allow you to connect to the network at 220 volts. In addition, there are 4 factors to consider:
-
length;
-
cutting;
-
polarity;
-
compound.
Now let's say more about each of the points mentioned. If we talk about the length, then everything is quite simple here. It is easy enough to measure the length of the perimeter that you want to illuminate and where the tape will be installed. If the distance is greater than a standard 5 meter roll, you will need to add a splicing allowance. The cutting of the extension tape can be carried out in certain sections. The order of their arrangement will depend on the number of diodes.
As for cutting, it often happens that the length of a regular coil is too excessive, and you just need to cut some piece from it. To connect an LED strip with a length of less than 500 centimeters to a power supply, the workpiece should be cut according to the mentioned marks. Usually they are placed every 3 fixtures. In most of the tapes, there are just 3 in a block, the light parts are combined into bundles of a parallel type.
If you cut the tape in a different place, then its functioning will be possible, but in a number of diodes, where the circuit is closed, the light will not appear.
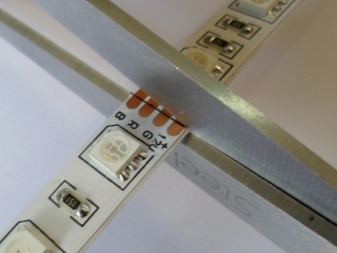
Considering the issue of polarity, it should be said that, unlike conventional lamps and various techniques, the installation of an LED strip should be carried out taking into account the polarity due to the fact that this device is semiconductor. If this moment is not observed, then the tape will not do anything, it simply will not turn on. For this to happen, the correct connection of the poles on the power supply is required.
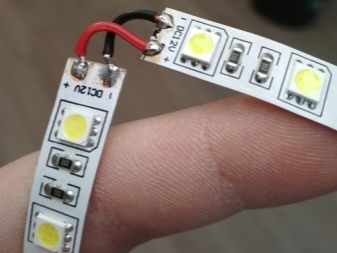
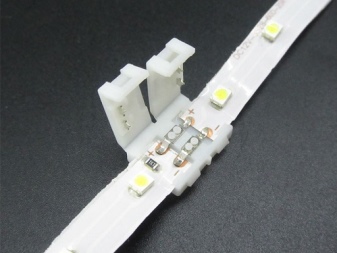
To connect two or more tapes, it is often soldered. If you look closely at the marked cutting lines, you can see special contact areas. Before attaching the parts to each other, they should be cleaned, then treated with tinning.
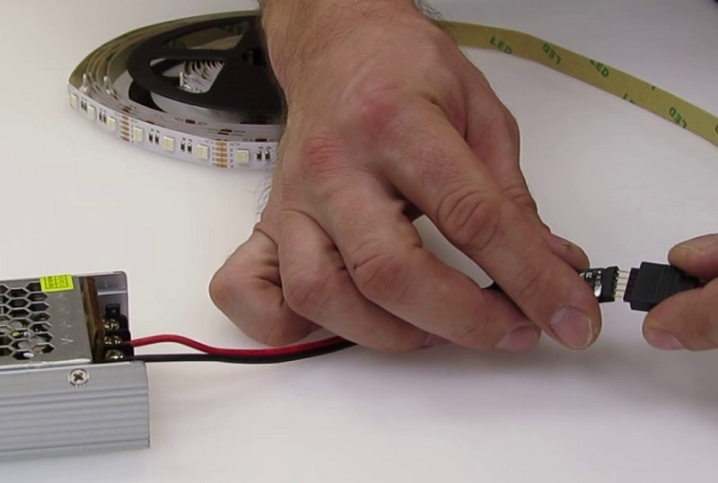
After that, the pieces of tape are connected by soldering the wire. It would be best to use a cross section of no more than 2 mm. It should be added that there are tape models that are easy to connect without soldering.
Here switching with the use of special collectors will be used.
How to connect one tape to the power supply?
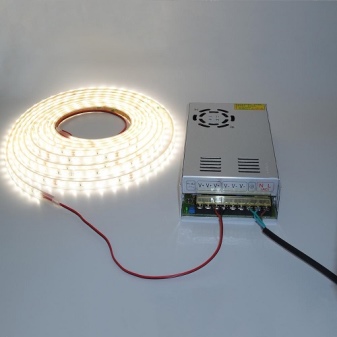
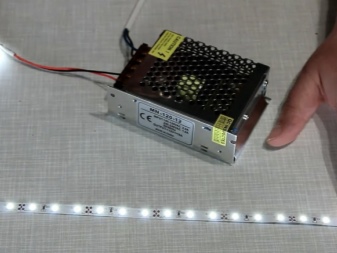
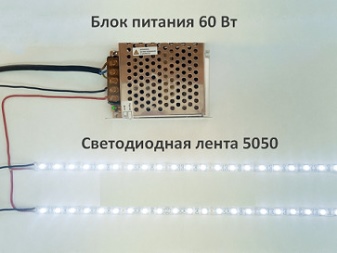
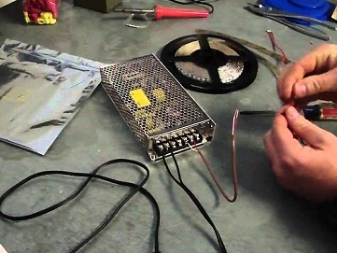
Now let's figure out the scheme for connecting one tape to an energy source. As an example, let's take a tape with a standard length of 500 centimeters. Most often, small pieces of wiring for commutation can be found at the tip of the product from the outside. If for some reason they are absent, then soldering will need to be used. This will require wires with multiple strands. The section should not exceed 2 millimeters. It will be necessary to cut pieces of sufficient length to attach the tape and install the equipment for feeding it. To make it more convenient, it would be better to take wiring with multi-colored insulation. For example, for "+" in red, and for "-" with blue.
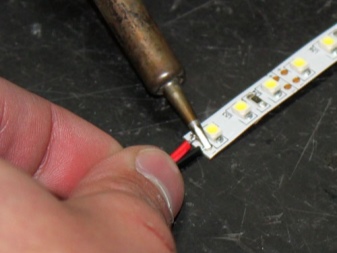
Using rosin or a certain acidic composition and solder, it will be necessary to tin the wire from both ends. The wire can now be soldered to the tape contact areas.
This should be done as quickly as possible so that the LEDs are not damaged by the high temperature emanating from the soldering device.

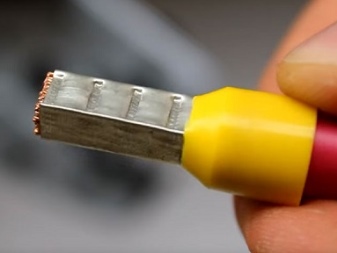
On the sections of wires that will be connected to the power supply, it is required to mount special tips called "NSHVI". This will make it possible to ensure reliable commutation with the power supply terminals.
But in order to install such devices, you will need to arm yourself with a special crimping tool, which professional electricians usually use in their work. Although if there is no way to find such a tool, then you can use the most common pliers. The places where the soldering was carried out must be insulated with the highest quality. It would be best to use in this case the so-called heat shrink tubing. This completes the process of connecting the tape and the power supply - it remains only to check the operability of the device received.
Ways to connect multiple tapes
But there are times when several tapes are required to be connected to the power supply. Then there are only 2 approaches that allow you to bring this idea to life:
-
using a parallel connection;
-
using not one, but several power supplies.
Now we will consider in more detail each of these methods, and analyze their features.
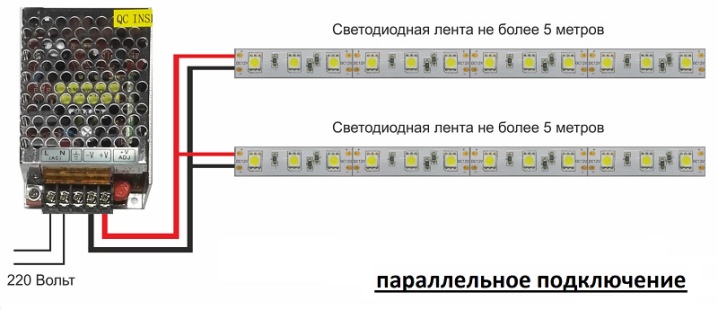
Parallel
If you need to make a parallel connection to the power supply of several tapes, then it would be better to lay one or more trunk pairs of wires, to which you will then need to connect conductors of short length from the tapes.
It would be better here to use twists followed by soldering, if we talk about reliability. But most often a connection is used here using terminal blocks or connectors. This will greatly simplify repairs if needed.
Besides, with such switching, you should first make sure that the power supply can withstand the load from 2 or more tapes. To do this, you can first connect a tape about 700 centimeters long to it, which you need to make yourself from a 5-meter product, adding a piece with a length of 2 meters to it.
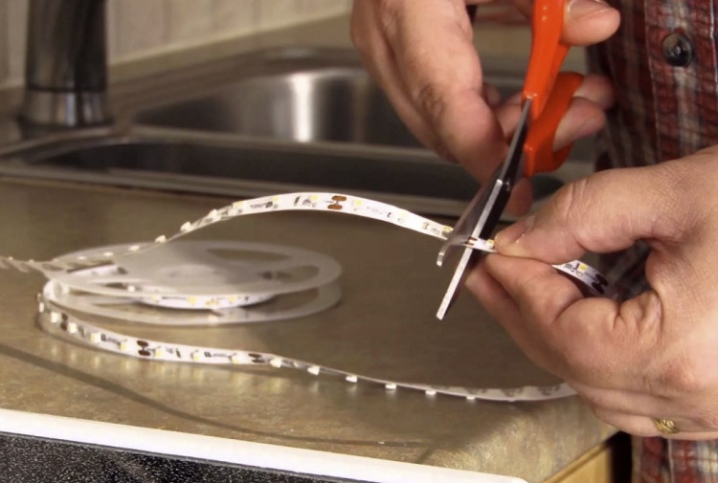
Cutting is required to be done according to the corresponding markings, which are already applied to the strip. For this, you can use the simplest scissors. For connection, as mentioned above, soldering or other options can be used here. After the segments have been connected, the resulting tape needs to be commuted to the block as a whole.
Often the lighting situation develops so that there are several tapes in the circuit, which are located at different distances from the power supply. Examples include lighting multiple areas in a small room or a storefront.
To perform a parallel connection of all parts of the loop, there is no particular need to pull the wiring from each tape to the power source. You can connect the main LED strip to a 12-volt power supply, and already several segments can be connected to the main line.
But the main thing here is that the power supply can withstand the load from several connected devices.
With multiple blocks
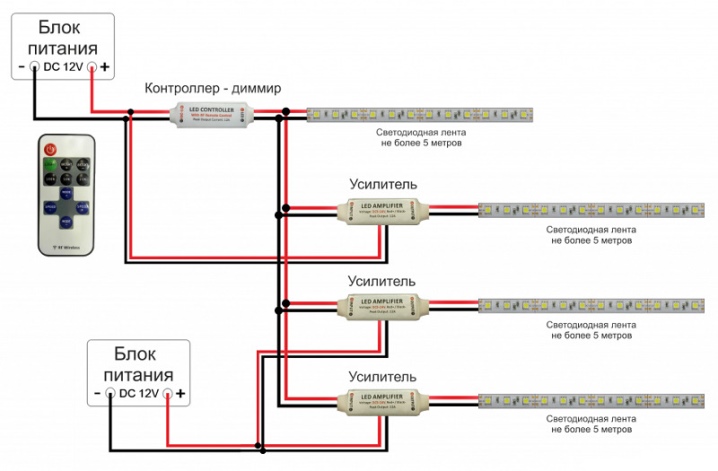
Connecting with multiple power supplies is usually used when there is not enough space to mount larger 24 volt power supplies. To connect a light strip using a similar method, you will need:
-
a pair of power supplies;
-
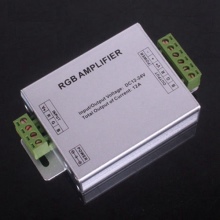
a pair of amplifiers;
-
LED strip;
-
controller.
The connection will be carried out in a specific order.
-
Part of the product should be connected to the output of the first amplifier "-" "+" and the rest of the elements R, G and B to the corresponding connectors on the amplifiers. The second part should be connected to the same connectors, but on the 2nd amplifier.
-
Now the wires from the letter inputs and pluses of the 2 amplifiers should be connected to the controller output. The output wires from the 1st power supply unit should be connected to the "+" and "-" of the controller input, taking into account the polarity. It is also required to connect the 1st RGB amplifier to it. And the 2nd amplifier should be connected to the 2nd block in the same way.
-
The power supply inputs should now be connected to a 220-volt AC network. For example, this can be done to lighting terminals or the simplest outlet. Typically, such devices use color coding: the brown wire is responsible for the phase, blue for zero, yellow or green for grounding. If you are not sure that the mains grounding is done correctly, then it is better not to connect this wire.
If the energy source is plastic, then in such devices there is usually no ground wire at all.
Eliminating errors
First of all, you should pay attention to the most common mistake when connecting 2 parts: performing not parallel, but serial connection. Many people believe that it is enough to simply connect a pair of ends of the tape in a straight method - and get the desired length. But such switching will not be correct, because the connection of the tapes should only be parallel. In practice, this will increase the loop resistance. In this case, the tape either does not light up after connection, or the outermost LEDs constantly shine very dimly. At the same time, in the initial parts of the voltage will be in excess, which can cause accelerated failure of these diodes.
Besides, the increased voltage is also the reason for the increased temperature of the light diode board, which can hardly be called a positive point. It has long been proven that an incorrectly performed connection of a pair of tape segments causes accelerated wear of all elements and the device as a whole, which significantly reduces its service life and characteristics, as well as the reliability of such a device.
There are other errors in this question, but their occurrence is not a frequent case, unlike the one described above.

You can find out how to calculate and connect a power supply for an LED strip from the video below.


The comment was sent successfully.