Repair of washing machine tanks
Correcting breakdowns of the washing machine most often concerns its main part - the tank, which carries the main load, as well as the effect of temperature extremes. There are different ways to fix the problem - it depends on the type of tank, since the modern range of washing equipment also includes non-separable models. However, the repair process may involve cutting the tank, soldering and sealing the seams, which cannot always be done independently.
Major malfunctions
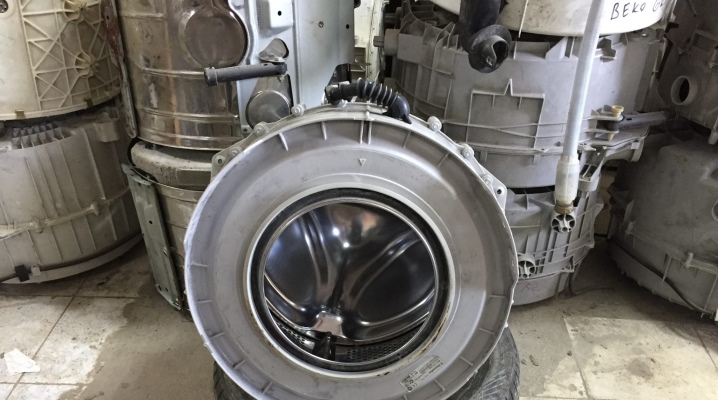
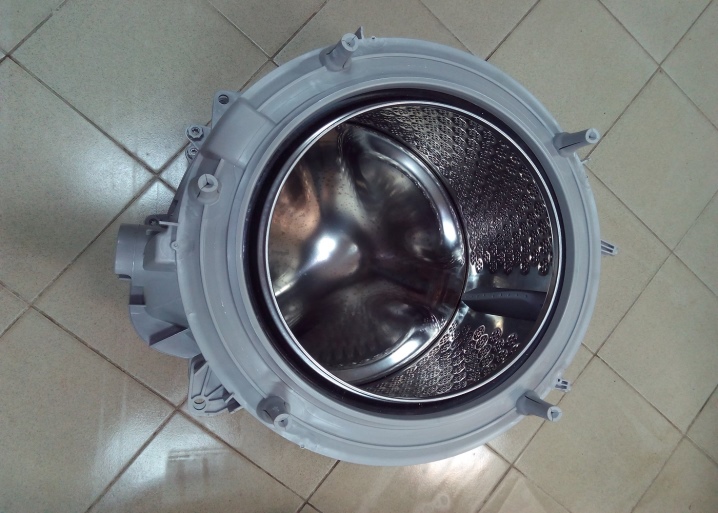
The tank is one of the main elements of washing equipment. Thanks to the movable mechanisms contained in it, the laundry is washed. This device is inextricably linked with the internal components. And when a failure occurs in the operation of equipment, the reasons must be sought in unrepaired breakdowns of these elements.
During the operation of washing machines, the following malfunctions are encountered:
- failure or clogging of the drain valve, as well as the drain hole - in the latter case, you will need to clean these parts from dirt and accumulated debris;
- damage to the shaft and, as a result, its failure - the reason for this is wear or defects in the bearings;
- due to the incorrect operation of shock absorbers and bearings, the tank is often deformed, more precisely, its walls, and then the owner of the equipment is forced to replace the entire tank.
But the most common problem is bearing wear and this leads to other serious failures.... Replacing these moving parts with your own hands without the risk of damaging parts such as the pin and shaft can be difficult, and it will take a lot of time. At the same time, you need to have a good idea of how to disassemble the tank, remove the bearing, and then seal and glue the tank capacity without damage to the equipment.
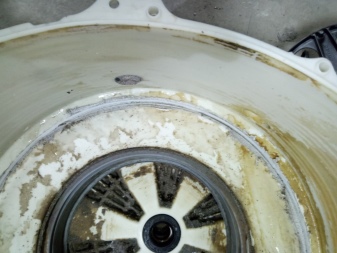
Sometimes the body of the tank itself is subject to damage, which is why cracks appear on the walls. This leads to water leakage. As a rule, this applies to tanks made of plastic. In such a situation, it is easiest to make a complete replacement.
But if the tank is metal, professional crack welding will be required, and a qualified specialist will handle this best. The master will not only securely seal the crack, but also cover the seam with special enamel that is not exposed to water, which will increase the service life of the washing machine.
How to disassemble?
It is much easier to repair equipment with a collapsible tank, but first you need to remove it. Complete disassembly will require tools such as pliers, screwdrivers, metal saw, ratchet, rubber mallet.
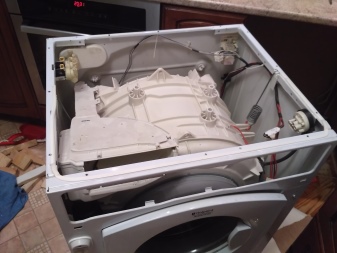
For a top-loading machine, the process is as follows:
- it is necessary to disconnect the equipment from the mains;
- then the water is blocked, all the wires are disconnected, the bolts on the top cover should be unscrewed, then you need to move it back and remove;
- the tray for detergents and powder is removed - you can pull it out by pressing the latch in the middle;
- the next step is to remove the screws from the control panel;
- opening the hatch, you need to remove the rubber cuff with a screwdriver;
- the hatch lock is disconnected from the contacts after the bolts holding it are unscrewed;
- then the front panel locks are unfastened, and it is easily removed;
- the back cover is dismantled after removing the screws.
Follow-up actions to be taken - elimination of counterweights, drive belt, heating element and heater wiring, engine shutdown and branch pipe disconnection. After removing the shock absorbers, you can start removing the tank, which is attached to the suspension springs.
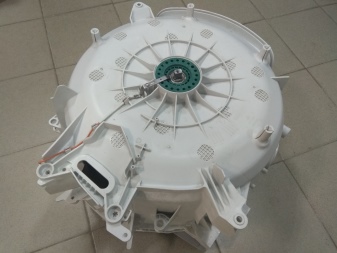
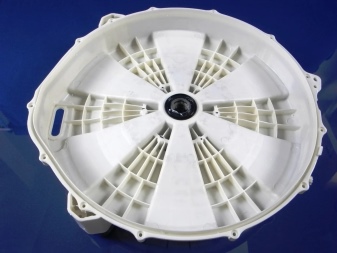
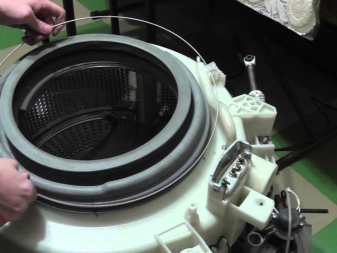
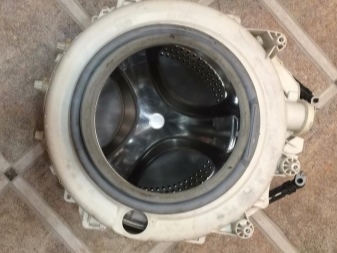
Front-loading machines (CMA) have tanks with collapsible halves fastened with screws. In this case, first dismantle the pulley fixed on the rear half - just unscrew the bolt in the middle.
To make it easier to remove, use the WD-40 contact cleaner left on the mount for 30 minutes. After removing the pulley, the side bolts are unscrewed and the latches are released with a flat-blade knife. Now you can start repairing.
How to repair?
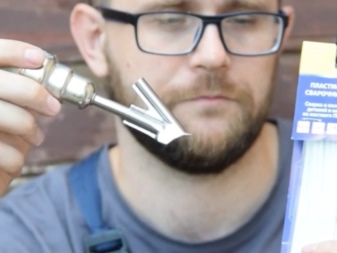
If the element is not separable, this procedure should be taken seriously. It is better to replace a monolithic unit completely, even if the case is in a broken bearing. Fortunately, there is an alternative - you can cut the tank, remove the unusable part, then solder the seam, and then seal it, that is, glue it.
Consider how to repair a non-separable tank of a washing machine correctly. For metal products, the following sequence of works for disassembly and subsequent replacement is proposed.
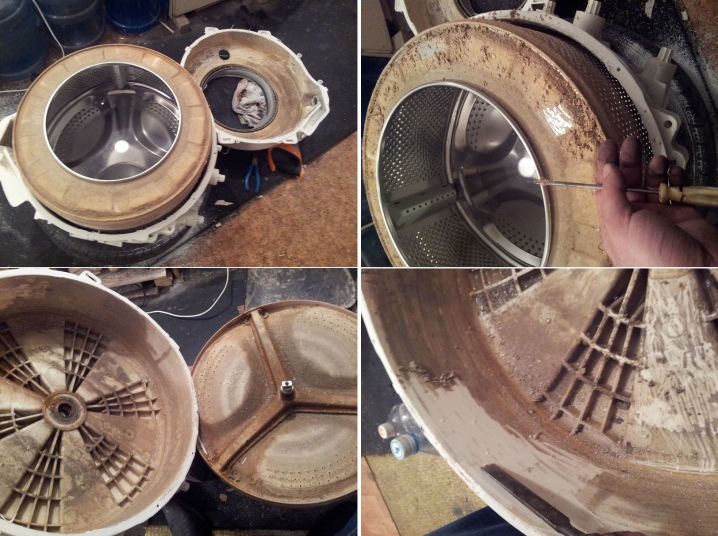
- The body is inspected to identify the soldered section.
- 16–20 holes are made along the seam using a drill with a thin drill.
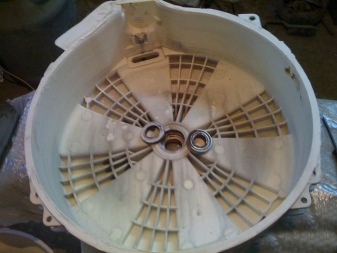
- The seam is sawn with a hacksaw, while it is necessary to ensure that the depression does not exceed 5 cm. Now the tank consists of two halves: back and front.
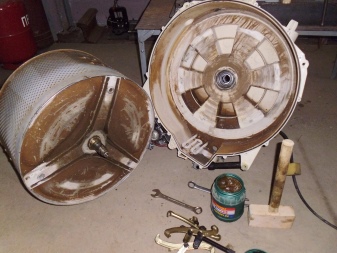
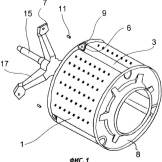
- We need the back, which houses the drum and drive. To remove them, the half must be turned over and the shaft removed.
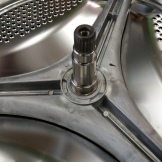
- The central bolt can be unscrewed with a screwdriver, but it moves with a slight hammer blow on the attached metal rod.
- Also, with a hammer blow, the drum is separated from the tank, placed on wooden blocks.
- After these actions, it becomes possible to replace oil seals, bearings. They are removed by lightly hitting with a hammer along the edges of the moving element.
If this work is carried out inadvertently, the parts will have to be removed by drilling. New bearings are inserted and hammered in to the very bottom of the bead until they stop. Make sure that replacement parts are not defective or damaged.
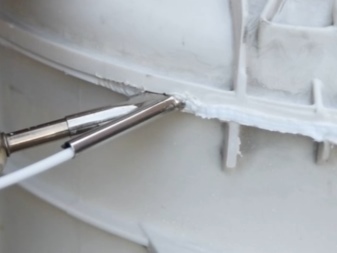
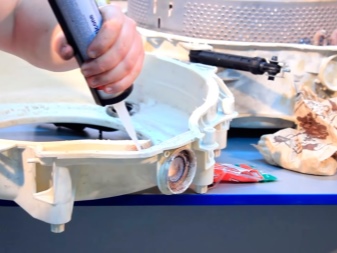
A silicone-lubricated oil seal is placed on top of the bearing, also new. The two halves of the tank can be welded, and bolts can be inserted into the drilled holes to the size and tightened tightly, the hole can also be repaired with silicone sealant.
When the walls of the tank are deformed, their normal state can be restored by heating and tapping on the convex part of the irregularities. If the problem is in the drain devices, the parts are pre-cleaned, including with emery, then it may be necessary to replace these parts, the cuff or the seal.
There is no point in repairing a plastic tank by welding - very soon it will become unusable. It is best to replace it with a new one.
Assembly Tips
The assembly of washing equipment from different manufacturers may differ, however, general recommendations from professionals will help to carry out this work efficiently.
- After sawing, the two parts of the body can be glued together with silicone glue - this is the best sealant for this, which bonds well both metal and plastic. They need to carefully walk the perimeter of the cut edge, but try not to use it in large quantities.
- The seat of the new bearing must be cleaned of dirt and small debris before installing it. You can tap it not only with a hammer, but also through an insulating washer from a getinax. It is very important to hammer in the part until it stops.
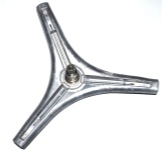
- After removing the bearings, the drum shaft is thoroughly polished and there is no need to remove the crosspiece.
- It is also important to clean all equipment parts before checking the machine, including rinsing the drum and descaling the heater.
- It is better to put the tank on the springs together, but it is also allowed to fix the spring at the top and then tension it.

If you are repairing the unit with your own hands, remember that the assembly must be carried out strictly in the same sequence as the disassembly.
Tips for repairing a washing machine tank in the video below.


The comment was sent successfully.