Dismantling and repair of drums of Indesit washing machines

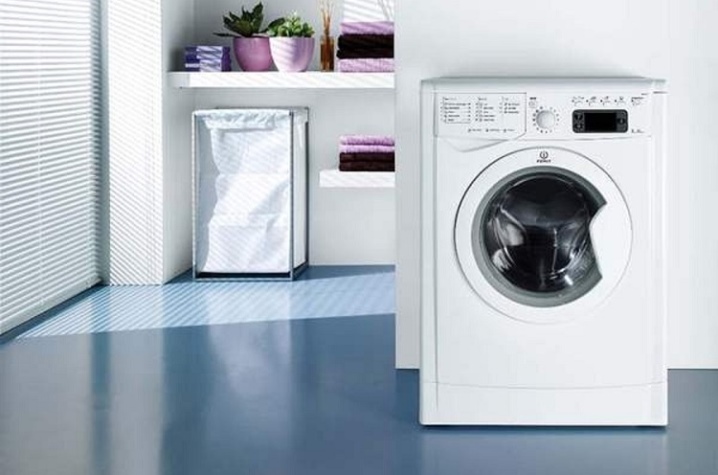
Home appliances Indesit conquered the market long ago. Many consumers prefer only these branded products because they are of impeccable quality and long service life. High-quality Indesit washing machines are in enviable demand today, which perfectly cope with their main duties. However, this does not protect such equipment from possible breakdowns and malfunctions. In this article, we will learn how to properly disassemble drums and repair Indesit washing machines.
Required materials and tools
Self-repair of Indesit washing machines is available to every home craftsman. The main thing is to prepare all the necessary tools and materials.
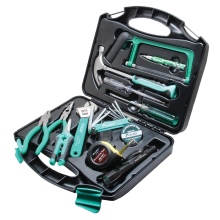
As for the toolkit, professional tools are not needed here. There is also enough that is in almost every home, namely:
- saw or hacksaw for metal work;
- marker;
- pliers;
- ticks;
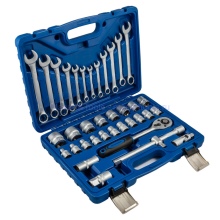
- open-end wrenches 8–18 mm;
- a set of heads with knobs;
- flat and Phillips screwdrivers;
- set of socket wrenches;
- multimeter;
- hammer;
- awl.
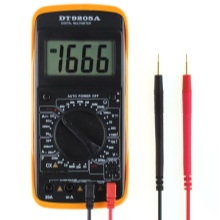
If you plan on fixing electrical parts in household appliances, you can use a simple tester instead of a multimeter.
If it becomes necessary to replace certain parts of the washing machine, it is not recommended to buy them in advance if you do not know their exact markings... It is better to first remove them from the structure of the unit and only then find a suitable replacement.
Drum disassembly stages
Dismantling the drum of an Indesit washing machine consists of several basic steps. Let's deal with each of them.
Preparation
We will find out what is included in the preparatory stage of disassembling the drum of the household appliances in question.
- Prepare all the tools and materials that you will need when disassembling the unit. It will be better if everything you need is at your fingertips, so you do not have to look for the right device, being distracted from work.
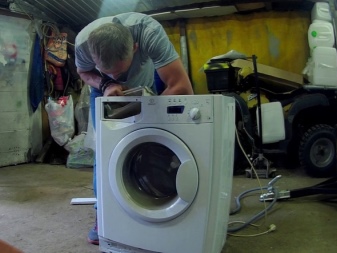
- Prepare a spacious work area for yourself. It is recommended to move the equipment to a garage or other area of sufficient space. In such conditions, it will be much more convenient to disassemble the equipment.
- If it is not possible to move the unit to another free room, clear a place in the dwelling. Place an unwanted piece of fabric or old sheet on the floor. Transfer both the machine and all the tools to the bedspread.
Repair work can be started immediately after equipping a comfortable workplace.
The first stage of disassembly
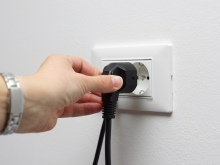
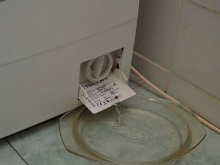
Before starting all work on the analysis of equipment, you must disconnect it from the power supply. Then you need to drain the remaining water that could remain after washing outside the tank. To do this, you will need to find a container of a suitable volume. Water should be carefully poured into it, while disconnecting the debris filter. After completing the removal of the filtering part, you will need to rinse it thoroughly, dry it and put it aside.
Do not rush to install this element in its original place - this procedure will be needed after the completion of all stages of work.
Removing the drum from your Indesit washing machine requires a specific procedure.
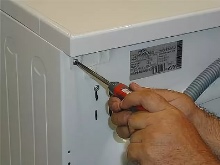
- It is necessary to remove the upper cover of the equipment case. To do this, you need to unscrew the bolts located on the back wall of the device case.The following procedure can simplify this stage of work: first, the lid is shifted back, and then gently pulled up.
- Next, you need to unscrew the bolts, unfasten the cover and remove it to the side so that it does not interfere.
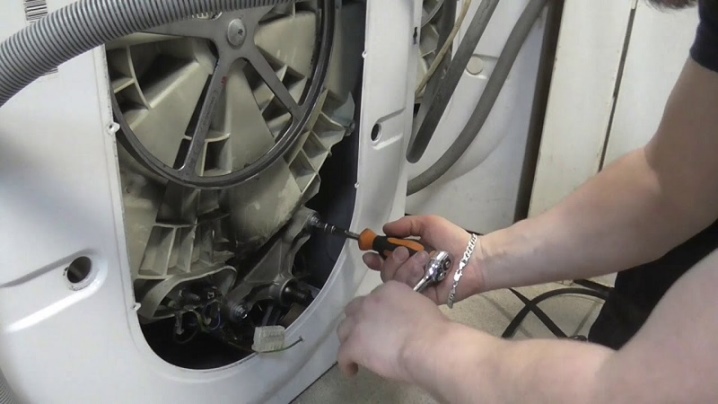
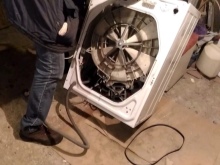
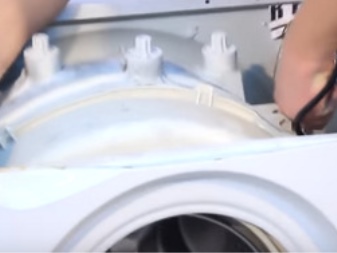
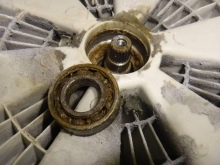
- You will see a part of the drum located on the outside. You can also see the drive mechanism of the unit - a pulley with a belt and an engine. Disconnect the belt immediately. Noticing rust stains coming out of the center of the tank, you can immediately determine the malfunction of the oil seal and bearings.
- Next, you can proceed to disconnect all existing cables and wires that are attached directly to the drum of the device. It is imperative to unscrew all the bolts with which the engine of the device is attached.
- Unscrew the heater fixing nut. After that, with the utmost care, making swinging movements, you should pull out the part.
- Remove the counterweight. It will be located at the top of the device. It can be seen immediately by detaching the cover on the top half of the machine. You can remove this element using a hexagon of suitable dimensions. Unscrew all parts holding the counterweight.
- Detach from the pressure switch the wires and the hose that lead to it. Next, very carefully and carefully remove the part from the device.
- Now you can remove the detergent and fabric softener tray. Next, slightly loosen the clamps that are directed to the powder receptacle. Remove these parts and remove the dispensary hopper.
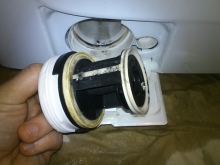
- Gently slowly put the technique on the right half. Take a look under the bottom. The bottom may not be there, but if there is, you will need to unscrew it. Remove the existing screws located on opposite sides of the debris filter piece. After that, push the snail, which contains the filter, into the machine body.
- Remove the pump wire connector. Next, loosen the clamps. Remove all existing pipes from the pump surface. After completing this stage of work, remove the pump itself.
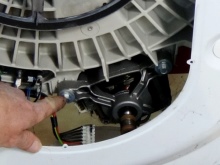
- Remove the engine very carefully from the construction of the machine. For this purpose, this element will need to be lowered slightly back, and then pulled down.
- Unscrew the shock absorbers that support the reservoir at the bottom.

Second phase
Let's consider what actions the 2nd stage of disassembly will consist of.
- Give the machine a vertical position - put it on its legs.
- If you cannot reach the drum due to the control module, then it must be removed by removing all the wires and removing the fasteners.
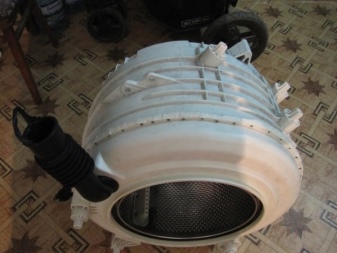
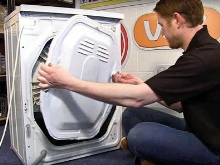
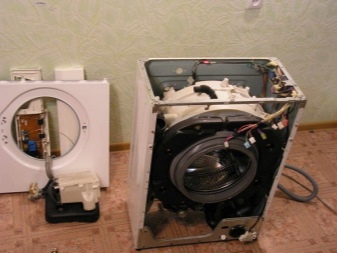
- You will have to get help to remove the drum and tank. The mechanism can be removed in 4 hands by pulling it out through the upper half of the machine.
- Now you need to remove the drum from the equipment tank. This is where the most common problems arise. The fact is that tanks in Indesit washing machines are made non-separable. But this problem can be circumvented. To do this, the body is carefully sawn, all the necessary actions are carried out, and then they are glued using a special compound.
How to cut a welded tank?
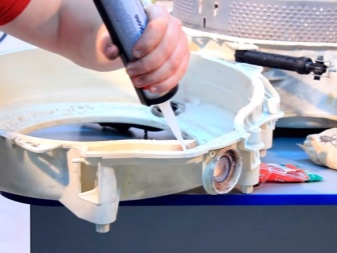
Since the tub in Indesit branded washing machines is non-separable, you have to cut it to get the parts you need. Let's see how you can do it yourself.
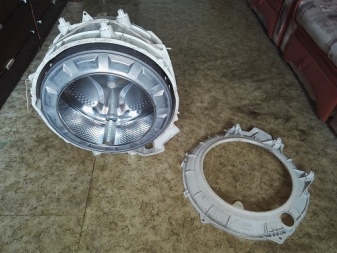
- Examine the plastic tank carefully. Find a factory weld. Mark for yourself the places of the planned sawing. You can make all the necessary holes using a drill with a very thin drill.
- Take a hacksaw for metal. Saw the tank body very carefully along the spaced marks. Then carefully separate the sawn-off part from the drum.
- Turn the structure over. Thus, you can see the wheel that connects all the elements together. Remove it so you can get the drum out of the tank.
- Replace any defective parts.
- You can then reassemble the cut parts of the case using a silicone sealant.
It is recommended to make the structure more durable using screws.

Repair of parts
With your own hands, you can repair and replace various parts of Indesit washing machines. First, let's look at how to independently repair a bearing in such devices.
- The top cover is removed first.
- Use a Phillips screwdriver to unscrew the 2 rear screws. Push the cover forward and remove it from the body.
- Next comes the back panel. Unscrew all bolts around the perimeter. Remove the part.
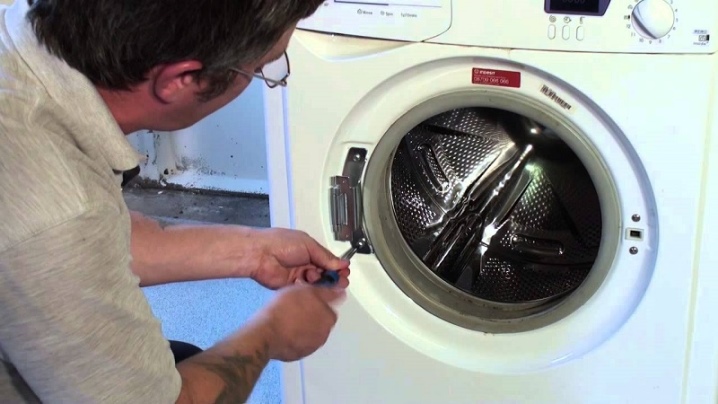
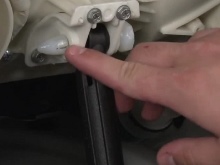
- Remove the front panel. To do this, remove the compartment for detergents by pressing the locking button in the center.
- Unscrew all screws holding the control panel.
- Use a flat screwdriver to open the panel securing parts.
- It is not necessary to unfasten the wires. Place the panel on top of the case.
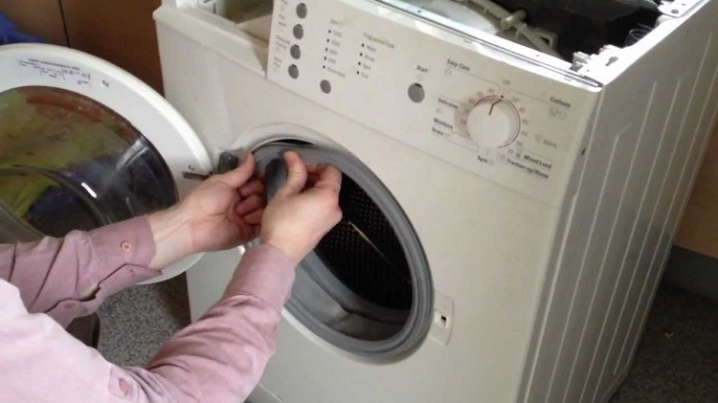
- Open the hatch door. Bend the rubber of the seal, pry the clamp with a screwdriver, remove it.
- Unscrew the 2 screws of the hatch lock. Having detached its wiring, thread the collar into the inside of the tank.
- Remove the screws securing the front panel. Take her away.
- Next, you need to detach the back panel.
- Remove the motor with a rocking motion.
- Unfasten the detergent drawer.
- Next, the tank will be mounted on 2 springs. It needs to be pulled up and out of the case.
- This is followed by cutting the tank.
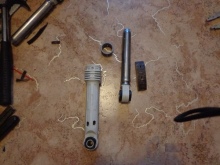
- To remove the old bearing, use a puller.
- Before installing a new part, clear and prepare the landing area.
- After installing the new part, tap the ferrule evenly from the outside using a hammer and bolt. The bearing should sit perfectly flat.
- Also place the oil seal over the bearing. After that, you can assemble the structure back.
You can also change the damper of the Indesit washing machine.
- The top cover is removed first.
- The water supply is cut off, the inlet hose is detached from the body. Drain the water from there.
- Remove the front panel.
- Unscrew the screws securing the control panel.
- Release the plastic clips.
- Take a photo of the location of all wires and disconnect them or put the case on top.
- Open the hatch door. Bend the seal, hook the clamp with a screwdriver and remove it.
- Insert the cuff into the drum.
- Remove the hatch lock bolts.
- Unscrew the screws that secure the front panel. Take it off.
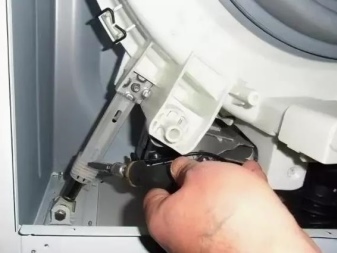
- At the bottom of the tank you can see 2 dampers on plastic rods.
- Next, you can remove the shock absorber. If the part shrinks easily, it must be replaced.
The pacifier can also be repaired.
- Prepare a 3mm wide strap. Measure the length by the diameter of the hole.
- Insert the cut piece of belt over the seal area so that the edges meet tightly.
- Lubricate the part to reduce friction before installing the stem.
- Install the stem.

Assembly
Assembling the structure of the washing machine back is quite simple. The cut tank must be glued along the seam using a special high-quality sealant.
After that, you just need to connect all the necessary parts in reverse order. All removed elements must be returned to their correct places, correctly connecting the sensors and wires. In order not to encounter various problems in the assembly of the device and not to confuse the installation locations of different elements, even at the disassembly stage it is recommended to take a photo at each stage, fixing which parts are in specific seats.
Thus, you will greatly simplify for yourself the implementation of all planned work.
Helpful hints and tips
If you are planning to repair the drum in your Indesit washing machine yourself, you should arm yourself with some helpful tips.
- When disassembling and assembling a structure with an Indesit machine, it is important to be as careful and accurate as possible so as not to accidentally damage any of the "vital" parts.
- After dismantling the drum, the machine becomes much lighter, so you can easily turn it on its side to get to the shock absorbers and detach them.
- If you do not want to be engaged in cutting a non-separable tank (as often happens), it is easier to subject it to a new one.
- If you are afraid to disassemble and repair branded household appliances on your own, do not risk it - entrust all the work to specialists.
For information on how to properly cut and then glue the tank from the Indesit washing machine, see the video.


The comment was sent successfully.