Chipboard racks
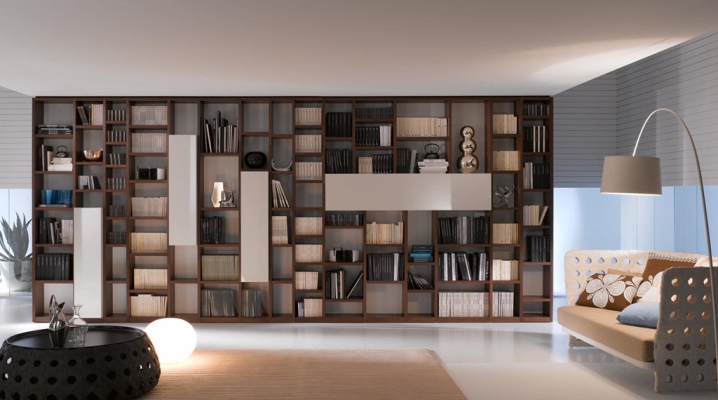
Often in houses, garages, workshops, various types of shelving are used. Such storage systems can significantly save space. They can be purchased ready-made or made on their own at home from improvised means. They are made from different materials, the most practical option is chipboard structures. Today we will talk about what features they have, as well as what types they can be.
Peculiarities
Chipboard is considered a reliable material that can last for many years. It has a good strength indicator and at the same time belongs to the budget category.
Structures made of chipboard can perfectly fit into almost any interior. This material is relatively lightweight and therefore easy to work with. If necessary, such racks can be easily moved to another place.
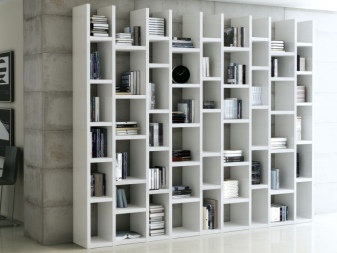
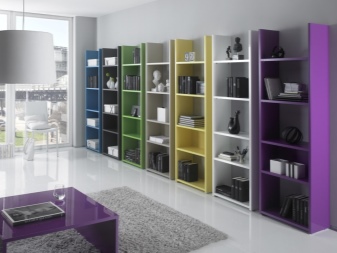
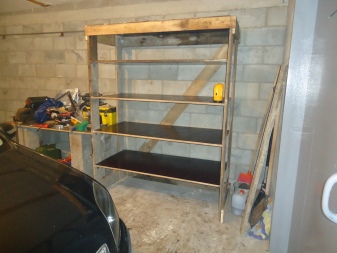
These storage spaces are perfect for placing a large number of books, children's toys, construction tools. They can also be placed in greenhouses under containers with young seedlings.
Sometimes for the manufacture of such pieces of furniture, instead of a simple chipboard, chipboard is used.
The second option is more durable, its upper layers are able to withstand sudden temperature changes, as well as excessive moisture levels.
Views
Shelving made from chipboard can be different depending on the main design features. Consider the most popular options for such furniture.
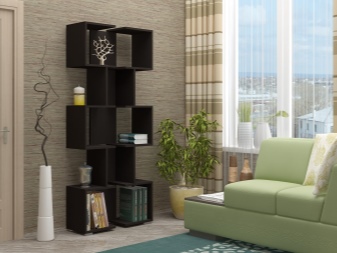
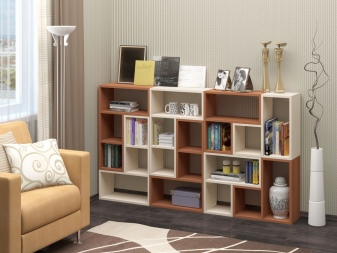
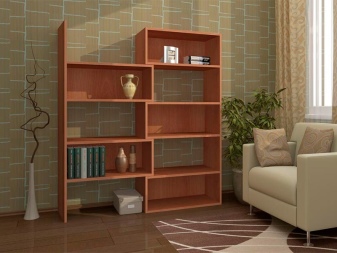
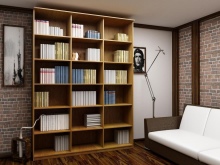
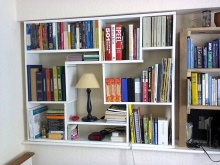
- Open. Such storage systems are the most common. They are made without doors, sometimes the back wall is also missing. In this case, the placement of shelves can be both symmetrical and chaotic. Such designs will not look bulky in the interior. They will be able to fit almost any room. But this option should not be located in a house where allergy sufferers live, because a large amount of dust accumulates on them. In this case, the rack can be glazed.
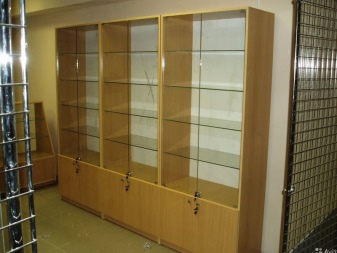
- Closed. Such designs are considered the best option for storing a large number of books in the house. They are completely protected from the negative effects of moisture, accumulated dust, and sunlight. But such storage systems are better placed in spacious rooms, as they will look more massive than the previous version and can overload the overall design of the room. If you nevertheless decide to purchase such furniture for small spaces, then preference should be given to models decorated in light shades and with mirrored surfaces.
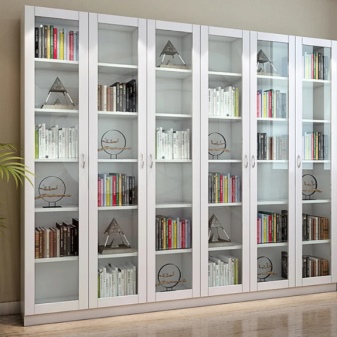
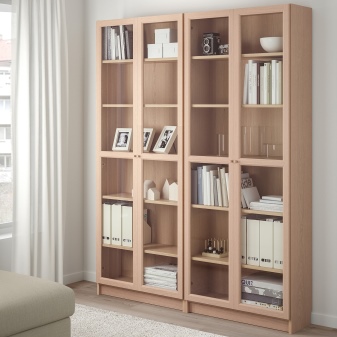
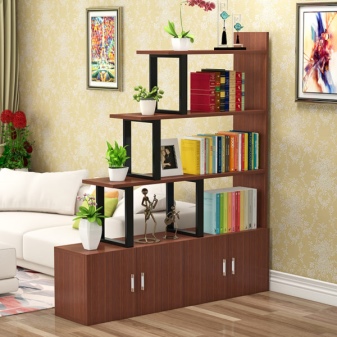
- Combined. These storage structures combine open shelving, glazed compartments, drawers, open shelves and other elements. They are considered a practical and versatile option for the home. Typically, these models are used to accommodate dissimilar objects. In this case, it will be possible to store books in open sections, often they are reserved for decoration.
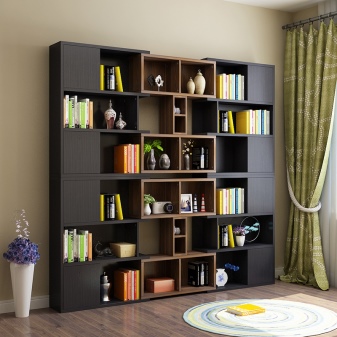
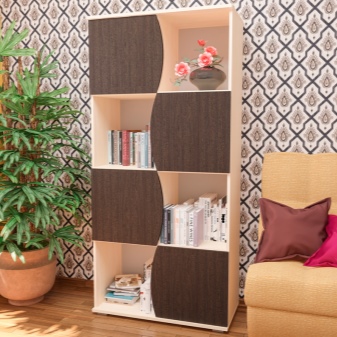
Also, racks made of chipboard or chipboard may differ from each other in shape.
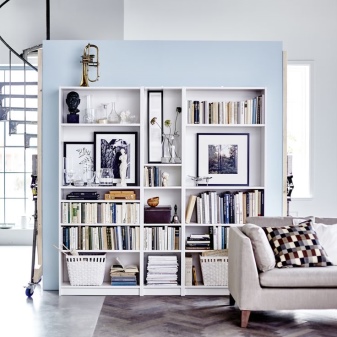
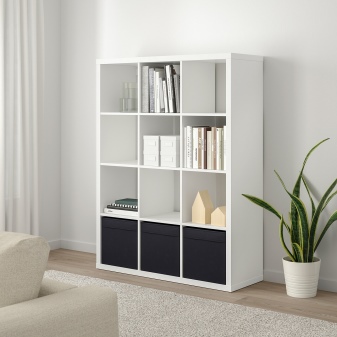
- Direct models. It is these options that are considered the most common. Moreover, they can be of different dimensions and with a different number of shelves. All modules are mounted on the same level. Such designs can be suitable for more spacious rooms. They can also fit into a niche.
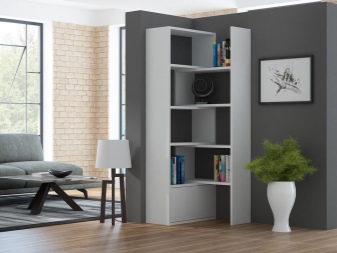
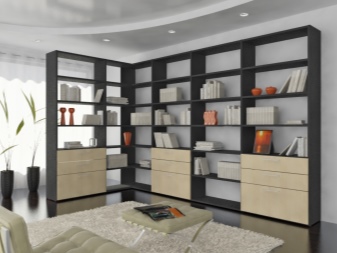
- Corner structures. Such models make it possible to effectively use the corner in the room, which is usually empty. In addition, it will significantly save the main free space in the room. These products can be closed, open or combined. They often have several storage sections at once.
These models are particularly compact.
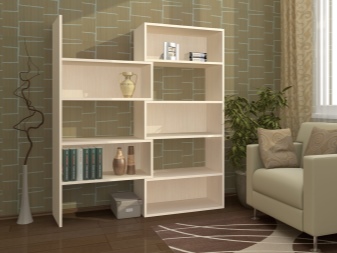
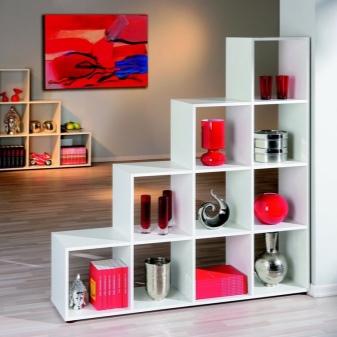
- "Gorki". Such storage systems include several asymmetric partitions. They can become an interesting accent in the interior of a room. The modules usually have different heights, they are installed in such a way that they are in ascending sequence; in their external design, these structures resemble stairs. Such specimens require the strongest and most reliable supports. Such open-type models are the most popular with consumers.
How to do it?
Chipboard racks can be easily made with your own hands at home.
- To begin with, a drawing of the future product is drawn up. It should display the appearance of the future structure and indicate all dimensions.
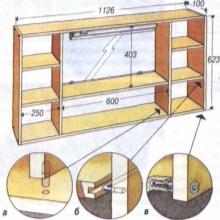
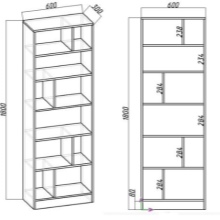
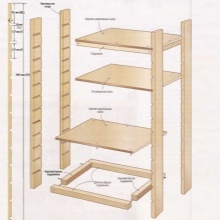
- When the scheme is drawn up, you will need to purchase all the materials necessary for manufacturing. In total, you will need 6 sheets of chipboard or chipboard, their sizes should be the same. It is worth deciding on the dimensions right away, they will depend on what kind of items the furniture will be used for in the future, and where it will be placed
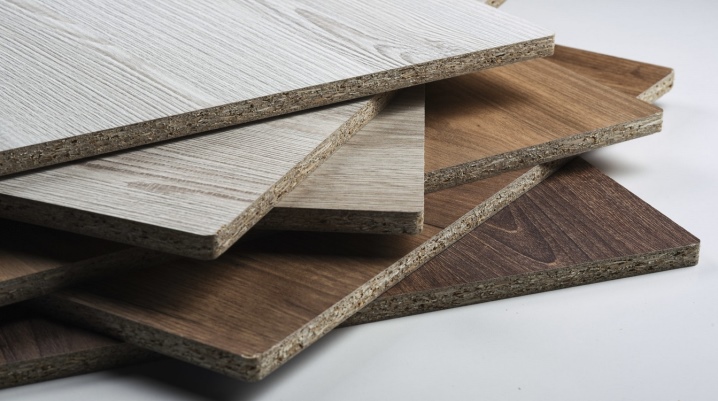
- You also need to first prepare the parts that will be placed in a vertical position during installation. A total of 15 such products will be needed. Most often, their dimensions are much smaller in comparison with the dimensions of the horizontal components.
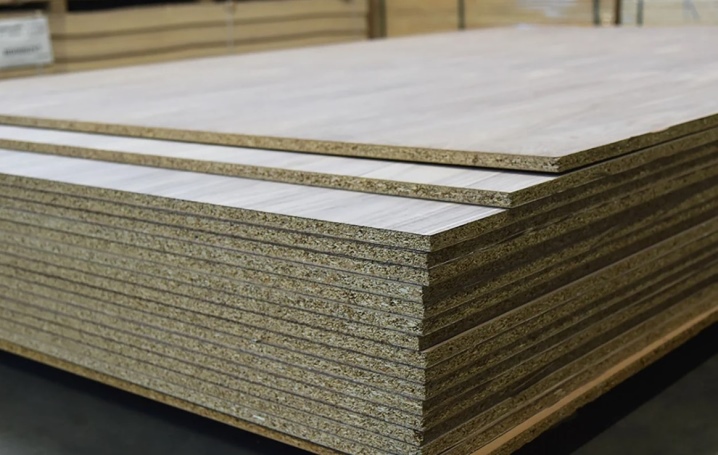
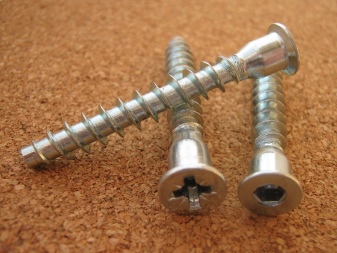
- In addition to materials, you should also purchase the necessary devices in advance, including fasteners. Confirmators often act as them. It is also recommended to immediately buy a special melamine edging impregnated with adhesive.

Now you can start the manufacturing process itself.
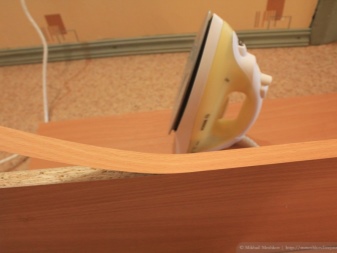
- To begin with, the edge is carefully glued onto the made wooden blanks. This can be done using an ordinary preheated iron. The edge is applied to the end of the structure and clamped with the device. After that, it is necessary to firmly wipe the surface with a soft cloth several times. This is done in order to make sure that the material is attached as tightly as possible to the workpiece.

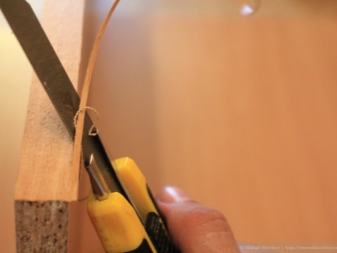
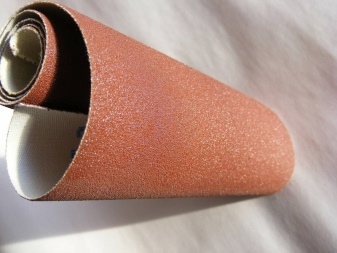
- The protruding excess is carefully trimmed so that they do not spoil the appearance. Then everything is processed using fine-grained sandpaper.
- At the final stage, you can start assembling the rack. Through-type holes are formed in wooden planes, their diameter should be 8 mm. Holes are also made in the end sections, but their diameter should be up to 5 mm.
They will act as seating for the confirmations.
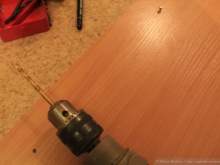
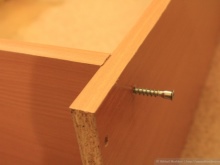
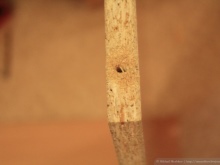
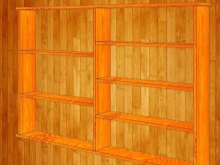
If you want the result of the work to be an unusual and stylish rack, then the vertical planes should be connected together in a chaotic manner. But at the same time, you will need to ensure that the holes for the fasteners match. It is also worth monitoring that the structure is sufficiently stable.
Recommendations
When making such storage systems with your own hands, you need to remember some important recommendations.
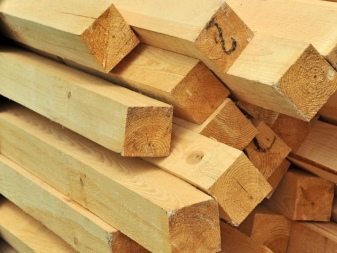
- If the structure will have an impressive height, then care should be taken to create a more reliable and strong base. At the beginning of work, markings should be applied to the wall. It is best to use simple wooden beams as load-bearing supporting structures, from which a sufficiently strong base can be assembled. If the structure ultimately has a height to the ceiling, then it will be necessary to fix the base immediately to both the floor and the ceiling.
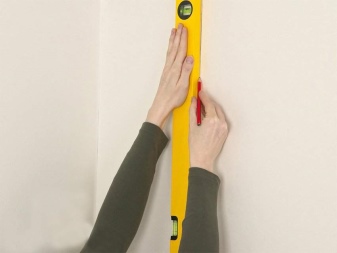
- For maximum structural stability, the base can also be fixed to the wall covering.In this case, it will be necessary to ensure that the bearing supports are placed in a vertical position. Transverse side braces will help ensure the reliability of the finished structure, making it the most rigid.
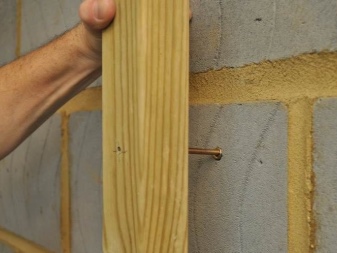
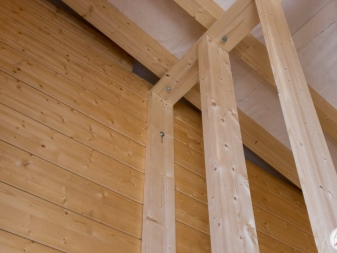
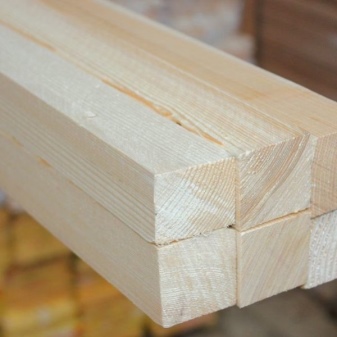
- For the base, you can use almost any kind of beams. Products with a rectangular, square type of section are perfect.
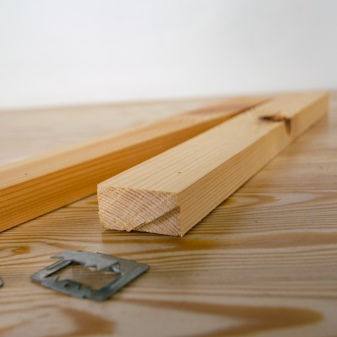
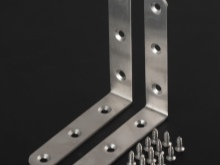
- The frame part can be fixed using confirmations, self-tapping screws, but the strengthening of the corner parts is best done using special strips.


- If desired, the finished structure can be coated with paint. For these purposes, it is preferable to use acrylic compounds that dry quickly. For better preservation after drying, the rack is additionally covered with acrylic protective varnish. You can also arrange an interesting decoupage on the surface or "age" the coating using the craquelure effect.


To learn how to make a chipboard rack with your own hands, see the next video.


The comment was sent successfully.