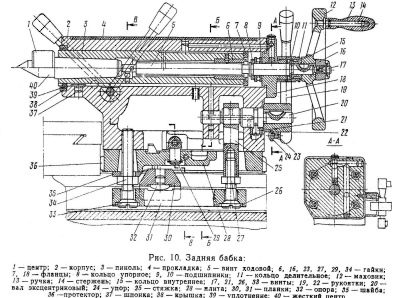
Lathe tailstock device and adjustment
The quality of the processed workpieces depends on the thoughtfulness of each mechanism in the processing machine, on the adjustment and stability of the operation of each unit. Today we will consider one of the most important units in a turning unit - the tailstock.
This node can be purchased ready-made from the factory site, or you can do it yourself. In the article, we will talk about how to make it yourself at home, what set of tools you need, and how to adjust it.
Device
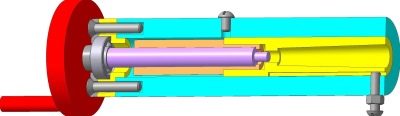
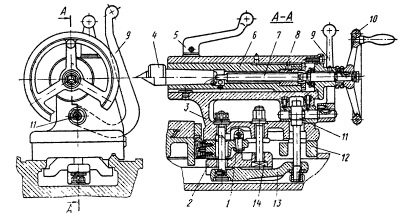
The tailstock of a metal lathe differs from its counterpart in a wood lathe, but still the general design of this moving part is the same. This is how the description of the device of this node looks like:
-
frame;
-
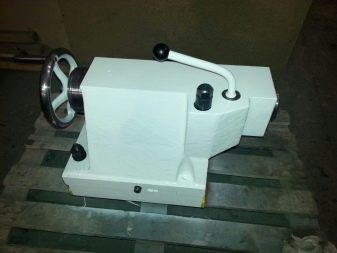
management element;
-
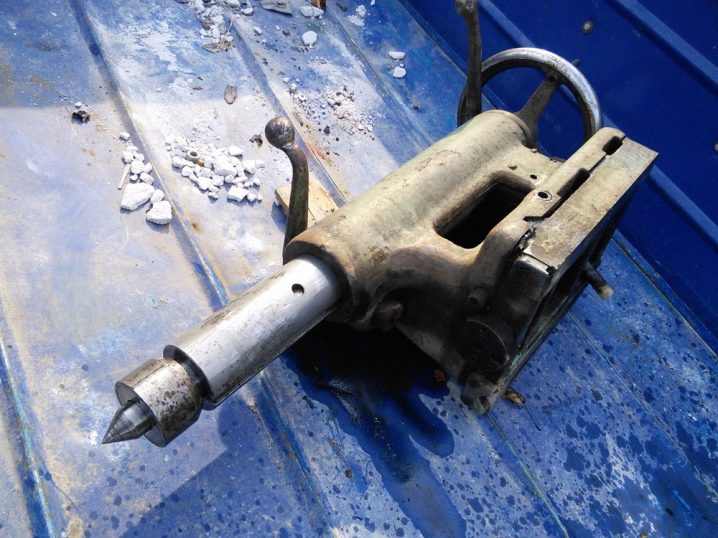
spindle (quill);
-
flywheel, which serves to move the quill along the center line;
-
feed chuck (screw that adjusts the direction of movement of the workpiece).

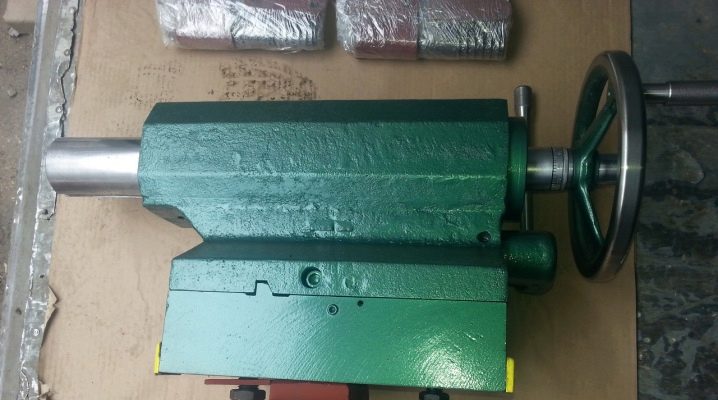
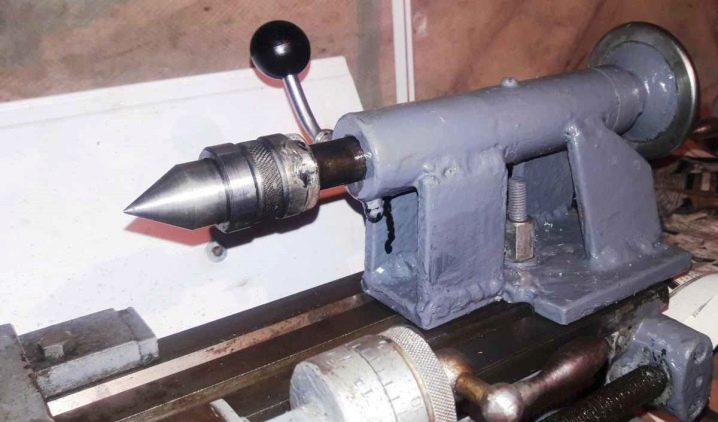
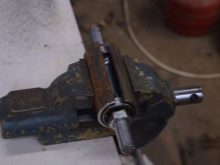
The body is an all-metal frame to which all elements are securely attached. The movable mechanism of the tailstock of the turning unit must ensure reliable fixation of the workpiece during the entire processing.
In size, this element is the same diameter as the workpiece to be processed.
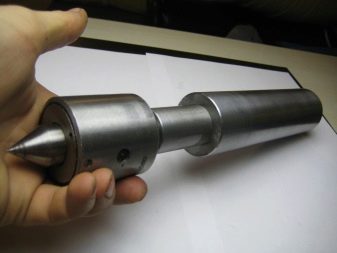
The tailstock cone acts as a locking mechanism on a woodworking machine. Its center is oriented towards the middle of the object to be processed.
When the machine is running, the center and symmetry axes must be exactly the same. Perhaps someone underestimates the role of such a mechanism as a tailstock, but it is precisely its device that largely determines the technical characteristics and capabilities of the unit for processing metal or wood.
The purpose of the node
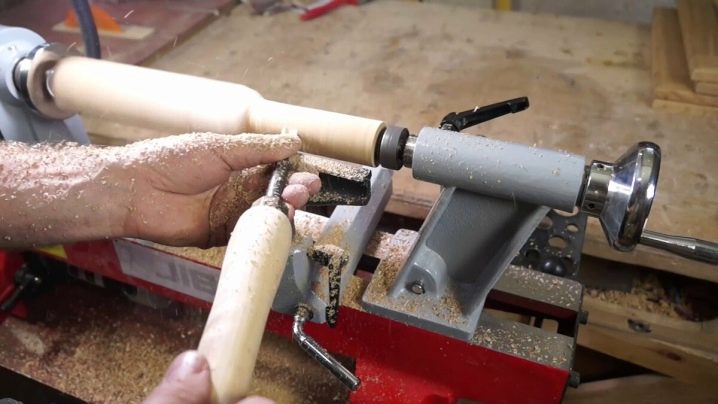
The tailstock strictly fixes the wooden workpiece in the desired position. This is an important point for the work being carried out, since the further course and quality of the whole process depends on the reliability of such fixation.
The tailstock is movable and serves as a second additional support.
The following requirements are imposed on it as a movable element:
-
maintain a high degree of stability;
-
ensure reliable fixation of the fixed workpiece, and maintain the strict position of the center;
-
the headstock fastening system must always be debugged in order to quickly carry out reliable fastening at any time;
-
the movements of the spindle must be extremely precise.
The tailstock of a woodworking machine differs from the same element of a lathe unit for processing metal blanks... The unit is tightly attached to the bed and is at the same time a support for it and a fixture for the workpiece.
Not only long workpieces can be attached to the tailstock, but also any tool for cutting metal products and the metal itself. In fact, any metal-cutting tool (regardless of purpose) can be fixed in the tapered hole of this multifunctional unit.
How to do it yourself?
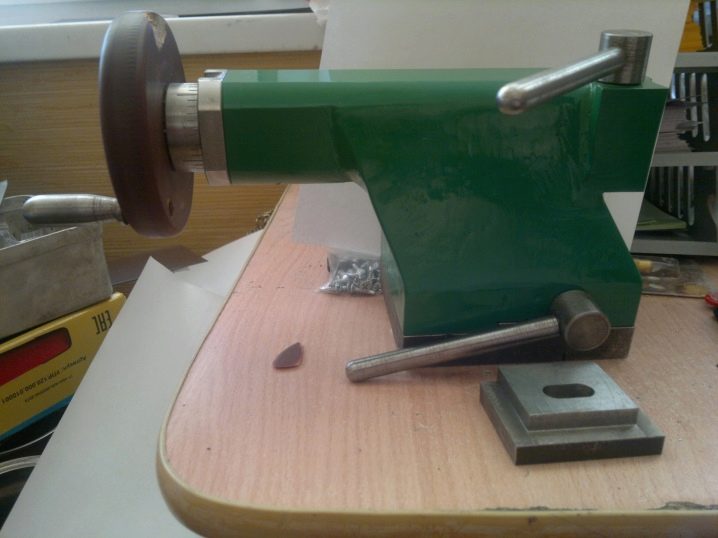
A home-made assembly will be no worse than a factory one if you familiarize yourself with a drawing of a production model, have the necessary tools and equipment in your home workshop, as well as manufacturing technology. Let's consider everything in detail.
Tools and materials
First of all, you need a lathe, but since you are undertaking to make a homemade tailstock, it means that such a unit is already available in your home workshop. What else is needed:
-
welding machine;
-
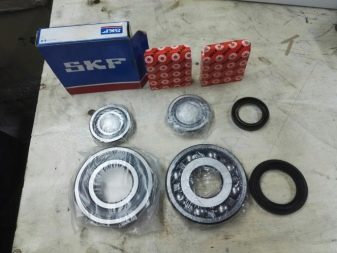
bearings included (usually 2 pieces are needed);
-
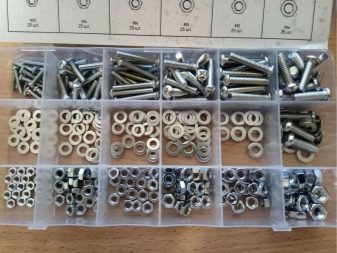
a set of bolts and nuts for connection (at least 3 bolts and nuts);
-
steel pipe (1.5 mm wall thickness) - 2 pieces;
-
sheet steel (4-6 mm thick).


As you can see, the materials at hand and the tools available reduce the cost of the mechanism.
In addition, the advantage of a homemade tailstock for a turning unit is that it is made exclusively for the main purpose, excluding other functions and additional features, which are often simply unnecessary, but in production conditions they increase the cost of the structure and complicate its work.
So, prepare the necessary tools, sets of bearings, bolts and nuts, the necessary materials (what is missing in your garage or workshop, you can buy it in any household store or construction boutique) and start manufacturing.

Technology
First, develop and draw a diagram of the mechanism, draw up a technological map and act according to this scheme.
-
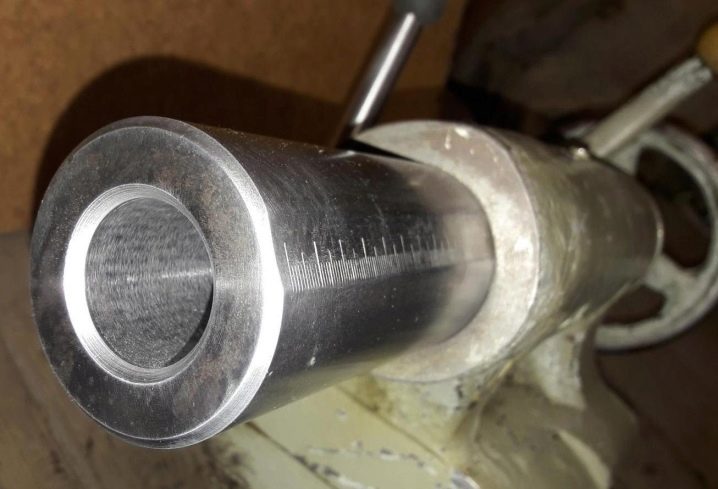
It will take blank for bearings. To do this, take a pipe and process it from the inside and outside. Pay special attention to the inner surface - it is inside that the bearings are installed.
-
If necessary, then in the sleeve cut is made no more than 3 mm wide.
-
Welding machine connect bolts (2 pcs.), And a rod of the desired length is obtained.
-
On right weld nut with washer, and on the left - remove the nut.
-
Bolt base (head) cut down.
-
The saw cut needs to be processed, for this use an abrasive tool.
-
Now we need to make spindle... To do this, take a piece of pipe (¾ inch diameter) and make the desired part 7 mm long.
-
Cone made from a bolt, sharpening it accordingly.
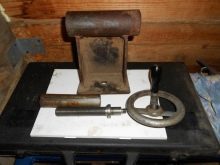
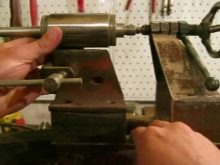
When all the elements of the tailstock are made, you need to assemble it and run it in running mode.
The quality of a homemade part depends on the professional skills of the manufacturer and the accuracy of the use of the required materials, as well as the availability of tools.
Therefore, before starting production, study the drawing, prepare everything you need, and only after making sure that you can make the desired node, get down to business. If you are not precise in the actions, and do not follow the manufacturing technology, the following problems may arise:
-
poor alignment;
-
the machine will vibrate above the set level;
-
a homemade part will have much lower performance than an industrial design;
-
installed bearings will fail faster (the wear rate can be much higher with inaccuracies in manufacturing).
To avoid such consequences, perform idle running.
Check the ratio of the headstock to the front and back, how the bearings are lubricated, how secure the fasteners are.
If all the parts are made with high quality, and the correct assembly is made, the homemade tailstock will meet the necessary requirements, and in operation it will behave no worse than the factory one.

Adjustment
In order to maintain the tailstock on a lathe in proper working order, it must be periodically adjusted, and in case of malfunctions, it must be repaired in a timely manner.
First, you need to set the part as it should, adjust and center it, and then adjust all the parameters of this unit. Periodic adjustment is needed for the following reasons:
-
gaps may appear between the bearings and the spindle housing (if we are talking about a turning unit where the quill rotates);
-
the center of the node may shift relative to the quill, then adjustment will be needed;
-
there may be a backlash in the attachment of the headstock to the bed and other reasons.
The first time the tailstock is adjusted is when the machine is put into operation.
Then proceed according to the instructions, but experienced craftsmen check the lathe and all its settings every 6 months, and more often if necessary.
The tailstock is repaired as it fails, when its malfunctions are clearly visible. Typical signs that a part needs to be sent for repair may include the following:
-
the processing mode of workpieces has changed;
-
beats appeared during the rotation of the workpieces.
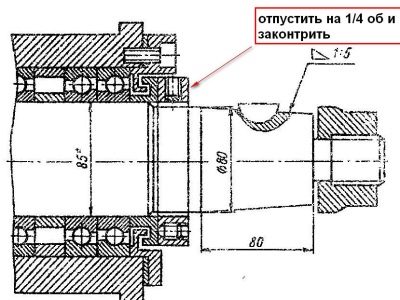
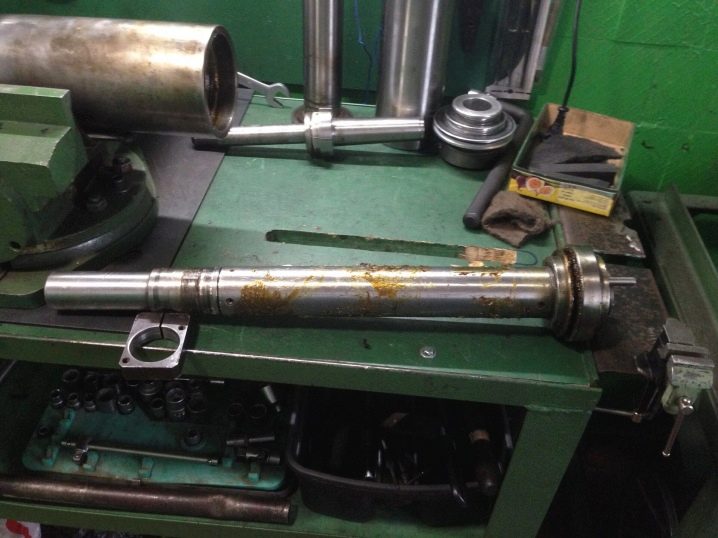
The spindle repair process is considered the most time consuming and costly. It is impossible to cope here without turning skills, and the machine itself must be available. The difficulty lies in restoring the accuracy of the hole (boring with subsequent finishing), in which the quill is fixed.
To repair the taper holes, you will need a special bushing and turning skills.
The process is complicated by the fact that the outer surface is cylindrical, and the inner one has a conical shape. In addition, the quill itself is made of a very durable material - it is "hardened" alloy steel.
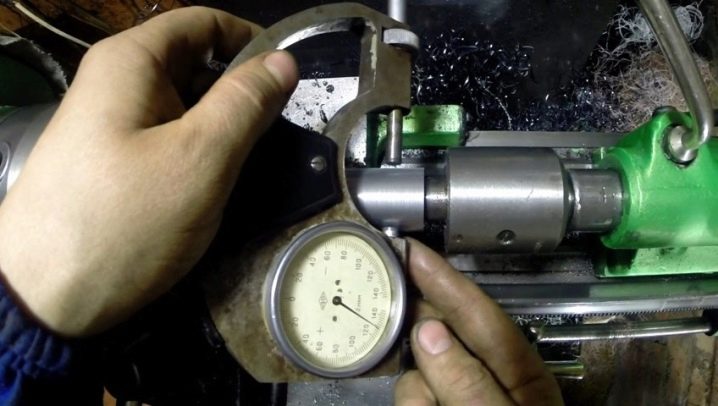
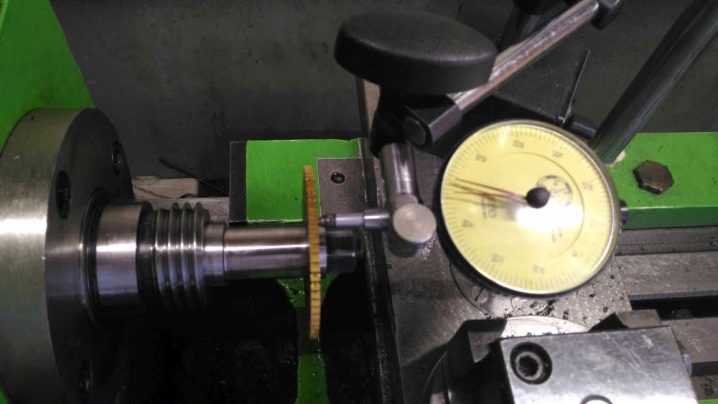
After the repair, check the mechanism for the presence of radial runout: with a high-quality troubleshooting, it should be zero, the tailstock will not "knock" and will restore all its original characteristics.


The comment was sent successfully.