Making a lathe with your own hands
A machine tool, even in a personal household, is a very necessary thing. But not everyone can get it - it's an expensive pleasure. Therefore, many "kulibins" decide to make the unit with their own hands.
What is necessary?
In order to start such a large-scale work, it is necessary to prepare a huge amount of materials.
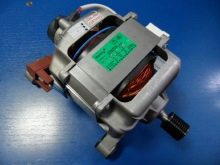
- Washing machine engine. This is for the larger details. For every little thing, options from a screwdriver, channel, from a hand drill are suitable. The base from the gearbox will also work.
- Bolts, bearing, nuts.
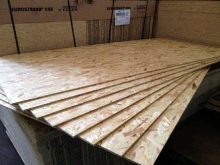
- Boards, plywood for the base.
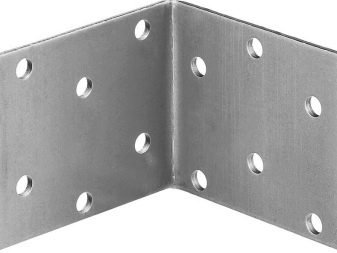
- Corner, plates.
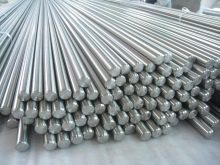
- Steel bars.
- Nuts, screws.
From the tools you will need a grinder, a welding machine, a marker, a ruler, a tape measure, a drill.
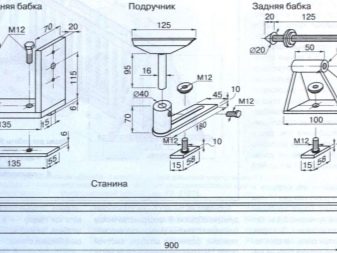
Also, before you start doing something, you need to get or independently draw up dimensional drawings.
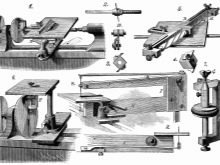
Almost all units consist of the following components:
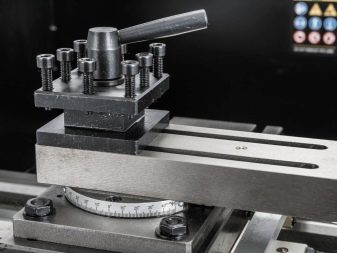
- tool holder;
- support;
- bed;
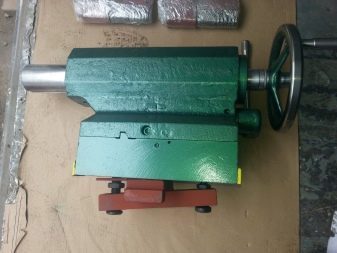
- tailstock - maintains the stability and reliability of fastening parts in the chuck;
- headstock - adjusting speed, changing torque parameters, and positioning the gearbox.
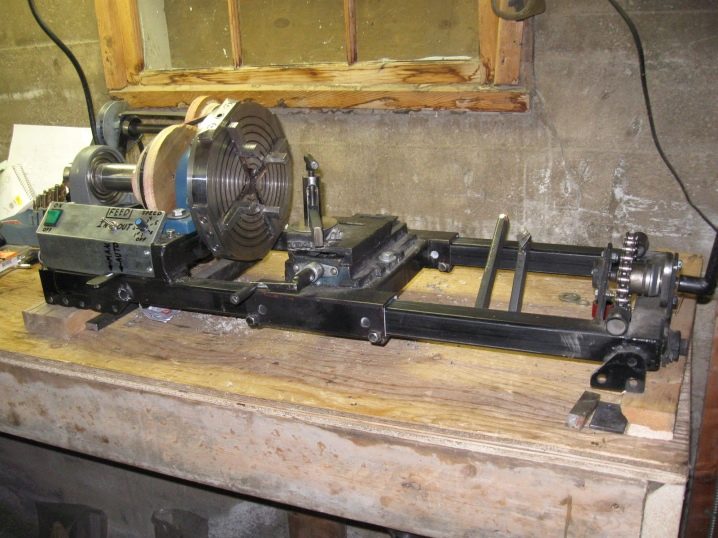
Assembly
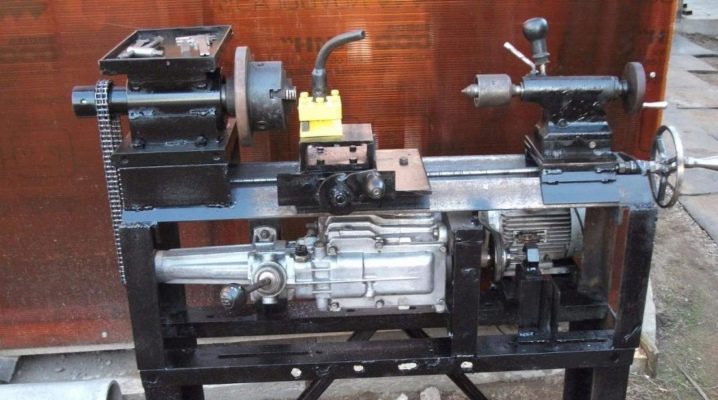
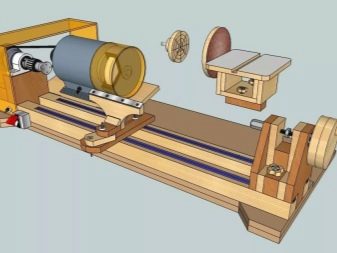
We start assembling the lathe with our own hands, in this case, for wood. The manufacturing process at home is not easy, so we will present everything in stages.
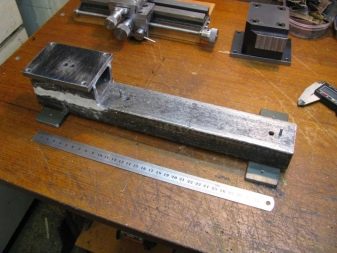
First you need to make the headstock... There is a front pulley on the washer motor, it only needs to be slightly upgraded. After applying the markings in the pulley, we make three holes at a certain distance. You also need to make holes at right angles for the screws. Insert screws with grovers and nuts into the finished holes. This is how the spikes are installed, for which the grandmother and the bar will cling. The approximate capacity of such a unit is 250 watts.
Next, we install the motor on the bed using thick plywood or boards.
In order for the engine to be slightly raised, you need to prepare the bars of a certain size yourself. We use steel corners as fasteners, securing them with self-tapping screws. And then we fix the engine with bolts and nuts.
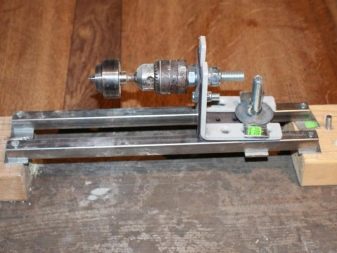
The tailstock frame should consist of a steel plate and a bar fixed to the base... A nut must be welded to the rod and the shaft is assembled on the thread for the headstock. A tapered stop is installed on the shaft, where the bearing is inserted.
We cook an emphasis from scrap metal: it is not necessary to fasten it - it is enough to hold it with one hand. Next, you can test a desktop wood machine. For example, we grind a file handle. The unit copes with the task, you can give it any load.
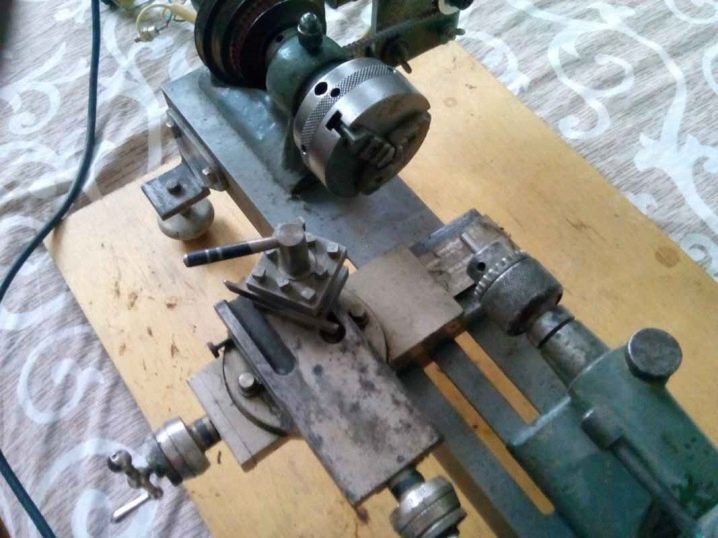
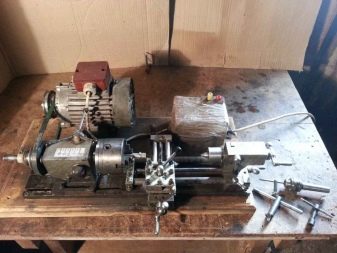
By the same analogy, we are trying to make a metal machine for the house.
First, we study the device and the principle of operation of the unit, draw up a diagram. After all the preparatory work has been completed, we will prepare consumables and tools:
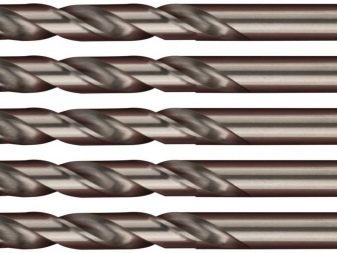
- drills for metal, drill;
- bushings;
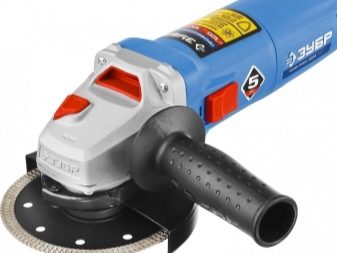
- Bulgarian;
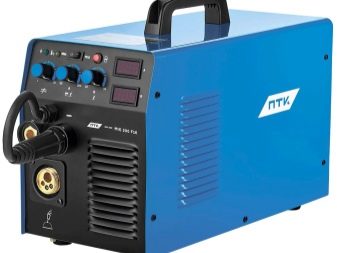
- welding machine;
- a set of keys;
- steel plates;
- bearings;
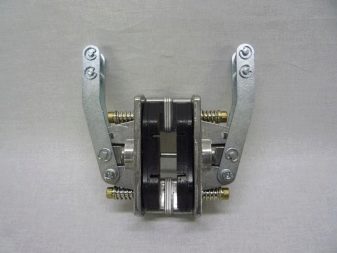
- clamps for holding incisors;
- buttons, controls, wires;
- steel rods;
- spindle;
- bolts and nuts for fasteners;
- profile pipes, metal corners;
- drive belts of different diameters;
- metal sheets.
As for the motor, its power should be up to one kilowatt, if small and light things are to be made... A copy from a washing machine, food processor or sewing machine is suitable here.If you handle relatively large parts, then the power should vary from 1.5 to 2 kilowatts.
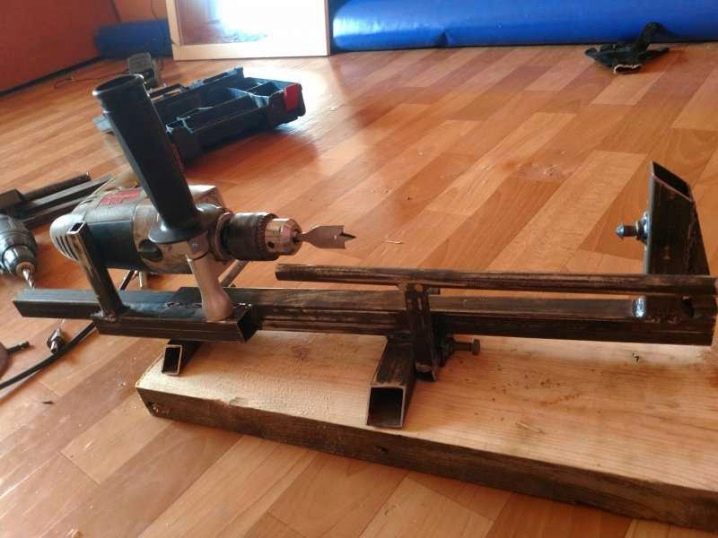
Some people assemble a micro-lathe unit from a drill. And the body will be thick plywood. The base will need to be secured to the holding device. Remember: the larger the item to be manufactured, the more powerful the engine must be.
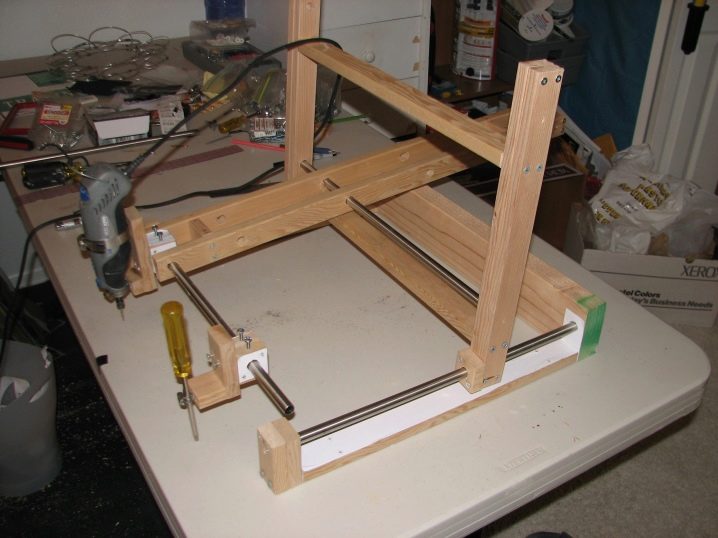
Such mini-machines are useful for making small lightweight wood parts. It's pretty simple to make. The basis will be an engine from small devices: a drill, a tape recorder, a channel, a screwdriver. Any board is suitable as a bed. To do this, we fix the workpiece on the motor shaft - try attaching the faceplate.
Take a U-shaped plate with a hole for the shaft in the central part as a body. Using self-tapping screws, you need to fix the motor in the housing.
The base is ready, we proceed to the manufacture of the tailstock. The frame can be obtained from certain bar sizes. A hole for the shaft is drilled in a wooden blank at a given height, for this we use a dowel - a nail of the required length. The headstock can be fixed with screws and glue.
It is convenient to make a machine with a variable speed of rotation if there is a power source, which has an adjustable output voltage. The revolutions are changed by the foot control pedal. Moreover, this design can always be diversified. It all depends on what parts are at hand at the moment.
Now the most crucial moment is the assembly of the mechanism:
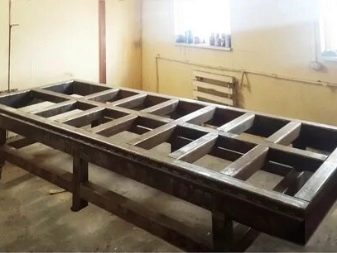
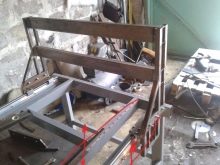
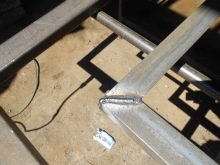
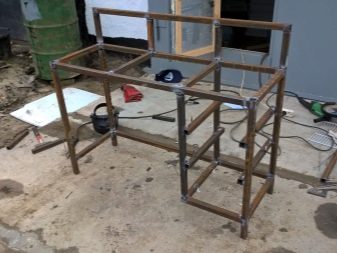
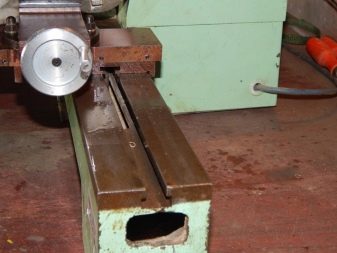
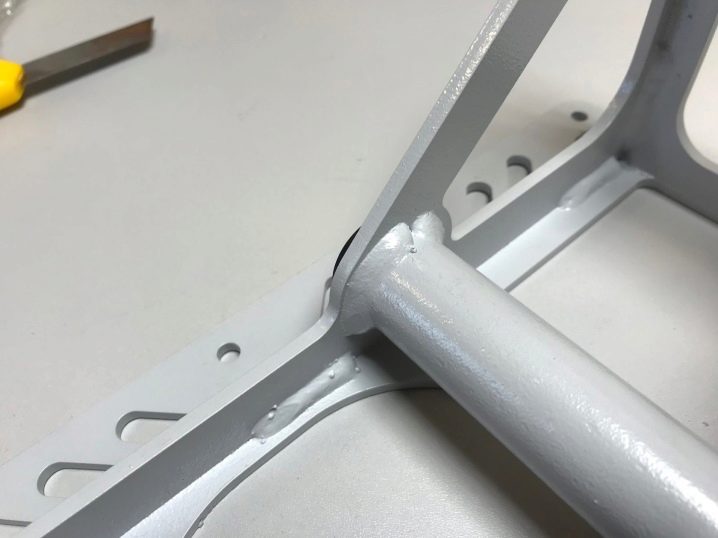
- we cook the frame from metal corners or pipes;
- we make side racks and connect them;
- for the tailstock, install the bushings on the guides;
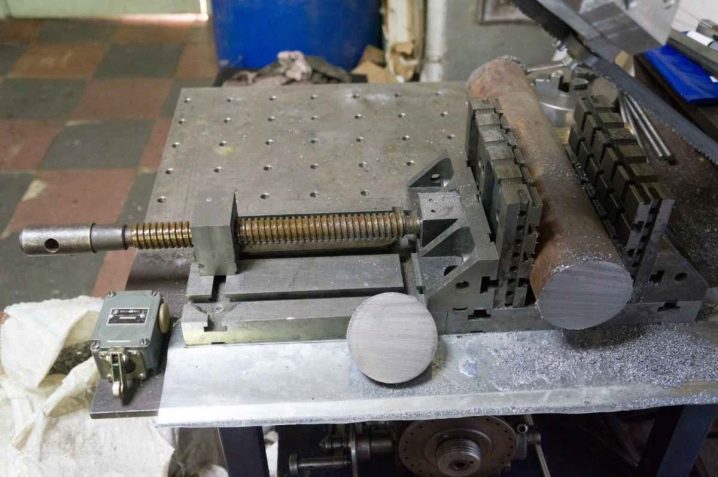
- we assemble a platform from steel plates - a support and a quill will be attached to it;
- install the lead screw;
- we attach the vernier and the steering wheel;
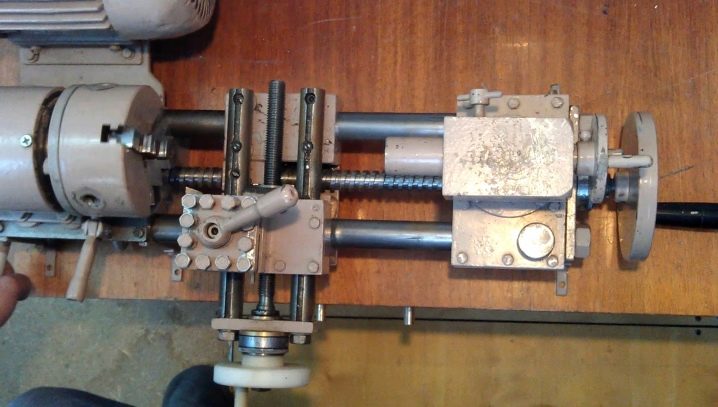
- we cook the second metal platform, on which the headstock will be located;
- assembling the support and tool holder;
- we install the electric motor;
- we connect all the remaining elements, we fasten the belts;
- we connect the automatic feed, we carry out the configuration of the equipment.
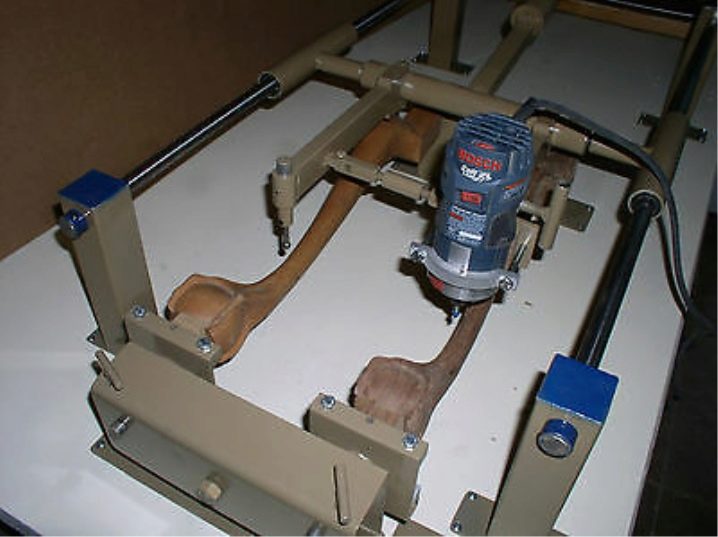
Consider assembling a woodworking machine with a copier. This model is well suited for a garage.
The base of the unit is the bed. The main parts of the product are attached to it. Such a machine is perfect for making lightweight parts, so the base can be made from a thick board.
In the central part, we install a support for a hand cutter with a stand. But instead of it, you can put a holder with a rigid fixation of the tool. We fix the workpiece between the headstock. It will be driven by an electric motor. For active movement in the structure, a belt drive and a pulley are used. And the tailstock and the caliper move horizontally along a special shaft fixed in the rear compartment of the bed.
The copying machine must have a device for the manufacture of products according to the specified parameters. It is mounted on a separate stand. It can be safely made of 10 mm plywood, and the dimensions of the site are 180 * 480 mm.
These are approximate dimensions that can be changed based on the dimensions of the cutter. Cut out the corresponding holes for the fasteners in the plywood. And we fix the wooden blocks along the contour with screws.
This model has several nuances.: You can only move the cutter with two hands, and for the manufacture of blanks from different types of wood, fine adjustment is needed, but this model does not provide for this.
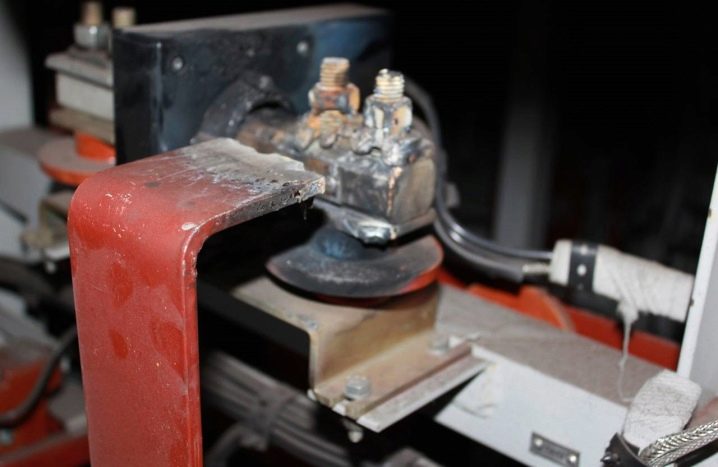
A stone machine is a rather complex product for making at home. But the simplest model can be made by yourself. Here is an example of assembling a stone cutting machine on a bed. At this stage, it is best to plan right away which stones (by size and breed) will be processed. Based on this, the engine power, rotation speed, grain size and disc diameter are selected.
- At the initial stage, it is necessary weld a reinforced frame from a corner or a thick-walled profiled pipe.
- You must rely on engine power of at least 180 watts. The number of revolutions is different - from 1000 to 2500 per second, it all depends on the type of stone. A special three-stage pulley will regulate the speed.
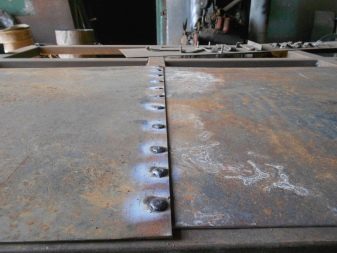
- The table top can be made from sheet steel one millimeter thick... In principle, the thicker the metal, the greater the strength.
After general recommendations, we will consider the whole process in more detail:
- at the initial stage, we cook a metal frame;
- we attach a container for cooling liquid and an engine to it;
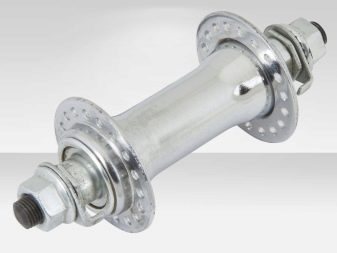
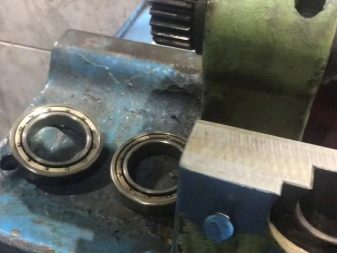
- here we install the bearings for the hub, and press the shaft for fastening the disk into bearings;
- we fix a metal sheet tabletop to the frame;
- after we cut out the hole for the saw blade;
- we process the entire product with special paint;
- after that we collect all the nodes, connect the structure.
The principle of operation of the finished product is as follows:
- a workpiece is attached to the bed with clamps;
- then the protective equipment in the form of glass is lowered;
- the workpiece can be moved manually or using a special mechanism.

Sometimes it is necessary not only to make basic models and perform duty functions on the unit. It is easy to upgrade it for more complex things from an electric drill.
- We start the modernization by protecting the belts from the pulleys. We connect the machine to the electric circuit, we start the emergency braking buttons.
- We include protection and temperature sensors in the electrical circuit of the equipment.
- We replace the incandescent lamp with a conventional device.
- The machine is mounted on shock-absorbing springs to reduce noise and vibration.
- In order to work with workpieces of different lengths, a collapsible base can be made.
- We attach a grinding wheel to the chuck for polishing parts, sharpening sharp objects.
Rules for operating a homemade machine
Before starting work, you must read and take into account all safety rules. You should always be in protective clothing: special suit and shoes, hard hat and safety glasses. We monitor the stability of the product, so the machine should always be on a flat surface. Do not obstruct the area around the work area. You need a certain amount of free space to work. Keep away from flammable materials.
Before you start to operate the "homemade product" in full force, you need to make sure that it is in full working order. They slowly check the movement and performance of all parts, monitor the operation of all drive mechanisms, and the absence of noise in the engine.
A separate topic is checking the parameters of power supply networks. It is always necessary to consider the suitability of its needs for a homemade mechanism. Make good insulation and grounding.
Install protective covers, screens before use. Always observe the parameters and processing mode of all workpieces during work.
For safety reasons, the home workshop should always be located separately from the living area. Its area should be at least 7 square meters, and its height should be from 2.5 meters. Remember high quality heating, lighting, ventilation.
During the manufacture of such complex mechanisms, it must be remembered that each machine is designed to produce a narrow set of specific products and parts... To expand the range of activities, it is worth thinking about creating additional devices for the general device. It is also recommended to plan the issue of reducing the load on the equipment: this way it will last much longer.
Previously, for each product, it is necessary to prepare an equipment diagram or use a ready-made one. This will facilitate the work, direct you on the right path.
After work, it is necessary to tidy up the working area, remove all workpieces, lubricate all functioning mechanisms when the unit is turned off.
During the operation of the machine, you cannot deal with the solution of extraneous issues - it is recommended to focus only on this process.
Stay at a safe distance from the machine to avoid injury or injury.
Inspect the machine frequently for damage, and before starting work, tighten all loose parts, check the correct position of the tensioned belt.
Making a lathe with your own hands is a difficult but necessary process, especially for those people who can make various rare parts or beautiful products on it. With proper planning of such a process, a homemade mechanism will turn out to be several times cheaper than if you purchase such a unit in specialized stores. It is only necessary to carefully study all the schemes, to purchase high-quality material.
How to make a lathe with your own hands, see below.


The comment was sent successfully.